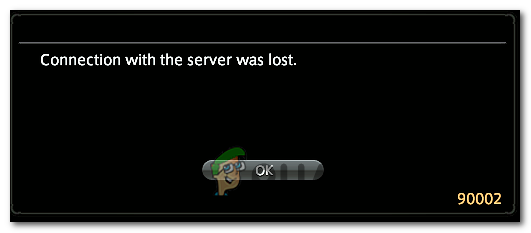
[FIX] Error 90002 in Final Fantasy XIV
The 90002 error code (Connection with the server was lost) is reported to occur in Final Fantasy XIV while some users are actively playing the game (at random intervals). Most affected users are reporting that the error doesn’t occur at the initial screen or during the character creation menu.
As it turns out, there are multiple different causes that might end up causing this particular error code:
- Common IP / TCP Inconsistency – One of the most common issues that might end up causing this problem is an issue with your currently assigned IP address or an inconsistency with the transmission control protocol. If this scenario is applicable, you should be able to fix the issue by rebooting or resetting your router.
- Level 3 ISP Note – If you’re using a lesser-known ISP, chances are that the drop-in connection you’re currently experiencing with Final Fantasy happens due to a significant lag or packet loss between yourself and the server. In this case, the use of a VPN should allow you to alleviate these symptoms.
- Large Send Offload is Enabled – As it turns out, this Network Adapter setting that’s supposed to prevent upper-level protocol such as TCP from breaking large packets into smaller packets of individual headers might end up interfering with the stability of Final Fantasy XVI. In this case, you should be able to resolve this problem by accessing your Network Adapter settings and disabling the Large Send Offload feature.
- Corrupted game files – It’s also possible that you’re seeing this error code due to a malformed or bad packet that’s being sent out. This might end up breaking the connection with the game server if the game server decides to reject it. If this scenario is applicable, you should be able to fix this problem by reinstalling the game and every associated component.
- Disabling Avast Firewall – If you’re using Avast Firewall or Avast AV as a 3rd party protection suite, it’s possible that you’re seeing this error due to a conflict between the security suite and the Square Enix mega-server. In this case, you should be able to resolve the issue either by disabling real-time protection or by uninstalling the 3rd party tool altogether.
- Inconsistent DNS – If your computer is currently using an automatically assigned DNS, it’s range might contribute to some incompatibilities with the FFXIV mega server. In this case, you should be able to resolve this problem by making the switch to the DNS provided by Google.
- The router doesn’t support UPnP – If you’re using an older router model that doesn’t support UPnP, you might need to modify the main configuration file of Final Fantasy IV to ignore this technology when connected to the game’s megaserver.
Method 1: Rebooting Resetting your Router
According to some affected users, this problem can also be caused by an IP or TCP inconsistency with your router. If this scenario is applicable, you should be able to fix the issue by performing a simple router reboot. In more severe circumstances, you might need to go for a router reset in order to resolve the 90002 error in Final Fantasy XIV.
Several affected users have confirmed that one of the two operations that we’re about to showcase allowed them to eliminate the issue.
Start with a simple router reset by pressing the power button on the back of the network device or by physically unplugging the power cable from your router.
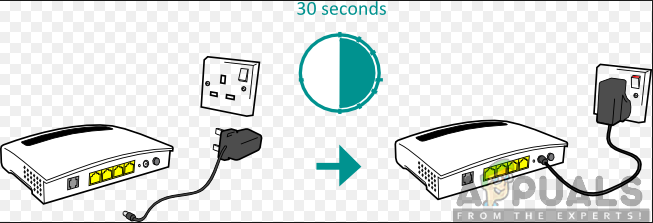
After you do this, wait for at least 30 seconds to ensure that the power capacitors are completely drained.
Once you do this, power on your router once again, wait for the Internet connection to be re-established, then launch Final Fantasy XIV once again and see if you still end up seeing the 90002 error.
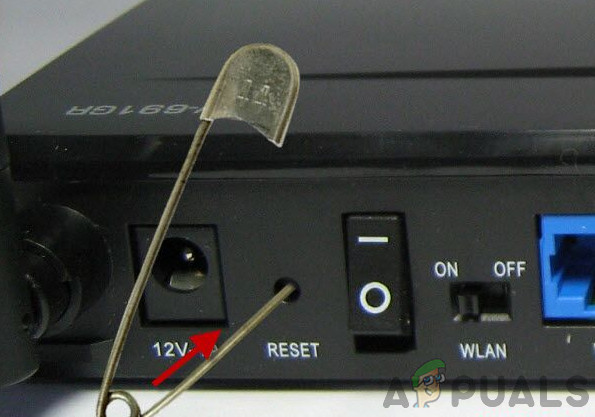
If you do, you should advance with a router reset. But before you do so, keep in mind that this operation might also override some custom settings that you might have previously established. This includes custom credentials and forwarded ports that you might have previously configured.
Note: Depending on your router, this might also reset the ISP credential your router is currently storing, so be prepared to insert them again once the reset procedure is complete.
If you are prepared to go for a router reset, turn your attention towards the back of your router and use a sharp object to press and hold the reset button of your network device. Keep it pressed until you see all the front LEDs flashing all at once. Once this happens, release the reset button and reinsert the credentials if your router demands it.
Once the operation is complete and the Internet connection is re-established, repeat the action that was previously causing the error in Final Fantasy to see if the problem is now resolved.
In case you’re still seeing the same 90002 error after the network connection is lost, move down to the next potential fix below.
Method 2: Using a VPN to Avoid Level3 ISP Node (if applicable)
Looking at the error code, the error can essentially be translated as ‘The server or a more immediate note dropped your connection’. If you are not facing a similar issue with other games or applications, you should turn your attention towards your ISP.
If you’re not using a premium ISP (Internet Service Provider), chances are you’re getting these drop-in connections with Final Fantasy due to significant lag or packet loss between yourself and the server. A Level 3 node or s similarly disreputable provider node that stands between you and the game server might be causing this problem.
In case this scenario is applicable, you can either get in contact with your ISP and ask them to ameliorate the situation or you can use a VPN service to avoid the ISP Note.
If you already have a VPN favorite, configuring and enable it right before you attempt to connect to the Final Fantasy XIV game server.
In the event that you don’t have a favorite and you’re looking for instructions on configuring a free VPN client, follow the instructions below:
Note: The instructions below will walk you through the process of using the free plan of Hide.Me VPN. If you’re looking to use other VPN alternatives, just pick one from our list of best VPNs for gaming.
- Access the official download page of Hide.Me VPN and click the Download button.
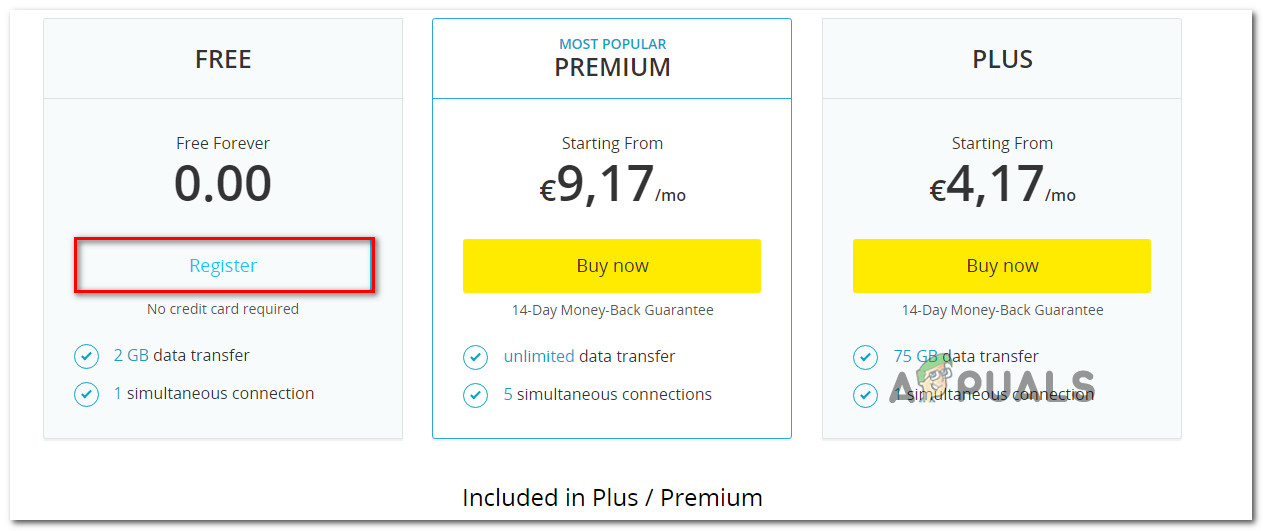
Downloading the VPN solution - At the next screen, click on the Register button, then go ahead and download the free version of Hide.me for Windows.
- Once you get to the next prompt, go ahead and enter your email address, then press Enter to complete the registration.
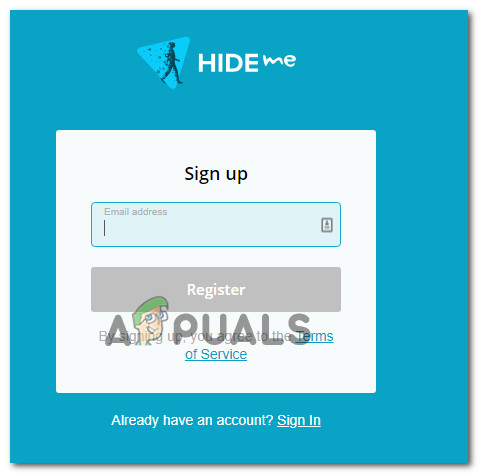
Registering for the service Note: Keep in mind that you will need a valid email address in order to complete the installation process.
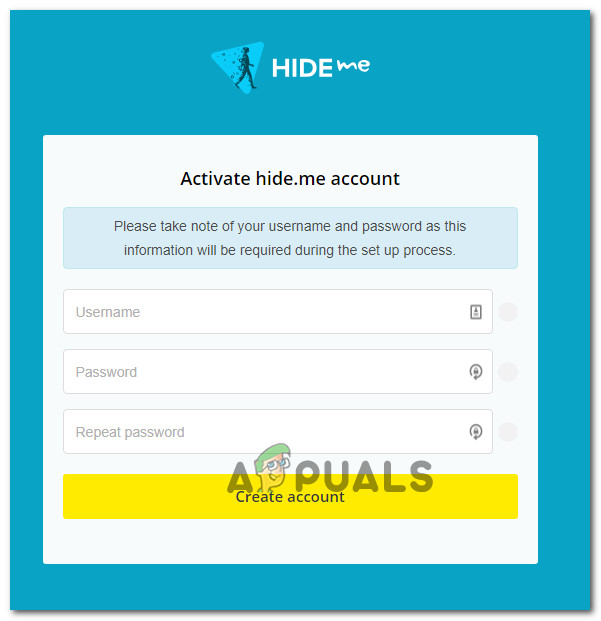
- Once the operation is complete, access your email box, look for the verification mail from Hide.me and click on the verification link to confirm the registration.
- After you successfully complete the verification process, click on Create account from the next menu.
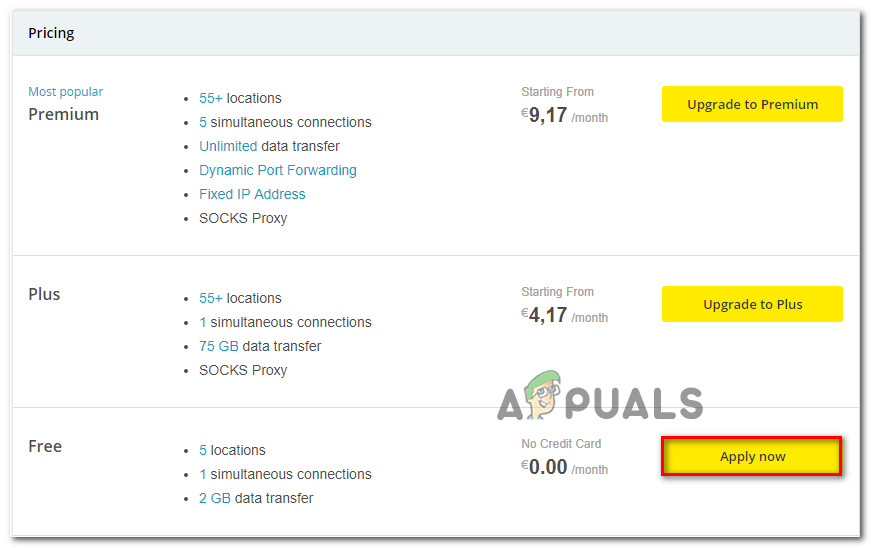
Creating an account with Hide.me - Once the operation is complete, go to Pricing > Free and click on Apply now to choose the free plan.
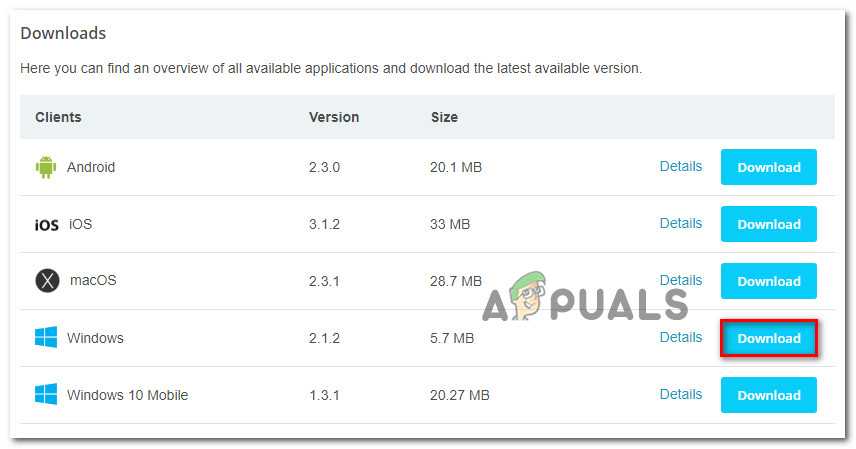
Apply for the free account - Once the free plan is successfully enabled, go to the Download section and click on the Download Now box that’s associated with the Windows version that you’re using.
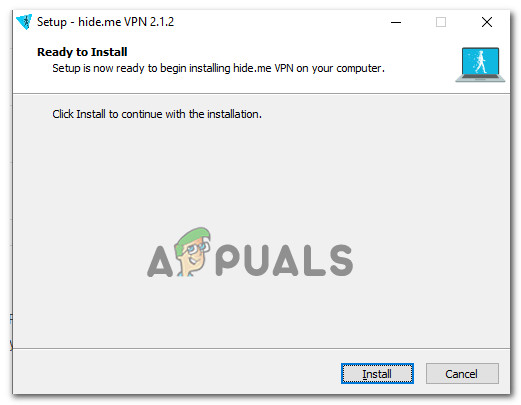
Downloading the Windows client of Hide.me - As soon as the download is finished, double-click on the installer, then follow the on-screen prompts to complete the installation of the system-level version of Hide.Me.
Installing the Hide.Me VPN application - Once the installation is finished, use the credentials you confirmed at step 4 to sign in.
- Finally, click on Start your free trial, then select a location and wait for the VPN connection to be applied.
- Launch Final Fantasy XIV and see if the operation is now complete.
Method 3: Disable Large Send Offload
As it turns out, this problem can also occur due to a Network Adapter setting named Large Send Offload. This network feature is supposed to prevent upper-level protocols such as TCP from breaking large packets into a series of smaller packets with individual headers. This is generally good for optimizing the network performance, but MMOs (including Final Fantasy XIV) tend to trigger random disconnects while this feature is enabled.
Several affected users have confirmed that they manage to fix the issue by accessing the Network adapter settings and disabling the Large Send Offload feature for IPV4 and IPV6.
To do this, follow the instructions below:
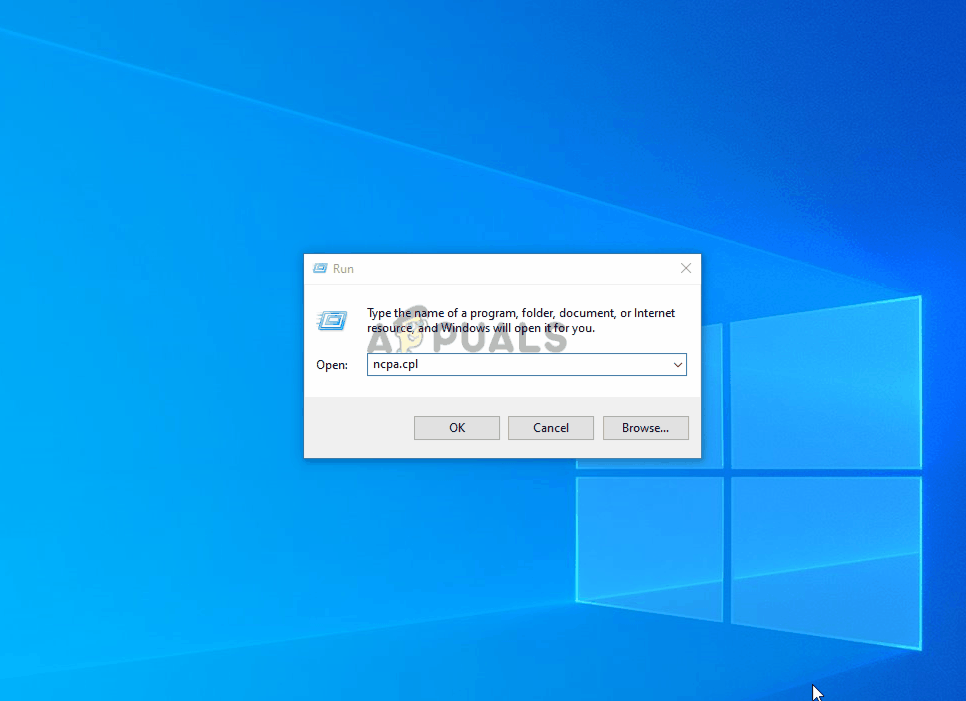
- Press Windows key + R to open up a Run dialog box. Next, type ‘ncpa.cpl’ inside the text box, then press Enter to open up the Network Connection menu.
- Inside the Network Connections menu, right-click on your active ethernet network and click on Properties from the context menu.
- Inside the Ethernet Properties menu, select the Networking tab and click on Configure (under Connect using)
- Once you get to the Controller Properties menu, select the Advanced tab from the horizontal menu at the top, select Large Send Offload v2 (IPv4) from the Property menu, then set it’s value to Disabled.
- Repeat the same thing with the Large Send Offload v2 (IPv6) property, then click Ok to save the changes.
- Restart your computer and see if the operation is now fixed.
In case the same problem is still occurring, move down to the next potential fix below.
In case this method is not applicable, go to the next potential fix below.
Method 4: Reinstalling the Game
As some affected users have confirmed, the FFXIV 90002 error can also occur due to a malformed or bad packet that’s being sent out which ends up breaking the connection with the game server. It might be a generic action like character movement or it might be something more sporadically. Whichever the case is, if the game server of FFXIV detects a back packet, it will terminate the connection.
If this scenario is applicable, you should be able to fix this problem by reinstalling the game through the official channels. Follow the instructions below to do so:
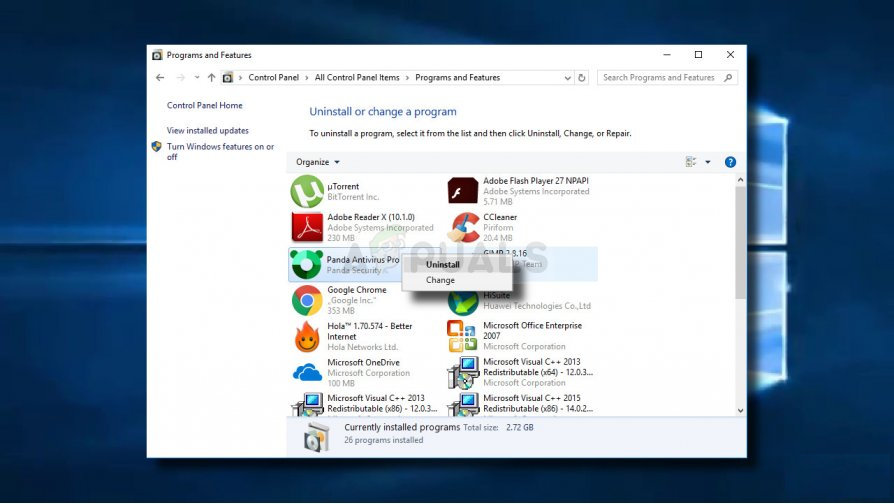
- Press Windows key + R to open up a Run dialog box. Next, type ‘appwiz.cpl’ and press Enter to open up the Programs and Features screen.

Type appwiz.cpl and Press Enter To Open Installed Programs Page - Inside the Programs and Features screen, scroll down through the list of installed items and locate the entry associated with the Final Fantasy XIV installation. When you see it, right-click on it and choose Uninstall from the newly appeared context menu.

Uninstalling Final Fantasy XIV - Inside the uninstallation screen, follow the instructions on the uninstallation screen to complete the procedure.
- Once the operation is complete, restart your computer and proceed with the reinstallation of the Final Fantasy XIV client.
- After the installation is complete, launch the game once again and see if the issue is now resolved.
In case the same problem is still occurring, move down to the next potential fix below.
Method 5: Disabling Avast Firewall (if applicable)
According to several affected users, this problem can also occur due to a game conflict with Avast Firewall. This conflict was first reported in April, and so far neither Avast nor Square Enix has released a fix for this problem.
Some investigations done by tech-savvy FFXIV users has revealed that AVast ends up messing up when receiving the raw network traffic by FFXIV from tapping into this same traffic.
If this scenario is applicable and you are indeed using Avast Firewall, disabling it might not resolve the issue since the same security rules will remain in place.
You can try to do it by disabling the real-time protection via the taskbar menu, but a lot of affected users have reported that this was not enough.
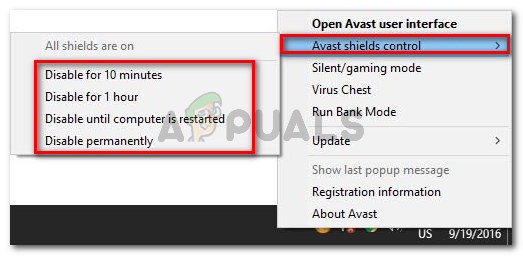
The only confirmed way of solving this conflict is to uninstall the 3rd party suite altogether:
- Press Windows key + R to open up a Run dialog box. Next, type ‘appwiz.cpl’ and press Enter to open up the Programs and Features menu.

Type appwiz.cpl and Press Enter to Open Installed Programs List - Inside the Programs and Features menu, scroll down through the list of installed programs and locate the antivirus that you think might be causing issues with Final Fantasy XIV.
- Once you see it, right-click on it and choose Uninstall from the context menu.
Uninstalling your antivirus - At the uninstallation screen, follow the uninstallation prompts to complete the process, then restart your computer.
- Once the next startup is complete, launch the game once again and see if the 90002 error code is now resolved.
Method 6: Switching to Google’s DNS
As it turns out, this error code can also occur due to a DNS (Domain Name System) inconsistency that inhibits your PC ability to connect to the FFXIV mega server.
Several affected users have reported that they managed to fix the issue by making the switch from the default DNS to the DNS provided by Google. Making this switch will end up resolving the majority of issues caused by an inconsistent DNS.
However, keep in mind that the steps of doing so will be different depending on the platform where you play Final Fantasy XIV. Because of this, we’ve created 3rd different guides (one for each platform where this game is available).
If you want to make the switch to Google’s DNS, follow one of the sub-guides below:
A. Using Google DNS on Xbox One
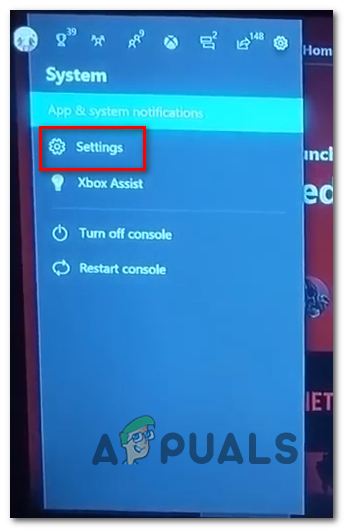
- On the main Xbox dashboard, press the guide menu on your controller, then go to Settings > Network and access the Advanced Settings menu.
Accessing the Settings menu on Xbox One - Once you’re inside the Advanced Settings menu, click on DNS settings, then choose Manual from the sub-menu.

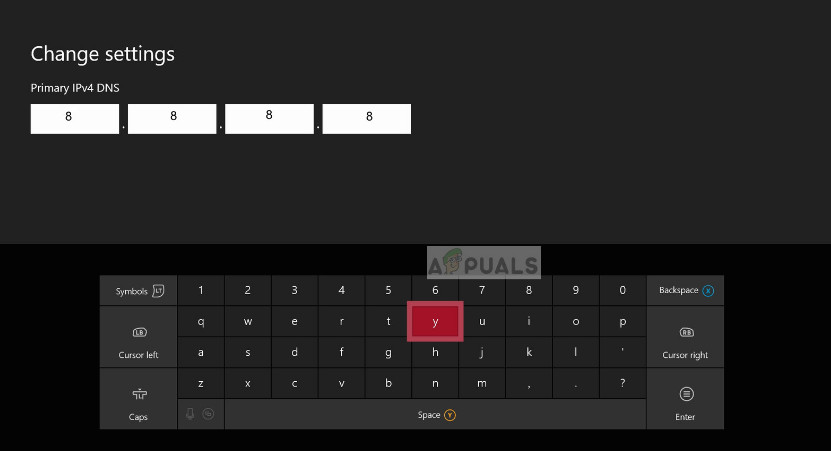
Xbox One Advanced Network Settings - Inside the DNS Settings, go ahead and set 8.8.8.8 as the Primary DNS and 8.8.4.4. as the Secondary DNS.
Changing DNS in Xbox Note: If you want to use the Google DNS for iPV6, use the following values instead:
Primary DNS – 208.67.222.222
Secondary DNS – 208.67.220.220 - Once the modifications have been made, save the changes, then restart your computer and see if the problem is now resolved.
B. Using Google DNS on Windows
- Press Windows key + R to open a Run dialog box. Next, type ‘ncpa.cpl’ and press Enter to open up the Network Connections menu.
- Inside the Network Connections menu, go ahead and right-click on the network that you’re actively using. In case you are currently connected to a wireless network, right-click on Wi-Fi (Wireless Network Connections), then click on Properties from the context menu. If you are connected to the internet via an ethernet cable, right-click on Ethernet (Local Area Connection).
- Once you’re inside the Properties screen, click on the Networking tab from the horizontal menu at the top. After you do this, go to the module under This connection uses the following items, select Internet Protocol Version 4 (TCP / IPv4) and click on the Properties button.
- At the next screen, click on the General tab, select the toggle associated with Use the following DNS server address and replace Preference DNS Server and Alternate DNS server with the following values:
8.8.8.8
8.8.4.4
- Once the values have been adjusted accordingly for TCP / IPV4, repeat step 4 with the Internet Protocol Version 6 (TCP / IPv6) to make the switch to Google DNS with the newer protocol:
2001:4860:4860::8888
2001:4860:4860::8844
- Save the changes that you have just implemented, then restart your computer and see if the error code with Final Fantasy XIV has been resolved.
C. Using Google DNS on Ps4
- From the main dashboard menu of PS4, access the Settings menu by navigating to the option using the horizontal menu bar at the top.
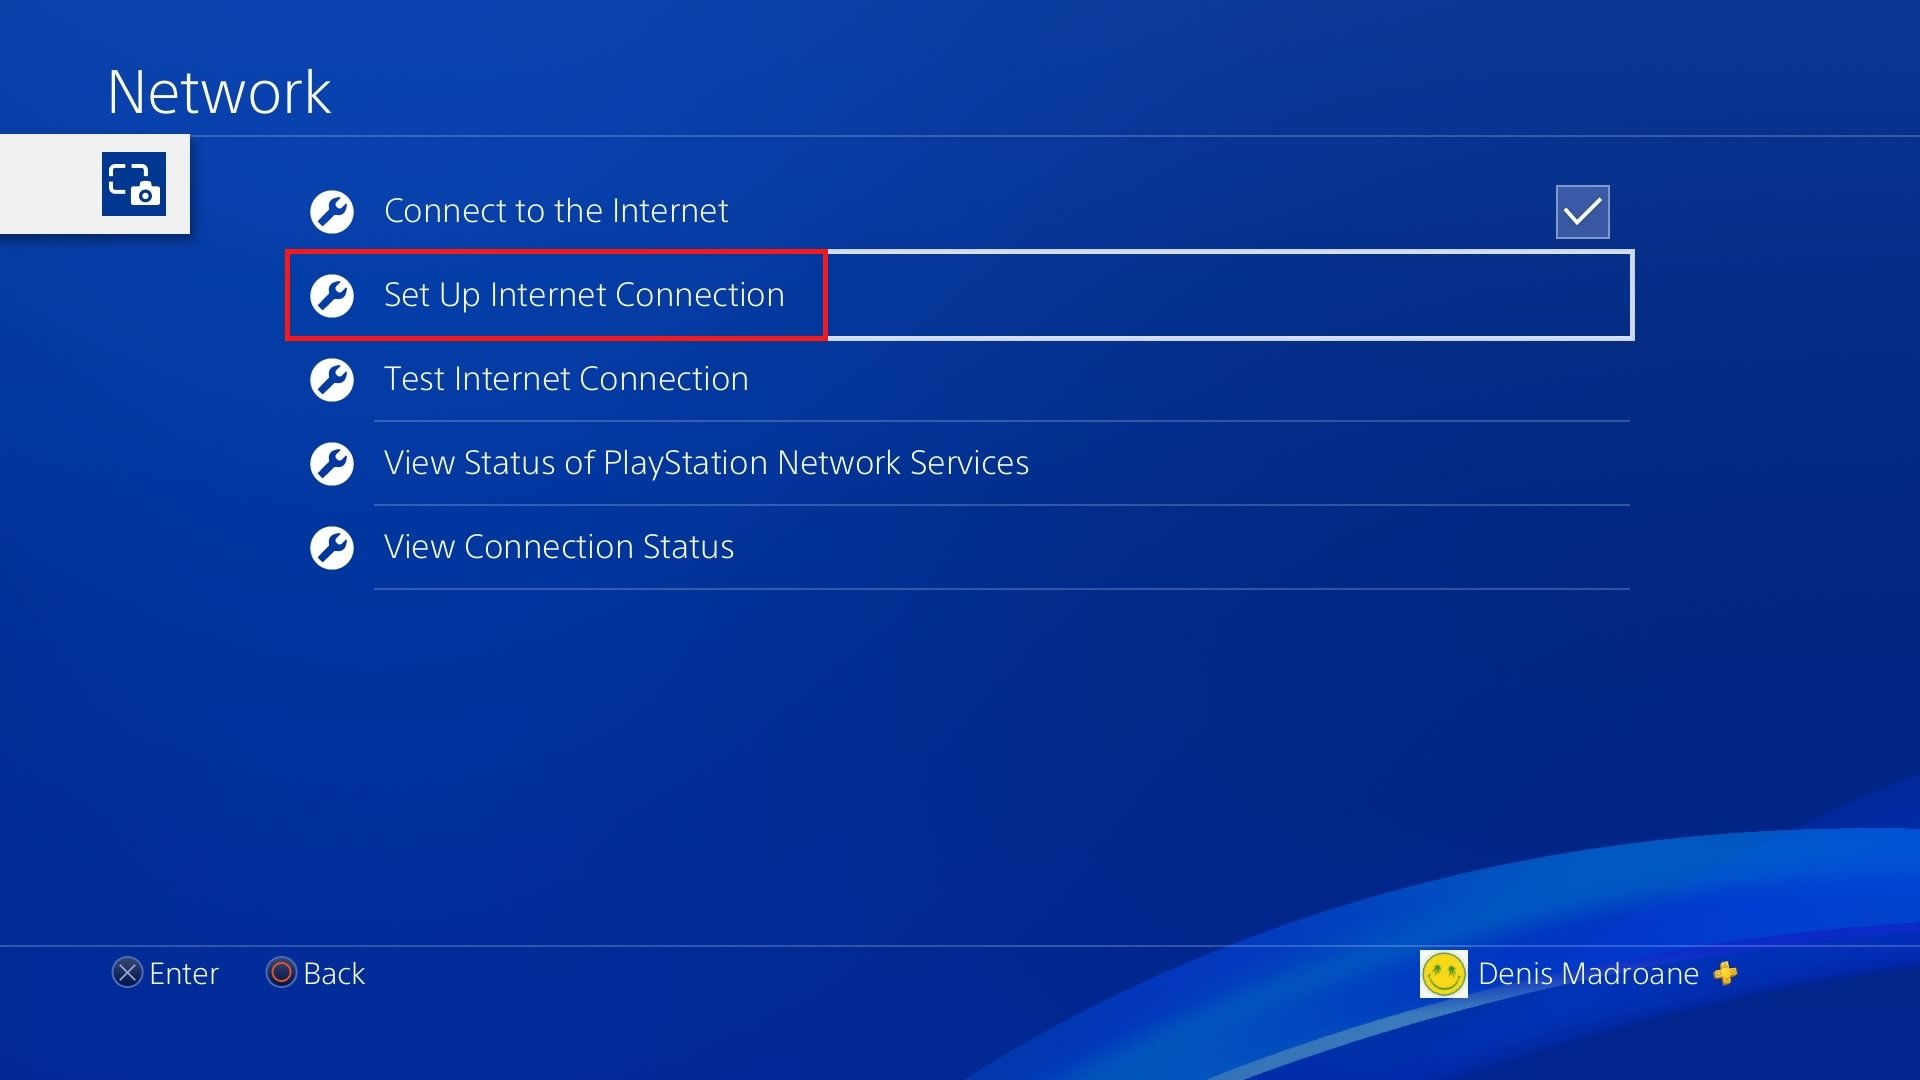
- Inside the Settings menu, access the Network menu, then select the Set up Internet Connection and press X to get started.
Accessing the Set Up Internet Connections menu - From the next screen, select either Wi-Fi or LAN, depending on the type of network that you’re using (wireless or Ethernet).
- At the next menu, choose Custom from the list of available options, then set the IP Address to Automatically.
- At the DHCP Host Name menu, set the entry to Do Not Specify.
- Inside the DNS Settings menu, set it to Manual, then change the Primary DNS to 8.8.8.8 and the Secondary DNS to 8.8.4.4.
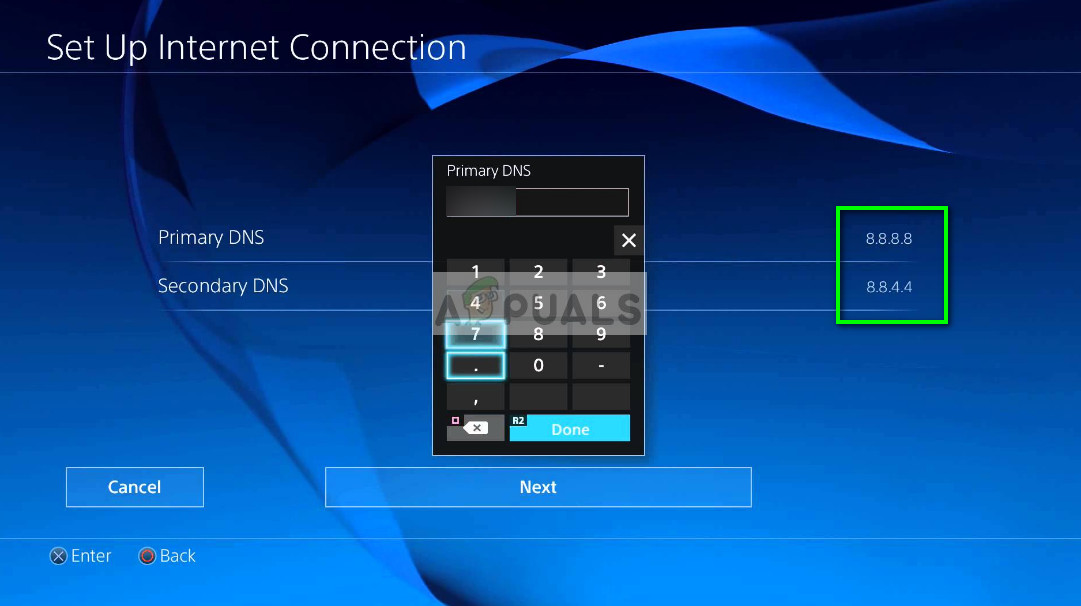
Google DNS settings – PS4 - Save the changes, then restart your console launch Final Fantasy XIV to see if the problem is now resolved.
In case the same problem is still occurring even after you made the switch, move down to the final fix below.
Method 7: Forcing FFXIV to ignore UPnP (if Applicable)
If none of the methods below have worked for you and you’re seeing this error on a PC, you might be able to fix the problem by editing the .cfg file of Final Fantasy XIV (FFXIV.cfg) to force the executable to avoid the use of UPnP.
This fix is reported in those situations where you’re using an older router model that is not equipped to support UPnP. If this scenario is applicable, you should be able to eliminate the apparition of the 90002 error code by editing the game’s configuration file to disable UPnP from the Network Settings section.
If you want to try and deploy this fix, follow the instructions below to force Final Fantasy to ignore UPnP:
- Open File Explorer and, open up My Documents and navigate to My Game and double-click on the FF14 folder.
- Once you’re inside the FF14 folder, right-click on FFXIV.cfg and click Open with > Notepad from the newly appeared context menu.
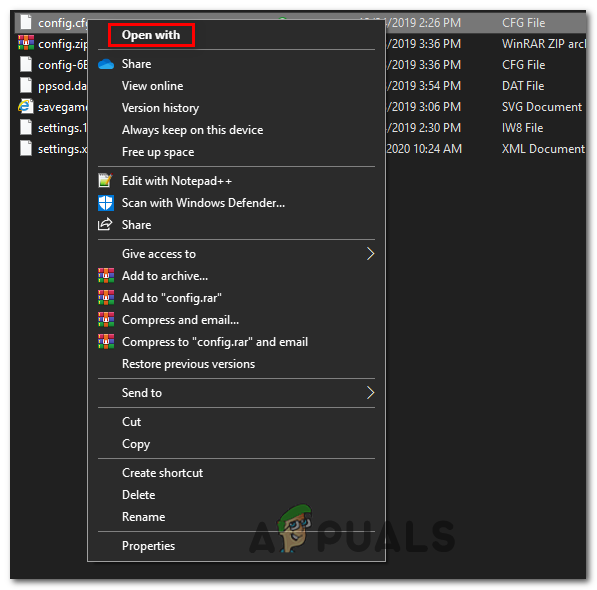
Open with Notepad or Notepad++ Note: If you have a more efficient text editor like Notepad++ installed, use that instead of the native Notepad program.
- Once you successfully manage to open the .cfg file with Notepad, scroll down through the list of settings until you arrive to the Network Settings.
- Inside the Network Settings, change the value of UPnP from 1 to 0 then save the changes.
Note: When you save the modifications, ensure that you don’t change the name of the .cfg file.


