How to Fix ‘Realms (429)’ Error Code in Minecraft Realms?
Once in a while, you might come across the error 429 when trying to access Minecraft Realms. However, unlike other error messages, which give you some hints on what exactly could be the problem, error 429 doesn’t include any additional information that would guide you in fixing the issue. In this post, we will look at “what is Error 429,” its causes, and all the possible fixes you can try.
What is Error 429 and What Causes It?
To better understand the culprit behind the error message 429, let’s quickly discuss how a server works and offers services to users. A basic network contains a server and a client machine. The client machine sends a request to the server, which in turn responds with an answer. For example, a student (client machine) can send a request to the university server (portal) to view the grades in a particular subject.
With that simple illustration, we can now dive into error 429. Error 429 stands for “Request Limit Reached.” That means your system/ network has sent too many requests to the server, and it has locked you out. That is a security technique implemented to mitigate cyber threats like DDoS attacks. However, there is a catch! Some users will launch Minecraft and still get the error even before playing the game.
That brings us to a conclusion that, even though error 429 is mainly due to the client PC sending too many requests to the server, there are still other underlying issues that could raise this error. They include a malfunctioning server, an error in the Minecraft launcher, etc. Let’s look at all the possible fixes that you can apply for error 429.
Possible Solutions For Error 429
From experience, Error 429 could be specific to the client. That’s because, while I was facing the issue, my friend could quickly and successfully connect to my realm without any problems. Additionally, the error 429 thread available on the Mojang studios website shows no particular solution or fix to this error that works for everyone. The only real fix which seems to work is waiting for 20-30 minutes before reconnecting. Let’s look at all other possible solutions.
1. Switch Networks
This method can be regarded as more of a trick than a fix. When you see error 429, that means the server has “blacklisted” or blocked your IP address. Therefore, switching networks and getting assigned a new IP should fool the server into allowing you to connect.
However, switching networks doesn’t mean changing from wireless (WIFI) to wired (say Ethernet). It would be best if you tried to connect to a new network like a hotspot, neighbor’s WIFI, or any other network. It shouldn’t be the network you were previously connected to since the Gateway address is the same.
You can also try using a VPN which will redirect your traffic to a different IP address. However, if you opt for this solution, ensure you are using a fast and reliable VPN. Some VPNs can have a very slow speed which will, in turn, lag the game.
2. Wait 20 – 30 Minutes
Generally, a server blocks any incoming requests from a particular IP for a specified duration of time. Therefore, waiting for several minutes (usually 20 – 30 mins) before reconnecting to your realm will do the trick. This method is also used in websites or portals that have a limited number of trial logins. If you enter the wrong password three times consecutively, the website will lock you out for a couple of minutes as set by the system administrator.
3. Disable Java Updates
Java Update utility is a feature that checks for any latest Java updates on your Windows system. If the update feature is set to “auto-update,” your system will automatically check for any other Java updates, download and install them automatically on your system. Even though that seems a better solution than manually checking for updates, it has proven to cause the error 429 on some Minecraft client applications. To disable Java updates on your Windows system, follow the steps below:
- Launch the Control panel and set the “View by” option on the top-right to “Category.”
- Select Programs
- A new window will open, and you will see several menus like “Programs and Features,” “Default Programs,” and Java.
- Click on the Java icon to open the Java Control panel, as shown below.

programs java - Select the Update tab
- Uncheck the box “Check for update automatically.”
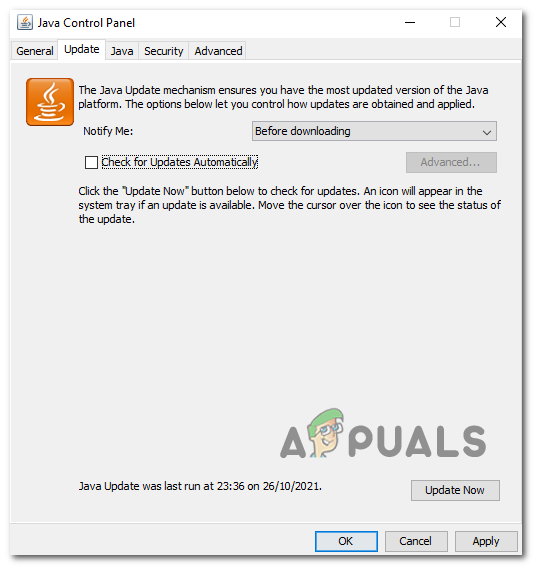
Disable auto-updates - Click “Apply” then “Ok” to save your changes.
- Reboot your system and try reconnecting to your Minecraft Realm.
If you are playing Minecraft on macOS, run the command below to disable Java auto-updates.
sudo defaults write /Library/Preferences/com.oracle.java.Java-Updater JavaAutoUpdateEnabled -bool false
4. Delete the “Minecraft” Folder
This method also worked for several users who were facing the same issue. Open the partition containing Windows and navigate to the Program Files (x86) directory. Delete the “Minecraft” folder.
Note: You don’t have to worry about losing your saves or game progress as those are stored in a different directory.
Next, launch the Minecraft installer file or download it from the official Minecraft website. A window will open, showing various options for installation. Select “Repair,” and the installer will reinstall Minecraft and update the Java runtime. When done, launch Minecraft and try reconnecting to your Realms. That should do the trick.
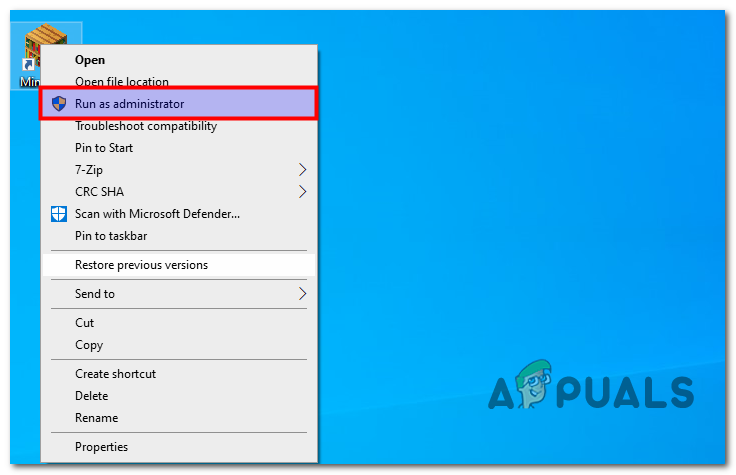
5. Run the Minecraft Launcher as an Administrator
Another method that worked for most was launching Minecraft as an administrator. There are two ways you can do this. One, if you have a Minecraft Desktop launcher, right-click on the launcher and select the option “Run as administrator,” as shown in the image below.
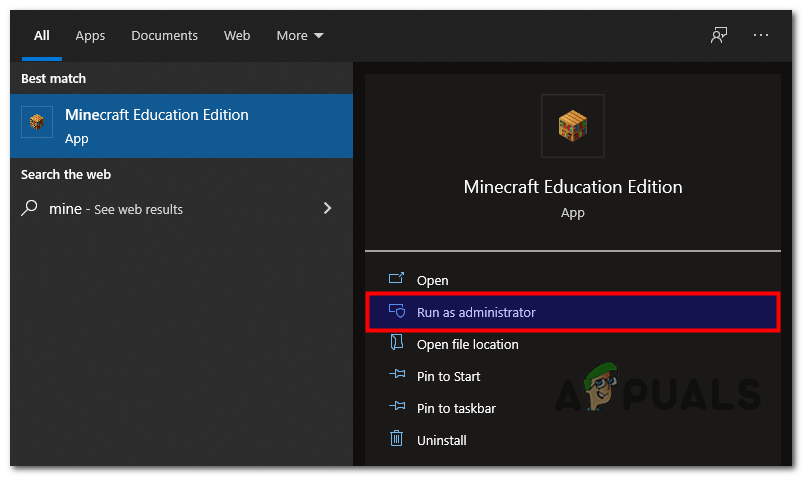
Alternatively, you can type “Minecraf” in the Windows search bar, right-click on the Minecraft App and select the option “Run as administrator,” as shown in the image below.
6. Reinstall Minecraft
Reinstalling Minecraft on Windows can be slightly different from other applications if you want to keep your game saved progress. Follow the steps below to uninstall Minecraft on your Windows PC.
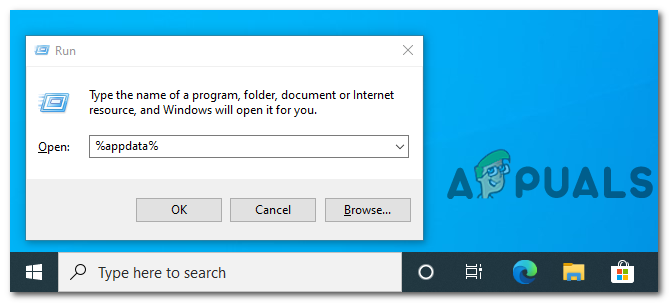
- Use the keyboard combination Win + R, type %appdata%, and press Enter.
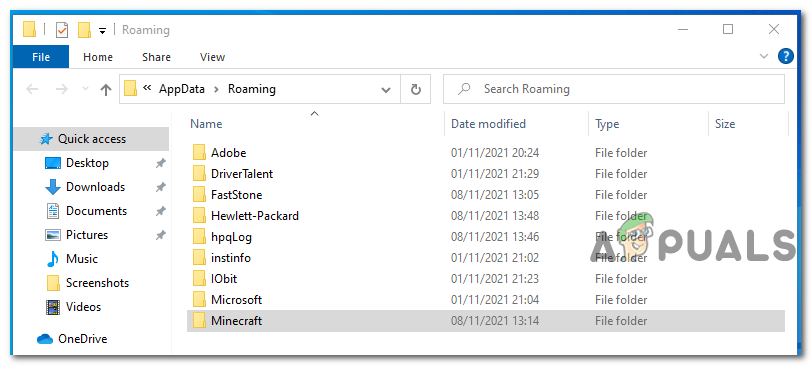
Appdata - That will open the AppData > Roaming folder. Locate the ‘.minecraft‘ or ‘Minecraft‘ folder and double click to open it.
Roaming folder - Copy the saves folder in a different directory. Note, this is the folder that holds the progress of your game.
- To uninstall Minecraft, go back to the Roaming folder and delete the Minecraft directory.
To install Minecraft, follow the steps below:
- Download Minecraft setup from their official website.
- Double click the launcher to install Minecraft.
- To open the AppData> Roaming directory, use the keyboard combination Win + R, type %appdata%, and hit Enter.
- Navigate to the Minecraft folder and paste the save folder you copied earlier when uninstalling Minecraft.
7. Reboot Your Router and PC
Even if after reinstalling Minecraft, you are still getting error 429, reboot/ restart your PC and router. Rebooting a PC is relatively straightforward. Click on the power option and select the restart option. However, things might be a little different with the router.
There are two methods you can use to reboot the router:
- You can log in to the router by typing the Gateway address on your web browser and logging in with the proper credentials. Therefore, you need to know these credentials (username and password). Once logged in, you should be able to see an option to reboot your router
- If you don’t have login credentials, you can use the physical power button to shut down and power up the router.


