How to fix “Erase Assistant is not supported on this Mac” error?
 Reviewed by Muhammad Zubyan
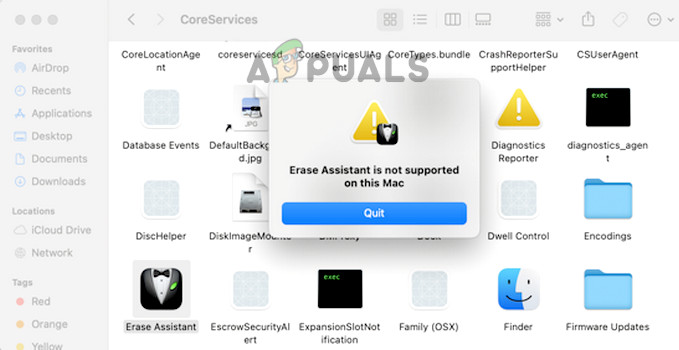
The “Erase Assistant is not Supported on This Mac” error occurs when attempting to reset the system via System Settings > General > Transfer or Reset > Erase All Content and Settings or via Core Services. This reset could be carried out to fix a problem or to prepare the system for a new user. This issue may arise on any Mac, regardless of the macOS version.
Before we start fixing this issue, keep in mind that the Erase Assistant is supported only on macOS Monterey or later. To ensure compatibility, verify the version of your Mac’s OS.
- Select ‘About This Mac’ from the Apple menu on your Mac
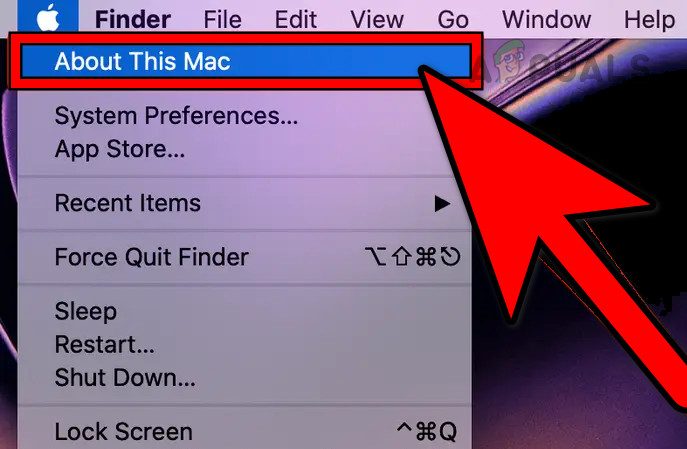
Open About This Mac - Ensure your macOS version is Monterey or later as the erase assistant is supported; however, other factors could also cause issue.
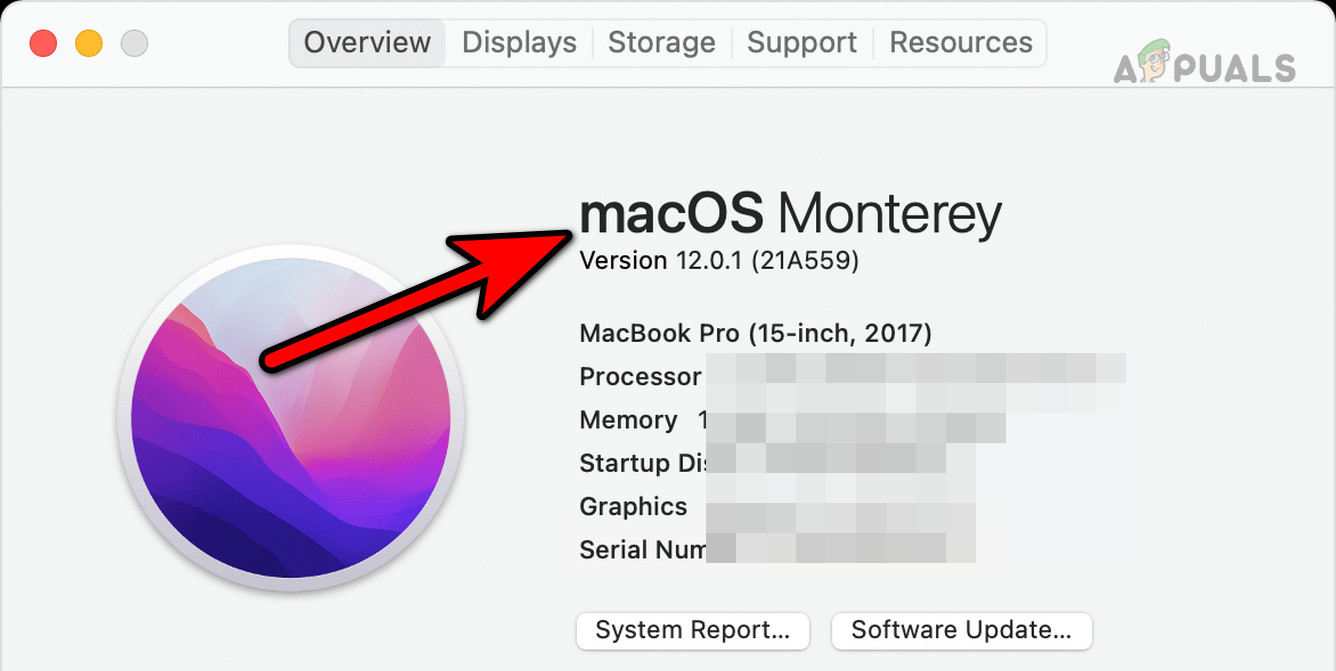
Check the macOS Version
Supported Mac Types for Erase Assistant
Eraser Assistant is available only for specific Mac types.
- Macs with Apple silicon:
To confirm:
- Open the Apple menu and select About This Mac.
- If an item labeled as Chip is shown, it is an Apple Silicon Mac.
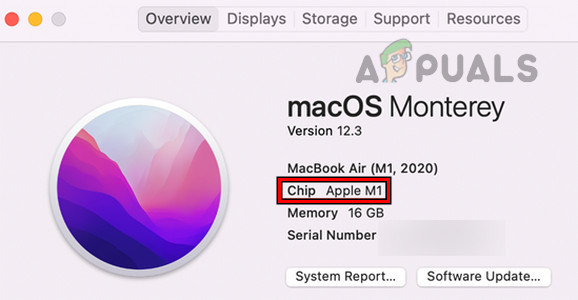
Check if the Mac is Apple Silicon
- Macs with the Apple T2 Security Chip:
To check:
- Press the Options key and navigate to Apple Menu > System Information
- In the left pane, navigate to Controller or iBridge
- If the Model Name shows T2, the Mac does have a T2 security chip.

Check if the Mac has a T2 Chip
1. Check the Account Settings of the Mac
To reset a Mac, administrative privileges are necessary. If your account lacks these, it may cause issues. Here’s how to verify:
- Expand the Apple menu and open System Settings or Preferences.
- Go to Users & Groups and check if your user account shows administrator right below the name. If so, your account is an administrator account on the machine.
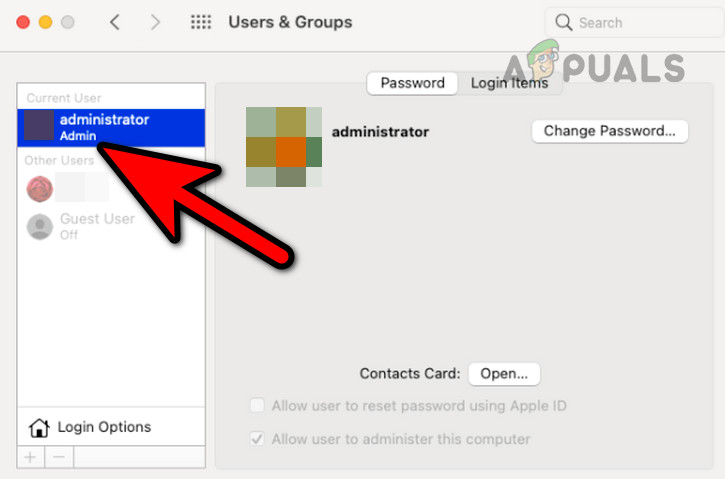
Confirm if the Account has Admin Access - If not and your Mac is part of an MDM setup, make sure the account’s name (created by using PreStage Enrollment) does not have the same name as the Management Account. Check if the Erase Assistant starts working correctly.
2. Reinstall the macOS on the Machine
Since the Erase Assistant isn’t compatible with Mac, the only remaining solution is to delete the disk and reinstall the macOS on the machine.
- Backup the Data: Before reinstalling the OS on the Mac, first back up the system data. You may choose any method, such as local or cloud backup.
- Remove the Mac from the iCloud Profile: Regardless of the method used to erase your Mac, remember to remove it from your iCloud profile to prevent future inconvenience.
Reinstall the macOS on Apple Silicon Macs
- Connect the USB keyboard and mouse to the Mac.
- Disconnect any external storage devices from the Mac.
- Turn off the Mac (if it’s on) and press and hold the power button until the Startup Options screen appears.
- Select Options and click Continue.
- Select an administrator and enter the password if required.
- If necessary, enter the Apple ID and password used for the Mac
- On the Utilities screen, select ‘Disk Utility’ and click ‘Continue’.
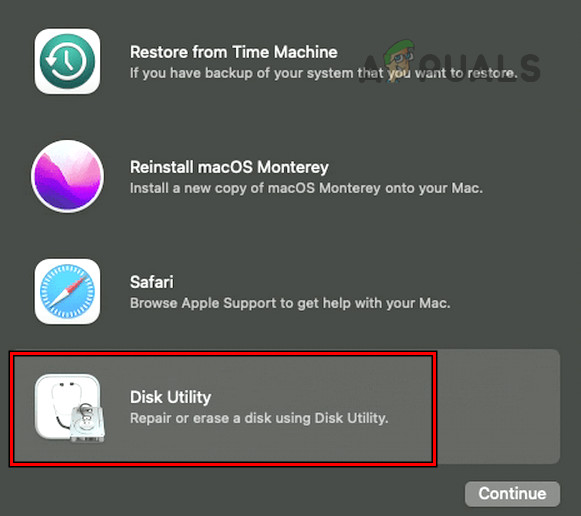
Open Disk Utility in the Mac’s Recovery Utilities - In the sidebar, find the Macintosh HD. If there are additional volumes on the internal disk, select each one and click the volume button.
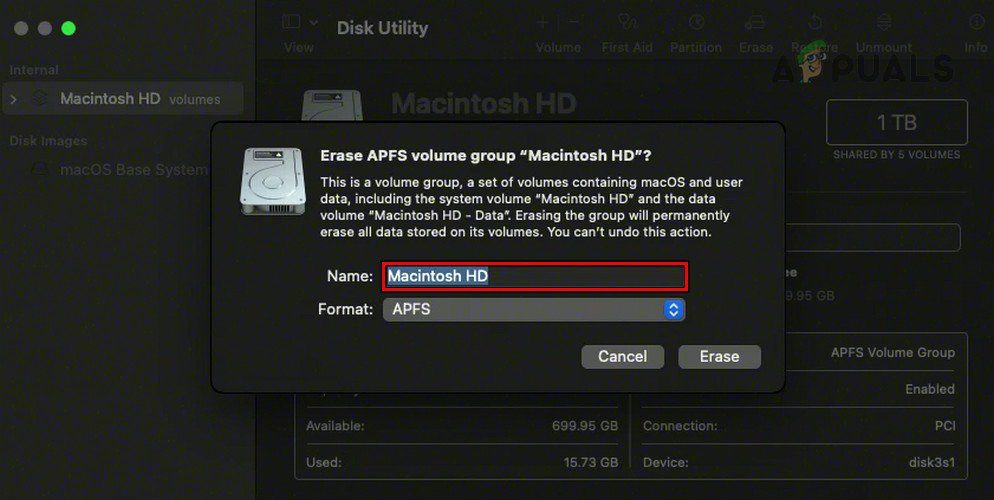
- After deleting all additional volumes, select ‘Macintosh HD’ in the sidebar and click ‘Erase’.
- Enter a name and format for the disk. It will be better to use the following:
Name: Macintosh HD

Format: APFS
- Click on ‘Erase’ and wait for the process to complete. If the ‘Erase Group’ button appears, select it instead of ‘Erase’.
- Enter the Apple ID (if asked) and click on Erase Mac and Restart.
- Upon restart, follow the prompts on your screen to complete the activation process, and once done, click Exit to Recovery Utilities.
- If you are going to sell the Mac or hand it over to someone else, open the Utilities menu on the Utilities screen and select Terminal.
- Execute the following. This will write zeros on the disk and will wipe your data from the disk.
diskutil zeroDisk
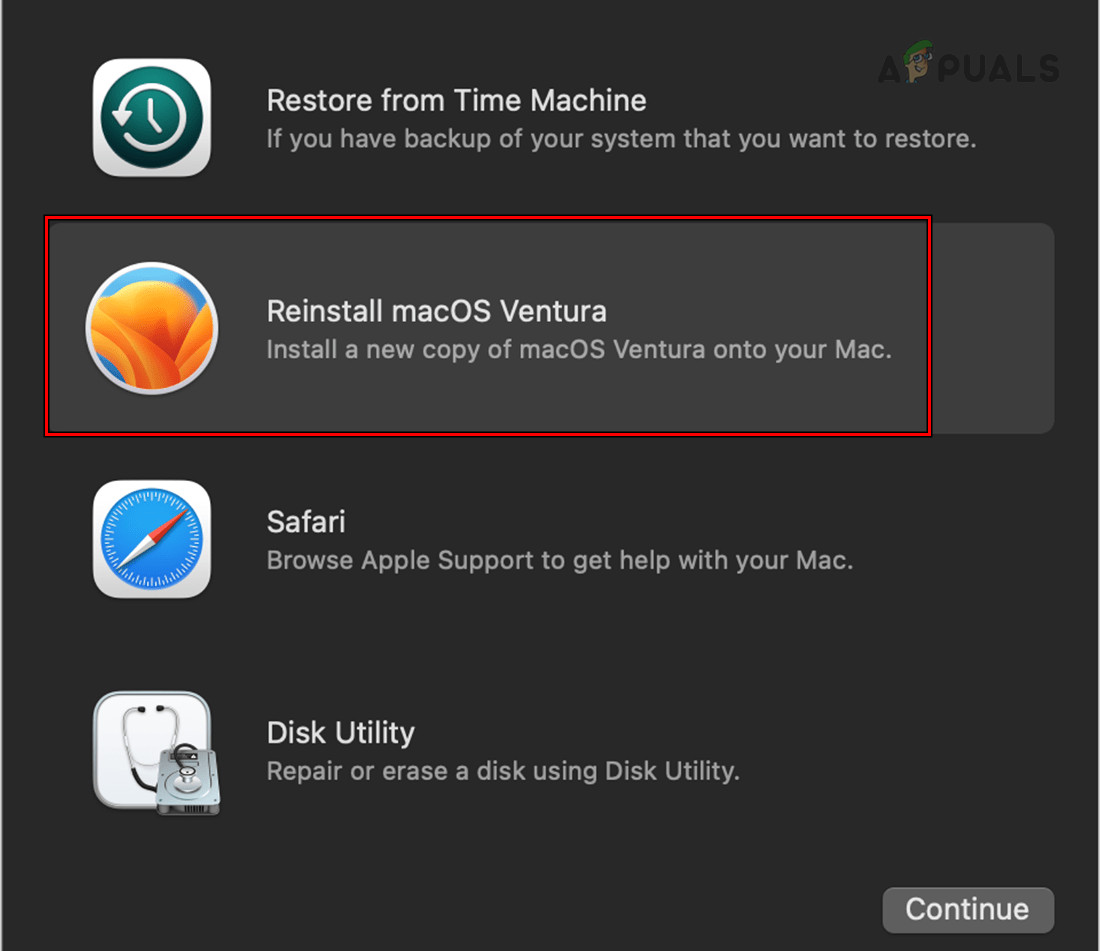
- If you want to reinstall the OS, in the Utilities window, select Reinstall macOS and click Continue.
- Follow the prompts on the screen to complete the process. You may be asked to use the older macOS version before it was upgraded to the latest one. You can update later on.
- Once reinstalled, remember to update through the Mac’s Settings > Software Update.
Reinstall the macOS on Intel-based Macs
- Power off the Mac and press/hold the following keys:
Command

R
- Select an administrator user and enter its password.
- Open Disk Utility and in the sidebar, select Macintosh HD.
- Click Erase and set the following:
Name: Macintosh HD

Format: APFS or Mac OS Extended (Journaled)
Erase Mactonish HD in the Mac’s Disk Utility - Click Erase Group and if this option does not show, click on Erase.
- Enter the Apple ID (if required) and follow the prompts to complete the process.
- Once done, exit Disk Utility, and if you are going to sell the Mac or hand it over to someone else, open the Utilities menu on the Utilities screen and select Terminal.
- Execute the following. This will write zeros on the disk and will wipe your data from the disk.
diskutil zeroDisk
- If you want to reinstall the OS, in the Utilities window, select Reinstall macOS and click Continue.
Reinstall macOS on the Mac Through the Recovery Menu - Follow the prompts on the screen to complete the process.
- Once done, set it up as per your requirements. Make sure to update the OS to the latest build.
Enable FileVault on an Intel-based Mac
If you fail to reinstall macOS on an Intel-based Mac, enable FileVault on the Mac.
- Navigate to Mac’s System Settings > Privacy and Security > Enable FileVault.
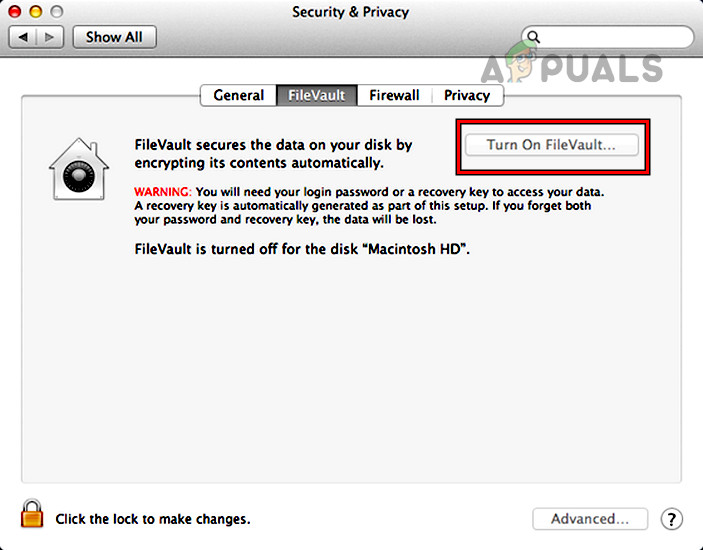
Enable FileVault on the Mac - Once the encryption completes, retry the above steps.
3. Use an Erase Script
If none of the above works, you can use an Erase script. For example, this GitHub script.
4. Create a Bootable Installer for Intel-based Macs
If you’re unable to erase an Intel-based Mac, create a bootable installer using an empty USB drive (with a minimum capacity of 14GB) and another Mac. This will allow you to install the OS. Refer to this Apple Support article for steps on creating a bootable macOS installer.
- Connect the Mac to the Internet and power off the Mac. Internet is not required to download the OS but for other purposes.
- Insert the bootable USB into the problematic Mac.
- Press and hold the power button on a Silicon Mac until the Startup Options screen appears. For other Macs, hold down the Options key, power on the Mac, and release the key when the Bootable Volumes display.
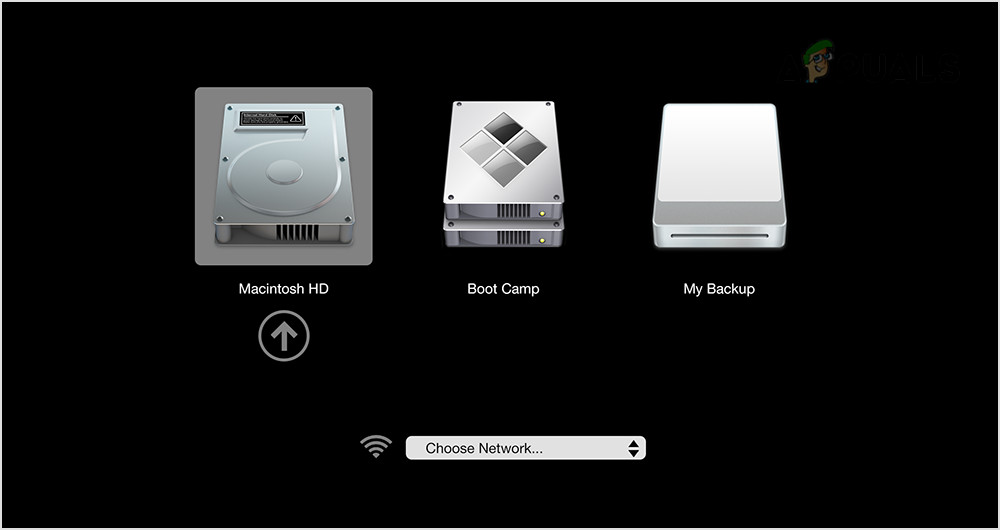
Boot the Mac Through the USB - Select the required USB volume and follow the prompts on the screen to complete the process.
5. Restore the Mac in the DFU Mode
As a last resort, the problematic Mac can be restored by using its DFU mode.
- Open the MacBook not turning on article in a web browser and go to the Revive or Restore the MacBook method.
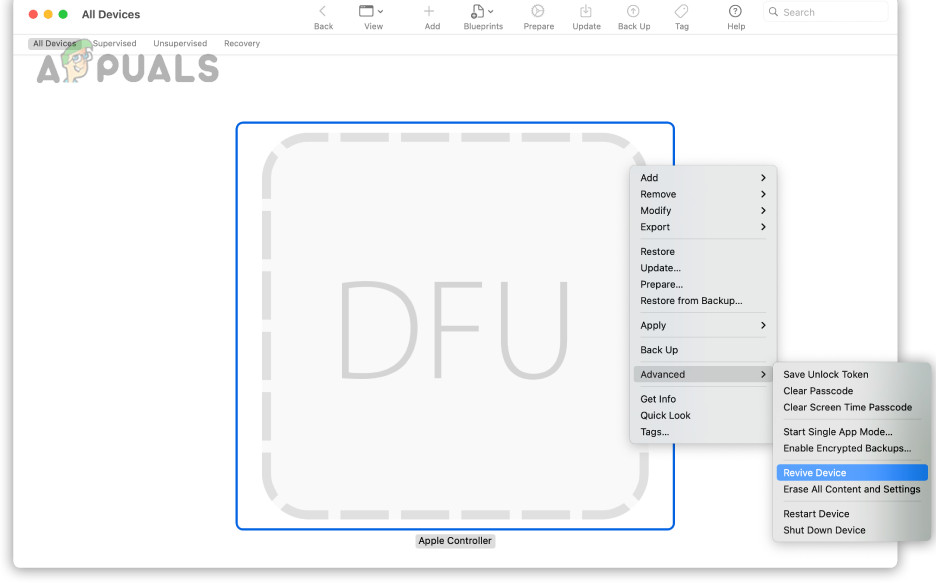
Restore the Mac in the DFU Mode - Follow the instructions there and see if that erases the Mac.
If the issue persists, you may contact Apple Support or visit an authorized Apple service center for further troubleshooting.
Reviewed by Muhammad Zubyan


