How to Enable Nearby Sharing in Windows 11?
When it comes to sharing files across computers, Windows has a few features that can be utilized. One of the features that we all are aware of is the ability to share files over a network. In addition to that, Windows 10 and 11 have a new feature called Nearby Sharing which, as is obvious from the name, allows you to share files across computers that are close by. This is achieved through WiFi or Bluetooth. However, if you have not heard of this before, you are probably not alone as the feature is disabled by default when you install Windows. With that said, we are going to show how you can use Nearby Sharing to share files with devices that are close to you.
As it turns out, the Nearby Sharing feature was first released back in April of 2018. With the new Windows 11 out now, it is included by default so you can use it even if you have installed Windows 11. One of the neat things that Nearby Sharing allows you to do is share websites links with other devices through Bluetooth or WiFi connectivity. The only issue being is that you can only make use of the feature if you have two Windows devices. This means that you cannot use it to share files or links with your smartphone as that isn’t supported. On top of that, not all Windows devices support Nearby Sharing and thus there are a few things that you will have to keep in mind. Let us get into it.
Nearby Sharing Requirements
The following requirements must be met in order to be able to use the Nearby Sharing feature:
- Both devices should be running Windows, both Windows 10 and 11 are supported.
- Both PCs must also have Bluetooth 4.0 or later along with Low Energy (LE) support.
- Nearby Sharing feature should be enabled on both devices along with them being accessible via Bluetooth or WiFi.
- Both the devices must be close to each other.
If you meet these requirements, then you are good to go. However, there are some things that you need to consider while using Nearby Sharing. First of all, make sure that you are transferring files over WiFi instead of Bluetooth as that can take a lot of time especially when you are transferring large files. To be able to send files over WiFi, you will have to set the network profile of both the devices to private. In addition to that, pairing is not required in case of Bluetooth to be able to use Nearby Sharing. With all of that now out of the way, let us get started and show you how to enable Nearby Sharing.
Enable Nearby Sharing
To enable nearby sharing on your Windows 11 machine, follow the instructions that are given down below:
- First of all, go ahead and press the Windows key + I buttons on your keyboard to bring up the Windows Settings window.
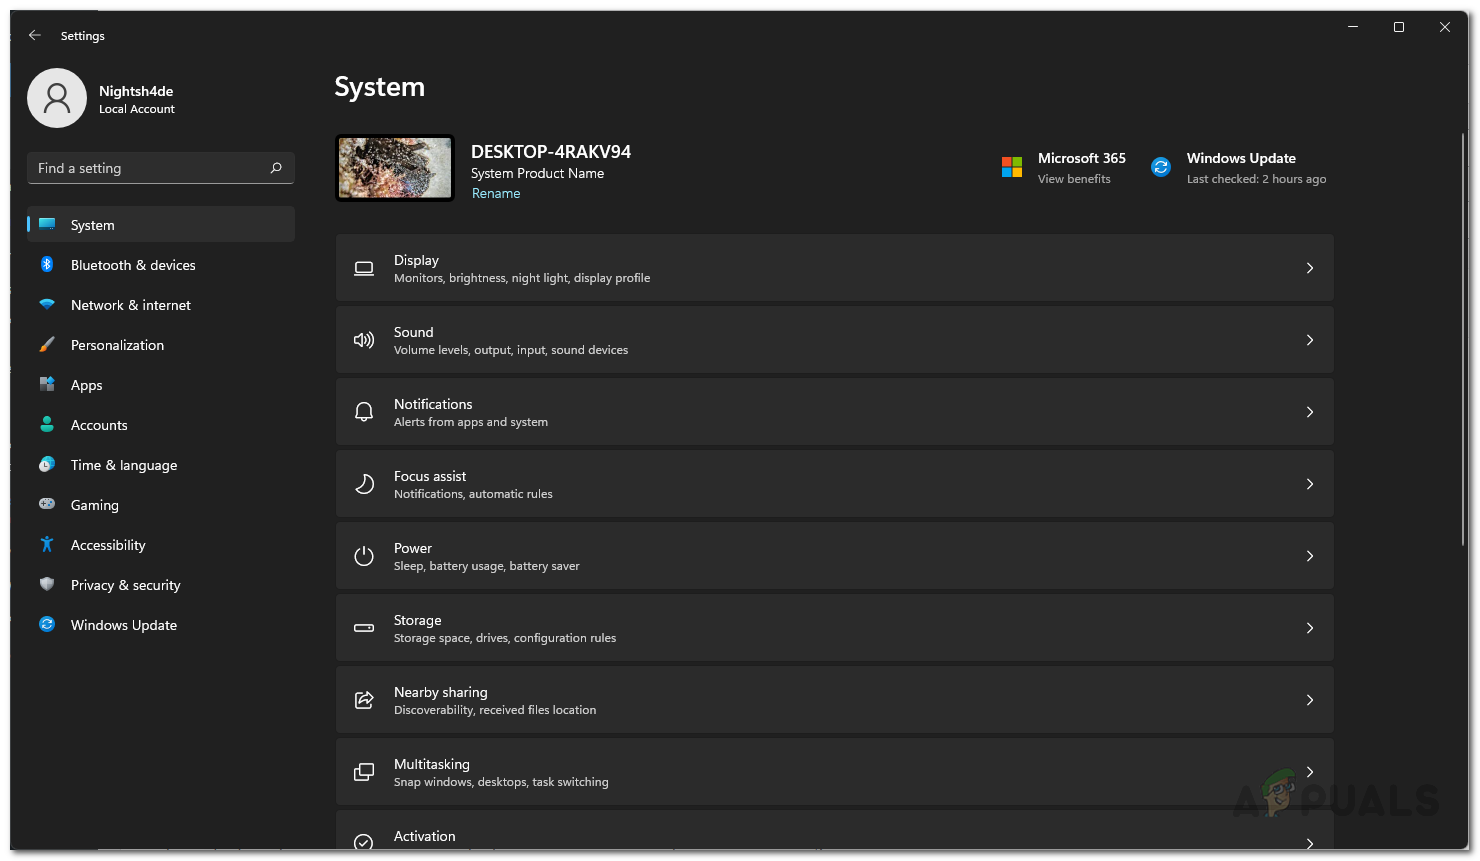
Windows Settings - On the System tab of the Settings window, scroll down a little and then click on Nearby Sharing.
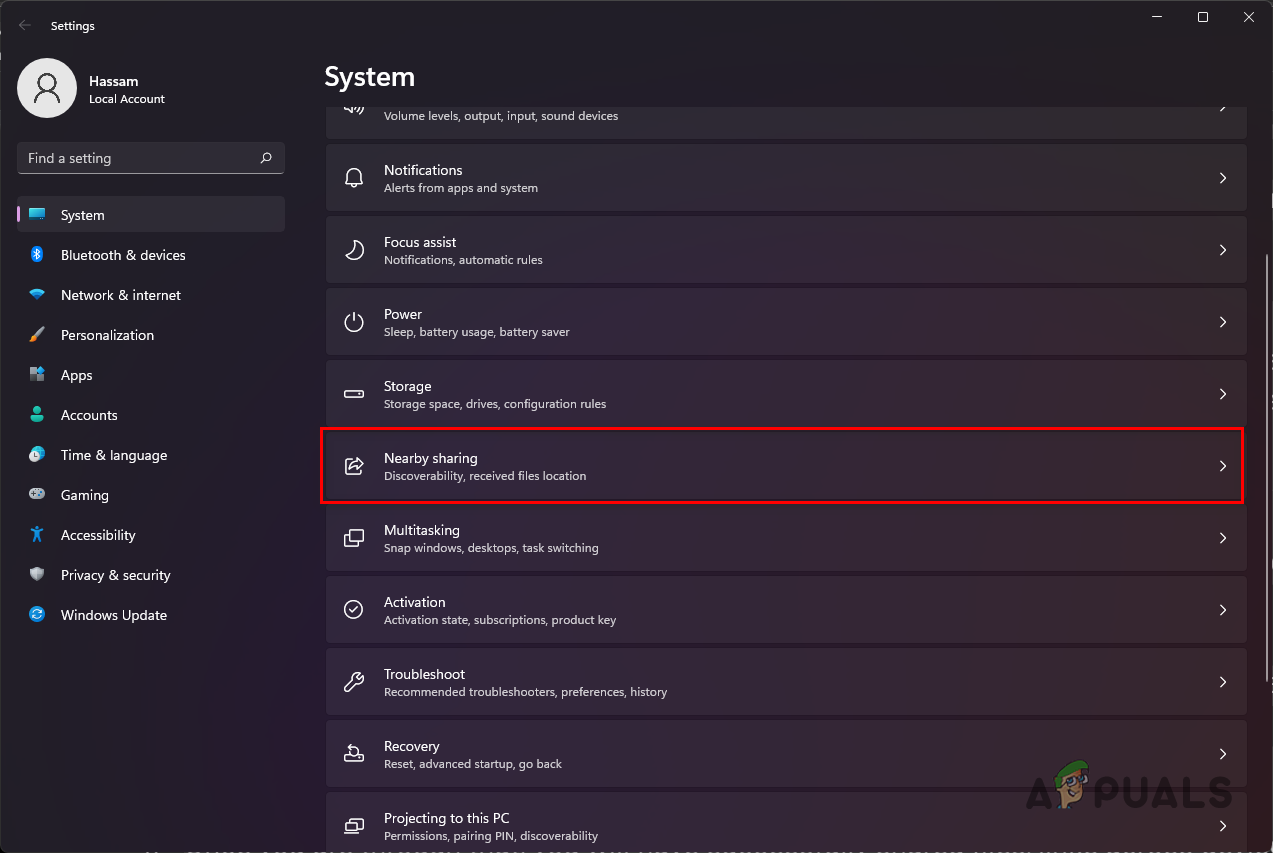
Navigating to Nearby Sharing in the Settings Menu - From the options provided under Nearby Sharing, choose Everyone nearby.
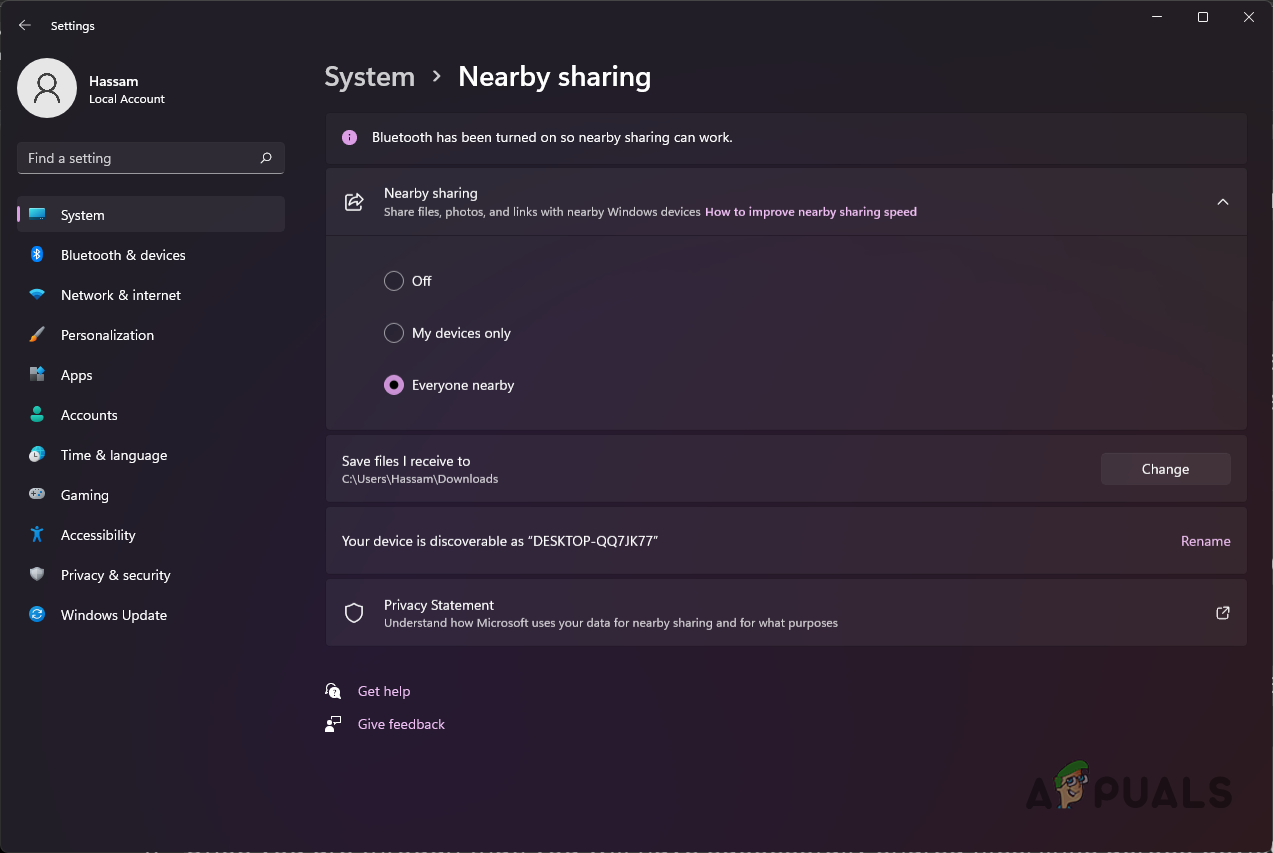
Enabling Nearby Sharing - With that done, you have enabled nearby sharing.
- It is important to note that the files that you share using Nearby Sharing are stored in the Downloads folder by default. You can change that by clicking the Change button provided.
Use Nearby Sharing to Share Files
As it turns out, enabling Nearby Sharing functionality is only one side of the coin and you need to actually know how to share files across devices using this feature. Do not worry as we are going to show just that now. Follow the instructions down below to get started:
- First of all, open up the File Explorer window.

Opening up File Explorer - Then, in the File Explorer window, navigate to the file that you wish to share and then right click on it.
- From the drop down menu, choose Show more options.
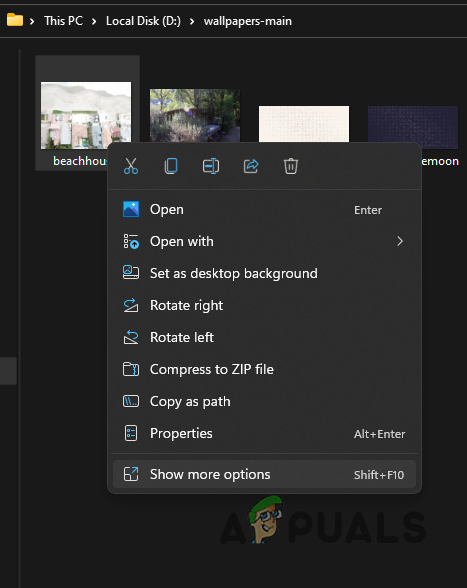
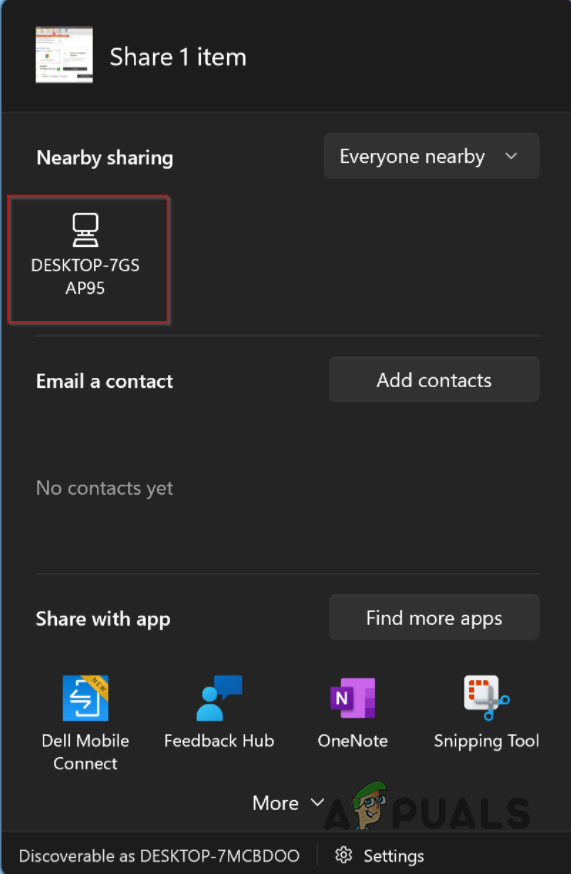
Right Click Context Menu - After that, on the next menu, click the Share option provided.
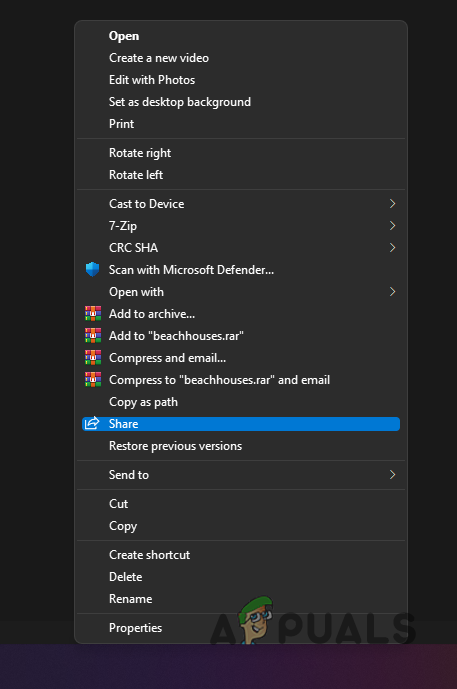
Choosing the Share Option - On the pop up that appears, if you do not see your other Windows device, make sure that you have enabled Nearby Sharing on it as well.
- In case of multiple devices, choose the name of the device that you wish to share the file with.
- Once you have done that, a Sharing to “PC NAME” notification should show up on your computer.
- Now, you will have to accept the sharing request on your other device before the transfer starts.
Sharing Website Links with Other Windows Devices
Like we have mentioned earlier, one of the cool things that Nearby Sharing allows you to do is share website links with other Windows devices in addition to the normal file sharing. This is something pretty neat because this wasn’t possible before with other sharing options. While you are able to share website links, you can only do so from Microsoft Edge only so it really isn’t available on other web browsers that you may use. However, other browsers like the Mozilla Firefox allows you to share links with other devices too where you have installed Firefox. To share website links with other devices from Microsoft Edge, follow the instructions given down below:
- First of all, open up Microsoft Edge and go to the web page that you wish to share.
- At the top right corner, click on the three dot menu and from the drop down menu that appears, click the Share option.
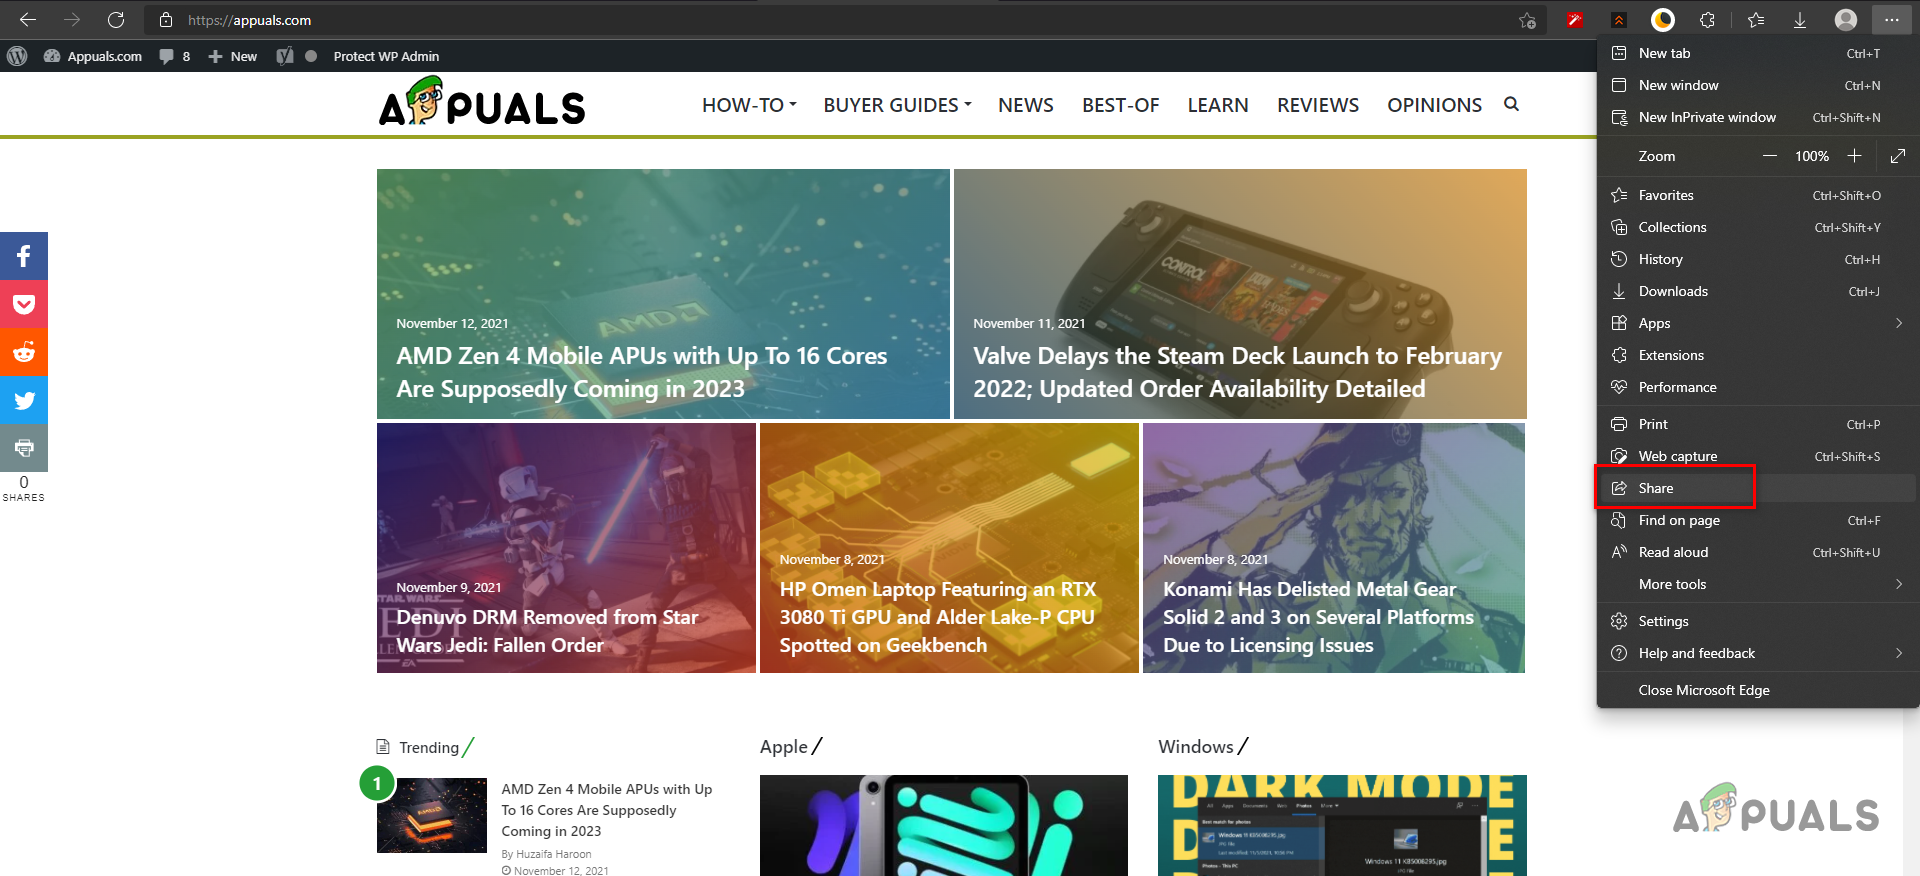
Choosing the Share Option to Send Web Page - The same pop up will appear when you are sharing files. Choose the device that you wish to share it with and then you will have to accept it on the recipient’s PC as well.
- Once you are through that, you will have successfully shared files/links across devices using Nearby Sharing.


