How to Enable Camera2 API on Android? (ROOT & NO ROOT)
On Android, app developers can use Google’s Camera2 API to interact with the device’s camera hardware. It is an important prerequisite for third-party camera apps, such as GCam. However, because of the control it provides to the app using the API, most manufacturers tend to keep Camera2 disabled by default.
Table of Contents
Why Do You Need Camera2 API?
In a nutshell, the Camera2 API provides apps with the tools they need to use or control a phone’s camera hardware. While the specifics of how it works are beyond the scope of this guide, it’s important to know that most third-party camera apps rely on it. This is because, unlike other services, a camera app itself needs direct access to leverage the full capabilities of the available hardware.

For instance, the default WhatsApp camera has options to capture photos or videos, enable flash, and switch between front and rear cameras. In contrast, there are full-fledged camera apps such as GCam, where you need features like capturing RAW images, adjusting white balance, shutter speed, ISO, manual focus, etc. The latter is exactly what the Camera2 API is used for.
↪ Check if Camera2 API is Enabled on Your Device
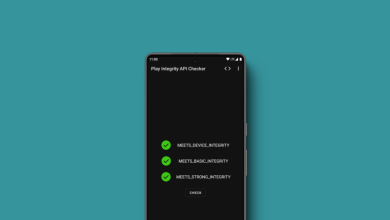
Start by checking if the Camera2 API is enabled on your phone. You can either choose to scour online forums to check compatibility or use a third-party application that checks for you. If you prefer the latter, download the “Camera2 API Probe” from the Google Play Store.
The app will give you complete details on your phone’s Camera2 compatibility. You may see certain terms under the “Hardware Support Level.” Here’s what they mean:
- LIMITED: Camera ports may not function as intended, and you will probably encounter potential bugs and glitches down the line.
- LEGACY: Basic camera functions will continue to work, but advanced controls will be limited.
- FULL or LEVEL_3: Your phone has the Camera2 API enabled and is fully compatible with third-party camera ports.
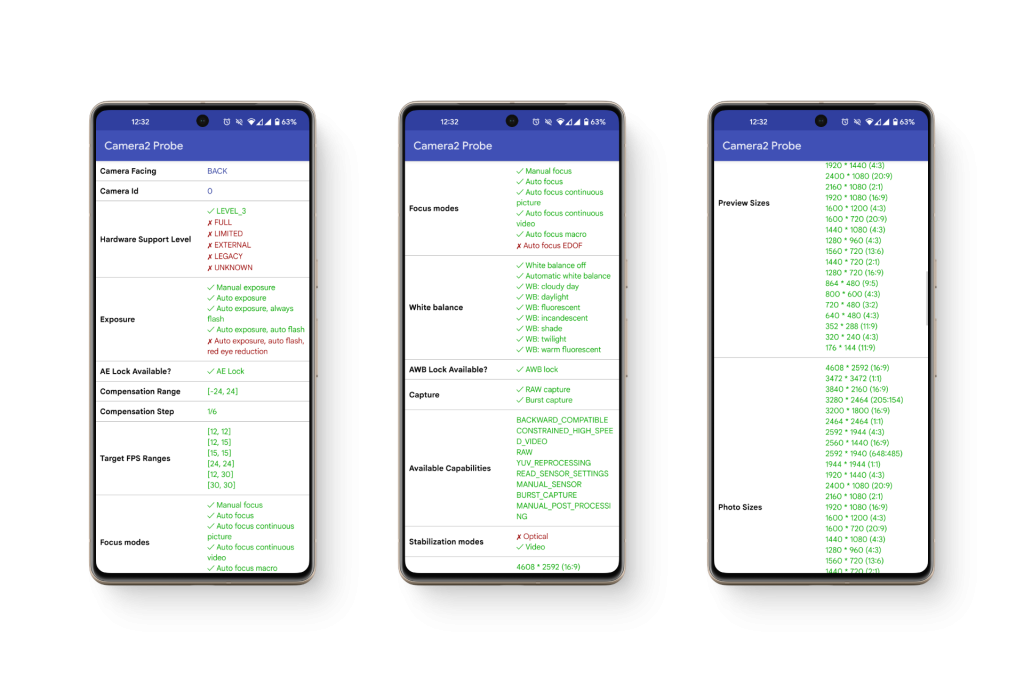
Camera2 API Probe will give you complete information on what features are supported and where the boundaries are drawn. It will isolate the rear and front cameras and provide complete details on supported video FPS, focus modes, exposure settings, stabilization modes, and preview sizes.
How to Enable Camera2 API on Your Android Phone?
This section will detail some of the different ways to enable the Camera2 API on your device. However, be cautious that each of the processes requires some kind of change to the system files. If you simply need a third-party camera app, try GCam Go — it has all the basic camera features and doesn’t require a phone to have Camera2 enabled with full support.
1) Camera2API Magisk Module (Root)
With Magisk’s modular approach, simply flashing the fix would be enough to bypass the Camera2 limitations, although it does require your phone to be rooted.
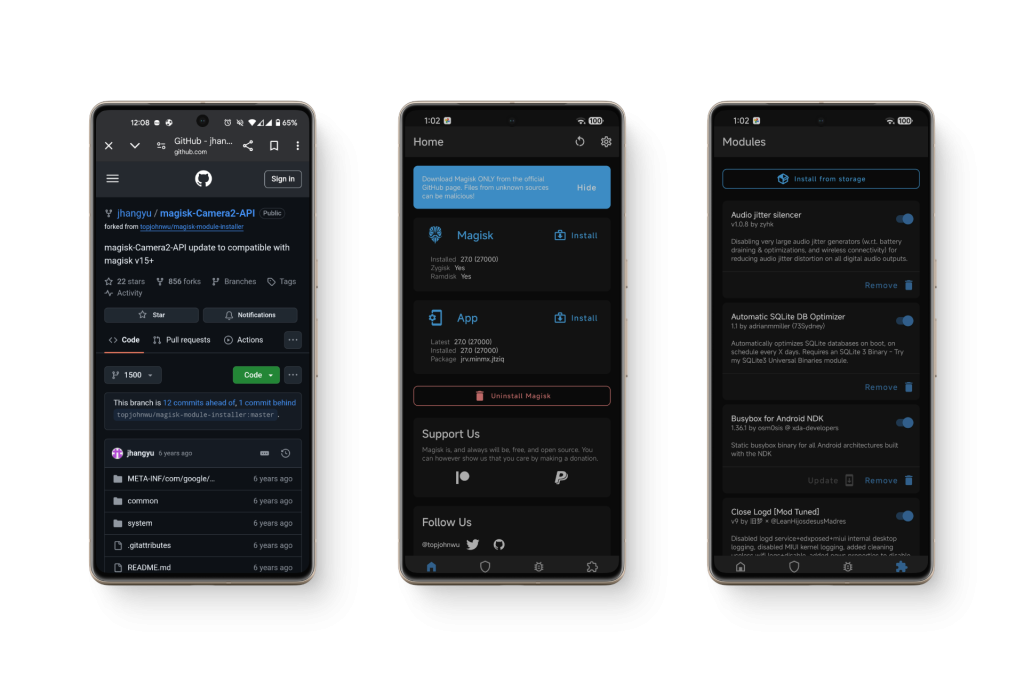
- Download the Camera2API module from jhangyu’s GitHub repository.
- Flash the module
- To do this, open Magisk > Modules (bottom-right corner) > Install from storage > select the downloaded .zip file.
- Restart your device.
2) Terminal Emulator (Root)
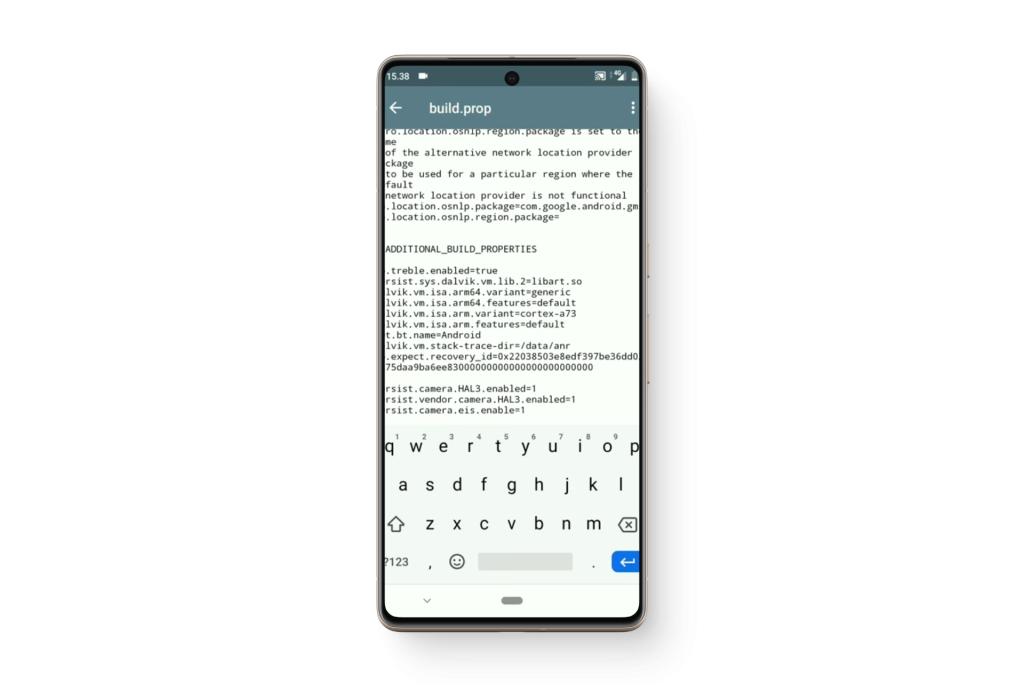
Users using a different root tool, such as KernelSU, can use the Terminal Emulator app to modify the build.prop files and enable the API.
- Download Terminal Emulator on your device.
- You can find the .APK file for this app on online forums and websites.
- Grant the app root access by typing in:
su - Once done, type in both commands below:
setprop persist.camera.HAL3.enabled 1setprop vendor.persist.camera.HAL3.enabled 1
- Press Enter, and reboot your device.
3) TWRP (Non-Rooted, Unlocked Bootloader)
Users who aren’t on rooted devices can use TWRP to push both commands listed above into the build.prop file. It is advised that you back up all of your data beforehand and proceed with caution since tinkering with the wrong files can certainly hard-brick your device.
- Set up ADB on your PC.
- If you’re setting up ADB for the first time, it is highly recommended that you follow along with our detailed guide on the subject.
- Download the TWRP recovery file for your device, and rename the file to twrp.img.
- Connect your phone to your PC via a USB cable.
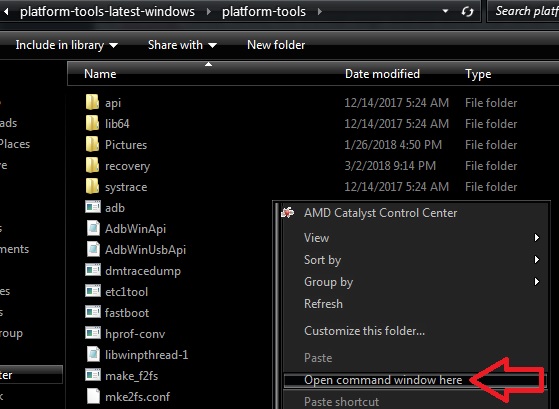
- Open TWRP by typing the following commands into the Platform Tools’ Command Prompt.
adb devicesadb reboot bootloaderfastboot boot twrp.img
- Once your phone has booted into TWRP, swipe the bar that reads “Swipe to Allow Modifications.”
- On Command Prompt, type in the following commands to enable the Camera2 API via ADB Shell.
adb devicesadb shellsetprop persist.camera.HAL3.enabled 1exitadb reboot
Once you’ve followed through with either one of the steps above, check your Camera2 API status again and use Google Camera, or other ports with ease. Keep in mind though that resetting your device may prompt you to follow this procedure again.