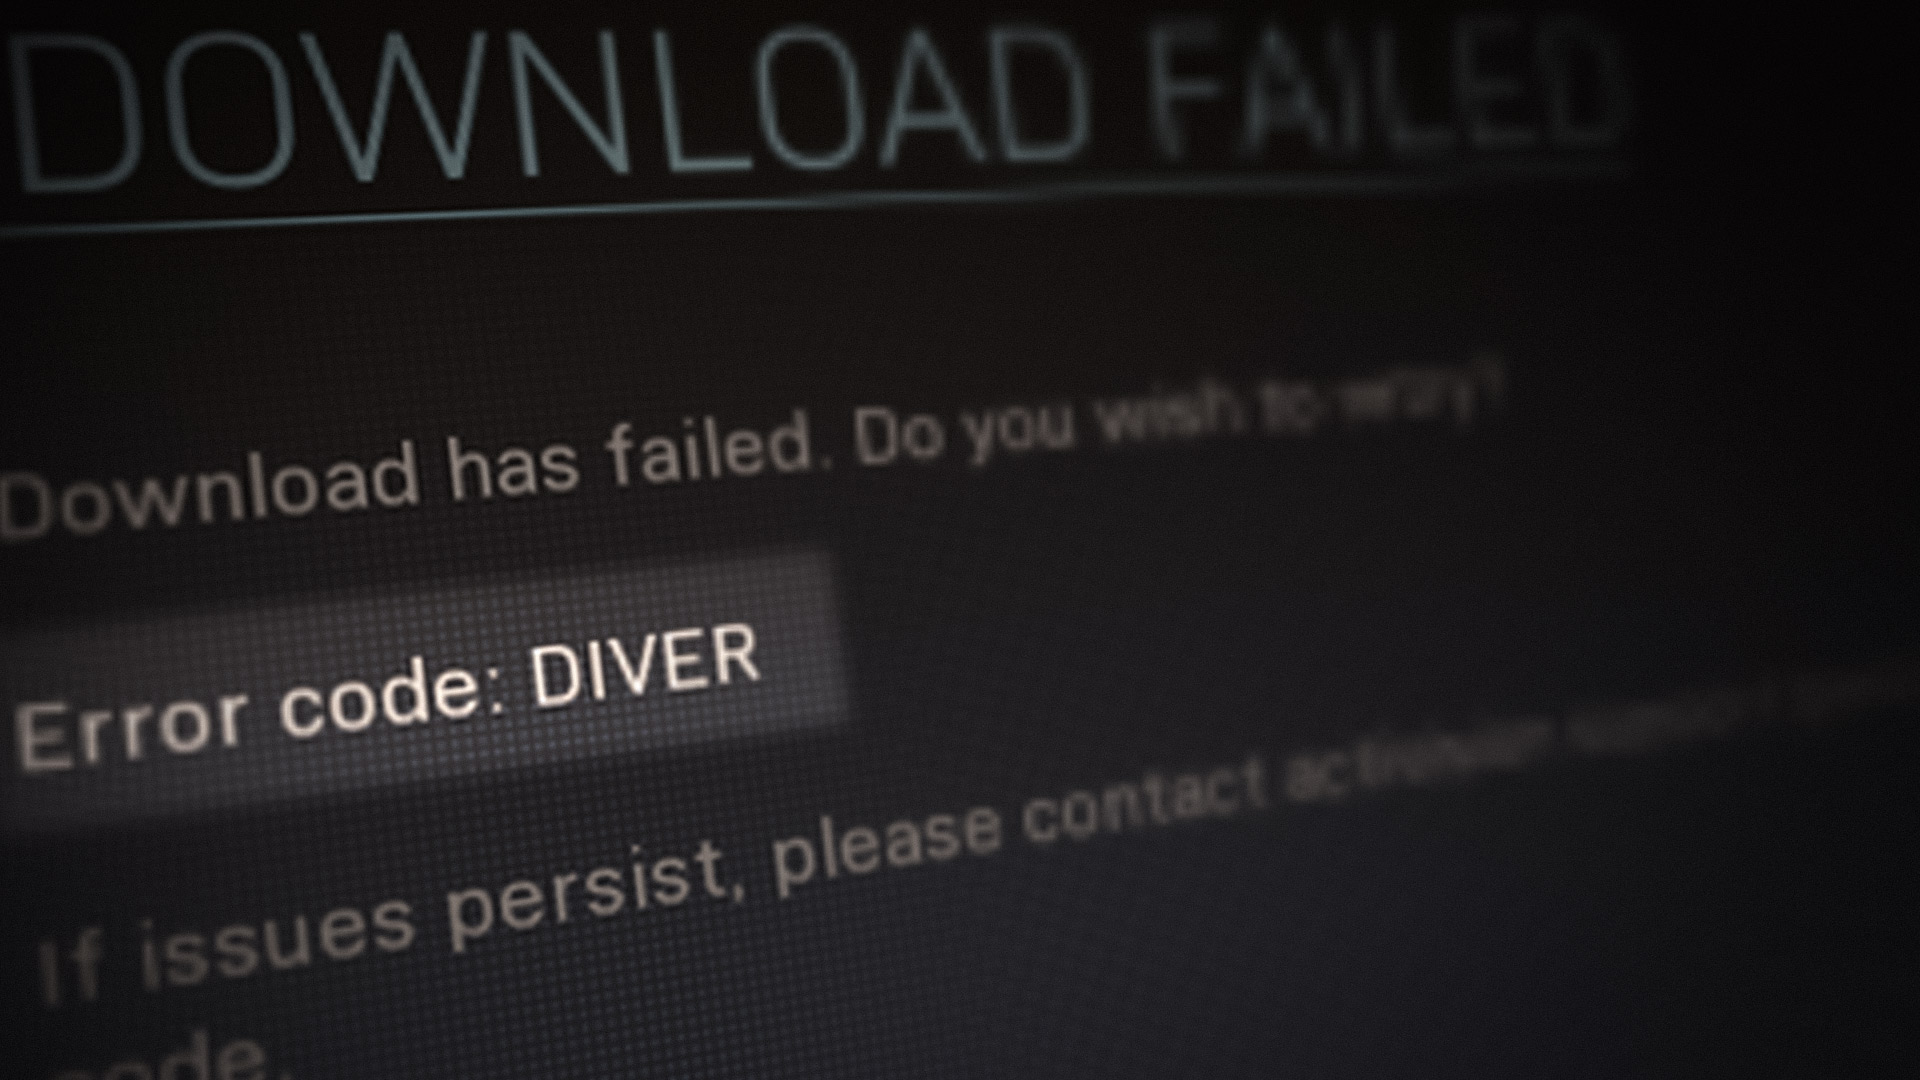
How to Fix Error Code: DIVER in Call of Duty: MW2
The DIVER error occurs when Modern Warfare 2 fails to download your user data with the “Download Failed” error message. This can usually happen due to an internet connection inconsistency or, in some rare cases, the graphics drivers installed on your computer.
Fixing the error code DIVER is quite simple as you can usually get away with using a different internet connection to establish a successful link between your computer and the game’s servers, among other things. We have compiled a list of various solutions you can implement to get rid of the issue, so follow through.
1. Change Network Connection
The first thing you should do when starting to troubleshoot the error message is to use a different internet connection. The error code appears due to a minor inconsistency that prevents your connection from being established. This can, sometimes, be due to your internet connection, in which case you can resolve the issue by simply using a different network connection.
Therefore, we recommend connecting to your mobile data if you have a WiFi card to launch the game. Doing so should allow your computer to establish a connection successfully with Modern Warfare 2’s data centers which will resolve the issue.
If you do not have a WiFi adapter, you can try using a VPN connection on your system to see if that works out. In some scenarios, the problem can be caused by your IP address or the connection route. In such a scenario, using a VPN should help resolve the issue.
Alternatively, you can also try restarting your router if you do not wish to use a third-party VPN on your computer.
If the problem persists after changing your network connection, move to the following method below.
2. Turn off Windows Firewall Temporarily
Windows Defender Firewall is a vital component of the Windows operating system as it manages all incoming and outgoing connections from your computer. In some scenarios, the Windows Firewall can block specific connections on your computer, which can lead to various issues. This might prevent Call of Duty Modern Warfare 2 from establishing a link which is why you encounter the error code DIVER.
Therefore, you can resolve the issue by turning Windows Defender Firewall off. If the problem goes away after disabling the Windows Firewall, you can whitelist the game in your firewall settings so that its requests are allowed. Follow the instructions down below to disable Windows Defender Firewall:
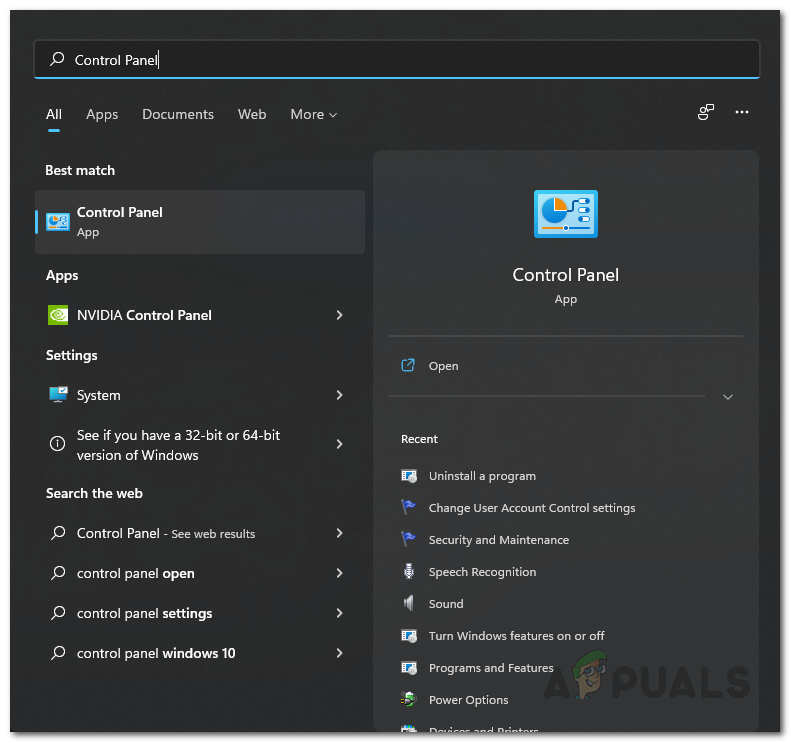
- First, open the Start Menu and search for the Control Panel. Open it up.
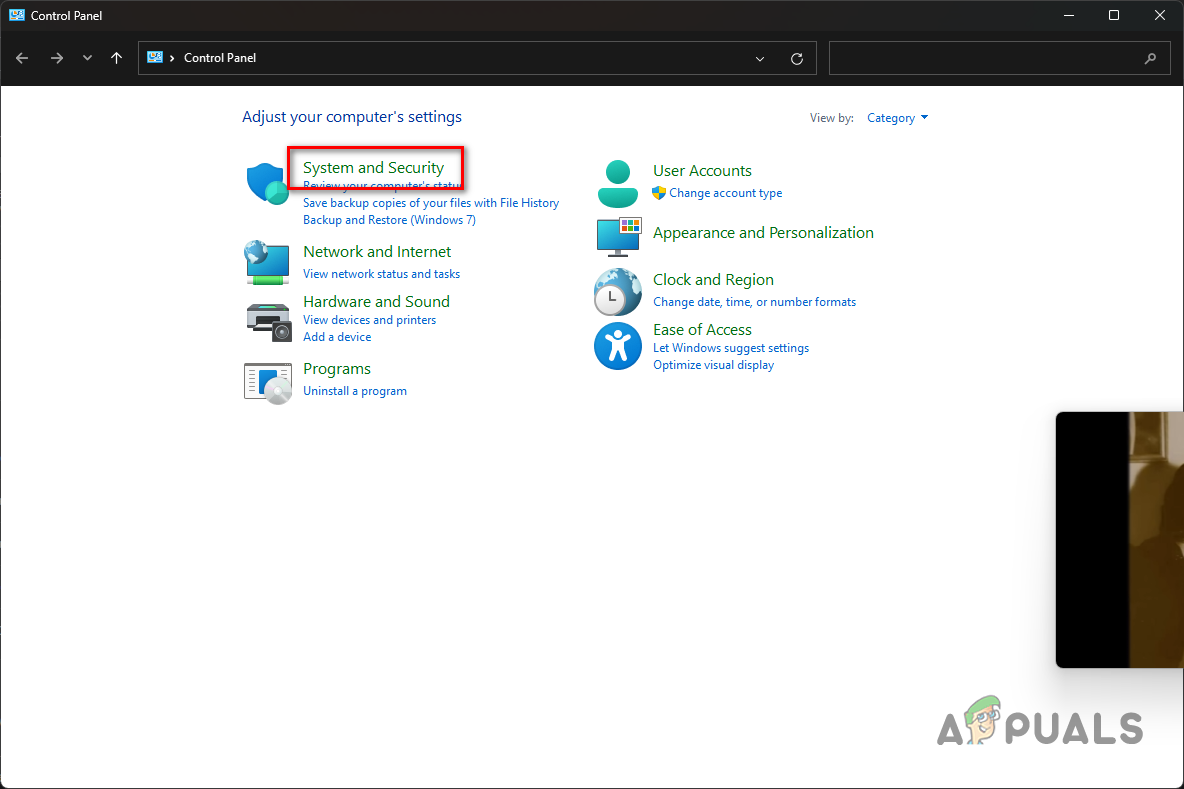
Opening Control Panel - On the Control Panel window, go to System and Security.
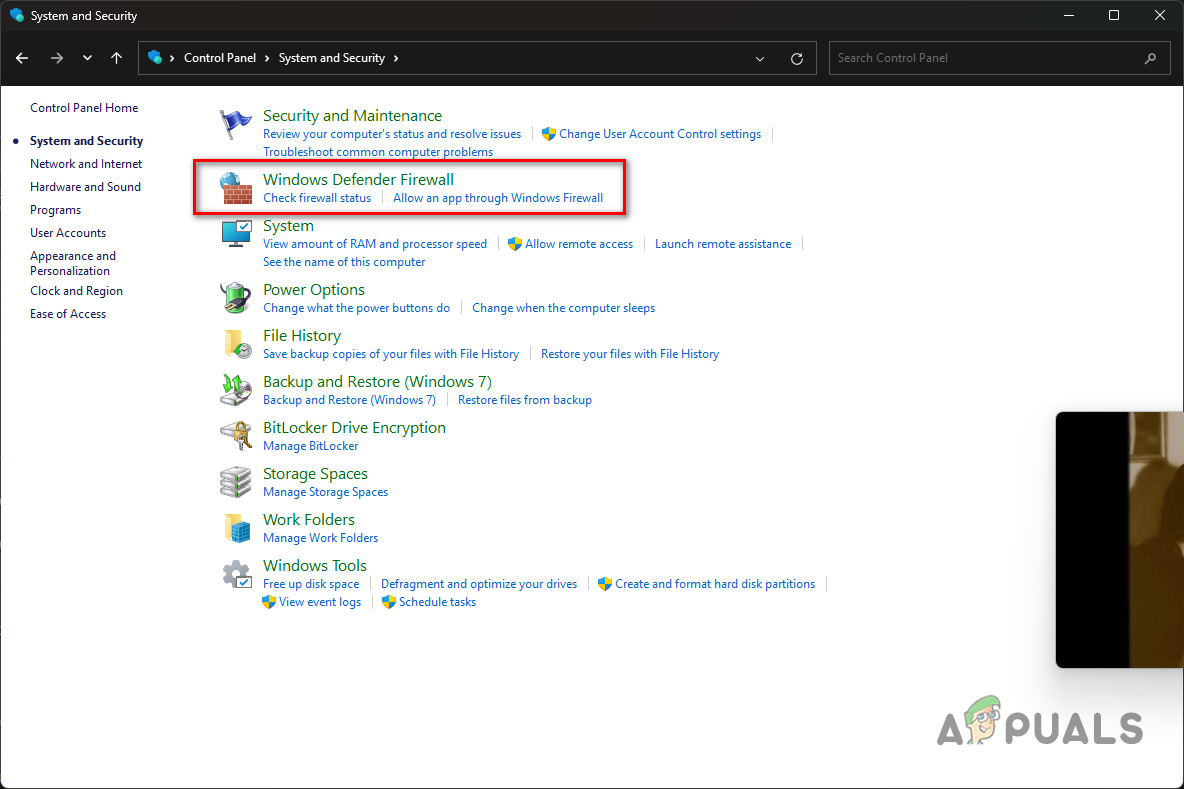
Navigating to System and Security - There, click on the Windows Defender Firewall option.
Navigating to Windows Firewall Settings - Afterward, click on the Turn Windows Defender Firewall on or off option on the left-hand side.
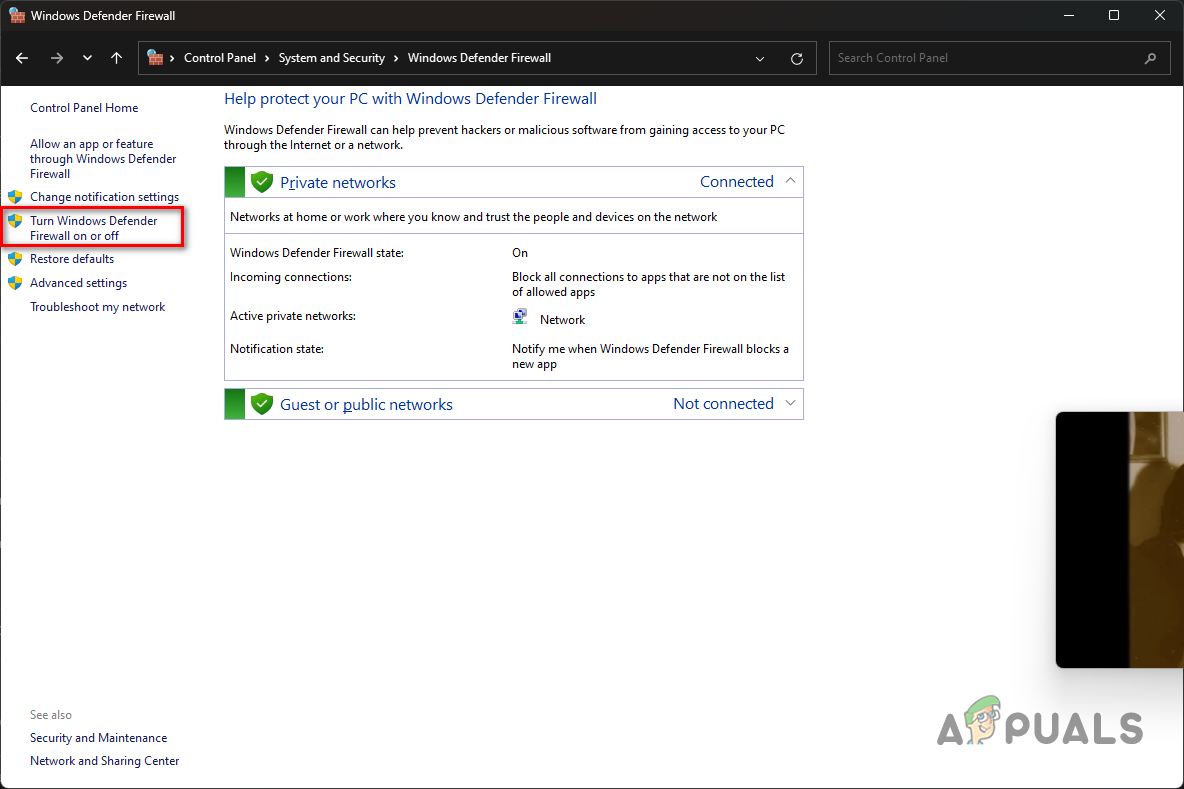
Navigating to Turn off Windows Firewall - Select the Turn off Windows Defender Firewall option for both Private and Public network settings.
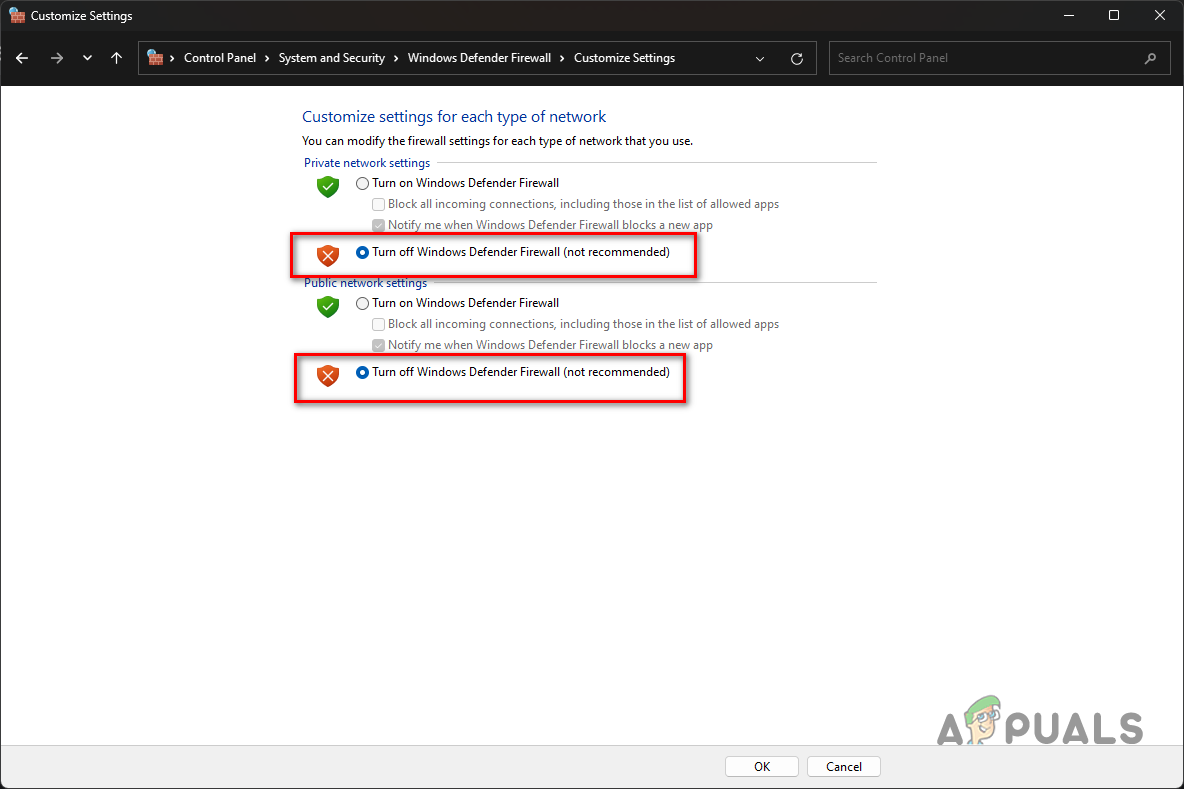
Disabling Windows Firewall - Finally, click OK. Restart the game to see if the issue disappears.
If the problem goes away after disabling the Windows Defender Firewall, you can whitelist the game to prevent the Windows Firewall from blocking its requests. Follow the instructions below to do this:
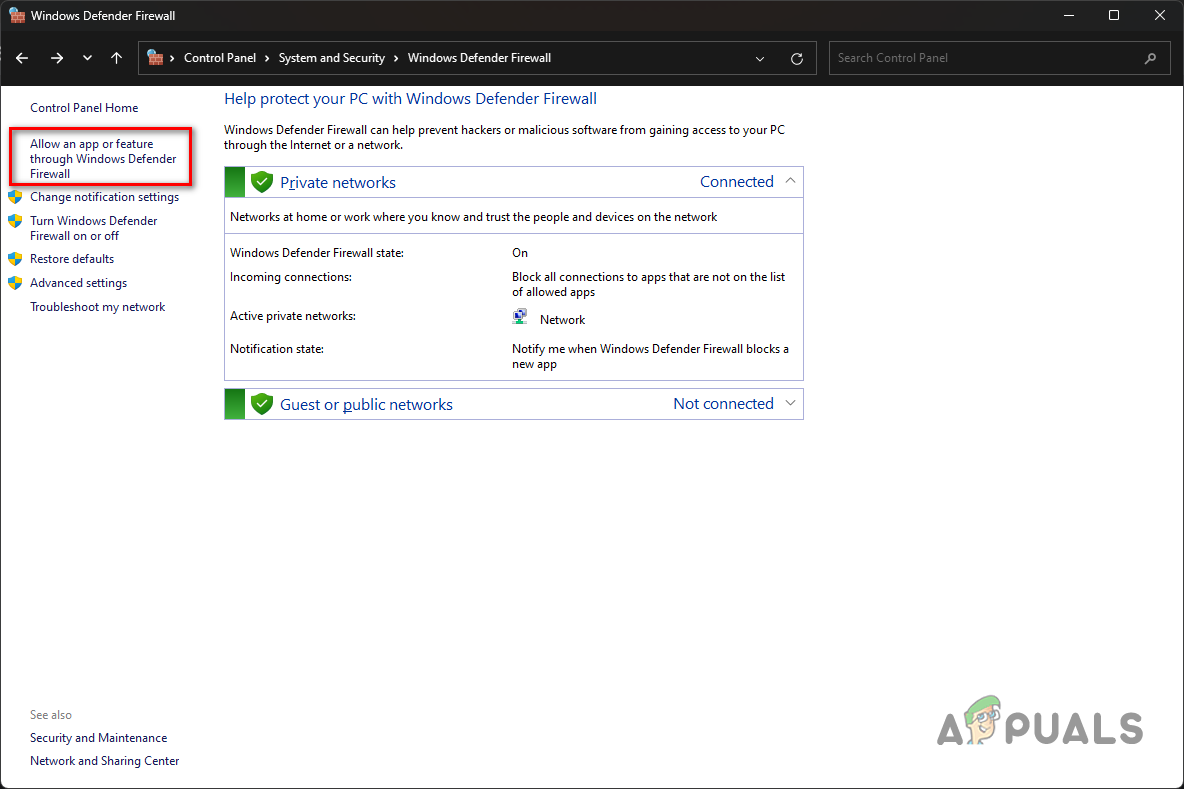
- On the Windows Defender Firewall screen, click on the Allow an app or feature through Windows Defender Firewall option on the left-hand side.
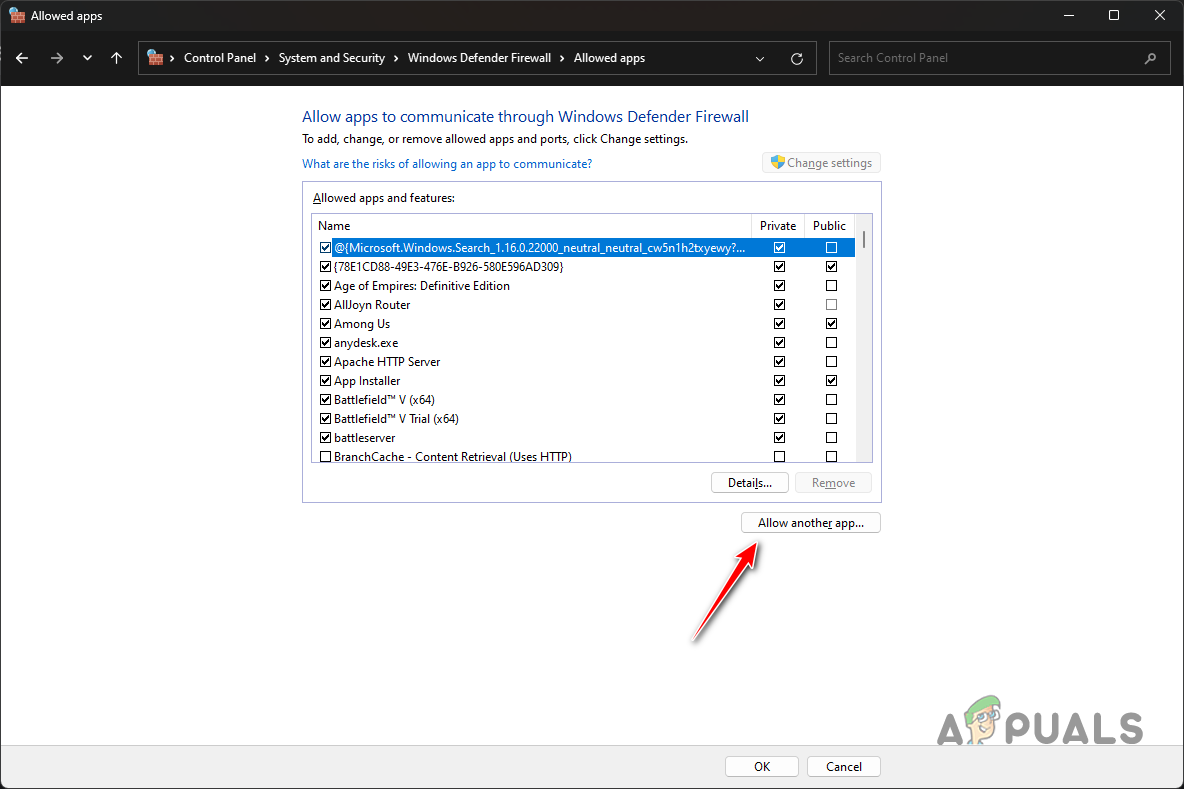
Navigating to Firewall Whitelisted Apps - There, click on the Allow another app button.
Allowing Another App Through Firewall - On the follow-up window, click the Browse button and navigate to the installation directory of Modern Warfare 2.
- Select the cod_hq.exe file and click OK.
- Afterward, click the Network types button and tick both the Private and Public checkboxes.
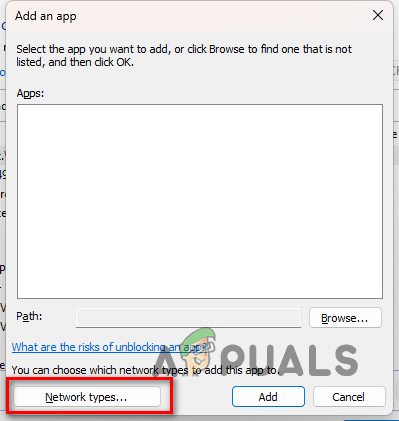
Opening Network Types - Finally, click the Add button to add the game to the whitelist. Do the same procedure for the other executable files in the installation directory.
- Once you do that, click OK and double-check if the issue is still gone.
3. Disable Third-Party VPN
If you are using a VPN client on your computer, that can also cause the error code. This can happen when the VPN client inhibits your internet connection which can prevent the game from establishing a connection successfully.
If this applies to you, you can fix the DIVER error by disabling your third-party VPN. If you have added a VPN connection to your Windows internet settings, you will need to remove the VPN connection. Follow the instructions below to do this:
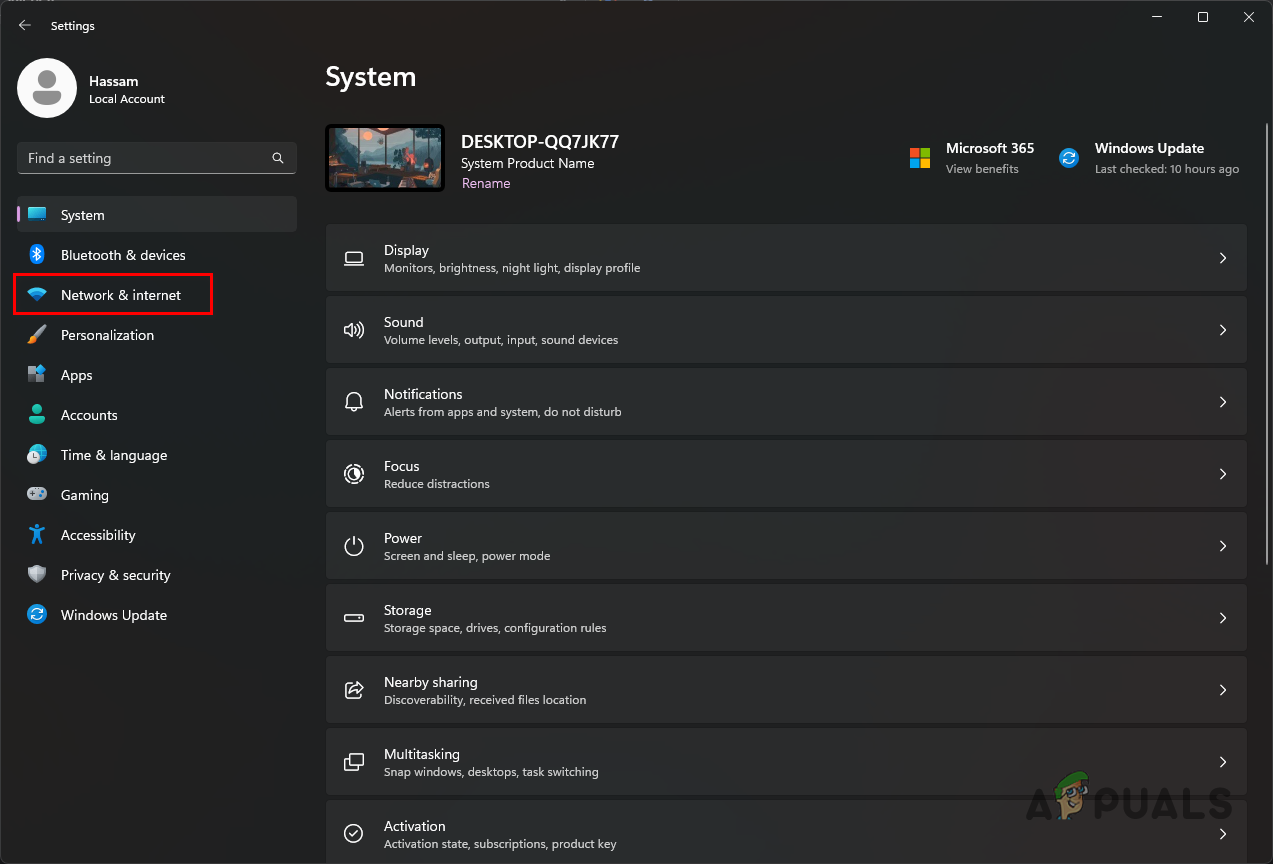
- Start by pressing the Windows key + I on your keyboard to open the Settings app.
- On the Settings window, navigate to Network & Internet.
Navigating to Network and Internet Settings - Once you are there, click on the VPN option.
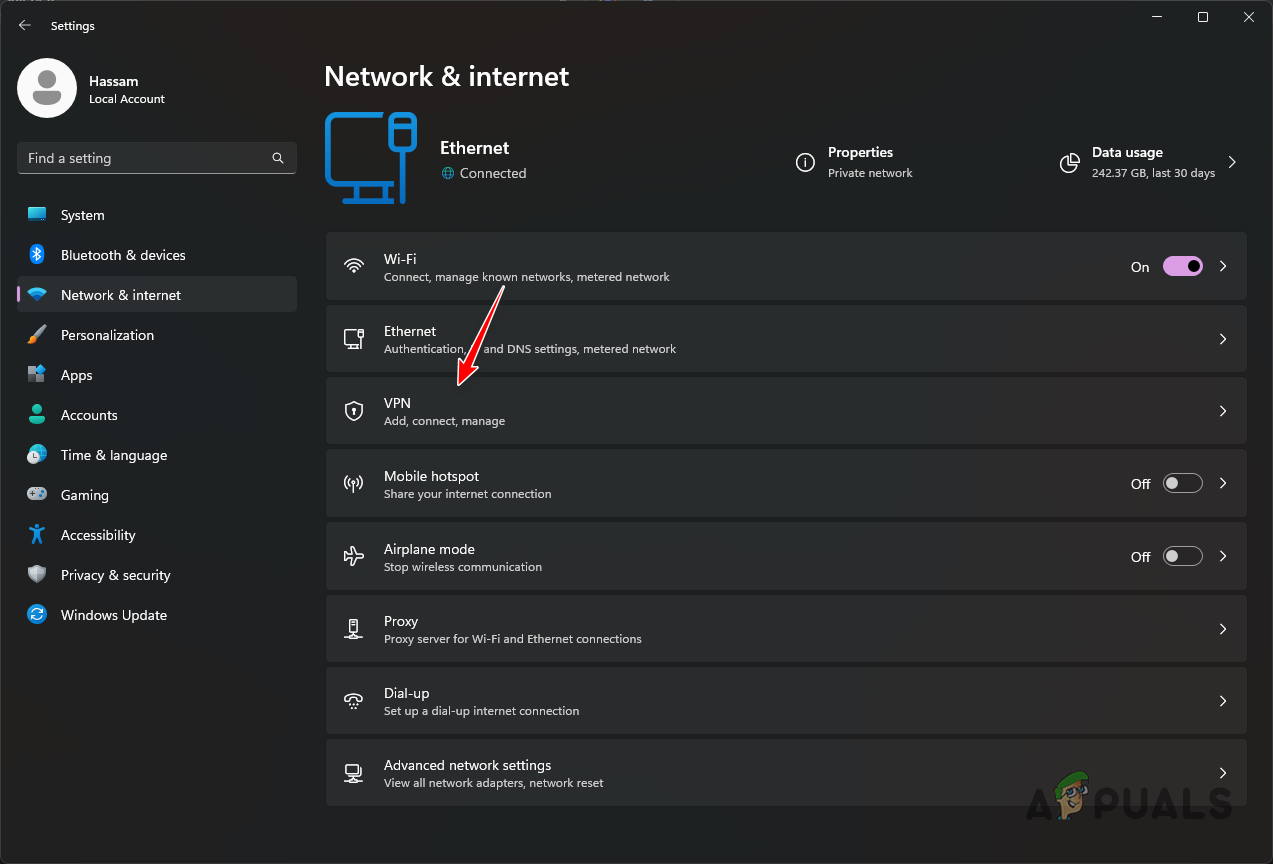
Navigating to VPN Settings - Afterward, click on the down arrow icon next to your VPN connection.
- Finally, click the Remove button that appears.
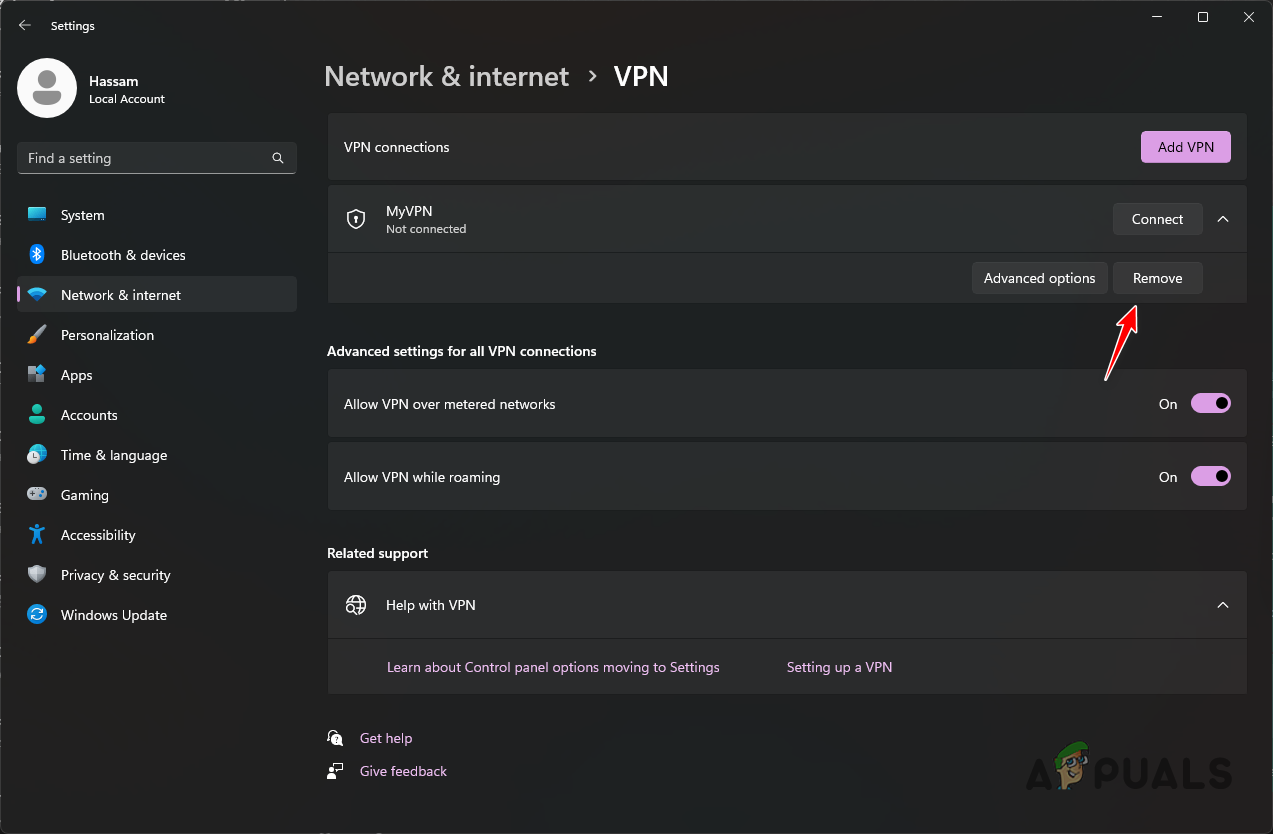
Removing VPN - Once you do that, restart the game and see if the error still occurs.
4. Change DNS Server
Domain Name Server (DNS) is a critical component of the internet as all your requests go through it. In some scenarios, the issue can be related to the DNS you are using; thus, changing your DNS can usually fix the problem.
If you are unaware, DNS stores the addresses of the domains you visit. The request is sent to a Domain Name Server, which is then resolved to the actual address of the domain name. Thus, in some scenarios, the request may not reach Modern Warfare 2’s servers due to your network’s DNS, in which case you can fix the error code by changing your DNS. Follow the instructions below to do this:
- First, open the Settings app by pressing the Windows key + I on your keyboard.
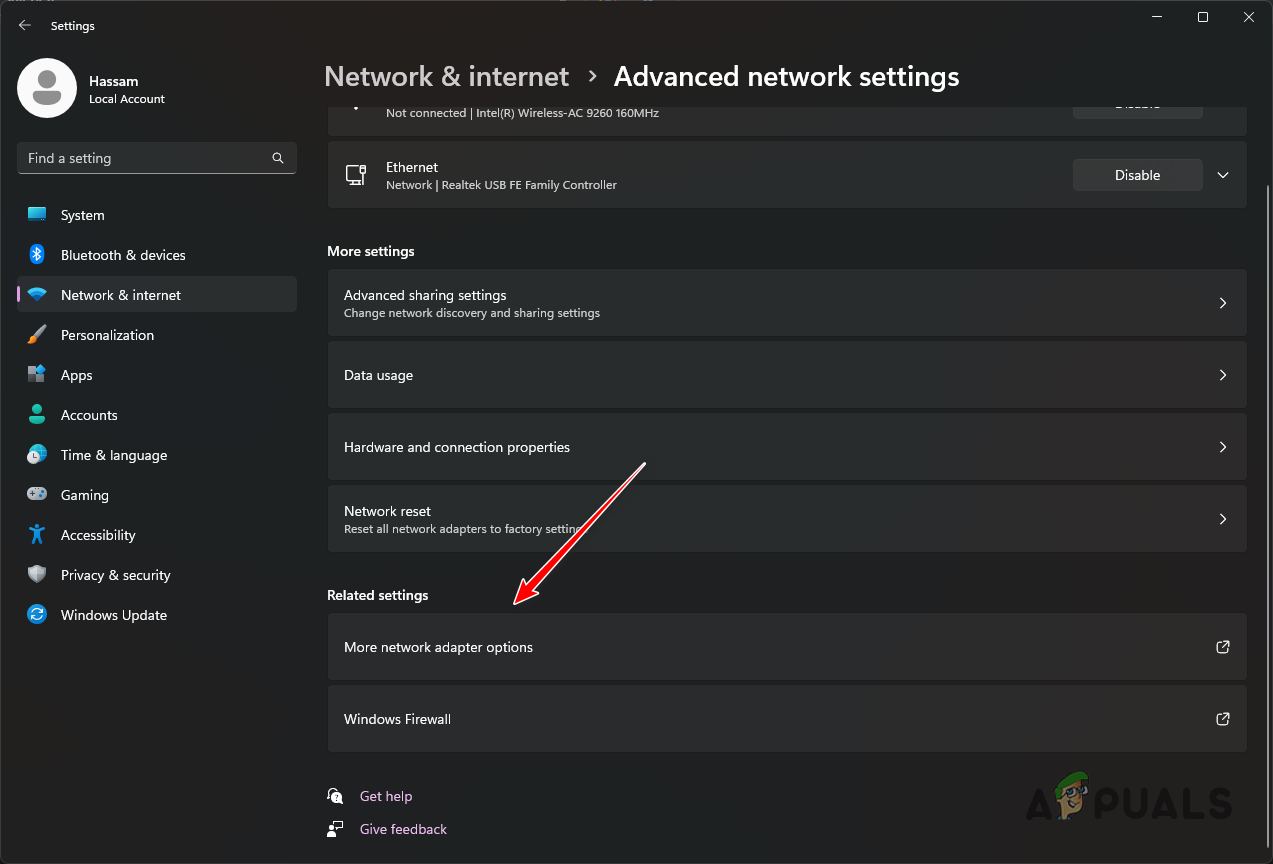
- On the Settings app, navigate to Network & Internet.
Navigating to Network and Internet Settings - There, click on the Advanced network settings option at the bottom.

Navigating to Advanced Network Settings - Once you are there, click on More network adapter options.
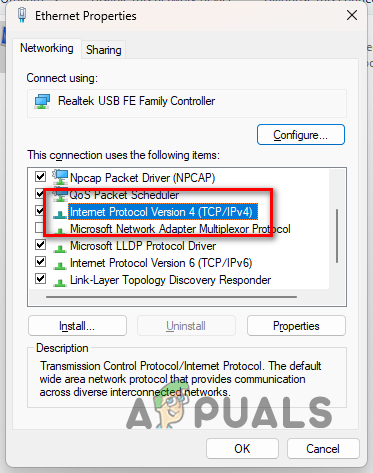
Navigating to Network Adapter Options - On the new window, right-click on your network adapter and choose Properties from the drop-down menu.
- Afterward, double-click on Internet Protocol Version 4 (TCP/IPv4).
Navigating to IPv4 Properties - Select the Use the following DNS servers addresses option and provide either Google or Cloudflare’s DNS addresses found below.
Google: 8.8.8.8 8.8.4.4
Cloudflare: 1.1.1.1 1.0.0.1
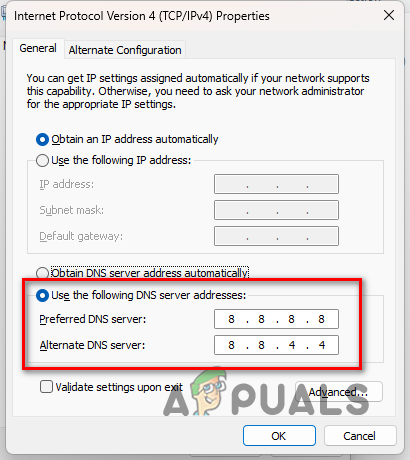
Changing DNS - With that done, click OK and restart your game to see if the error code still appears.
5. Update Graphics Drivers
Finally, if none of the methods above has resolved the problem for you, it is possible the issue may be occurring due to outdated graphics drivers installed on your computer.
Call of Duty Modern Warfare 2 is a new game; to play it, you will need the latest drivers available for your graphics card. We have found that using an older version of the graphics drivers than the ones recommended by Activision can result in the mentioned issue.
If this case applies to you, you can resolve the problem by simply updating your graphics drivers. To do this, you will have to uninstall your graphics drivers using a utility called Display Driver Uninstaller (DDU) and then download the latest drivers available for your graphics card from your manufacturer’s website. Follow the instructions below to do this:
- First, download the latest version of Display Driver Uninstaller from the official website here.
- Open the downloaded file and extract it to your desired location.
- Navigate to the folder and open the Display Driver Uninstaller.exe file.
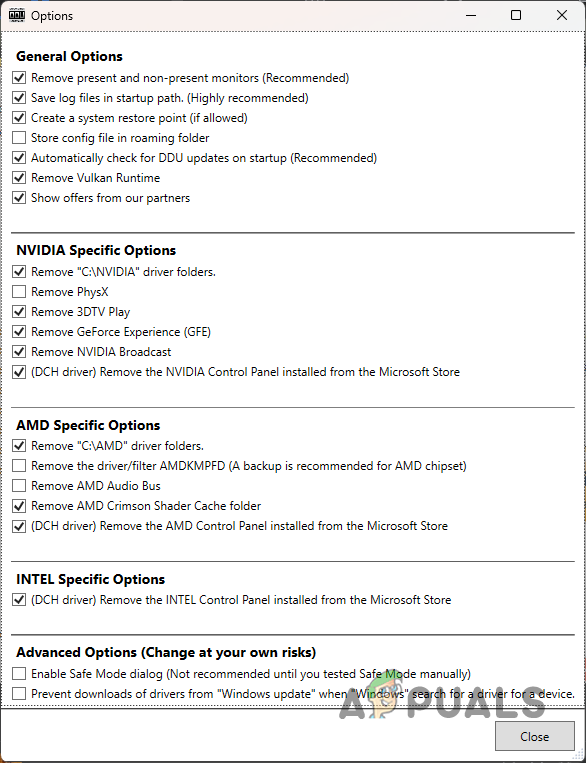
- Once DDU starts, you will be shown the General Options window. Click Close to continue.
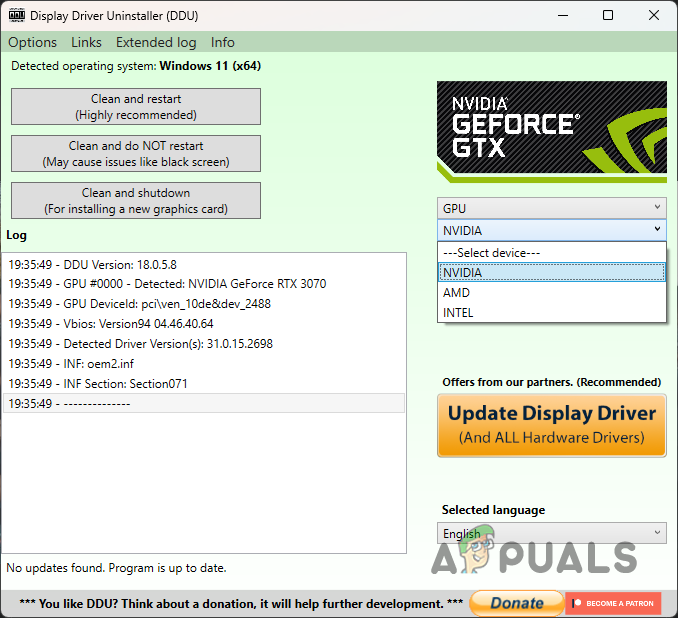
DDU General Options - Select GPU from the Select device type drop-down menu on the DDU window.

Selecting Device Type - Follow this up by selecting your card’s manufacturer from the Select device drop-down menu.
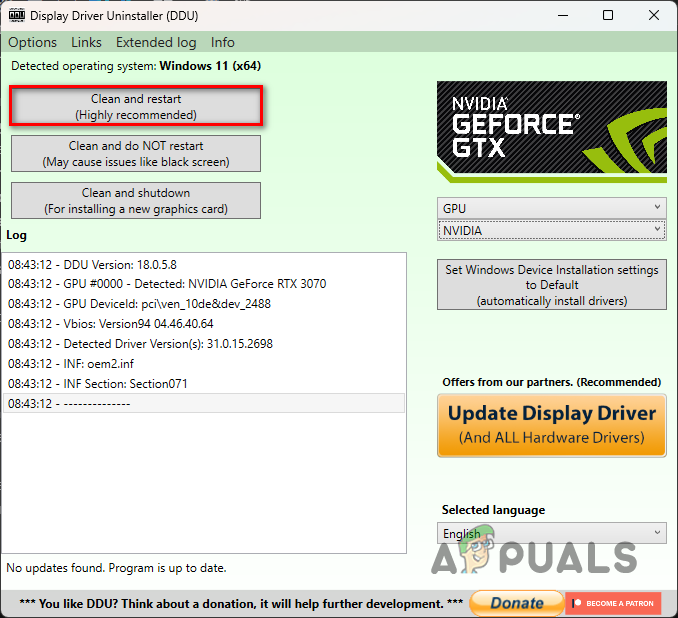
Selecting Graphics Card’s Manufacturer - Finally, click the Clean and restart option to uninstall your graphics drivers.
Uninstalling Graphics Drivers - With that done, head to your manufacturer’s website and download the latest drivers available for your graphics card.
- Install the new graphics drivers and then launch the game to see if the error code still occurs.


