How to Add and Use Custom Emotes in a Discord Server?
Emotes are a great way to increase the quality of your chat and they help us to express ourselves more clearly while communicating without a visual medium. Discord custom server emojis are also really useful if you are creating a theme server. Therefore, this tutorial has been dedicated to helping you create, customize, and upload your own custom emotes to your Discord server.
1. Make Discord Emojis
Making Discord Emotes isn’t that much of a deal, you just need to grab the image file that you want to use as an emoji and then make sure that it is using a common format that is accepted by Discord.
- Download your file and save it on your computer that is running Discord.

Downloading Emoji templates from the internet - Open the image in an image editing program and change its size to a smaller one. The Discord Emoji Size should Preferably be “250 by 250” and 72 pixels per inch density.
Note: This is necessary to retain the image quality when it is converted to emote by Discord. - Make sure that you have administrative privileges on the Discord server to which you want to upload.
2. Upload your Discord Custom Emotes
The next thing that you need to do is to make sure that you have enough administrative privileges on the server to upload discord custom emotes. Once you are done with that, you can follow through with the guide below.
- Launch Discord and log in with your credentials.
- Get into the server to which the emotes are to be uploaded.
- Click on the “Server Name” in the top left corner and select the “Server Settings” option.
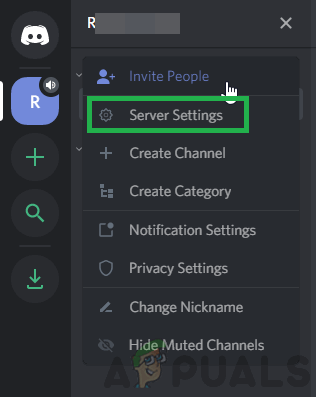
Clicking on the “Server Name” option and selecting “Server Settings”. - In the left tab, click on the “Emoji” option and select the “Upload Emoji” option.
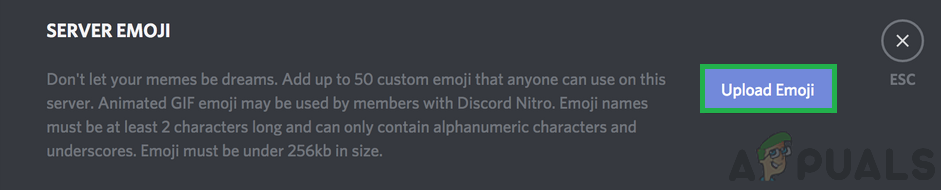
Clicking on the “Upload Emoji” option Note: You can only upload a maximum of 50 emojis per server and they can be used by all the people that join your server.
- Select the file that we previously configured and wait for it to be uploaded.
- Once uploaded, you can change the “Alias” of the emoji to your liking and click on an empty space to finish the process.
- You can always view who uploaded a particular emoji and keep track of them.
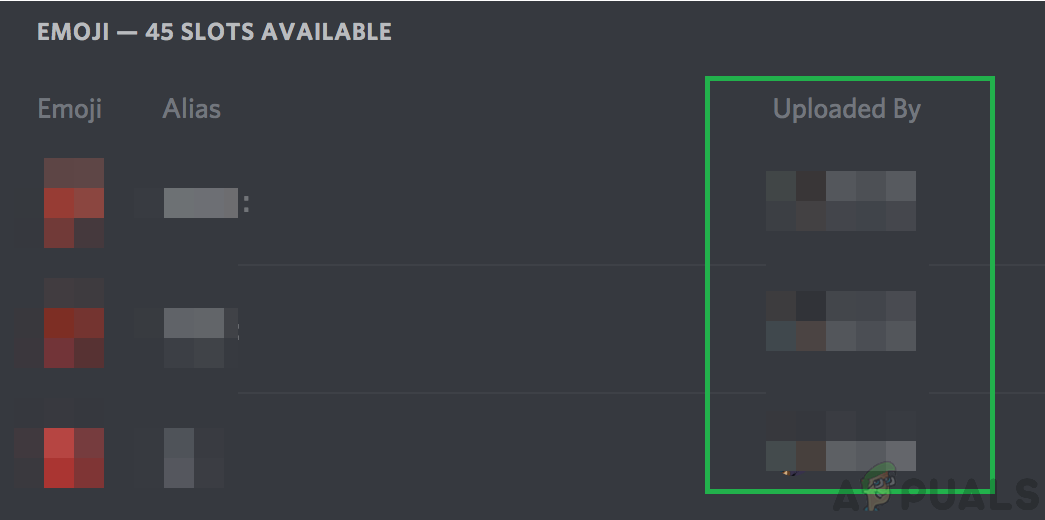
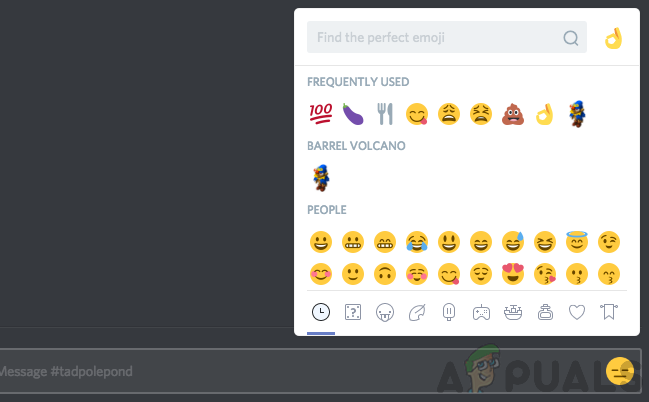
Checking the “Uploaded By” list to view the user who uploaded it. - In order to post the emoji, click on the little emoji icon on your “Typing Space” and you will be able to use the emoji.