How to Disable Rounded Corners in Windows 11?
With Windows 11, Microsoft has revamped the edge look and implemented rounded edges instead of the sharp ones that were one of its key components. The new operating system offers rounded corners on most of its prominent UI elements, menus, and buttons, like the context menus or flyouts.
However, rounded corners might not be for everyone. Despite the fact that Microsoft has been kind enough to let users customize several aspects of Windows 11, users are not able to disable rounded corners in Windows 11 itself at the time of writing this article. Fortunately, there are still a few methods that can help you get the sharp corners back and in this guide, we will walk you through them in detail.
Let’s get started!
Download a Program
Executable files (exe files) contain a sequence of instructions that a program executes when you click on the file icon. In this method, we will show you how you can disable rounded corners in Windows 11 by downloading a .exe file.
- Head over to this link and download the Win11DisableOrRestoreRoundedCorners.exe file.

Download the .exe file - Once the file is downloaded, open File Explorer.
- Right-click on the downloaded file and select Run as administrator from the context menu.
- In the next window, click on More info and then select Run anyway.
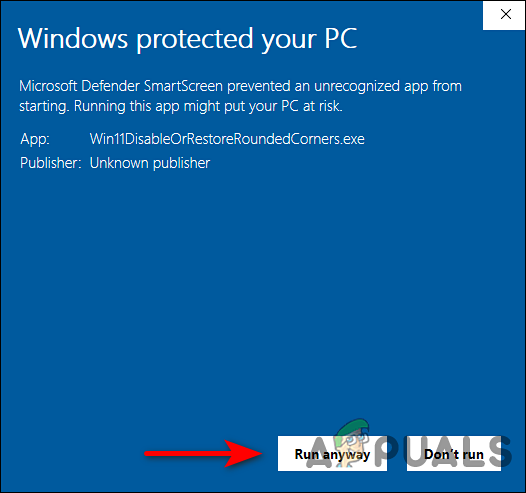
Click on the Run anyway button - Now wait for a couple of minutes and then head over to your Windows 11 desktop.
- Right-click anywhere on the screen and select Refresh. This should successfully disable the rounded corners in your operating system.
Turn Off Hardware Graphics Acceleration
Application acceleration is the process of offloading computing tasks to special components in order to enhance performance. As a result, the system is more efficient than when a general-purpose CPU is used.
You can disable the rounded corners by turning off the hardware graphics acceleration. However, you must keep in mind that this method will also disable certain other visual features like transparency.
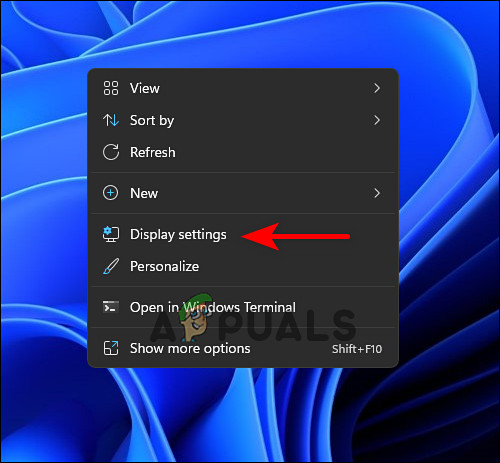
- Right-click anywhere on your desktop and select the Display settings option.
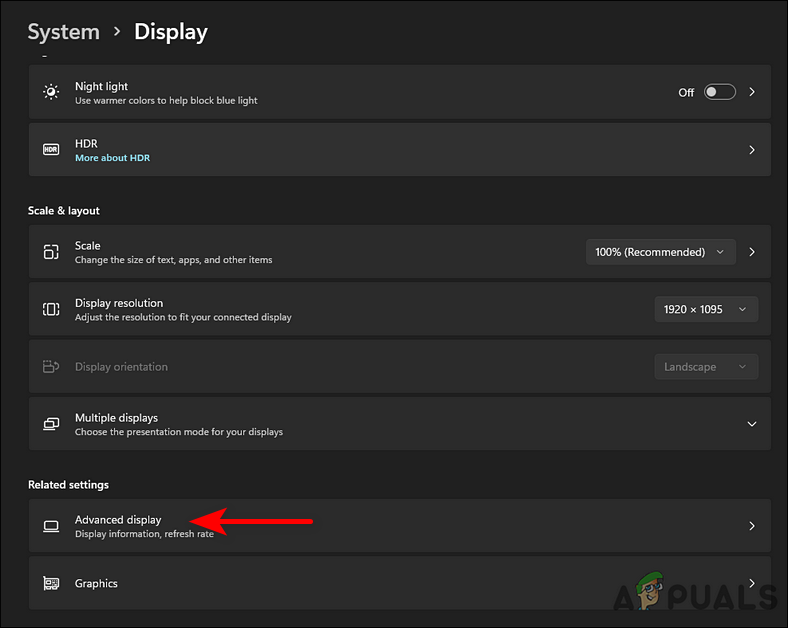
Launch Display settings - Scroll down your screen and click on Advanced display.
Access Advanced display settings - Now select your Display adapter and click on Display adapter properties link.
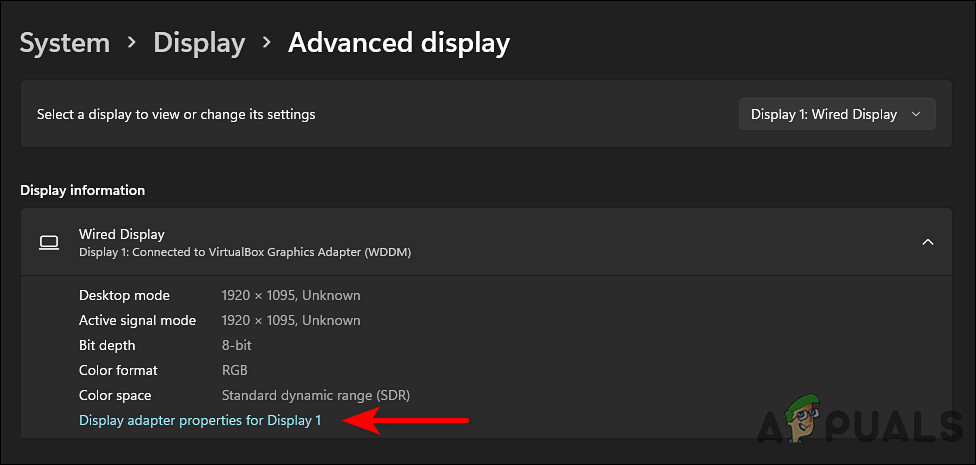
Open display adapter properties - This should open the Graphics Properties box. Open the Troubleshoot tab from there and click on the Change settings button.
- In the next window, move the pointer against hardware acceleration to the extreme left.
- Finally, hit OK and exit to successfully disable rounded corners.
Disable Graphics Hardware
Windows 11’s rounded corners can also be disabled by disabling the graphics hardware. However, disabling your graphics card will sluggish down the Windows user interface, and you will not be able to run 3D apps or games until you re-enable it.
- Type Device Manager in the Windows search bar and hit Open.
- Now expand Display Adapters and right-click on the display adapter listed.
- Click on Disable Device. Doing so will disable the rounded corners.
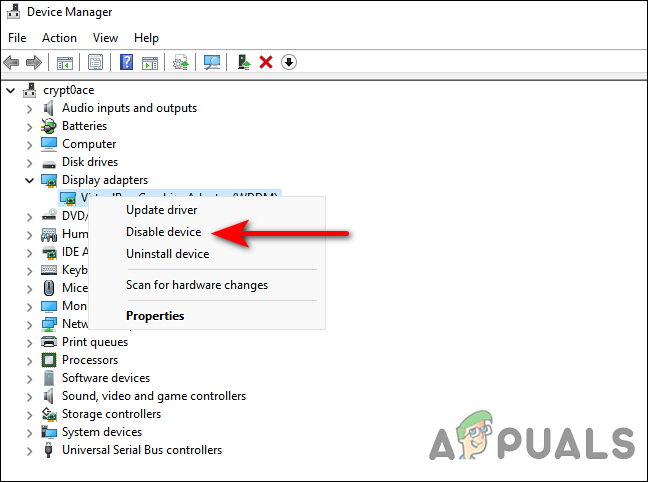
Disable your device adapter


Thanks OP, well explained and easy to understand. I was able to remove the round corners in Windows11.