How to Disable Microsoft Edge Desktop Search Bar in Windows 10?
 Reviewed by Muhammad Zubyan
Microsoft has introduced a new feature for its users that prompts a search bar on startup automatically. This has been mainly targeted in Windows 10 so far, but it could soon find its way to Windows 11 as well. The search bar comes from Microsoft Edge, the default web browser for Windows machines unless changed explicitly by the user.

The search box can be used to search the web or launch websites directly from the desktop, instead of having to open a browser and then do so. The results provided are from the Bing search engine, instead of Google and it also supports Bing AI functionalities.
This means you can prompt the Bing AI directly from your desktop instead of having to open a web browser. While some users can appreciate this functionality, not many are fond of it and would like to have it disabled. Fortunately, there is quite an easy way to do that.
As it turns out, the desktop search bar was first integrated into Microsoft Edge in the Dev Channel of Windows 10 last year, and it was primarily hidden in the Insider Version of Microsoft Edge. However, recently, Microsoft has started rolling out this feature in the stable versions.
How can one disable the Microsoft Edge desktop search bar in Windows?
If you would like to prevent the Microsoft Edge desktop search bar from appearing automatically on startup, you will need to edit the Windows Registry. At this moment, there is no alternative method for doing this, and modifying the Windows Registry is your only option for disabling the aforementioned functionality.
Before you proceed with making any changes to the Windows Registry, it is important to create a backup of the registry. This will help in restoring your computer to its previous state in case of any unwanted events. To disable the Microsoft Edge desktop search bar, follow the instructions down below:
- First, press the Windows key + R to open the Run dialog box.
- In the Run dialog box, type in “regedit” and press Enter.

Opening Windows Registry Editor - The Registry window will now open.
- In the Windows Registry window, navigate to the following key:
HKEY_LOCAL_MACHINE\SOFTWARE\Policies\Microsoft\Edge
- You can do so by copying the path and pasting it into the address bar.
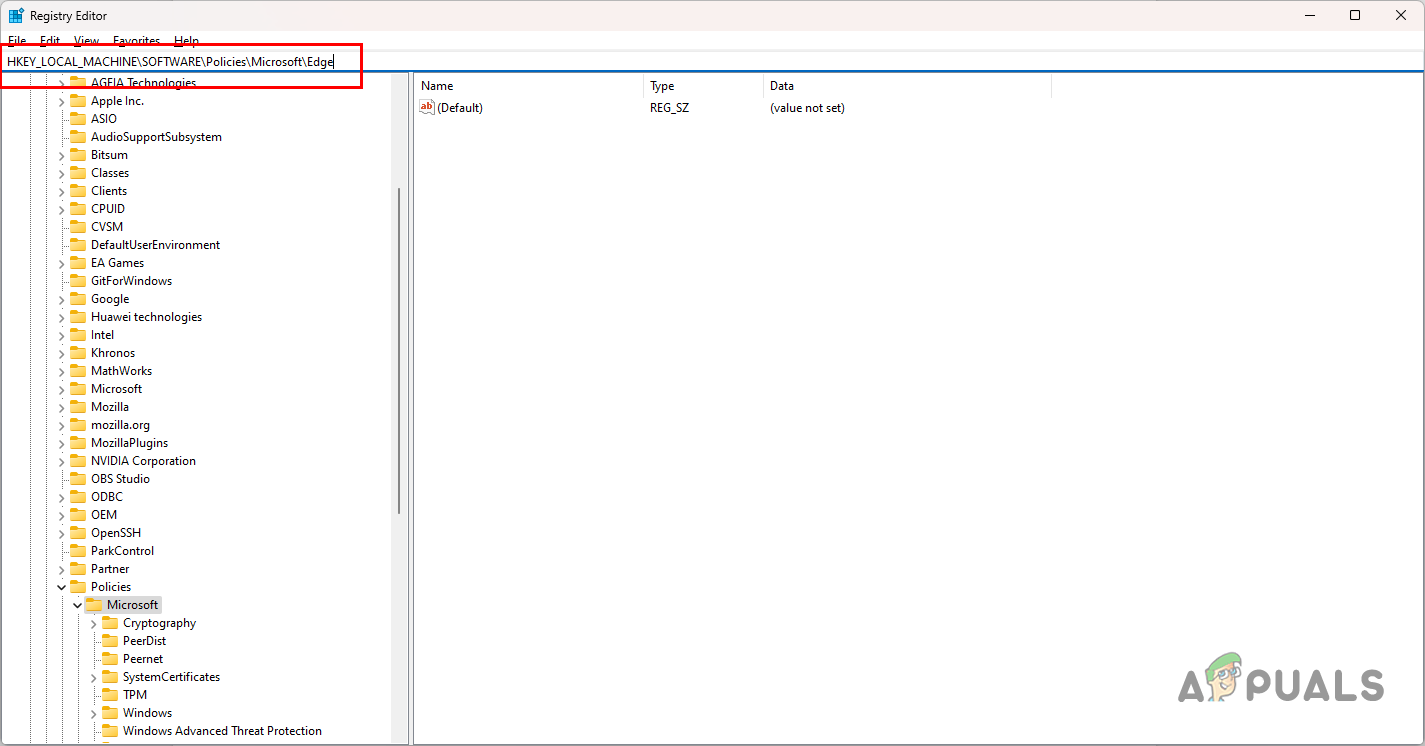
Navigating to MS Edge Policies - After that, look at the right panel for the WebWidgetAllowed key.

Creating WebWidgetAllowed Key - Double-click on it and select its value to 0.
- If the WebWidgetAllowed key is not present on the right-hand side, you will have to create this key manually.
- To do that, right-click anywhere on the right-hand side of the window and click on New > DWORD (32-bit) Value.

Creating New Key - Rename the newly created key to WebWidgetAllowed.
- After that, double-click on WebWidgetAllowed and set its value to 0.
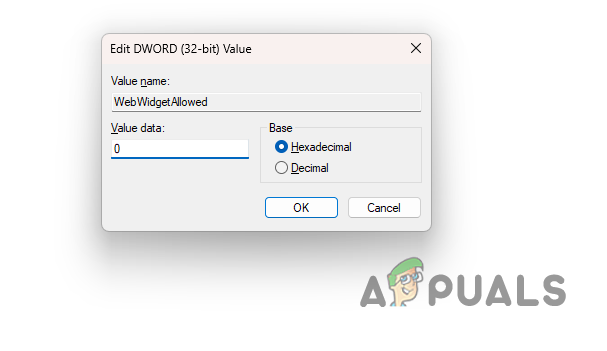
Setting WebWidgetAllowed Key Value - Close the Registry editor now and restart your PC to make the changes.
Reviewed by Muhammad Zubyan


Any suggestions if the Edge folder doesn’t exist in the registry?