[SOLVED] Device Connecting sound Plays Repeatedly when Monitor Powers on
The connect/disconnect sound (usually, the Windows Hardware Insert.wav sound) when the monitor powers on could be a result of the wrong configuration of your monitor or playback devices. Moreover, the corrupt or outdated graphics driver of your system may also cause the error under discussion.
The issue arises when the user’s system repeatedly plays the device connect/disconnect sound when the monitor of his system is powered on/off.
Before proceeding, make sure no device (like a USB hub or speaker) is attached to your monitor (as the PC may try to connect to that device and thus the problem). Also, check if changing the cable (connecting the PC and monitor) and its type (e.g., if using HDMI, then try DVI) sorts out the sound problem. Moreover, it will be a good idea to make sure that all the attached devices to the system are properly inserted and seated. Last but not least, check if performing a cold start of your system solves the sound problem.
Solution 1: Change the Monitor Settings
The connect/disconnect sound may be a result of the wrong configuration of the monitor. In this context, editing the relevant monitor settings may solve the problem. The instruction may not be the same for all users.
- Launch the OSD menu of your monitor and steer to the Input Source tab.
- Now, change it from Auto to Manual > (Cable Connection e.g., HDMI) and check if the sound issue is resolved.
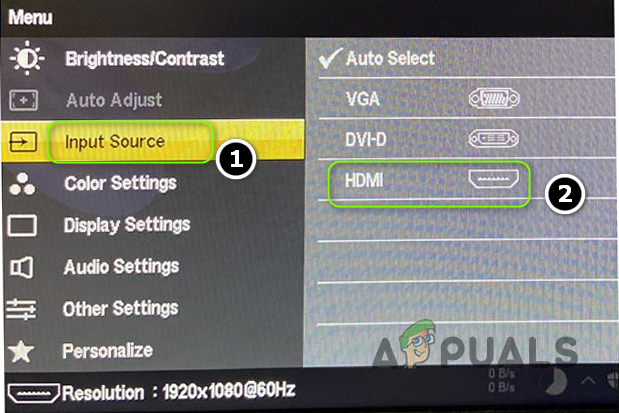
Change the Input Source of Your Monitor - If not, then check if disabling the power save mode of your monitor sorts out the problem.
Solution 2: Update the Windows and Drivers of Your System
The repeated sound issue may arise if the Windows and drivers of your system are outdated as it can create incompatibility between the essential OS entities. In this context, updating the Windows and drivers of your system to the latest releases may solve the problem.
- Manually update the Windows, BIOS, and device drivers (make sure to update through the Device Manager) to their latest releases. If optional updates are pending, make sure to install them as well. Also, if your OEM offers an update utility (like Dell Support Assistant), use that application to update the device drivers.
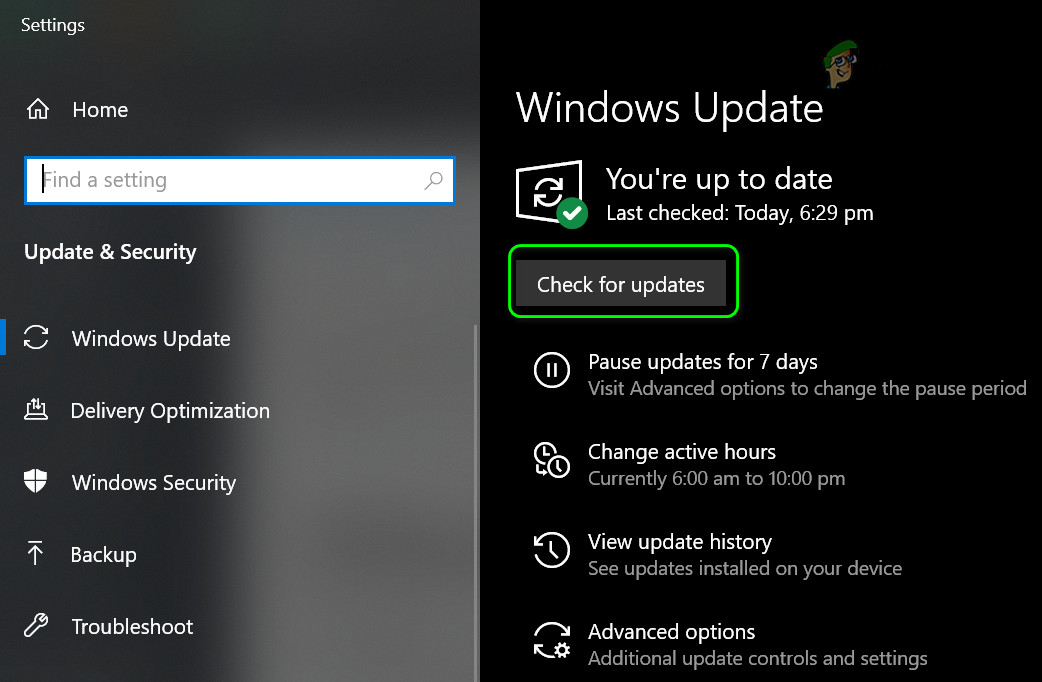
Check for Windows Updates - After updating, check if connect/disconnect sound issue is resolved.
Solution 3: Edit the Playback Settings
The connect/disconnect sound may emerge if your PC is continuously trying to route the audio of your system to the sleeping monitor (which is set as the default playback device). In this scenario, disabling the monitor in the playback settings of your PC may solve the problem.
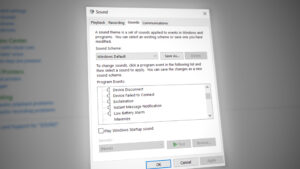
- Right-click on the speaker icon (in the system’s tray) and in the context menu, choose Sounds.
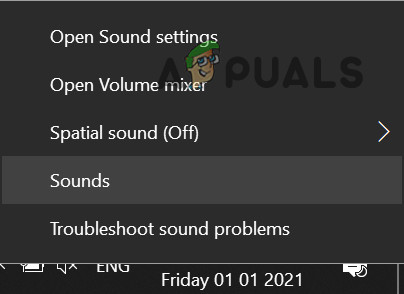
Open Sounds - Now, steer to the Playback tab and make sure to disable the audio devices (right-click on the device and select Disable) related to the sleeping monitor.
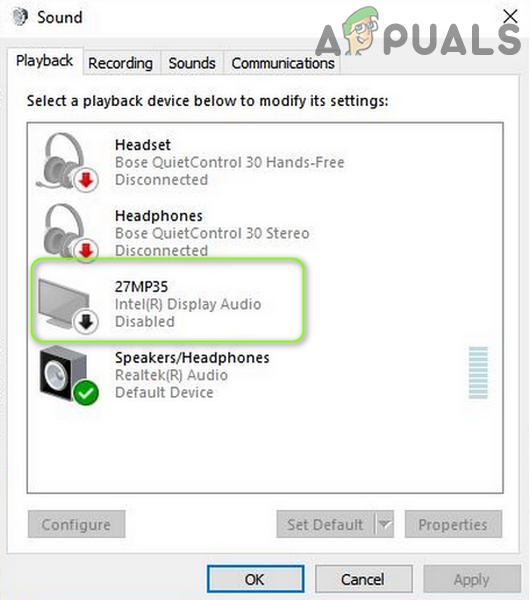
Disable Your Monitor in the Playback Devices - Then check if the sound issue is resolved.
If that did not do the trick, then enable all the devices in the Playback tab of the Sound Control Panel and set the monitor as the default device. Now, set the speakers/headphones as the default device (as per your liking) and disable all the devices that are not essential. Then reboot your PC and check if the monitor is working fine.
Solution 4: Uninstall the Problematic Applications
The issue at hand may occur if an application on your system is continuously sending requests to the sleeping monitor (or playing the Windows Hardware Insert.wav file to notify about its notifications). In this context, uninstalling the problematic applications may solve the problem.
- To find out the problematic application, clean boot your PC and check if the issue is resolved.
- If so, then enable the processes/applications (that were disabled during the clean boot process) one by one till you find the one which is creating the issue.
- Once found, disable the application at the system startup (in the Startup tab of the Task Manager) or uninstall it (if the application is not essential).
The Daemon Tools, Discord, and Pidgin (a chat client) applications are known to create the issue. For illustration, we will discuss the process for the Daemon Tools.
- Right-click on the Start (i.e., Windows button), and in the Power User menu, select Apps & Features.
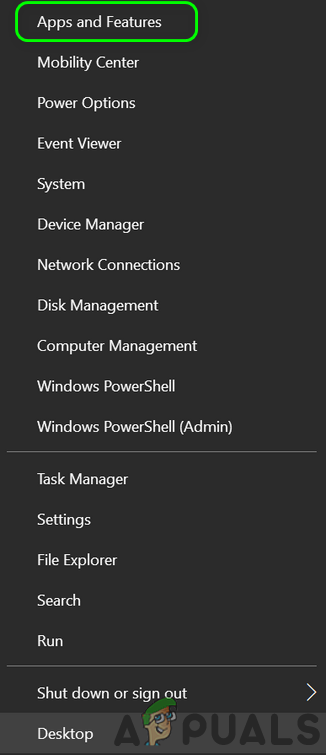
Open Apps & Features - Now expand Daemon Tools and click on the Uninstall button.
- Then click on the Uninstall button to confirm the uninstallation of the Daemon Tools and then let it complete.
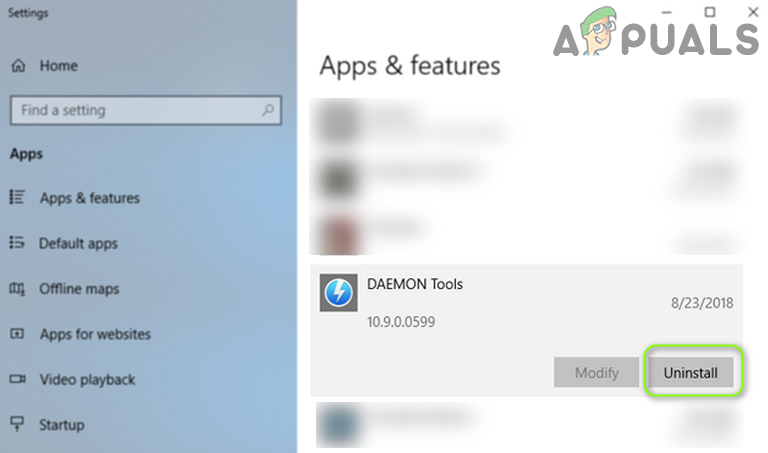
Uninstall Daemon Tools - After the uninstallation, reboot your PC and check if the system is clear of the connect/disconnect sound.
Solution 5: Reinstalling the Display Driver
The repeated playing of the sound can be a result of the corrupt (or incompatible) display driver of your system. In this case, reinstalling the display driver may solve the problem.
- Firstly, launch a web browser and navigate to the OEM website (like the Intel website).
- Now, download the latest driver for your system and then install the driver with administrator privileges to check if that resolves the sound issue.
- If not, launch the Quick Access menu (by right-click on the Start menu button) and choose Device Manager.
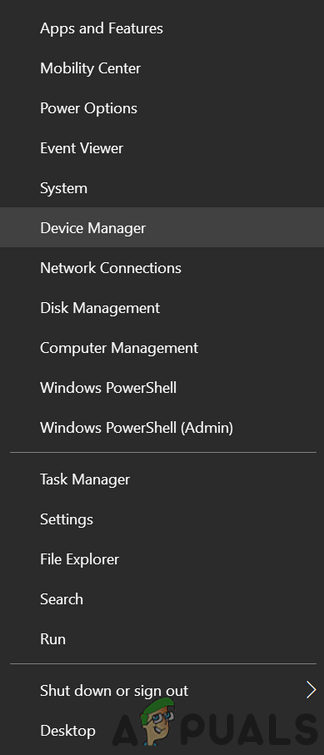
Open Device Manager - Now expand Display Adapters and under it, right-click on the display adapter.
- Then choose Uninstall Device and on the next window, checkmark Delete the Driver Software of This Device.
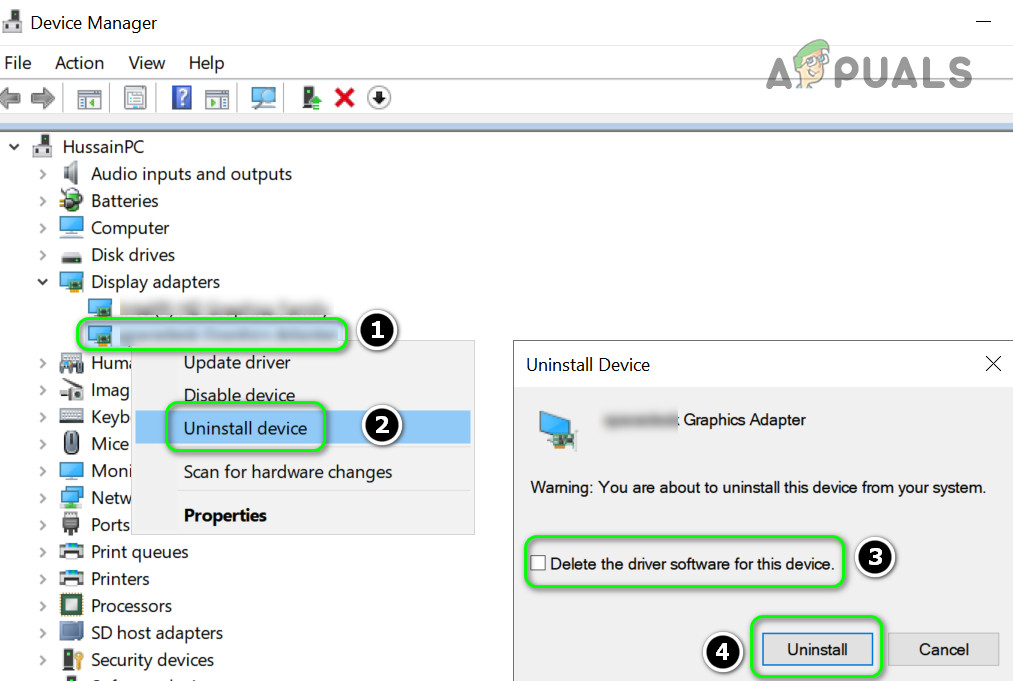
Check the Option of Delete the Driver Software for This Device for the Display Adapter and click on Uninstall - Now click on Uninstall and let the display driver uninstallation complete.
- Then reboot your PC and if prompted to, let Windows install the default driver.
- Now check if the system is clear of the connect/disconnect sound.
- If not, install the driver (downloaded at step 1) as administrator and check if the monitor is working fine.
If the issue persists, then check if using an older display driver solves the problem.
Solution 6: Edit the Power Options of Your System
The sound issue may arise if the power options of your system are not properly configured. In this case, editing the related Power Options (for example, disabling the USB Selective Suspend) may solve the problem.
Disable USB Selective Suspend
- In the System’s Tray, right-click on the Battery icon, and in the mini-menu, choose Power Options.
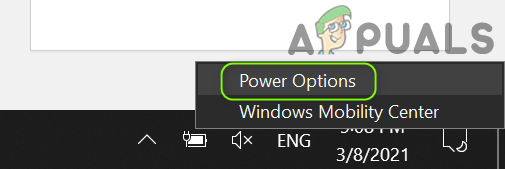
Open Power Options - Now, in the right pane, click on Change Plan Settings, and in the next window, open Change Advanced Power Settings.
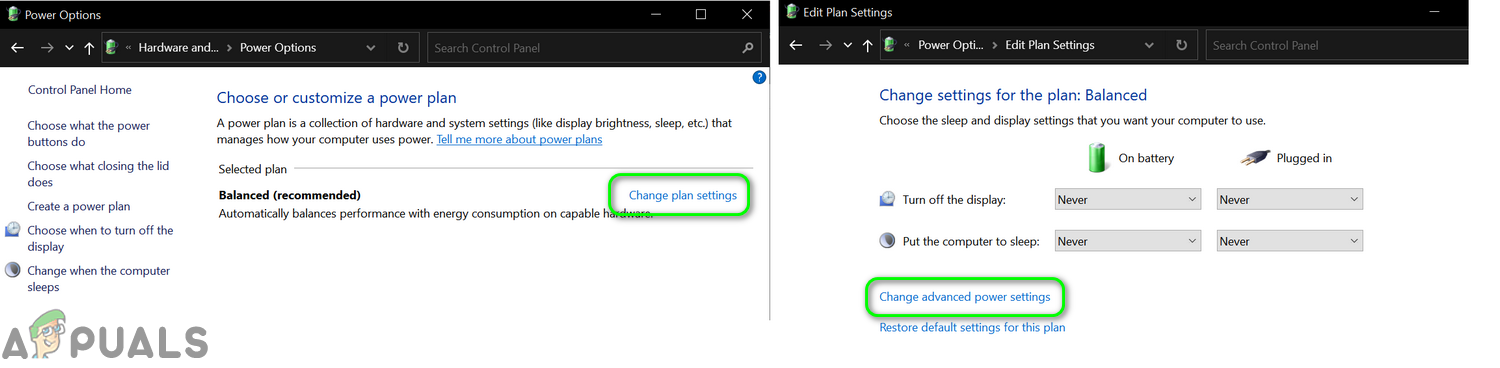
Change Advanced Power Settings - Then expand the option of USB Settings and under it, expand USB Selective Suspend Settings.
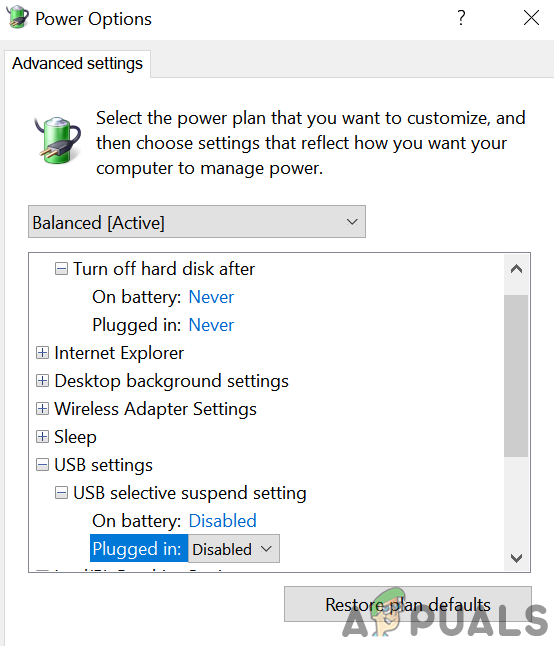
Disable USB Selective Suspend - Now select Disabled for both options (i.e., On-Battery and Plugged-in) and apply your changes.
- Then check if the system is clear of the sound problem.
Disable PCI Express Power Management
- If the issue persists, then in the Power Options window, expand PCI Express and under it, expand Link State Power Management.
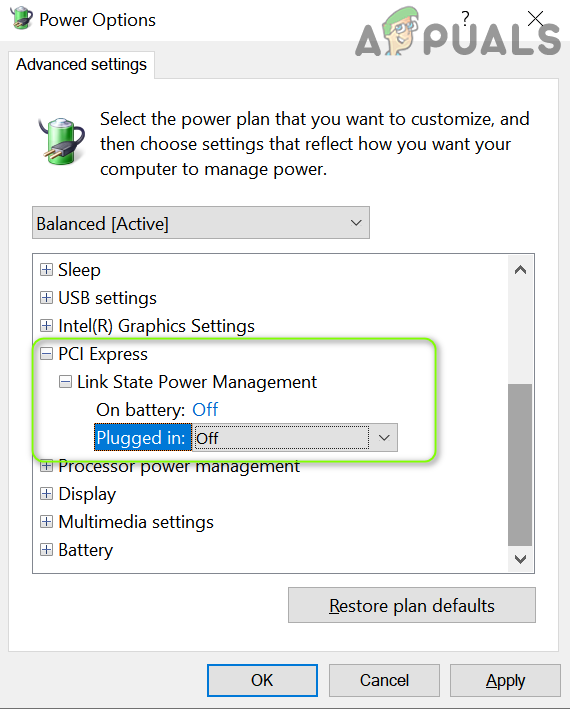
Disable Link State Power Management in PCI Express - Now, set both options (i.e., On-Battery and Plugged-in) to off and apply your changes to check if the sound issue is resolved.
- If not, then check if settings the Intel Graphics Power Plan (under Intel Graphics Settings) to Maximum Battery (or Maximum Performance) sorts out the problem.
- If that did not do the trick, then check if setting Turn Off Hard Disk After (under Hard Disk) to Never (for On-Battery and Plugged-in) sorts out the sound problem.
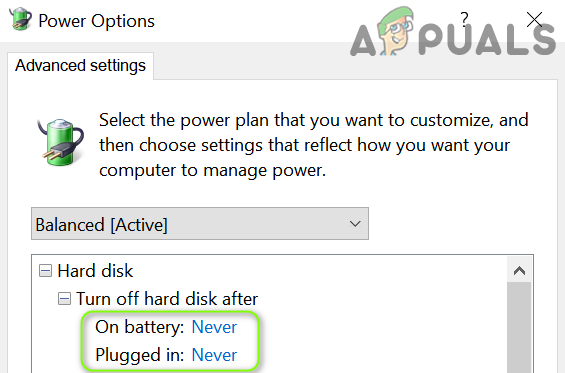
Set Turn Off Hard Disk After to Never
If the issue persists, then either you set the sleep timer of your PC shorter than the monitor timer (so that the PC goes to sleep before the display) or set your monitor to not go to sleep.
Solution 7: Disable Power Management of the HID and USB Devices
The issue may arise if the system’s power management of a device is hindering the display modules’ operation. In this context, disabling the power management of the HID and USB devices man solve the problem.
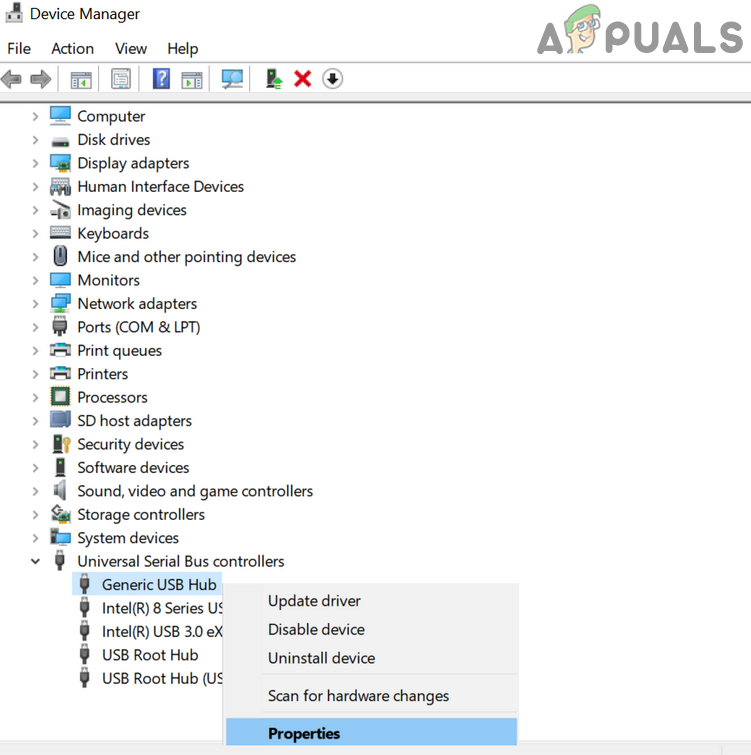
- Launch the Device Manager (Right-click on Start>>Device Manager) and expand Universal Serial Bus Controllers.
- Now, under it, right-click on the first entry (e.g., Generic USB Hub) and choose Properties.
Open Properties of the USB Hub - Then, in the Power Management tab, uncheck the option of Allow the Computer to Turn of This Device to Save Power and apply your changes.
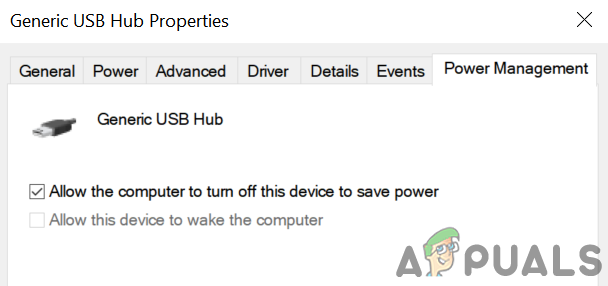
Check the Option of Allow the Computer to Turn off This Device to Save Power - Now repeat the same for all the entries under Universal Serial Bus Controllers (some of them may not have the Power Management tab, ignore them).
- After disabling the Power Management, reboot your PC and check if the sound issue is resolved.
- If the issue persists, repeat the same to all the devices under Human Interface Devices (HID) and check if the monitor is not causing the sound issue. If two similar devices are shown under HID, then check if disabling the one sorts out the sound problem.
If the issue persists, then check if uninstalling the USB Billboard Device (if present) resolves the sound issue.
Solution 8: Edit the System’s Registry
If the issue is still not solved, even after attempting the above solutions, then editing the relevant Registry key of your system may solve the problem. But keep in mind that the mentioned key may not be available to all users.
Warning: Advance with extreme caution and at your own risk, as editing the system’s registry is a proficient task, and if done wrong, you may cause everlasting damage to your system/data.
- Firstly, make sure to create a backup of your system’s registry.
- Now, hit the Windows key and type (in the search box): Registry Editor. Now, right-click on the result of the Registry Editor and select Run as Administrator.
Open Registry Editor as Administrator - Now, navigate to the following:
Computer\HKEY_LOCAL_MACHINE\SYSTEM\ControlSet001\Control\Class\{4d36e968-e325-11ce-bfc1-08002be10318}\0000 - Then in the right pane, double-click on LSPCONLpmEnable and set its value to 0.
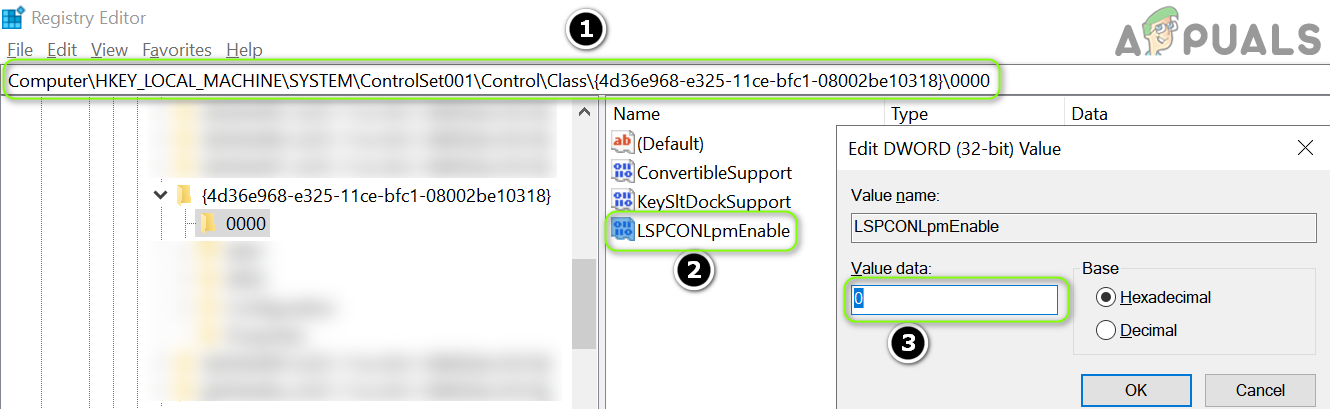
Set the Value of LSPCONLpmEnable to 0 - Now, exit the editor and reboot your PC to check if the repeated sound issue is resolved.
Solution 9: Disable or Remove the Problematic Devices
The sound issue could be a result of a malfunctioning of a device attached to your system. In this case, disabling or removing the problematic devices may solve the problem.
- Boot your system with bare minimums and check if the issue is resolved. If not, then one of the essential/internal system devices (i.e., Mouse, Keyboard, Water-Cooled CPU Cooler, etc.) may be causing the issue and you either disable it in the Device Manager or replace it with a working unit.
- If the issue is rectified with bare minimums, then you can attach the devices one by one till you find the problematic device. You may also try a 3rd party utility (like USBLogView or USBDeview) to find out the problematic device.
Once the problematic device was found, you may try one of the following:
-
- Clean the device/system’s port and reattach the device.
- Disable the problematic device (right-click on the device in the Device Manager and choose Disable).
- Replace the problematic device with a working unit.
The following types of devices are reported by the users to create the issue:
- Mouse/Keyboard
- External HDD (even if it is using external power)
- Bluetooth dongle/adapter
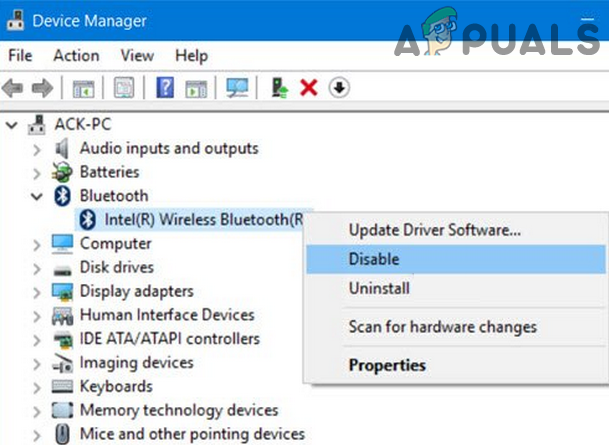
Disable the Bluetooth Device in the Device Manager - Wii Remote
- Card Reader
- Finger Print Reader
- Water Cooled CPU Cooler (unplugged the cooler’s USB cable if the cooler is causing the issue)
- MFD Printers or Scanners
- Bank Authenticator device
- USB Hub (you may have to replace the hub)
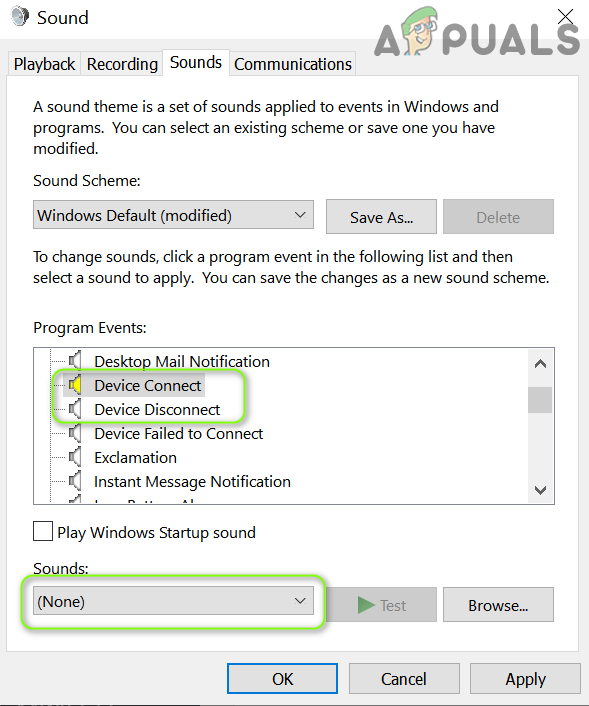
If the issue persists, then you may set the Device Connect and Device Disconnect to None in the Sounds tab of the Sound Control Panel (till the issue is resolved) or simply unplug the monitor cable.
You may also manually power off the monitor till the resolution of the issue. You can also check if performing an In-Place Upgrade sort out the sound problem. If even that fails to sort out the problem, then check if using another graphics card, that is compatible with your monitor sorts out the problem.


Thanks, Kevin! It was annoying hearing the connect/disconnect sound when my monitor would sleep, but solution 3 fixed it for me!