How to Fix Destiny 2 Error Code Broccoli on PC
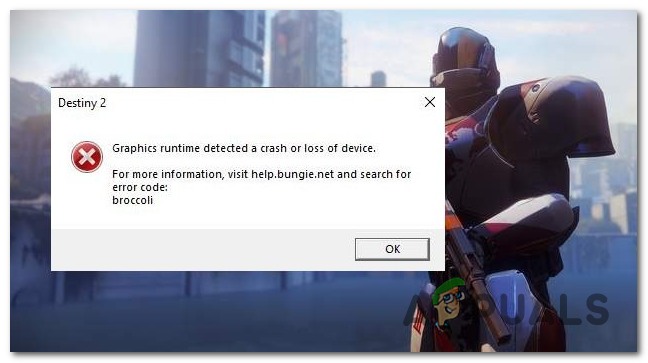
Some Destiny 2 users are encountering that the game crashes every 10-15 minutes with the error code broccoli even though their PC is more than capable of handling the game and there’s no evidence of overheating.
As it turns out, there are several different causes that might end up causing this particular error code after Destiny 2 crashes on PC. Here’s a shortlist of potential culprits:
- Screen size glitch – As it turns out, certain Nvidia GPU models tend to trigger this error in instances where GeForce Experience forces Full-Screen mode on Destiny 2 even though the currently saved settings are different. In this case, you can fix the problem by modifying the current settings in GeForce Experience before starting the game again.
- Outdated Windows build – If the GPU driver updates are handled by the Windows Update component (as it’s the case with certain AMD GPUs, there’s a chance you will be able to fix the problem simply by installing every pending Windows update (Important and Optional)
- Corrupted or Outdated GPU drivers – Under certain circumstances, this problem can also occur due to one or more corrupted files present among your driver dependencies. In other cases, this might simply be caused by a severely outdated driver. However, in both cases, the fix is to update the GPU driver to the latest available driver version.
Method 1: Running the Game in Window Mode (if applicable)
As it turns out, some affected users have managed to fix the problem by forcing the game to run in window mode directly from GeForce Experience. Once the game boots up, you can make the change back to the full-screen mode from the Screen Options tab of Destiny 2.
Of course, this is only applicable if you’re using an Nvidia GPU. In case you’re using an Nvidia GPU but you don’t have GeForce Experience installed, you can install it from the official download page.
If this scenario is applicable and Destiny 2 is crashing with the Brocolli status code shortly after you boot up the game, follow the instructions below to modify the default startup type of the game in order to force it to run in window mode.
Here’s how to force Destiny 2 to run in window mode via GeForce Experience:
- Open GeForce Experience conventionally, click on the Home tab from the menu at the top, then click on Destiny 2 from the list of installed games.

Opening up the Destiny 2 tab in GeForce Experience - Once you’re inside the Detailed tab of Destiny 2, scroll down and look for the settings icon in the right corner (near the Optimize button).
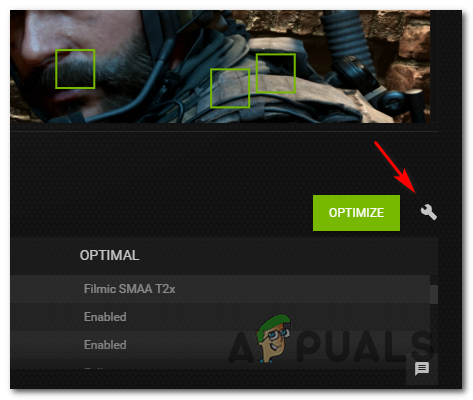
Opening the Settings menu of Destiny 2 in GeForce Experience - Once you’re inside the Custom Settings menu of Destiny 2, use the drop-down menu of Display Mode and change it to Windowed.

Launching the game in Windowed mode - Click Apply to save the changes, then launch the game.
Note: If you want, you can access the in-game graphics menu and force it to re-enter full-screen mode. - Play the game normally and see if the problem is now resolved.
In case the game still ends up crashing with the same Brocolli status code, move down to the next potential fix below.
Method 2: Install every Pending Windows Update
As it turns out, this particular error code is Bungie’s code for a crash caused by a driver inconsistency. Several affected users have confirmed that they managed to fix the issue by installing every pending Windows Update (including optional updates).
This is especially reported to be successful in situations where the GPU driver updates are handled by the Windows Update component instead of a dedicated utility like Nvidia Experience or AMD Adrenalin.
If this scenario is applicable and your Window build is not updated with the latest version, follow the instructions below to install every pending update using the official channels:
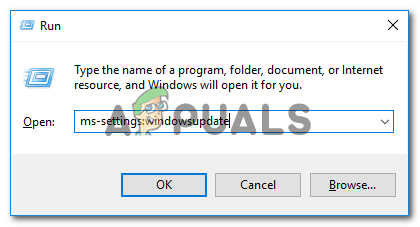
- Press Windows key + R to open up a Run dialog box. next, type ‘ms-settings:windowsupdate’ and press Enter to open up Windows Update tab of the Settings app.
Opening the Windows Update screen - Once you’re inside the Windows Update screen, click on the Check for updates screen, then wait for the scan to complete.
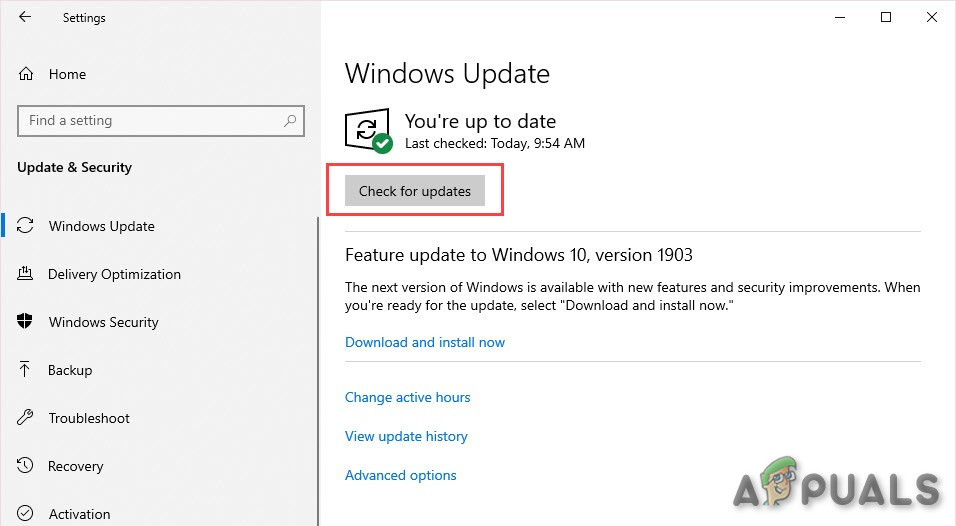
Check for Updates of Windows - Wait until the initial scan is complete, then follow the on-screen instructions to install every pending update until your version is up to date.
Note: If you have a lot of pending updates, chances are you will be prompted to restart before every update is installed. If you’re prompted to do so, comply, but make sure to return to the same update screen once the next startup is complete to complete the operation. - Once every pending update is installed, restart your computer, and launch Destiny 2 once the next startup is complete to see if the error is now resolved.
In case the same error code (broccoli) is still occurring once the game crashes, move down to the next potential fix below.
Method 3: Reinstalling the GPU Driver
In case the potential fix above didn’t work for you and you are certain that you’re not dealing with an overheating issue, it’s likely that you’re seeing this error as a result of a driver crash. Fortunately, most affected users have managed to mitigate this problem by reinstalling every relevant GPU and physics driver used by the game.
However, keep in mind that depending on your GPU manufacturer (Nvidia or AMD), the instructions for doing so will be different. Because of this, we’ve created 2 different sub-guides that will walk you through the process of reinstalling every relevant GPU driver.
Follow the instructions applicable to the your GPU manufacturer:
A. Reinstalling the AMD GPU drivers
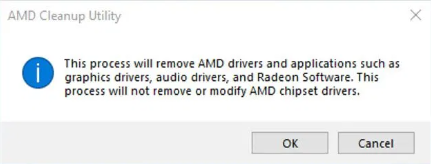
- On AMD, the ideal way to clean the existing drivers is to download and use the AMD Cleanup Utility. This will thoroughly clear any files and dependencies used by the AMD drivers including corrupted instances.
- Once you manage to download the cleanup utility, right-click on it and choose Run as Administrator from the context menu to ensure that it has the right access to complete the procedure.
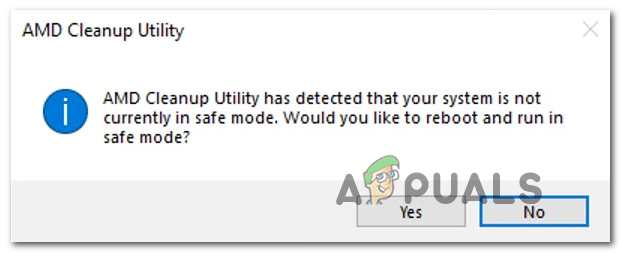
- If the utility asks you to reboot in safe mode, click Yes to allow your computer to restart directly into recovery mode.
Launching the AMD Cleanup Utility Note: This operation will ensure that you are not leaving behind any leftover files that will prevent the installation of the new driver version.
- Once your computer boots into Safe Mode, follow the on-screen instructions to complete the cleanup operation, then hit Finish at the end and restart your computer once again.
Uninstalling every AMD driver - Once the next startup is o complete, visit the official AMD download page and scroll all the way down to the Auto-Detect and Install Radeon Graphics drivers for WIndows and click on Download now to start the process.
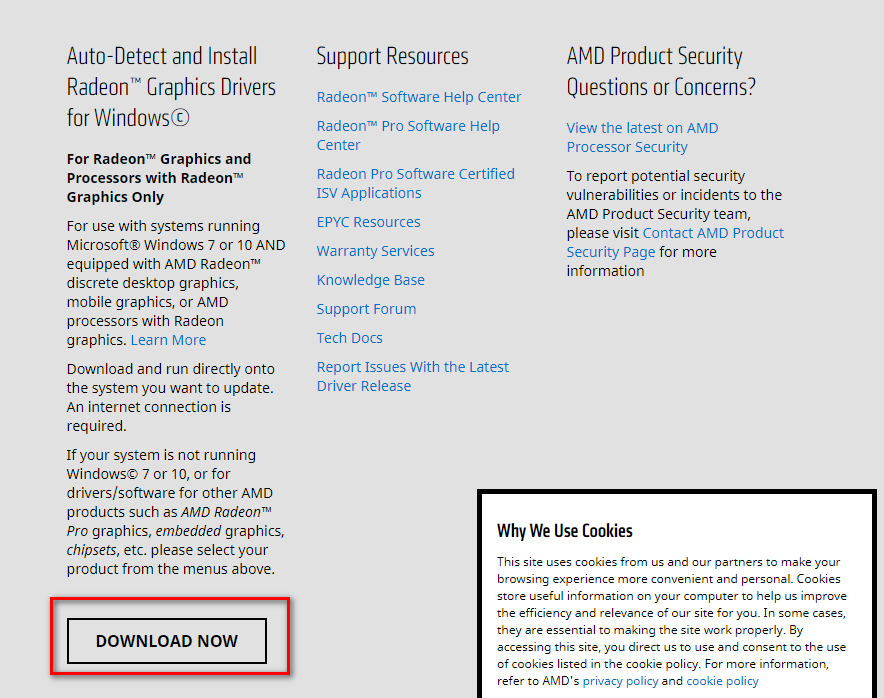
Downloading the Auto-detect utility - Once the download is complete, the utility should automatically launch itself in an attempt to detect the AMD hardware that you’re using and install the compatible drivers. Wait patiently until the process is complete and interact when asked to do so.
- After your hardware is detected, install every required driver by clicking on Recommended and Optional drivers packages by selecting both and clicking Install.
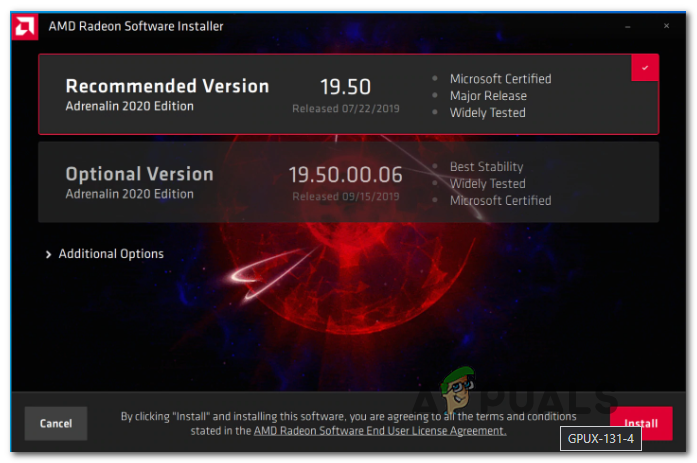
Installing the AMD recommended drivers - When asked to accept the End User License Agreement, review it accept then click on Install to start the operation.
- Once every required driver is reinstalled, reboot your computer and attempt to launch Destiny 2 again once the next startup is complete.
B. Reinstalling the Nvidia GPU Drivers
- Press Windows key + R to open up a Run dialog box. Next, type ‘appwiz.cpl’ inside the text box, then press Enter to open up the Programs and Files menu.

Typing in “appwiz.cpl” in the Run prompt - Once you’re inside the Programs and Features menu, click on the Publisher tab to order the list of installed programs via their Publisher. This will make it easier to ensure that you’re not leaving behind any instances of your previous GPU drivers.
- After you manage to order them accordingly, find the entries published by NVIDIA corporation and uninstall each one by right-clicking on each entry and choose Uninstall from the newly appeared context menu.
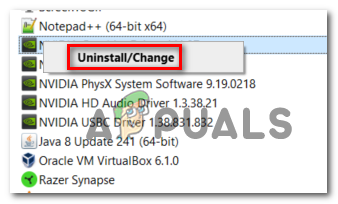
Uninstall every Nvidia driver - Next, go ahead and ensure that every driver published by Nvidia Corporation is successfully uninstalled, then restart your computer.
- Once the next startup is complete, visit the Nvidia Download Page and download the latest version of Nvidia Experience by clicking on the Download Now button and following the on-screen instructions.
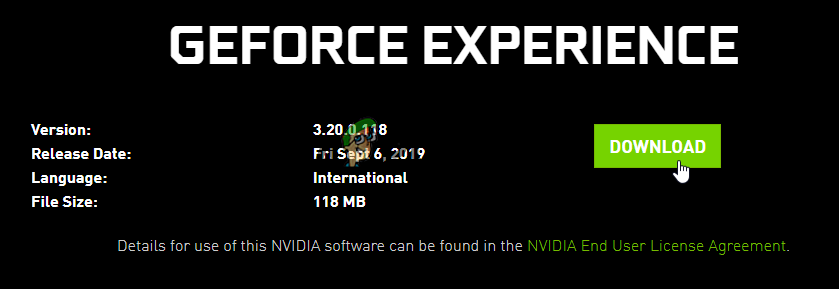
Downloading GeForce Experience Note: This proprietary utility will automatically scan and download the latest available driver versions according to your GPU model.
- Once the utility is installed, open Nvidia experience, sign in with an account the installed the recommended drivers from the Drivers tab.
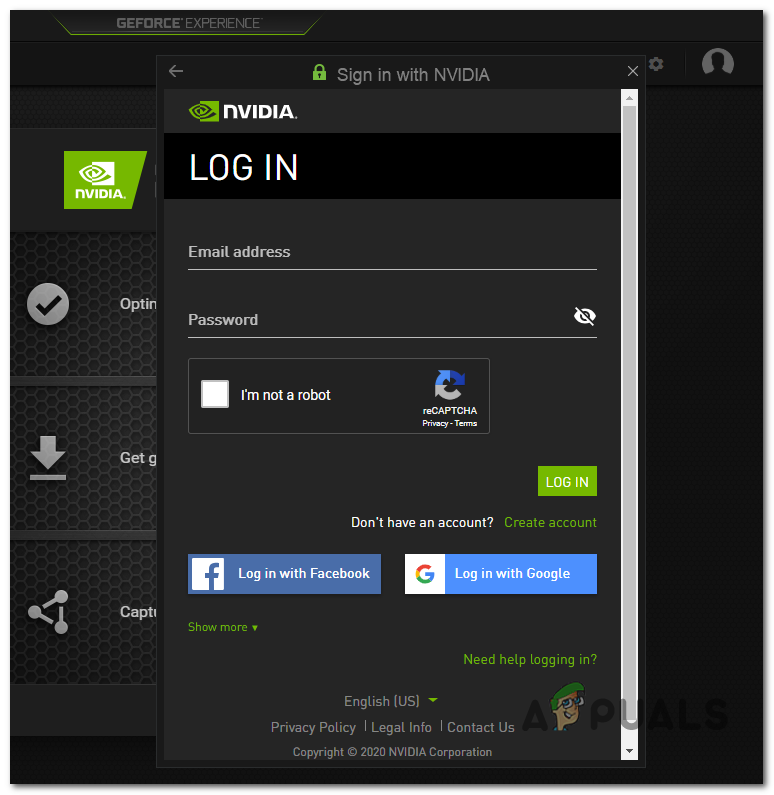
Sign in with Nvidia Experience - Once every recommended driver is successfully installed, reboot your computer once again and see if the problem is fixed once the next computer startup is complete.
- Launch Destiny 2 once again and see if the game is still crashing with the Broccolli error code.


