How to Fix CS:GO Failed to Create D3D Device?
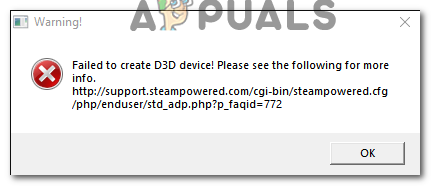
Some Windows users are encountering the ‘Failed to create D3D Device‘ whenever they try to launch Counter-Strike GO from the dedicated executable or from within a game library like Steam. This error is reported to occur with multiple Windows versions including Windows 7, Windows 8.1 and Windows 10.
First things first, do a simple computer restart and see if the issue is still occurring. You might be dealing with a case of stuffed drivers that need to be refreshed.
If the issue persists after the restart, try forcing the game to run directly in windowed mode – either via Steam’s settings or by modifying the shortcut that you use to launch the game.
In some cases, the issue will occur due to the fact that you are using a fairly new dedicated GPU with a severely outdated DirectX version.
However, in case you’re using an AMD Radeon GPU, check to see if the Anti-LAG feature is disabled in your AMD Software program.
Running the game in windowed mode
As it turns out, a lot of affected users have been able to fix the issue by forcing CS: GO running in windowed mode. This is not as bad as it sounds – Once the game opens successfully, you can set the CS:GO running in full-screen mode again from the Options menu.
Keep in mind that depending on your preferred method of launching the game, you will need to make modifications directly on Steam or on the shortcut that you use to launch the game.
Regardless of the scenario, follow one of the guides below to force CS:GO to force the game to work in Windowed mode:
Forcing CS: Go to run in Windowed mode via Steam
- Open your Steam application and make sure you are signed in with your account where you own CS: Go.
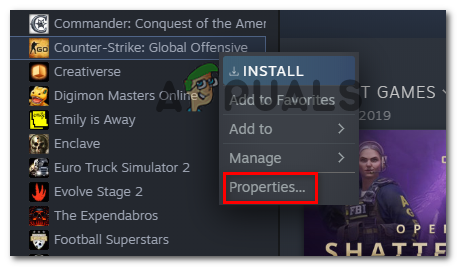
- Next, access your Library from the ribbon menu at the top, then right-click on Counter-Strike: Global Offensive and click on Properties from the newly appeared context menu.
- Once you’re inside the Properties screen of Counter-Strike: Global Offensive, select the General tab from the horizontal menu at the top, then click on Set Launch Options.

Accessing the Launch Options menu - Once you’re inside the Launch options screen, simply type ‘-windowed’ and click on Ok to save the changes.
Note: If it still doesn’t work, add the entire line below:-w 1280-H720 -window -novid -high -threads 4 -nojoy +cl_forcepreload 1 -nod3d9ex
- After you manage to enforce these changes, launch the game directly from Steam and see if the modifications above have allowed you to resolve the ‘Failed to create D3D Device‘.
- In case the workaround was successful and you manage to launch the game successfully, go to Game Settings > Video Settings > Advanced Video and force the game to run in Full-Screen mode.
Forcing CS: Go to run in Windowed mode by modifying the shortcut
- Open File Explorer (or My Computer) and navigate to the location of the shortcut (most likely on your desktop) that you use to launch the game (not the location where you installed CS:GO).
- Once you arrive at the correct location, right-click on the CS:GO executable and choose Properties from the newly appeared context menu.
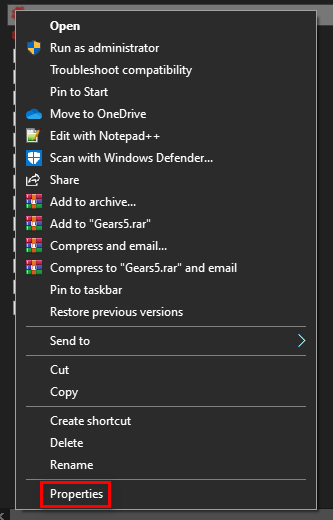
Accessing the Properties screen of the game executable - Once you’re inside the Properties screen of the window, select the Shortcut tab and look for the Target location. Once you arrive to the correct location, simply add ‘_window’ (without the quotes) after the target location.
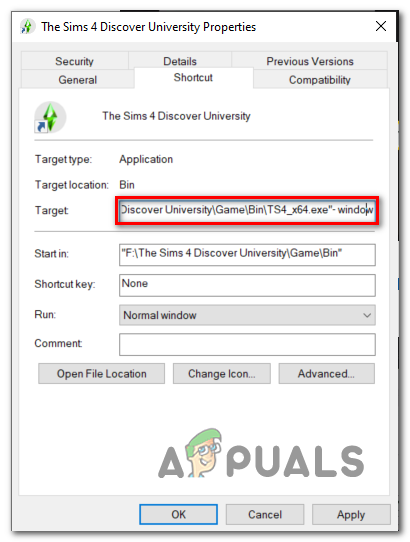
Forcing the shortcut to work in -window mode Note: You can also attempt to add ‘-dxlevel 90‘ instead of ‘-window’ in order to force the executable to run with DirectX 9.0c. Additionally, add the entire line below:
-w 1280-H720 -window -novid -high -threads 4 -nojoy +cl_forcepreload 1 -nod3d9ex
- Click Apply to save the changes, then double-click on the shortcut that you use to launch CS:GO and see if the problem is now fixed.
- If the operation was successful and you are able to launch the game with no issues, go to Game Settings > Video Settings > Advanced Video and set the game to run in Full Screen.
Updating DirectX to the latest version
As it turns out, this particular issue can also occur due to a severely outdated DirectX version. If you were never able to launch Counter-Strike: Global Offensive on this particular configuration, you should make sure that you’re working with the latest DirectX version available – especially if you’re utilizing a newer GPU card.
Several affected users that were previously encountering the ‘Failed to create D3D Device‘ whenever they tried to launch CS:GO, have confirmed that the issue was resolved after they updated the DirectX version to the latest version available using the web installer.
Here’s a quick step by step guide on updating DirectX to the latest version:
- Open your default browser and open this link (here), select the installer language and click on the Download button.
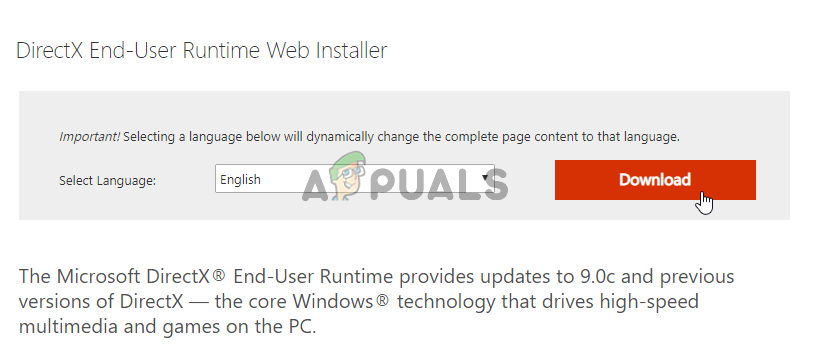
Downloading the DirectX End-User Runtime Web Installer - Once you get to the next screen, uncheck every bloatware that Microsoft pushes and then click on No thanks and continue with Direct X End-User Runtime Web installer button.
- Wait until the dxwebsetu.exe is fully downloaded, then double-click on it and follow the on-screen instructions to complete the update to the latest version of DirectX.
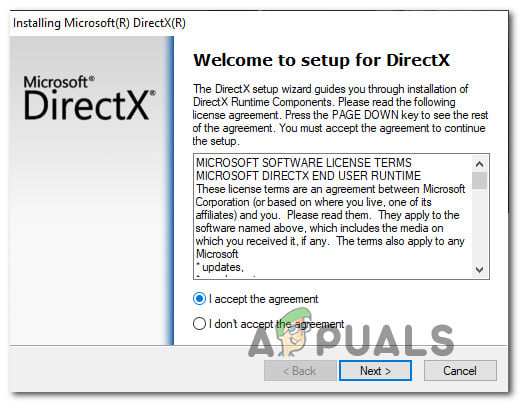
Installing DirectX End-User Runtime - After the operation is complete, restart your computer and launch Counter-Strike: Global Offensive at the next startup to see if the issue is resolved.
In case this scenario was not applicable, move down to the next potential fix below.
Disabling Radeon’s Anti-Lag feature (if applicable)
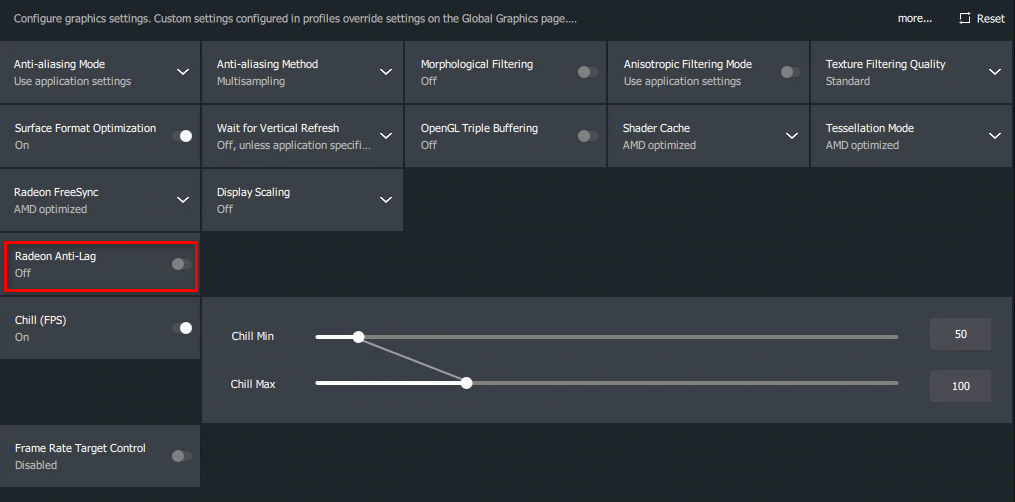
If this scenario is applicable and you’re using a dedicated GPU from AMD, chances are the ‘Failed to create D3D Device’ error is occurring due to Radeon’s questionable Anti-lag feature. Several affected users have confirmed that after disabling this feature, Counter-Strike: Global Offensive launched with no issues.
To disable the Radeon Anti-Lag feature, open AMD software, access the Games tab and click on CS-GO. Then from the dedicated settings of CS-GO, disable Radeon Anti-Lag and save the changes.