Fix: Critical System Error on Valorant
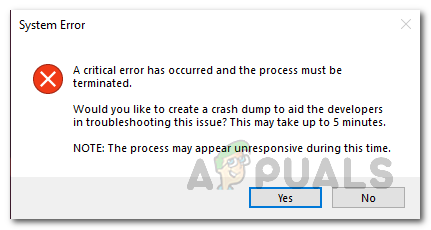
Valorant is a game that quickly gained popularity and became notorious for the gameplay it brings to the competitive scene of Esports. While the game is blooming, it has its own share of issues that are often encountered by users. One of these problems is the “A critical error has occurred and the process must be terminated” error message. Now, the error message seems to appear mid-game so it’s not an issue that prevents you from launching the game overall. However, the reason that it causes the game to crash mid-game can be more annoying.
As it turns out, there are several reasons due to which the error message may appear. In some cases, the issue can be associated with and triggered by overclocked CPUs or GPU. Along with that, software such as MSI Afterburner and more that are often used to overclock the components of your PC can also be the culprit party. That is not all, however. We will be mentioning the known causes in more detail down below. Therefore, let us get into it.
Now that we are done with the potential causes of the issue, we can get into the different solutions that you can implement to have the problem resolved. So, for all of that, follow through.
Method 1: Run the Game as an Administrator
The first thing that you should do when you face the error message is to run the game as an administrator. What this will do is prevent any background services that may be interfering with it and as a result, your game will not crash if that is the cause of the issue. It is important to note that only running the shortcut or the game itself won’t do the trick, you have to ensure that the other dependencies are also running as an administrator. In addition to that, you have to make sure that the VGC service is also running in the Services window. To do this, just follow the below instructions:
- First of all, press Windows key + R to open up the Run dialog box.
- Then, in the Run dialog box, type services.msc and press Enter.
- In the Services window, search for the VGC service. To make this easier, press V to be taken to the services starting the pressed character.
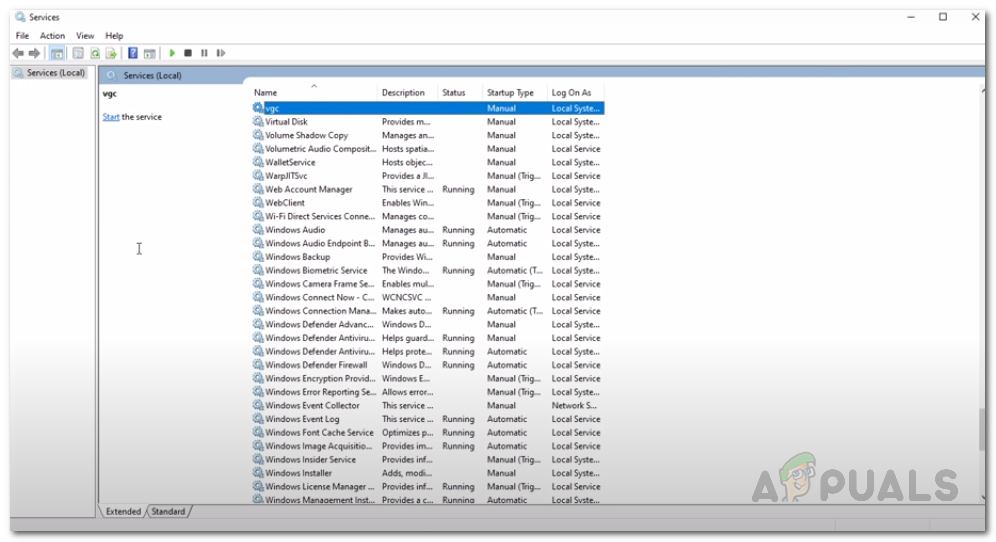
VGC Service - Right-click on the service and go to Properties.
- In the Properties window, make sure that the Startup Type is Automatic and the service is running.
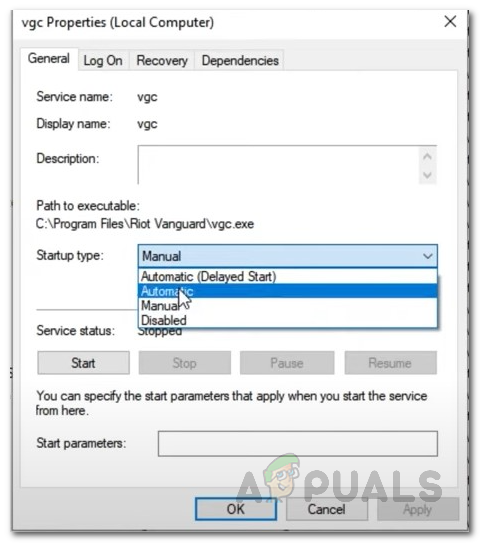
VGC Service Properties - Click Apply and then hit OK to save the changes. Close the services window at this point.
- After that, go to your Valorant directory and navigate to the Riot Games > VALORANT > live > ShooterGame > Binaries > Win64 path.
- There, right-click on the VALORANT-Win64-Shipping file and go to Properties.
- Switch to the Compatibility tab and check the Run this program as an administrator option.
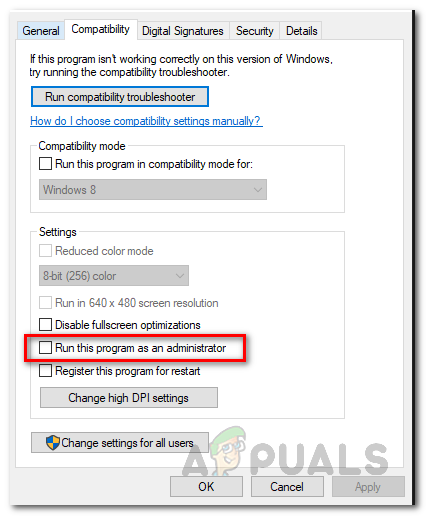
Running Program an as Administrator - Click Apply and then hit OK.
- After that, you have to do the same thing for the shortcut on your Desktop. In case you don’t have a shortcut, just go to Riot Games > Riot Client. There, perform the same steps for RiotClientServices.
- Finally, go to the Riot Games > Valorant > live directory and do the same for the VALORANT file.
- See if that fixes the issue.
Method 2: Update GPU Driver
Another way that you can get rid of the said error message is to make sure that the GPU driver on your system is up to date. This can help if the issue is being caused by an obsolete driver in your case. It has been reported by a user who was facing a similar issue; therefore, it may work out for you as well. There are often many issues that are encountered by users when their display drivers are not up to date especially issues like game crashes. Thus, follow the below instructions to update your drivers:
NVIDIA
- If you are using NVIDIA graphic cards and you have GeForce Experience installed, then updating your drivers is as easy as it gets.
- Open up the GeForce Experience. Once it loads, switch to the Drivers tab.
- If there is an update available, you will see a Download button.
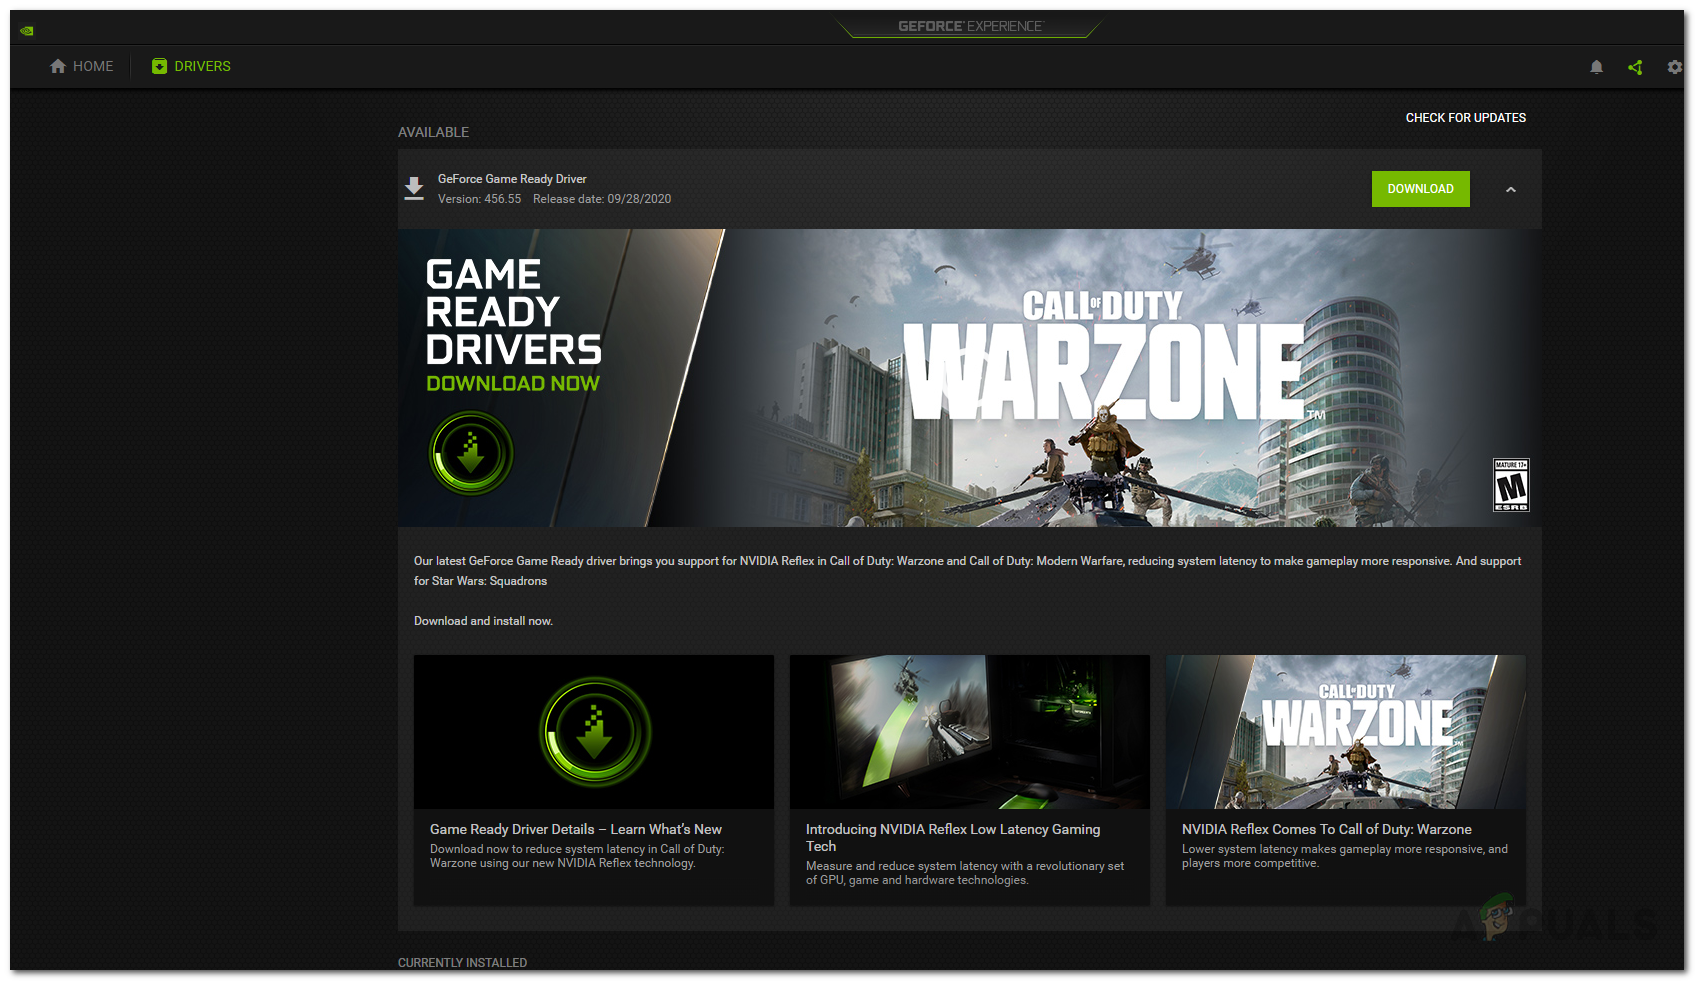
GeForce Experience Drivers - Click on it to begin downloading the latest update.
- In case you don’t have GeForce Experience installed, you can go to NVIDIA’s website to check and download updates.
AMD
- In the case of AMD, you can make use of the AMD Radeon software.
- Right-click on your desktop, and choose the AMD Radeon option at the top.
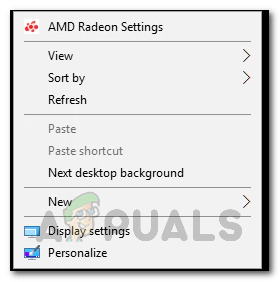
Opening AMD Radeon Settings - Once the AMD Radeon window opens up, go to the System tab.
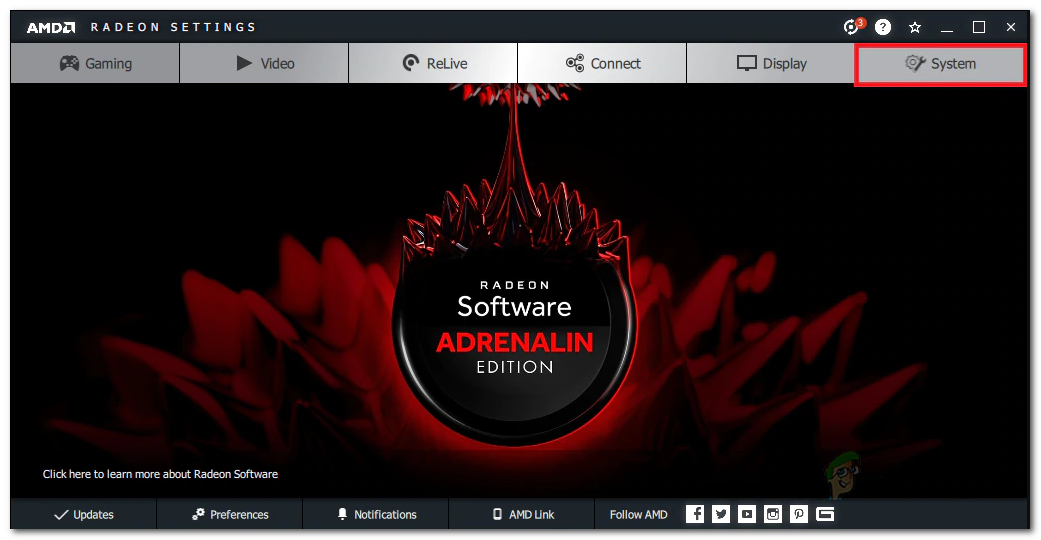
AMD Radeon Settings - Download and install any available update.
- In case you don’t have AMD Radeon installed, use AMD’s website instead.
Method 3: Change Game Launch Settings
You can also resolve the issue by altering the game launch settings. These settings are stored in the GameSettings.ini file in the Valorant directory. The file stores your basic configuration that is to be used when you launch the game. You will have to make some changes to see if that resolves the issue. Follow the instructions down below:
- First of all, open up a Run dialog box by pressing Windows Key + R.
- Then, type in %AppData% in the Run dialog box and press Enter.
- A Windows Explorer window will open up.
- Go back and then go to the Local directory.
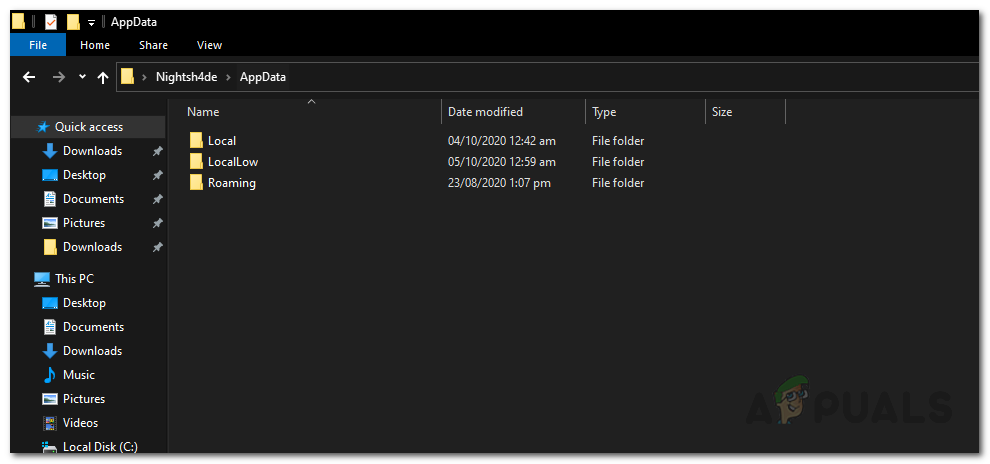
AppData Folder - From there, navigate to the ShooterGame > Saved > Config > WindowsClient directory.
- Open up the GameUserSettings.ini file.
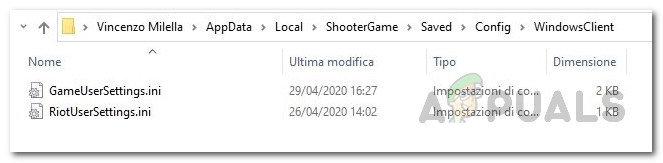
Valorant User Settings - There, change the value of DefaultMonitorIndex from 0 to -1. After that, change the LastConfirmedMonitorIndex value from 0 to -1 as well.
- Save the changes and close the file.
- See if that resolves the issue.
- In case it doesn’t fix the issue, you can just undo the changes that have been made in step 7.
Method 4: Uninstall MSI Afterburner and Rivatuner
As it turns out, in some cases, the issue can be caused by certain overclocking tools that are either running in the background or simply installed on your system. For some users, the issue was resolved when they would close the utilities. However, for others, the issue would persist unless they uninstalled the utilities from their system. Therefore, you will have to uninstall the tools from your PC as well if you have them installed. To do this, follow the instructions below:
- First of all, open up the Start Menu and search for the Control Panel.
- When the Control Panel window appears, click the Uninstall a Program option under Programs and Features.
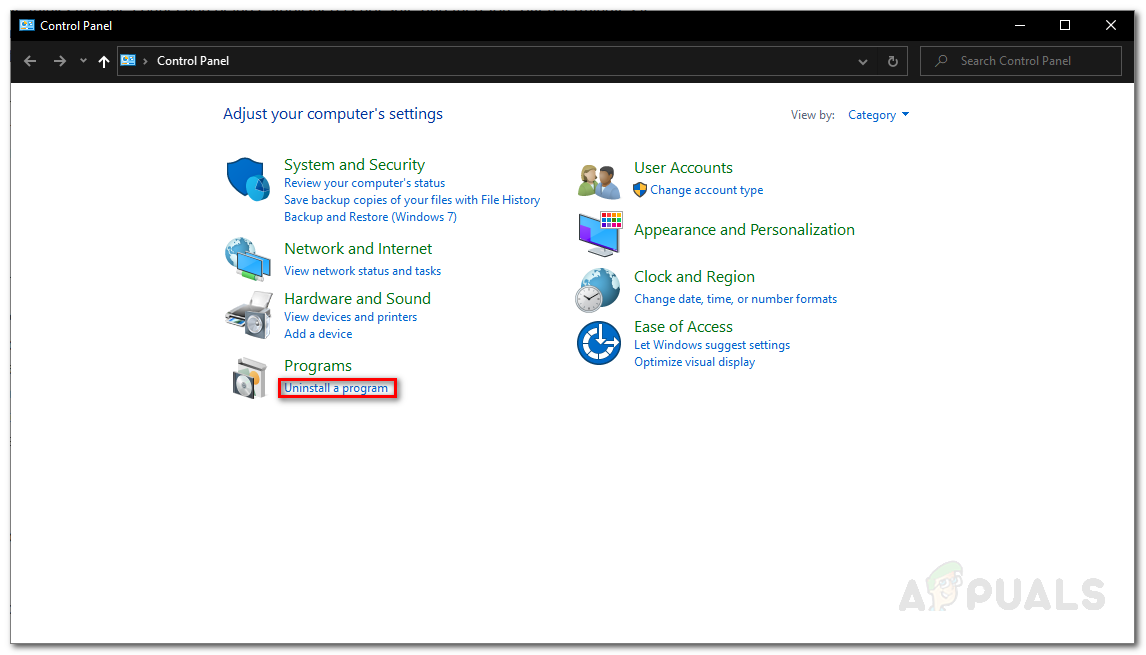
Control Panel - This will take you to a list of all the installed applications on your system.
- Locate MSI Afterburner and Rivatuner if you have them installed. If you have any other similar utilities installed on your PC, make sure to remove them as well.
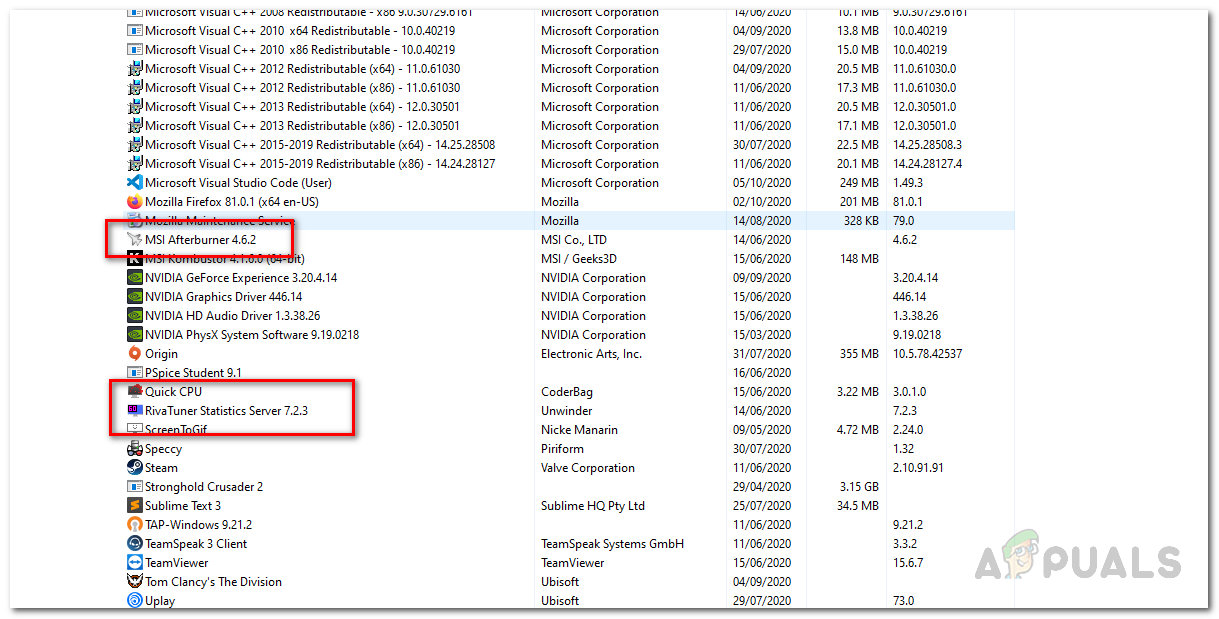
Uninstalling MSI Afterburner and Rivatuner - Double-click on the apps to start the uninstallation.
- After that, open up the game again to see if the issue has been resolved.
Method 5: Revert to Base Clocks
If you have your CPU or GPU overclocked, you will have to revert to the base clocks in order to fix this issue. As it turns out, the game is not so stable with some overclocked CPUs or GPUs. That is why you often encounter random crashes during the game. One workaround here would be to cap your FPS to a very stable limit, that might save you from resetting the defaults. However, in case that does not work out, you will have to go back to the default clock values. If you overclocked your GPU via MSI Afterburner, going back should be very easy. All you have to do is delete the profiles located in the Program Files (x86) > MSI Afterburner > Profiles directory. That will remove your settings.
You can use different third-party utilities such as CPU-Z or GPU-Z to find out the default base clocks of your CPU and GPU to verify after you have removed the overclock.
Method 6: Update BIOS
Finally, if none of the above solutions work out for you, it might be that the issue is being caused by your BIOS firmware. In such a scenario, what you will have to do is simply install the latest update available for your BIOS and then see if the issue persists. This has been reported by a user who was encountering the same error message and updating BIOS circumvented the problem for him. Updating your BIOS can differ depending on your manufacturer. However, instructions are often provided by the manufacturer on their website and all it takes to achieve the desired result is a simple Google search.
Once you have updated your BIOS, open up the game to check if the issue has been resolved.


i love this webiste and specially kevin my love