How to Create Xbox Custom Gamerpic on Xbox One Windows 10?
Gamerpics on Xbox allow players to use images for expressing something about themselves to the worldwide gaming community, just like avatars or profile pictures on PlayStation. It enables them to let others get a glimpse of their personality. Gamerpics are not mandatory to have but they give a nice touch to a player’s profile. We live in a modern world of customization so it’s even better if players get to have the freedom to create custom gamerpics or avatars using any picture they like. Xbox gives you that freedom within the constraints of healthy taste, moral, and social responsibility.
There are few things to keep in mind before creating your custom gamerpic which are as follows:
- If it is a child account then the user cannot upload customized pictures. This option is only available for adult accounts.
- The image size ratio should be 1:1 and at least 1080 pixels i.e. 1080 x 1080. If you use any other resolution picture such as 1920 x 1080 then you won’t get to have a focus on the desired area of the picture, it will eventually get cropped out.
- Xbox only has one saving slot for customized images in the gallery. In case, you want to swap one custom picture with another and later you want the previous one back? You will have to make the first picture again.
- Xbox verifies your gamerpic once you are done with customization. Usually, it does not take long.
Below are the methods with proper guidance for customizing your gamerpic according to the platform.
Method 1: Creating a Custom Gamerpic on Xbox One Console
- Press Xbox Button on Xbox One Controller to open the guide menu.
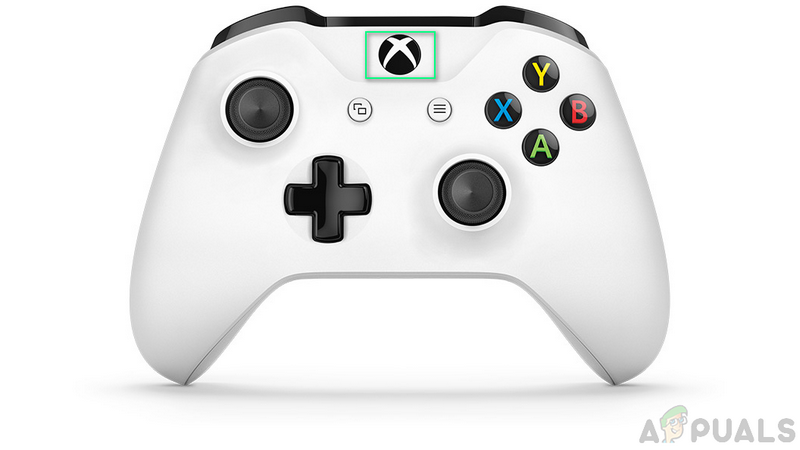
Xbox Button - Drag the selection to My profile by moving the joystick up and pressing button A on the controller.

Selecting My Profile - Select Customize Profile by using joystick and button A on the controller.
- Select Change gamerpic.
- Select Upload a custom image.
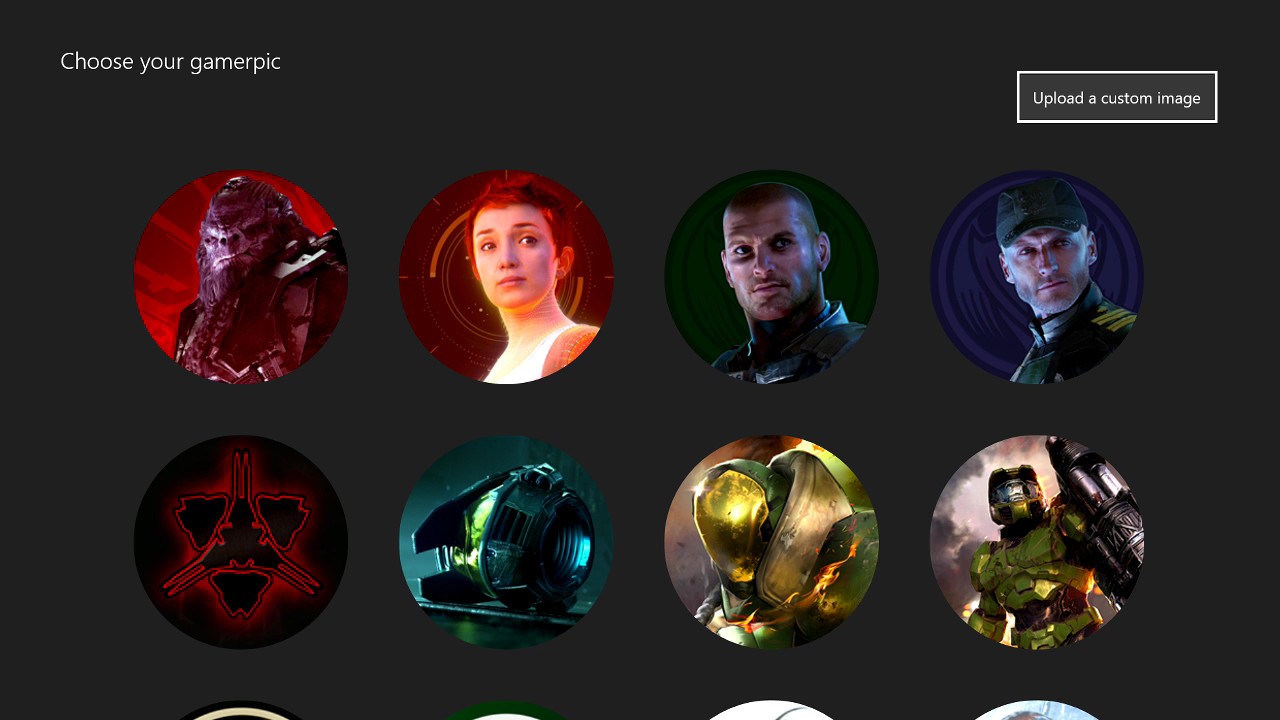
Uploading a custom image - A UWP File Picker window will appear. Locate your avatar and select it by pressing button A on the controller.
Note: Any picture has to be at least 1080 x 1080 pixels size. Alternatively, you can press the view key on your controller to switch to Photos. It will show all the pictorial data stored on your One Drive account. Locate your avatar and select it by pressing button A on the controller.
Switching to Photos - Once you are done with the selection, the next step is to crop it as you desire using the controls available on the screen.
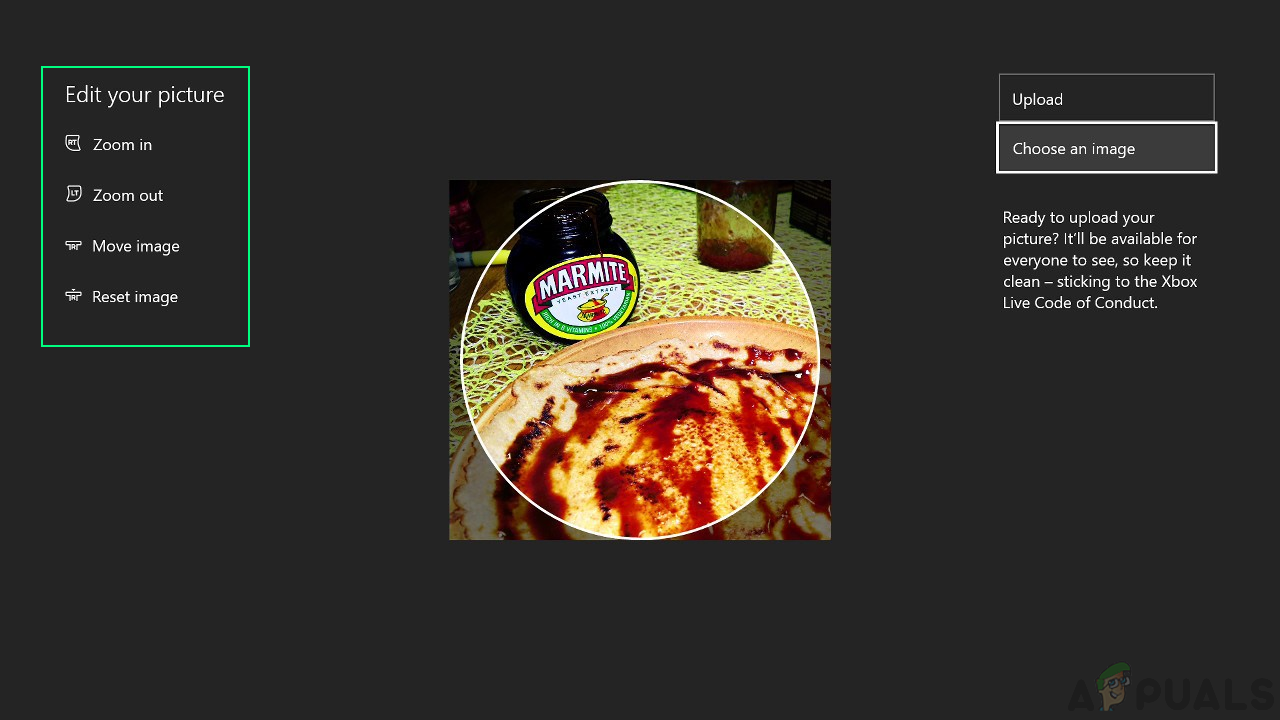
Cropping gamerpic - As soon as you get finished, select Upload by pressing button A on the controller. Microsoft will verify and approve your picture settings, usually takes around 2 minutes.
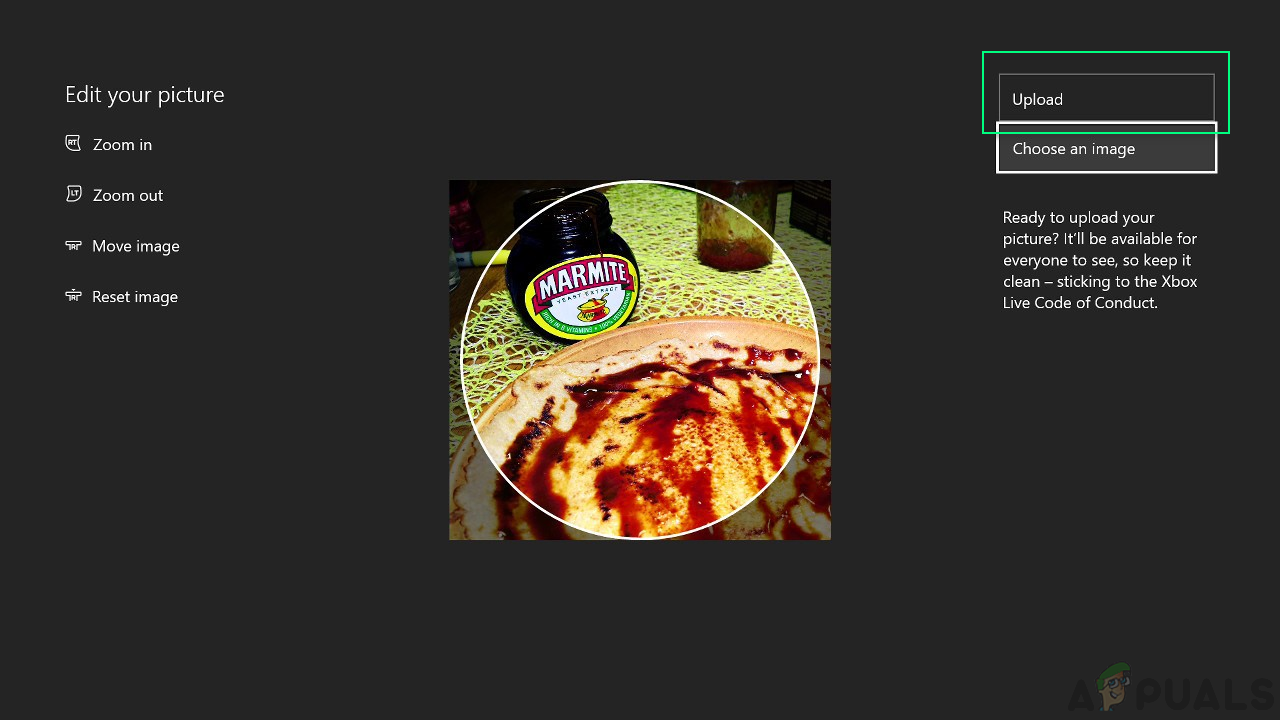
Uploading gamerpic
Method 2: Creating a Custom Gamerpic on Windows 10
- Click Start and open Xbox Console Companion.
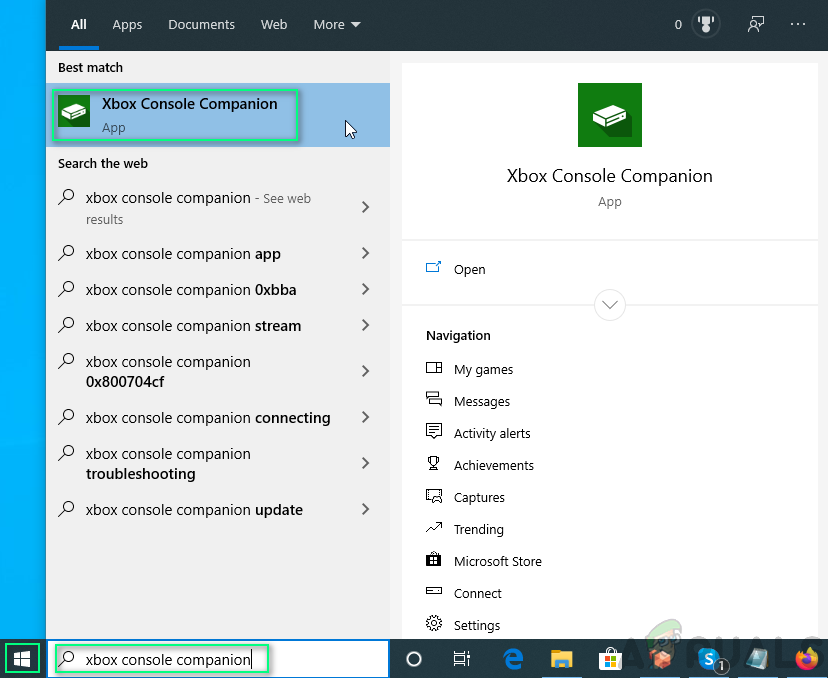
Opening Xbox Console Companion - Click Avatar Circle in the left column to open your Xbox profile.
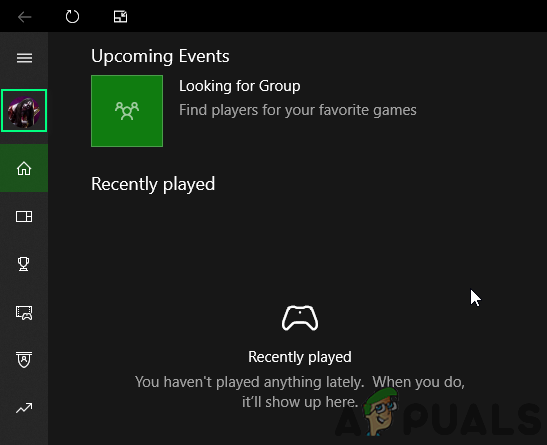
Selecting avatar circle - Select Customize.

Customizing profile - Select Avatar Circle. (Avatar circle will turn green when you place your cursor on it)
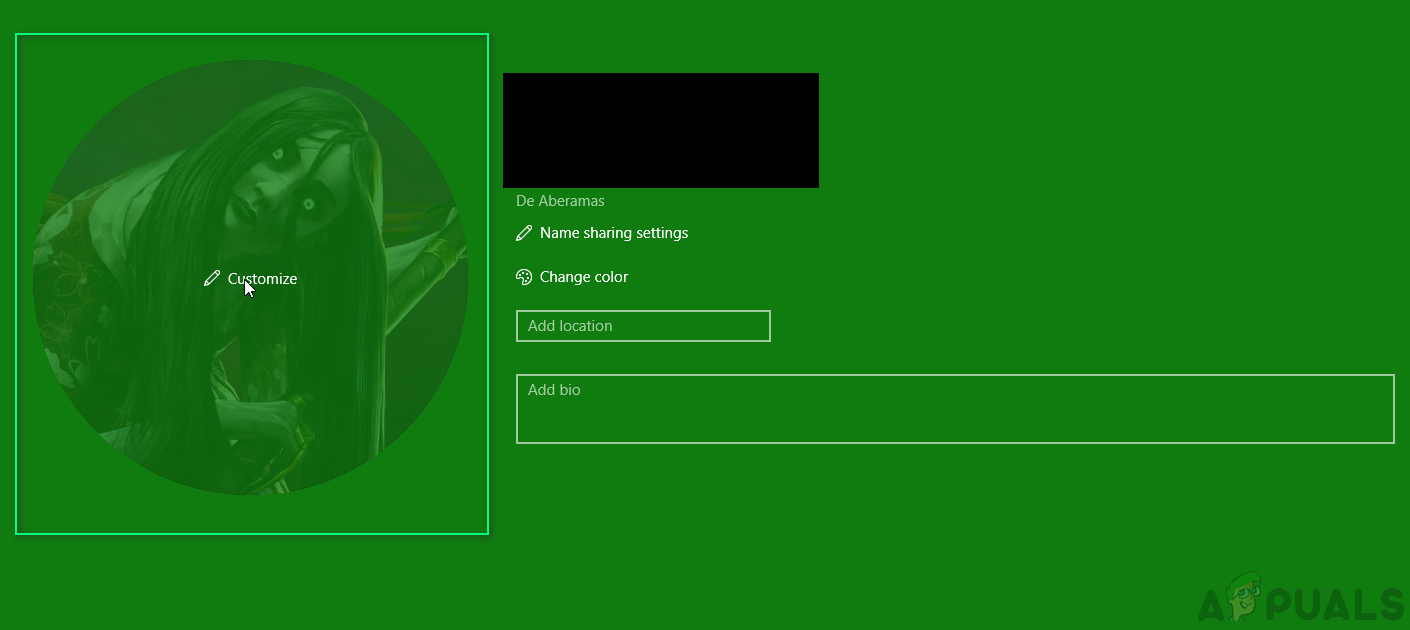
Changing gamerpic - Select Choose a custom picture. This will open an explorer window.
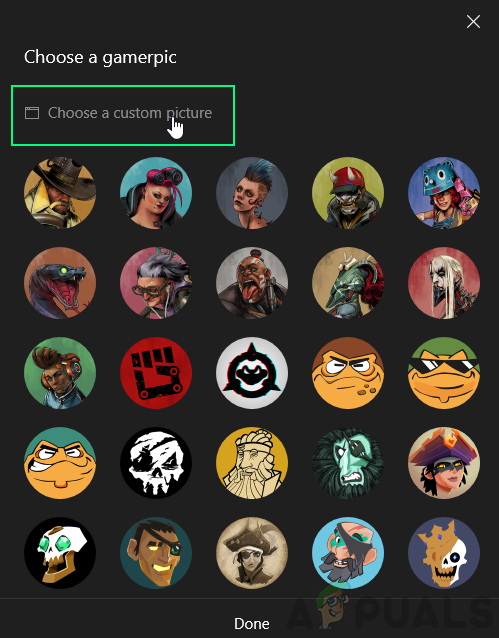
Choosing a customer gamerpic - Navigate to the picture location, select the picture and click Open.
Note: Any picture has to be at least 1080 x 1080 pixels size.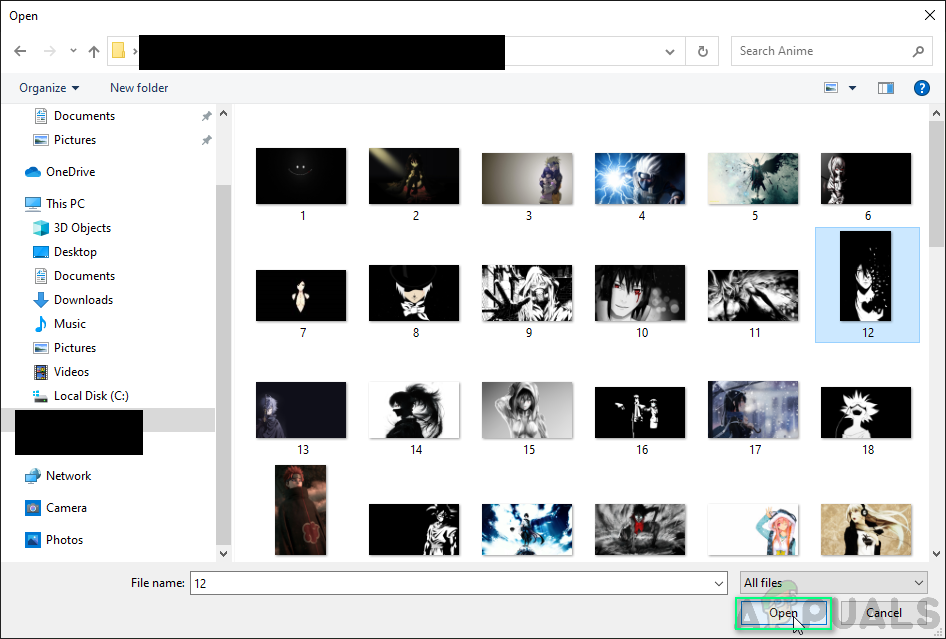
Selecting profile picture - Crop the picture using the mouse. Once you are done, click Next > Upload. (Click Go back if you still need to make some changes to picture)
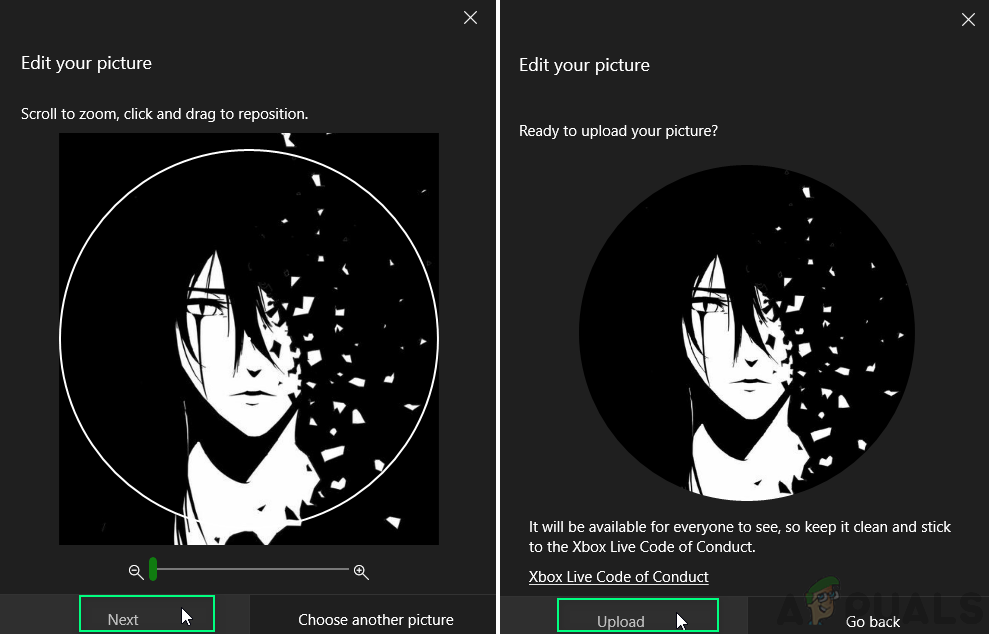
Uploading gamerpic


