How to Create a template from Amazon EC2 Instance
Creating a launch template allows you to create a saved instance configuration that can be reused, shared, and launched at a later time. Templates can have multiple versions. In this article, we will show you how to create a template from the existing Amazon EC2 instance. This article consists of two parts. The first one is about creating a new template from the instance and the second part is about launching a new instance from the template.
Part I: Create a template from the instance
- Login into AWS Management Console
- Click on Services in the main menu and then click on EC2
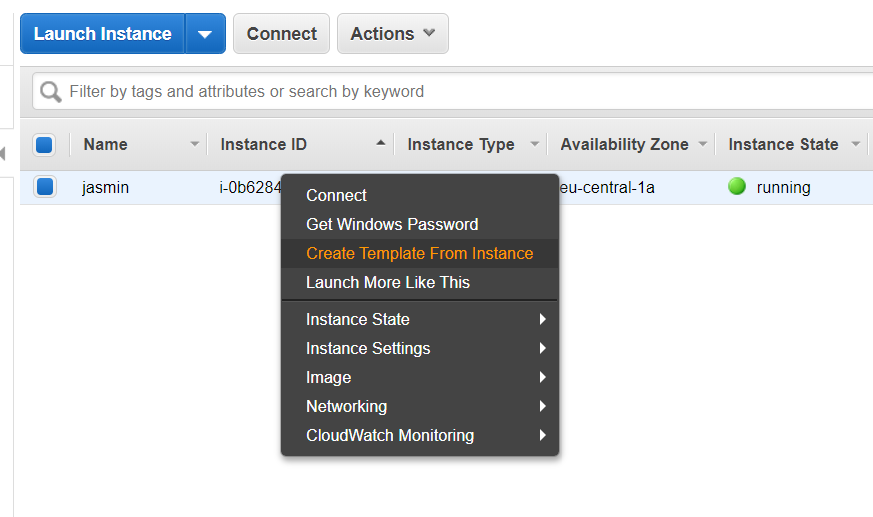
- Click on Running instances
- Right click on the instance and then click on Create Template From Instance
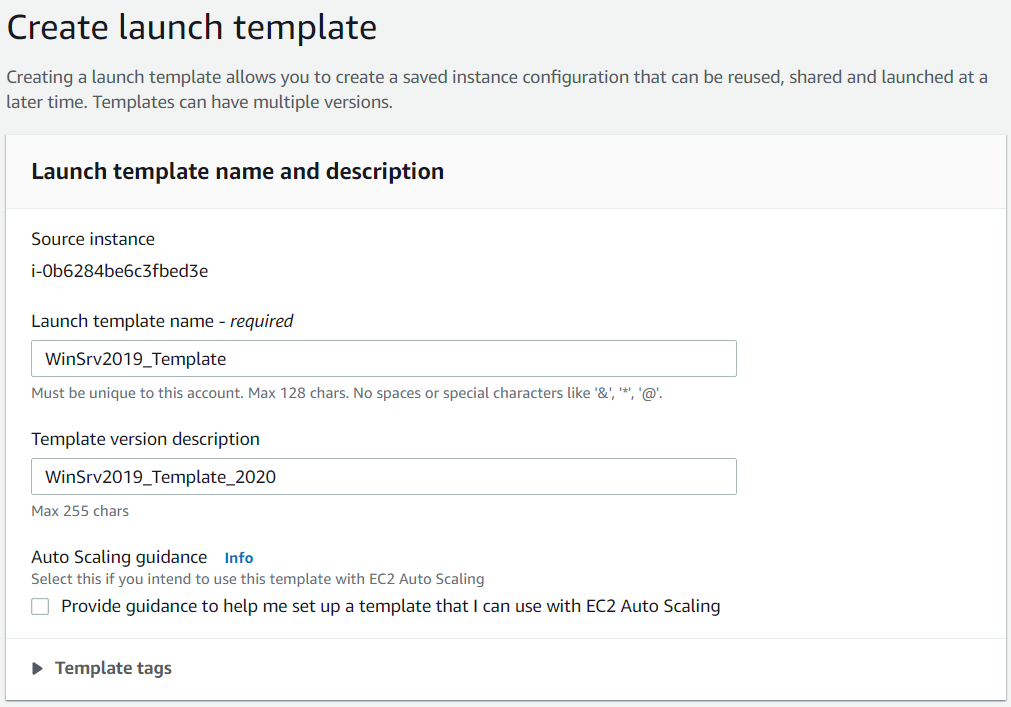
- Launch template name and description.
- Launch template name – define the template name. In our case it is WinSrv2019_Template
- Template version description – define the template version description. In our case it is WinSrv2019_Template_2020
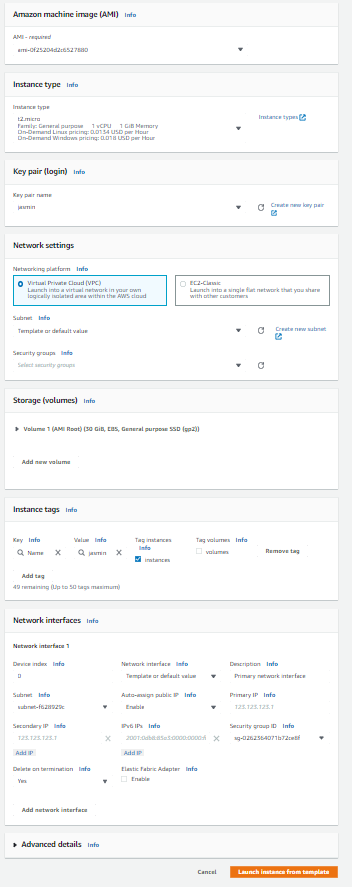
- Launch template contents. Specify the details of your launch template below. Leaving a field blank will result in the field not being included in the launch template.
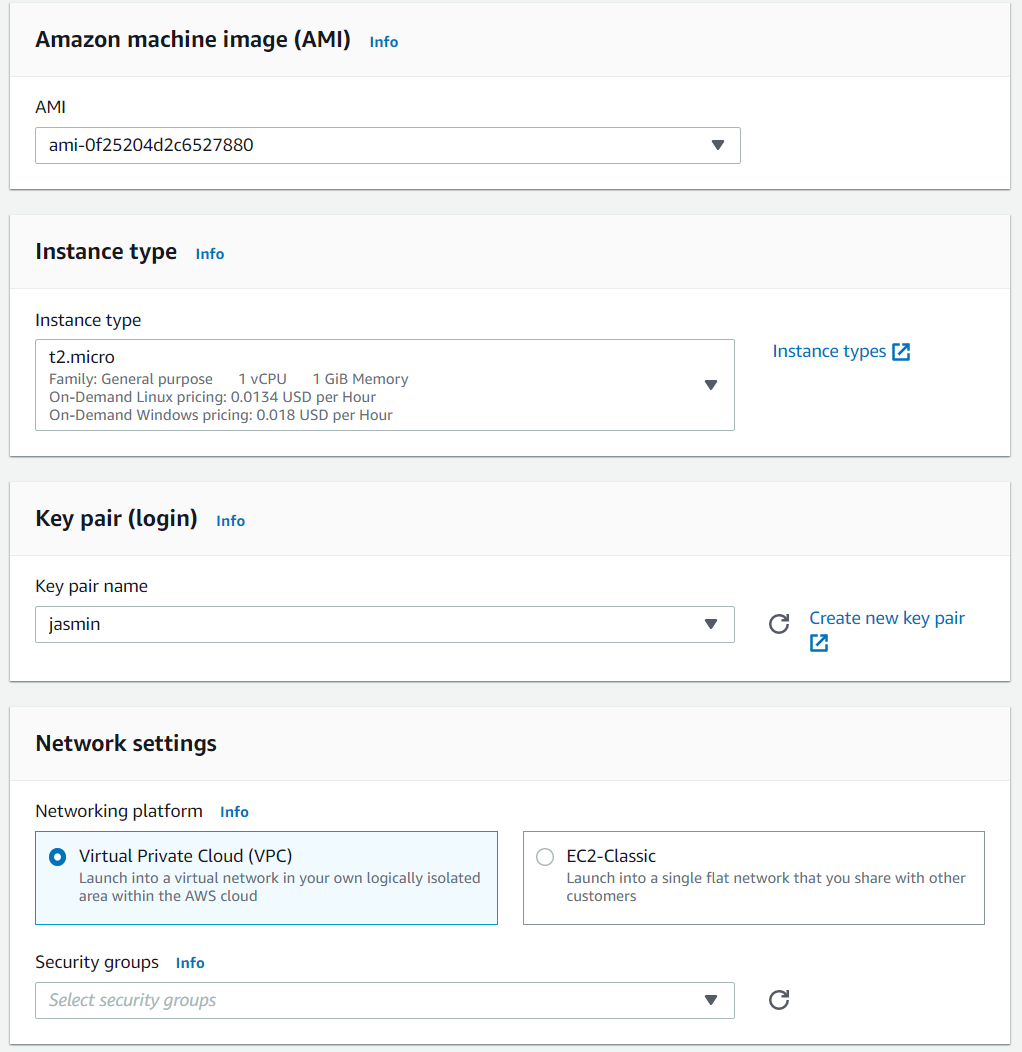
- AMI – chose the AMI image. An AMI contains the software configuration (operating system, application server, and applications) required to launch your instance.
- Instance type – choose the instance type based on your needs. In our case, we will use t2.micro instance.
- Key pair – use an existing key pair or create a new one. In our case, we will use the existing key pair.
- Networking platform– choose between VPC and EC2-Classic. Please note, certain instance types must be launched in a VPC. Launching into EC2-Classic with an incompatible instance type will result in a failed launch. In our case, we will use VPC.
- Security groups – A security group is a set of firewall rules that control the traffic for your instance. We will not use any security group.
- Storage (volume) – use an existing volume or create a new one. In our case, we will use the existing volume, which is 30 GiB, EBS, General purpose SSD (gp2).
- Instance tags – we will use the existing tags. A tag is a label that you assign to an AWS resource. Each tag consists of a key and an optional value, both of which you define.
- Network interfaces – configure the existing network interface or create a new one. In our case, we will use the existing configuration.
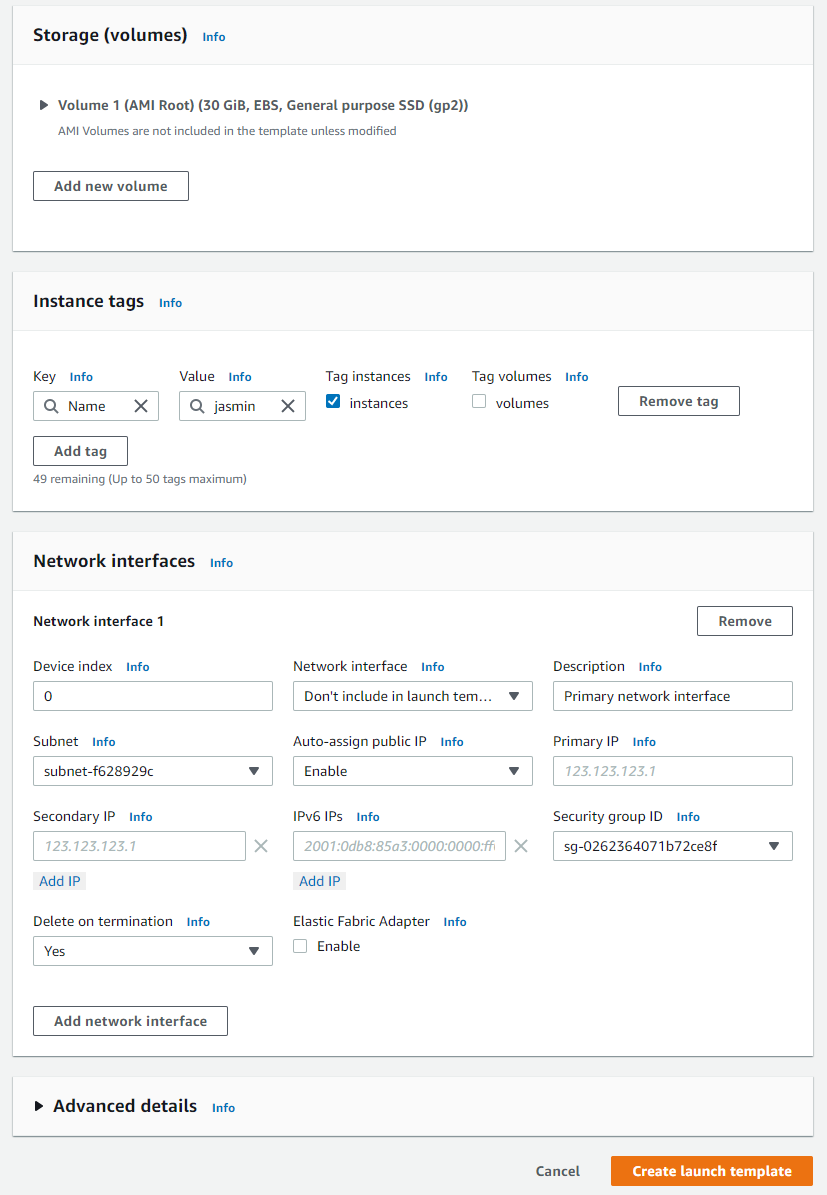
- Click on Create launch template.
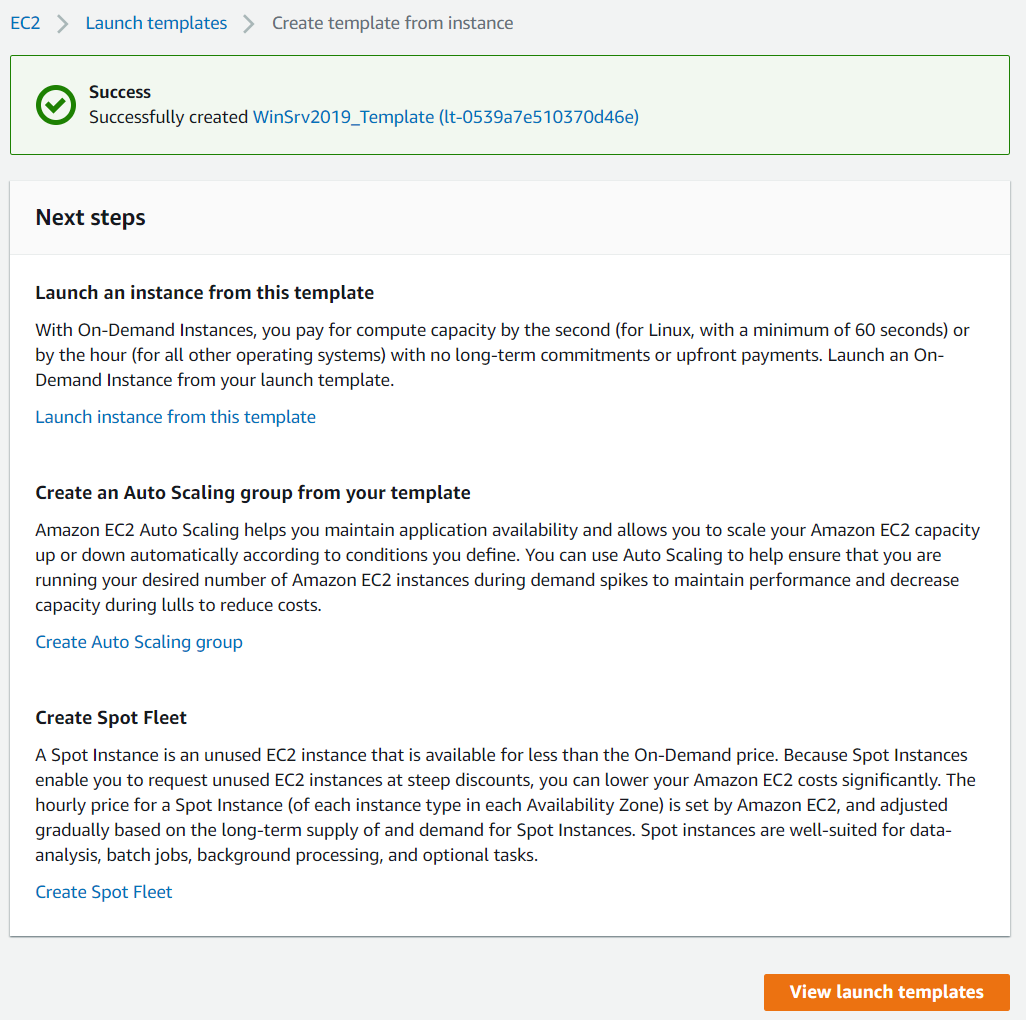
- You have created a new template. Click on View launch templates.
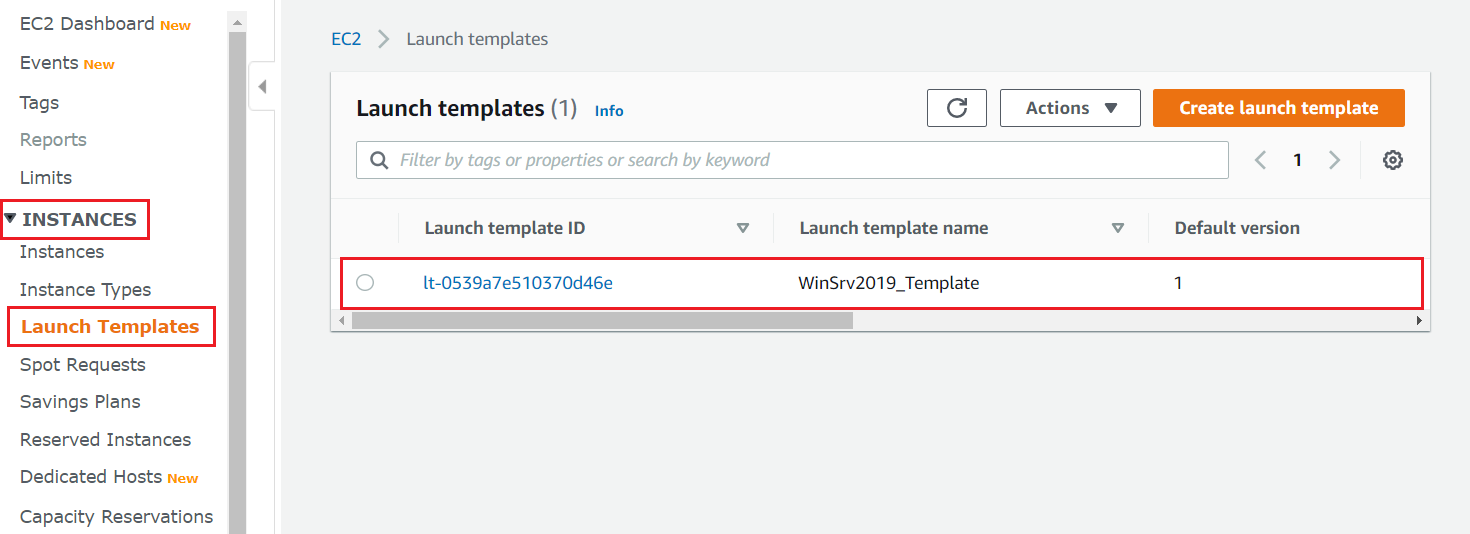
Also, you can see available templates by clicking on INSTANCES > Launch Templates. Now, you can create a new instance by using this template. In order to create it, please follow the procedure from part II.
Part II: Launch instance from a template
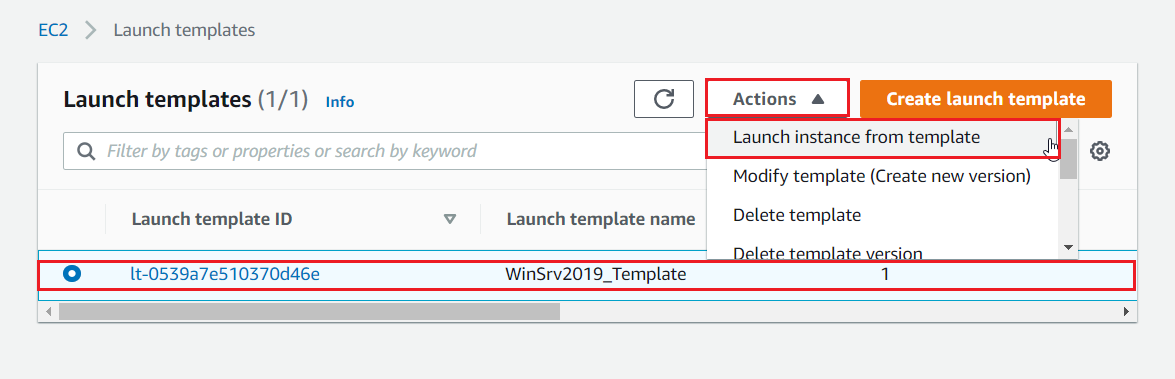
- Select the template ID and then click on Action > Launch instance from template. This will create a new instance by using configuration from this template. If you would like to modify configuration before creating a new instance, click on the Modify template (Create new version).
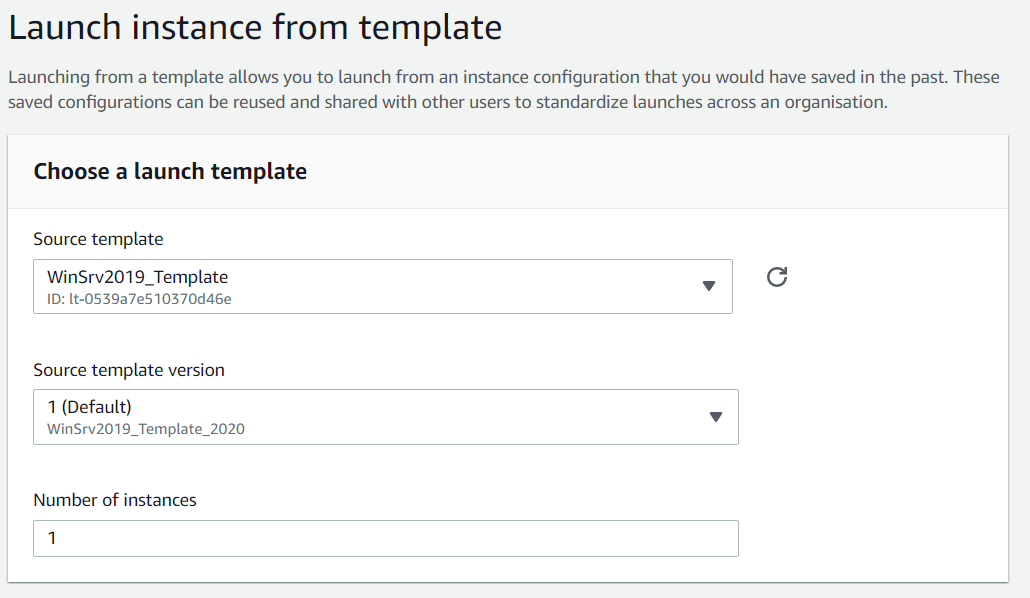
- Fill in the form by defining the source template, source template version, and the number of instances you want to create from this template. In our case, we will choose template name WinSrv2019_Template and we will create one instance.
- Configure instance details based on your needs. We will keep the default configuration from the template.
- Click on Launch instance from template
- You have successfully initiated the launch of instance “ID”. Please click on ID. In our case it is i-08164e93e65bb1ae4.
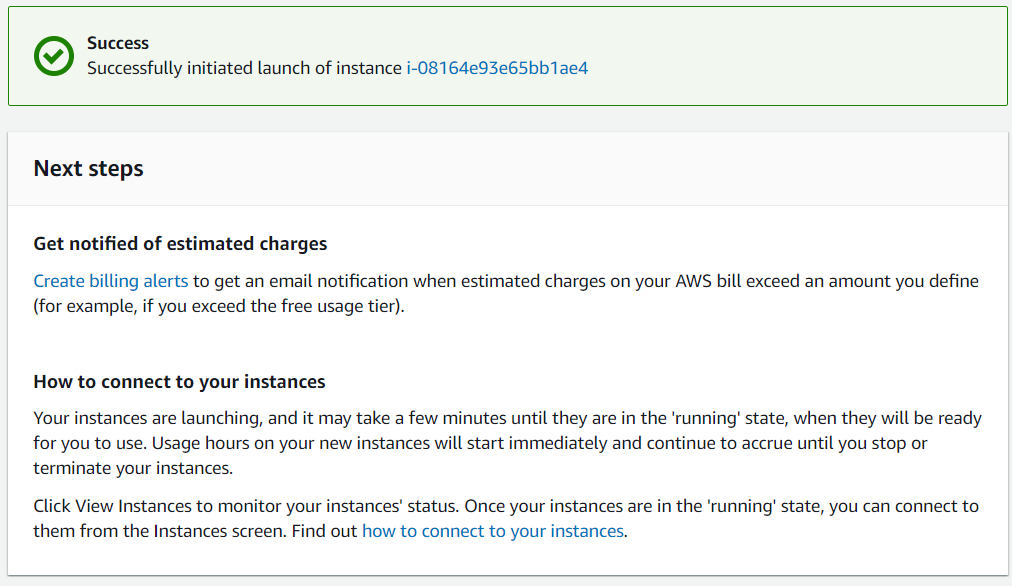
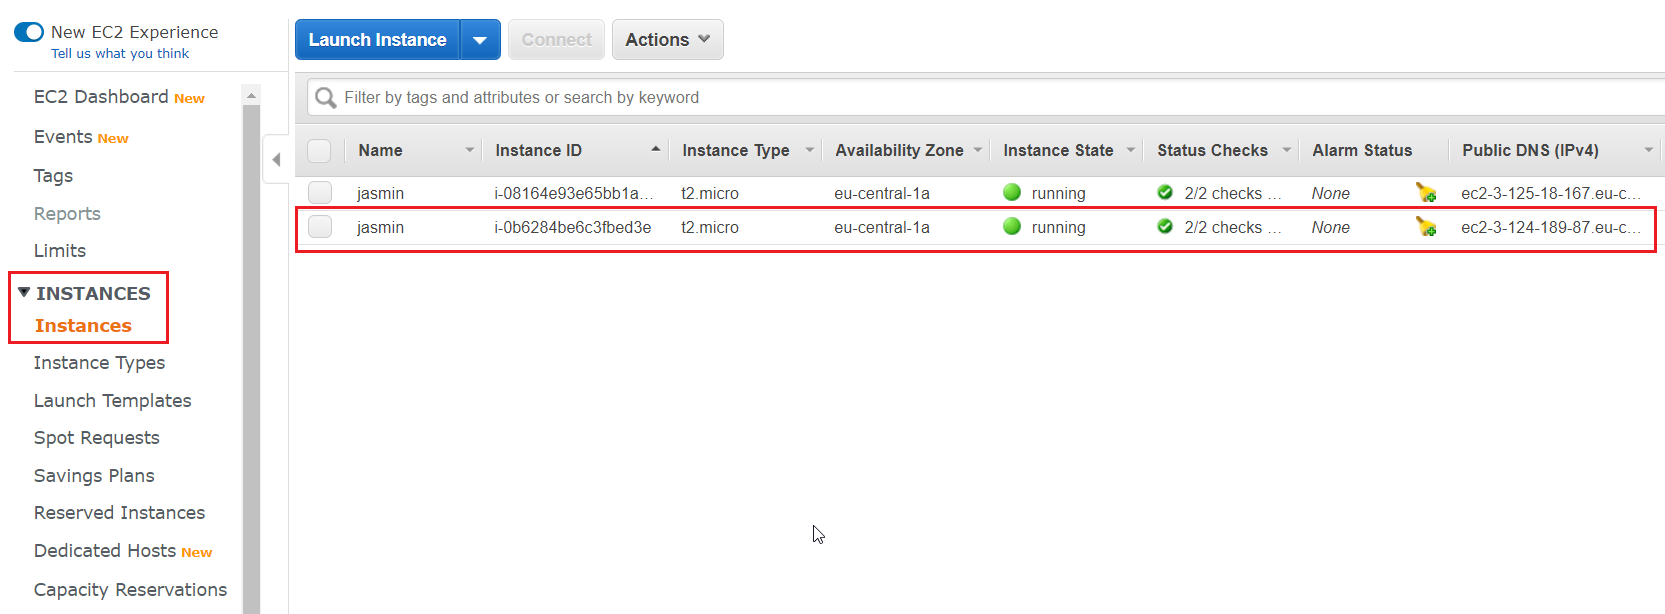
- Click on INSTANCES > Instances to access a new instance. It will take a few minutes until the instance is initialized and ready to be used.


How to do this with the js sdk ?