How to Fix ‘Runtime Error: Could not call proc’ in Windows?
When unwanted malware enters your computer, it directly affects how your system functions by corrupting the system files. This prevents you from uninstalling certain programs from your system. This causes the system to trigger the Runtime Error and you receive the “Runtime Error. Could not call proc” message.
In this guide, we will be showing you the methods to fix the Runtime Error. Could not call proc.
1. Perform the system scans
The major cause of this Runtime error is the presence of unwanted malware that causes the system to face corruption within its files. Therefore, performing the system scans will help remove the corruption from the affected system files through a complete scan. Below are the instructions for performing the system scans in Windows:
- Open the Windows Start Menu by pressing the Win key.
- Type “cmd” and right-click on the app.
- Select the “Run as administrator” option to gain administrative control over the app.
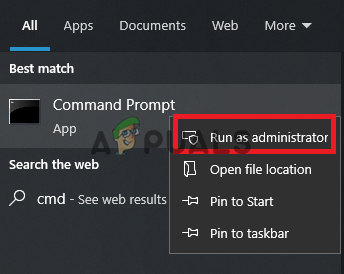
Running command prompt as administrator - Perform the system file checker by typing the following command and pressing the Enter key:
sfc /scannow
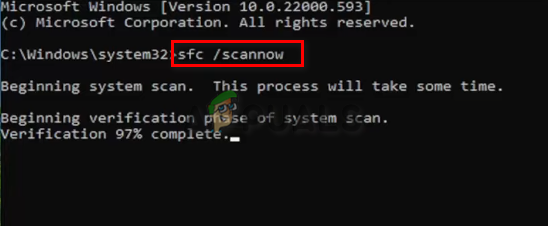
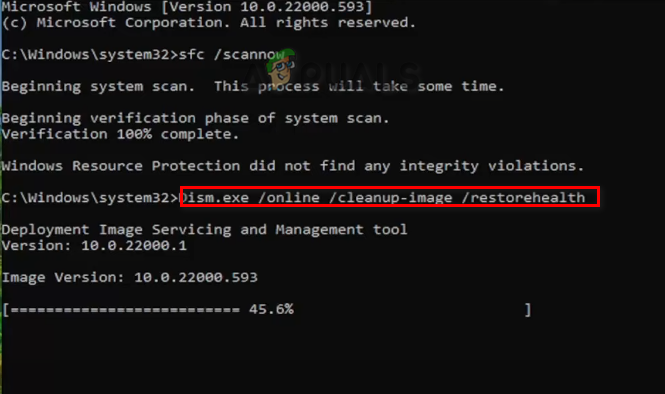
Running system file checker on the command prompt. - After the system files are checked and repaired, you must run the DISM command as well. Simply paste the following command into the command prompt and press the Enter key:
Dism.exe /online /cleanup-image /restorehealth
Running DISM Command on the Command Prompt - After each scan is completed, restart your computer.
- Open the Windows Start Menu and click on the Power option.
- Select Restart to perform a system restart.
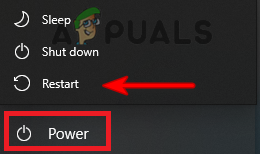
Restarting the computer
2. Repair the application from Windows settings
Windows comes with a built-in feature that allows you to repair the corrupted programs and applications installed on your device. Therefore, performing an application repair will help you fix the application at fault causing the Runtime error. These are the steps for using the repair feature in Windows:
- Open the Windows Setting by pressing the Win + I keys together.
- Navigate to Apps > Apps and features.
- Search for the application at fault in the search box and press the Enter key.
- Click on the Advanced options of the application.
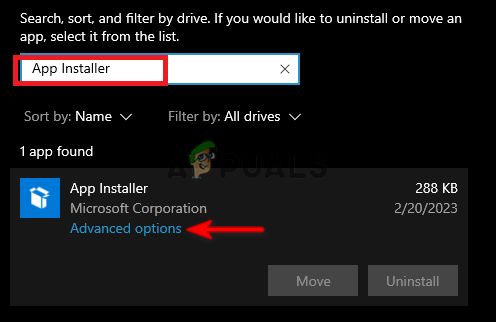
Opening application Advanced options - Select the “Repair” option under “Reset” to repair the corruption in the application.
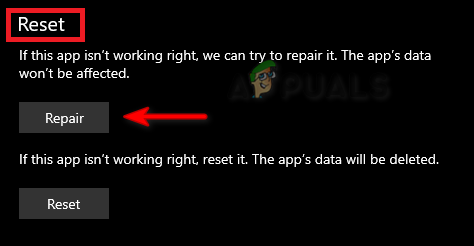
Repairing the application Note: If the error persists, you can reset the application to fix the error. However, this will delete all of the saved data. - To Reset the application, click on the “Reset” option below “Repair.”
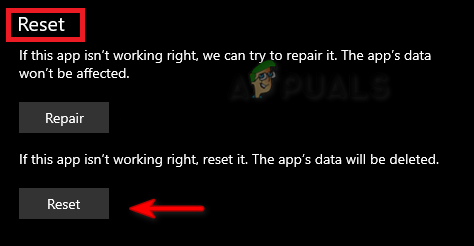
Resetting the application - After the application is reset, restart your computer and make the changes.
3. Download the latest Microsoft Visual C++ Redistributable
Having an outdated Microsoft Visual C++ Redistributable also becomes a reason why you are facing the Runtime error as it prevents interference with certain programs that support the latest MS Visual C++. Therefore, you must follow the instructions below to download the latest Microsoft Visual C++ Redistributable:
- Open the Run Command by pressing the Win + R keys together.
- Type “control panel” and click OK.
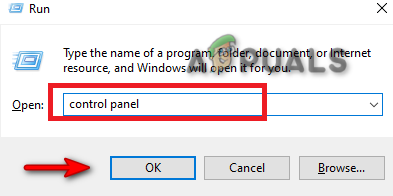
Opening the control panel - View the icons in large by selecting “Large icons” next to “View.”
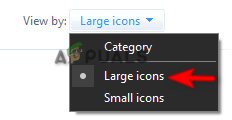
Viewing icons in large size - Click on the Programs and features option.
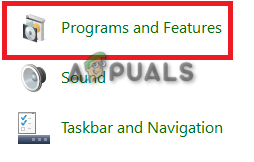
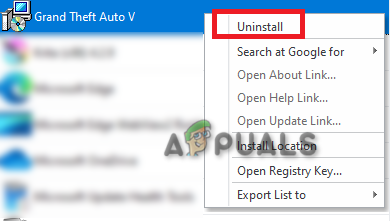
Opening programs and features - Right-click on the Installed Microsoft C++ and select the “Uninstall” option.
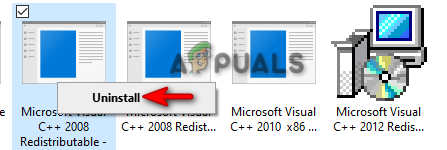
Uninstalling the program - Now, restart your computer and visit the Official Microsoft C++ Redistributable Website.
- Download both x64 and X86 versions of the package by clicking on each link one at a time.
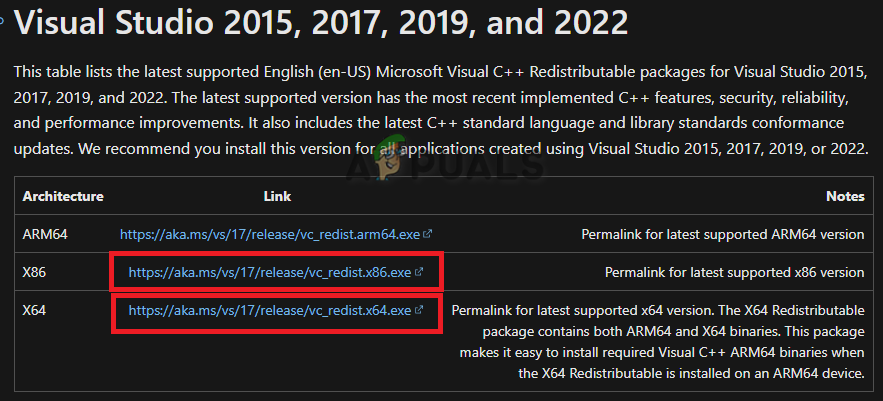
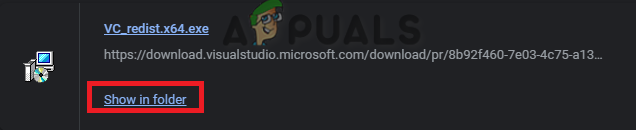
Downloading the latest MS C++ Redistributable - open the downloads page by pressing the Ctrl + J keys together.
- Click on “Show in folder” to open the ISO file location.
Locating the file - Right-click on the EXE file and select “Open.”
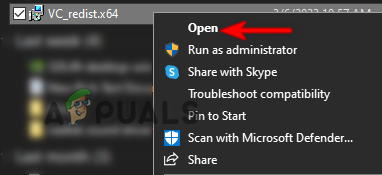
Opening the EXE file - Run the setup by clicking on the “Run” option.
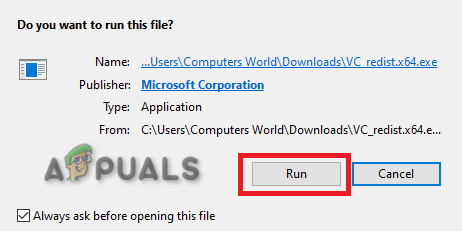
Running the setup - Check the box to agree with the License agreement and click on the “Install” option.
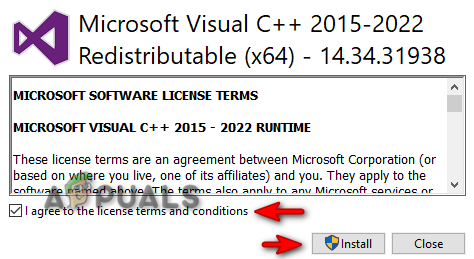
Installing the MS Visual C++ Runtime - After the installation is completed, restart your computer to make the required changes.
4. Boot the system on safe mode
Safe Mode is a designed feature in Windows that allows the system to boot with a minimal set of drivers and default programs. This state helps in detecting the issue of certain programs. Therefore, booting your system in Safe Mode will help prevent the error from occurring when removing or installing your desired program/application.
- Start your computer in Safe Mode.
- Open the Run Command by pressing the Win + R keys together.
- Type “control panel” and click OK.
Opening the control panel - View the icons in large by selecting “Large icons” next to “View.”
Viewing icons in large size - Click on the Programs and features option.
Opening programs and features - Select the program at fault and right-click on it.
- Click on the Uninstall option and remove the program from your system.
Uninstalling the program - After the program has been removed, get out of Safe Mode.
5. Use a third-party removal software
If the error persists, you can manually remove the program or application through the use of third-party software. Follow the list of instructions below to install and use third-party software to uninstall the program at fault from your system:
- Go to the Revo Uninstaller Website.
- Download the software by clicking on the Download option.
- Press the Ctrl + J keys together to open the downloads page.
- Open the file location.
- Right-click on the setup and select “Open.”
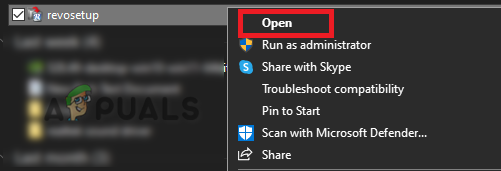
Opening the file setup - Click on the Run option and start the Installation.
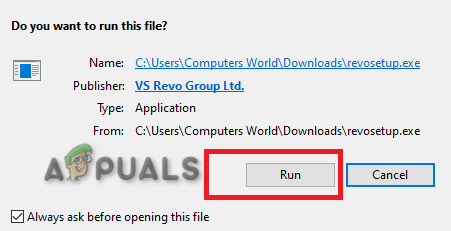
Running the file setup - Select the language as per your preference and click OK.
Selecting language - Accept the license agreement.
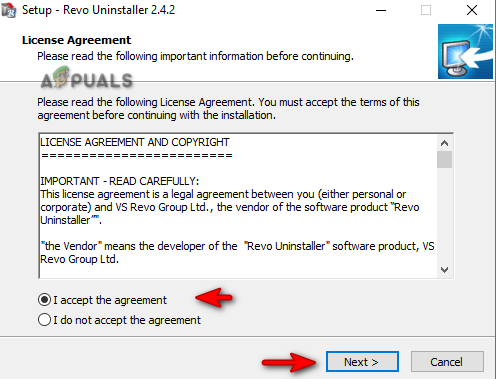
Accepting terms and conditions - Click on Install to start the installation process.
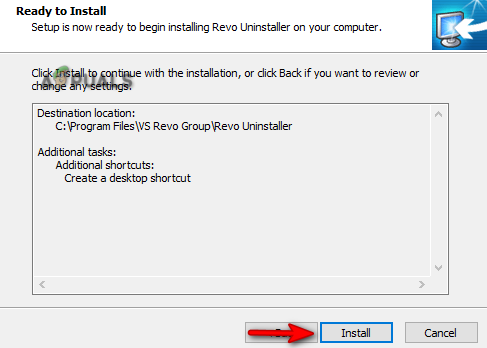
Installing the program - Launch the program by clicking on Finish and checking the “Launch” box.
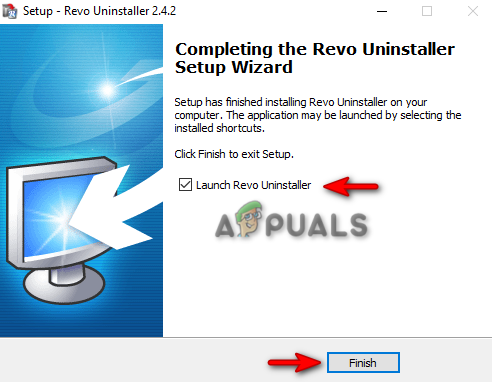
Launching the program - Right-click on the program at fault and select the “Uninstall” option.
Uninstalling program - Restart your computer to make the necessary changes.
6. Reinstall Windows
Windows 11 ISO file allows you to install Windows from the scratch and helps upgrade all the required files to run the system properly. When facing errors related to installing and uninstalling programs from the system, this tool will help you overcome them through its upgrade process.
- Open the Official Microsoft Website.
- Select the download type “Windows 11” under “Download Windows 11 Disk Image (ISO)” and click the Download option.
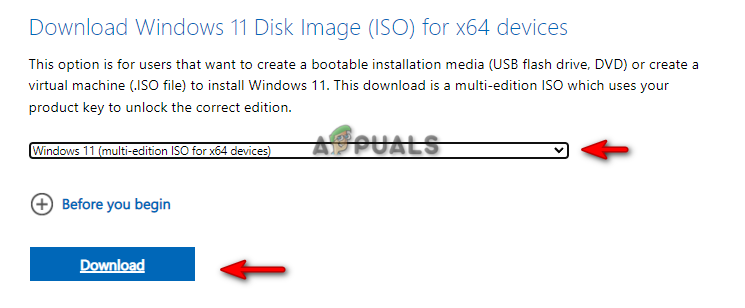
Selecting download type - Choose the language as per your choice and click on the Confirm option.
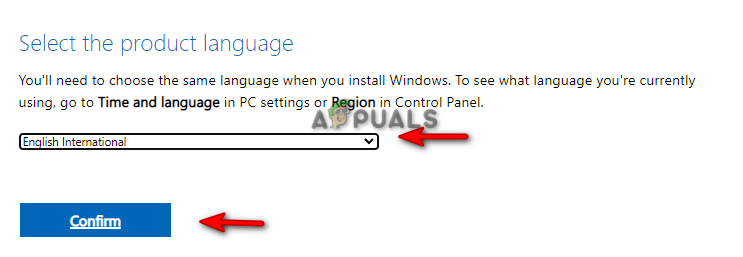
Selecting the language of the product - Now, download the Windows ISO by clicking on the “64-bit Download” option.

Downloading Windows 11 ISO - After the download is completed, open the downloads page by pressing the Ctrl +J keys together.
- Click on “Show in folder” to open the ISO file location.

Opening the file location - Right-click on the file and select the “Mount” option.
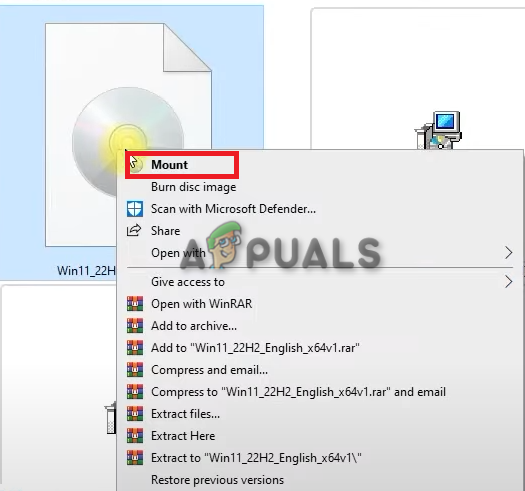
Mounting the ISO file - Double-click on the setup and start the Installation process.
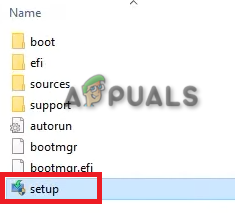
Installing Windows 11 setup - After the installation is completed, you will have successfully upgraded to Windows 11.


