How to Convert JSON to Excel?
JSON or Javascript Object Notation files are heavily used for storing different kinds of data. In addition to storage, they are also used to transfer data between two servers and you will often find this when communicating with a web server through an API or whatever. JSON files have a pretty basic structure i.e. they have arrays and objects. In a typical JSON file, you will find key-value pairs that store data inside various objects that are stored in an array. The data can be accessed by providing the index along with the key of the value.
As it turns out, the structure of a JSON file, while basic to a programmer or developer, can be tedious to read for a normal user. Fortunately, in such a scenario, you can easily convert a JSON file into a Microsoft Excel sheet that can be easily navigated by an average user as well. This is because Excel sheets offer better readability and when you have a large JSON file, converting it into an Excel sheet can be the way to go if you want to digest the data inside more quickly.
In order to convert a JSON file to an Excel sheet, you can use the Get & Transform feature of Microsoft Excel. In older versions of Microsoft Excel, this might be called Power Query. As it turns out, in addition to the manual method of converting a JSON file to Excel, you can also use an online tool to do the job for you. With that said, let us get started and show you how to convert JSON to excel pretty easily.
Convert JSON to Excel
Converting a JSON file to an Excel worksheet is pretty simple and the process is quite straightforward. You start by importing the desired JSON file to Microsoft Excel. Once the file has been imported, different features of the Excel app are used to convert the data inside the JSON file into a table. As it turns out, Excel comes with a ton of different functions that let you manipulate the data that you have inside an Excel file. On top of that, you can secure your data by password-protecting Excel files.
Once the data has been converted into a table format, you can choose which data you are interested in. This will allow you to filter the data inside the JSON file and only list down the values in columns that are required. All of this is done inside the Power Query Editor window. Follow the instructions given down below to do all of this:
- First of all, go ahead and open up an Excel file on your computer.
- Once you have an Excel file open, click on the Data option provided in the menu ribbon.
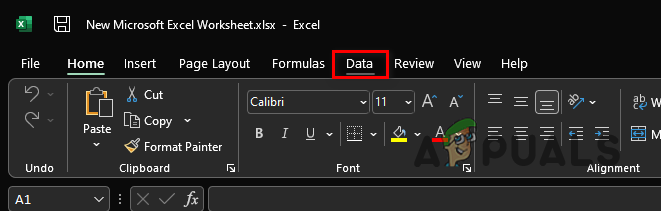
Data option in Menu Ribbon - After that, underneath the menu ribbon, click on the Get Data drop down menu provided in the left most corner.
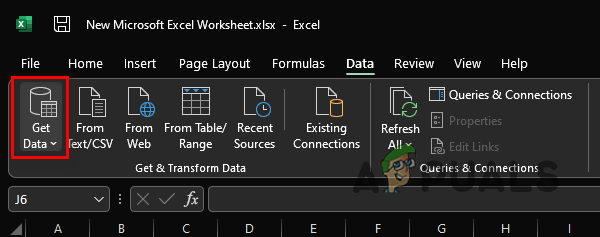
Excel Get Data Option - From the drop down menu, choose the From File > From JSON option.
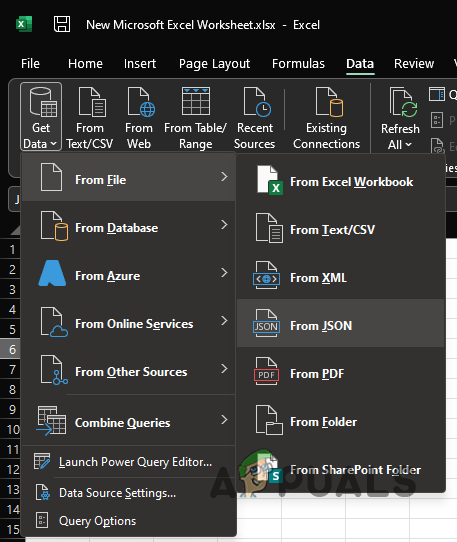
Loading JSON File to Excel - On the Import Data window that comes up, navigate to where the JSON file is stored and open it up. This will import the JSON file to your Microsoft Excel worksheet.
- Once you have imported the JSON file, a Power Query Editor window will open up.
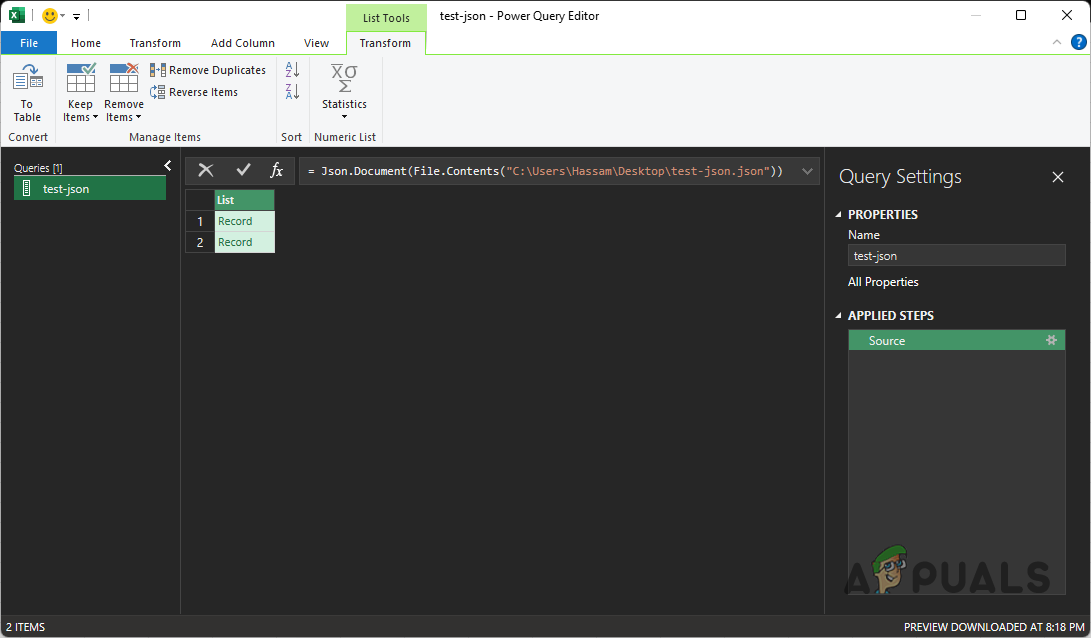
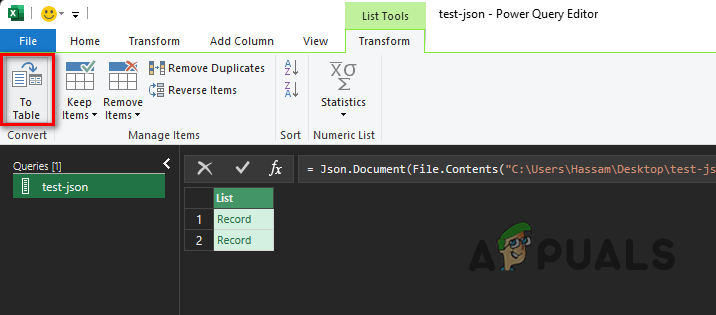
Power Query Editor - At the top left corner, click on the To Table option provided.
To Table Option - On the follow up dialog box, keep the default options and then click on the OK button.
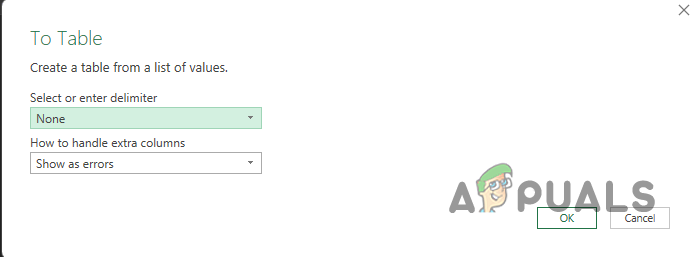
Converting to Table Format - With that done, the data has been converted into a table. However, you still are not able to see the data.
- In order to see the data, you will have to expand the icons. To do that, click on the Expand Column icon provided (the one with double arrows pointing away from each other).

Clicking the Column Expand Icon - On the dialog box that comes up, choose the columns that you wish to see and uncheck the ones that you want to be excluded. With that done, click the OK button.
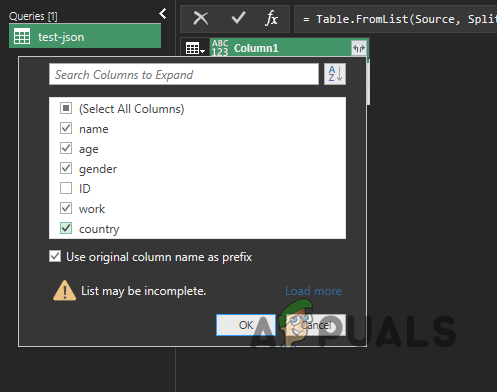
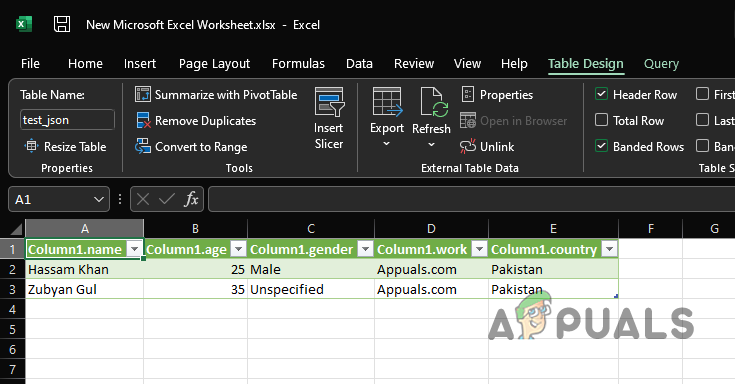
Choosing which Columns to Show - Finally, you should be able to see the data listed down in separate columns.
- For your own convenience, you can choose to move the different columns on the sheet. To do this, right click on the header of a column and from the drop down menu, choose the Move option.

Moving a Column - From there, you can choose to move the column left, right, to the beginning or to the end.
- Once you are satisfied with the layout of your Excel sheet, click the Close and Load option provided.
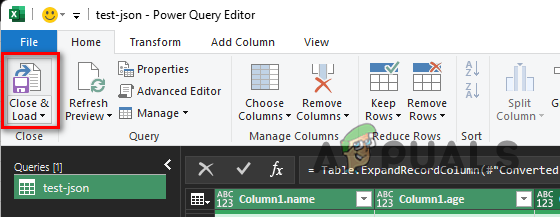
Close and Load Option - When you do that, the data will be imported to your Excel sheet from the Power Query Editor and you should be able to view the table.
Converted JSON to Excel - With that done, you have successfully converted your JSON file into an Excel worksheet.
Convert JSON File via Online Tool
Finally, as it turns out, in addition to the manual that we have mentioned above, you can also choose to save yourself all of the trouble of converting a JSON file manually and instead opt for an online tool. Using an online tool can be much easier and faster since it only requires you to upload the JSON file that you wish to convert into an Excel worksheet. There are multiple websites that offer this functionality and you can find them pretty easily via a single web search. So, if you are not feeling like going through all of the trouble of converting a JSON file manually, you always have the option of an online tool that will get the job done for you much quicker.