How to Configure EFS (Encrypted File System) in Windows 11?
If you share your computer with multiple users, you should consider protecting your own files. The reason is quite straightforward: you don’t want your projects or financial data to be accessed by other users with whom you share the computer, or accidentally exposed to the public.
The second reason is that you don’t want malware, which executes on another user’s rights, to compromise the integrity of your files.
One of the ways to do it is by using EFS (Encrypted File System). The Encrypted File System is a part of Windows 11, and it helps you encrypt your files and folders, protecting them from unauthorized access.
This article is about enabling and using the Encrypted File System in Windows 11.
How can I enable the Encrypted File System in Windows 11?
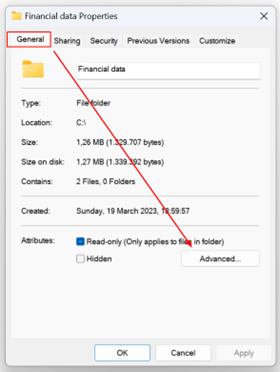
In order to enable the Encrypted File System on Windows 11, I use the folder ‘Financial data’ with two reports. You can apply the same scenario to any other folder.
- Open File Explorer and navigate to the folder you want to encrypt.
- Right-click on the folder and then click Show more options, and then click Properties.
- Click on General and then click Advanced.
- Under Advanced Attributes click Encrypt content to secure data.
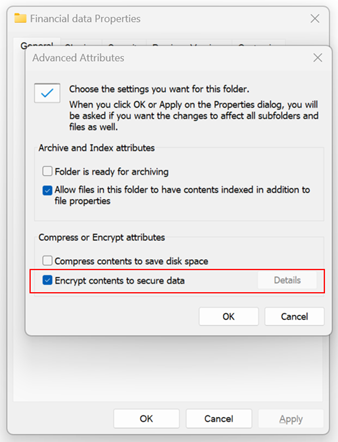
- Click OK, and then click Apply and OK.
- Click Apply changes to this folder, subfolders, and files and then click OK.
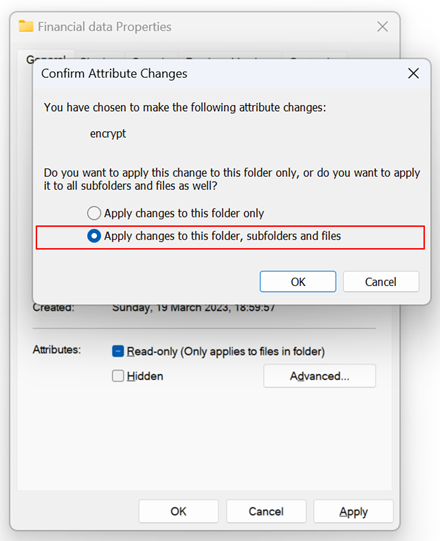
- Click OK.
- Close the window.
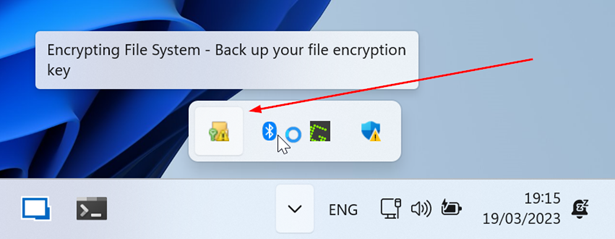
- A new pop-up notification will appear in the taskbar. Click on it to back up the file encryption certificate and key.
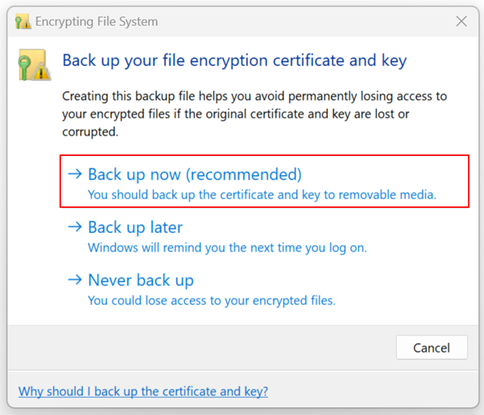
- Click on “Back up now (recommended)” to back up the certificate and key to removable media. There are also two more options available: “Back up later” (Windows will remind you the next time you log on), and “Never back up” (you could lose access to your encrypted files).
- Under ‘Welcome to the Certificate Export Wizard‘, click ‘Next‘.
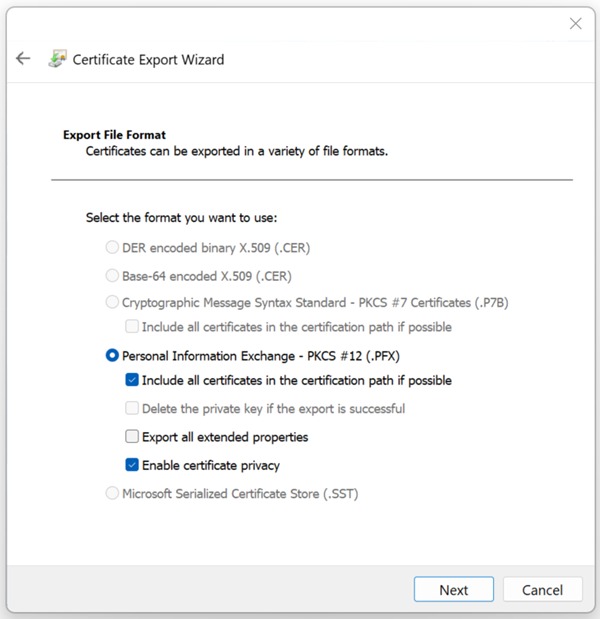
- Export the file format, and then click ‘Next.’ In the screenshot below, I exported the Personal Information Exchange – PKCS #12 (.PFX).
- To maintain security, you must protect the private key of a security principal by using a password. Select ‘Password,’ and enter a password with a minimum of 10 characters, including a lowercase letter, uppercase letter, number, and special character.
Under Encryption, you can choose between TripleDES-SHA1 or AES256-SHA256. I use the default option, TripleDES-SHA1.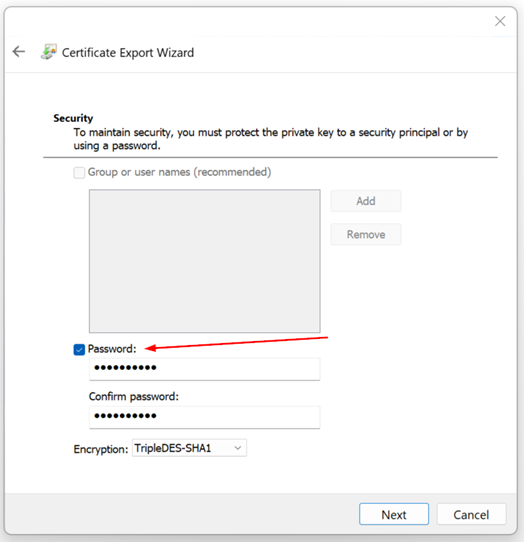
Once finished, click “Next.
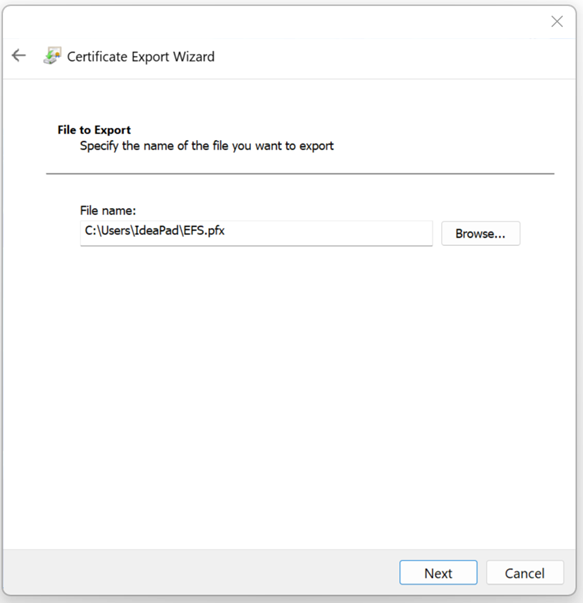
- Specify the name of the file you want to export and then click Next.
- Under “Completing the Certificate Export Wizard,” click “Finish.

- The export was successful.
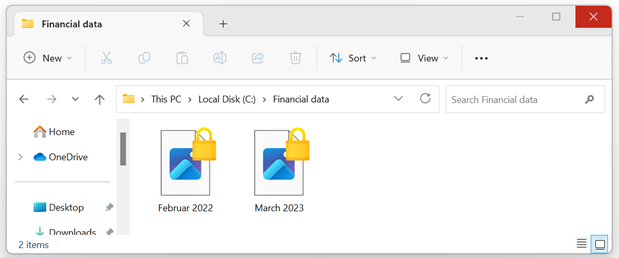
When another user tries to access your files, they will be blocked. First, when the user navigates to the file, he or she will notice a lock on the file. This means that the files are encrypted using EFS.
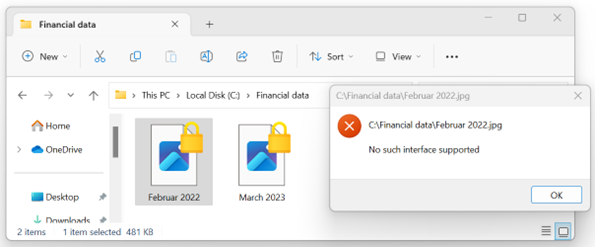
No, when a user tries to open the file, they will get an error as shown below.
Wrap up
If you are sharing your computer with multiple users, you should consider protecting your files from unauthorized access by other users or malware. Windows 11 supports a security feature called EFS (Encrypted File System). This article provides you with step-by-step instructions on how to do so.
Can you disable EFS (Encrypted File System) once it is enabled?
Yes, you can still disable EFS once it is enabled. We have a dedicated article on how to disable EFS in Windows 11.


