What is “PUABundler:Win32” Virus? How to remove it?
 Reviewed by Muhammad Zubyan
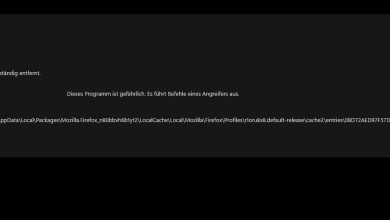
Windows Defender might have alerted you about a virus threat found on your computer, indicating the presence of specific malware starting with the name “PUABundler:Win32.” These alerts serve as warnings from Windows, notifying you about the potentially harmful content it has detected. If Windows Defender notifies you of a malicious virus on your system, it is crucial not to ignore it, as it can cause serious damage to your system.

These threats often enter your system through spam emails, infected websites, or by clicking on malicious links. Once this virus is installed on your computer, it begins to spread via Windows System files. This allows the malware to access all the information on your computer and even gain control over it. The virus can cause various issues, including:
- Unexpected issues with internet connectivity and applications.
- Freezing or slowdowns in computer performance.
- Difficulties in opening documents or accessing files.
- Unusual pop-up ads appearing while browsing online.
- Overheating and high CPU usage.
Detections like these are particularly dangerous because these can be used to attack users by stealing their private credentials, financial information, and more. If you suspect that your device has been affected by this specific virus, it is crucial to remove it as soon as possible.
1. Launch Windows in Safe Mode with Networking
Launching in Safe Mode is crucial since it allows you to start your computer with minimal programs and drivers. This helps because it stops the virus from running when the computer starts, making it easier to remove. To enter Safe Mode with Networking, follow these steps:
- Open the run dialog box by pressing the Windows button + R key on your keyboard simultaneously.
- Once the run box opens, type “msconfig.exe” and press enter to open the Microsoft system configuration window.
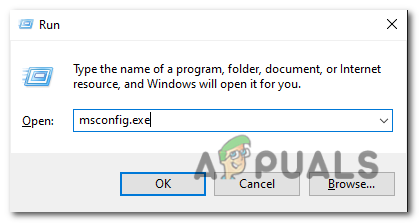
Open the run box and type “msconfig.exe”. - After the system configuration window opens, click on the “Boot” tab. Check the “Safe boot” option and select the option below that specifies “Network.” Click “Apply”.
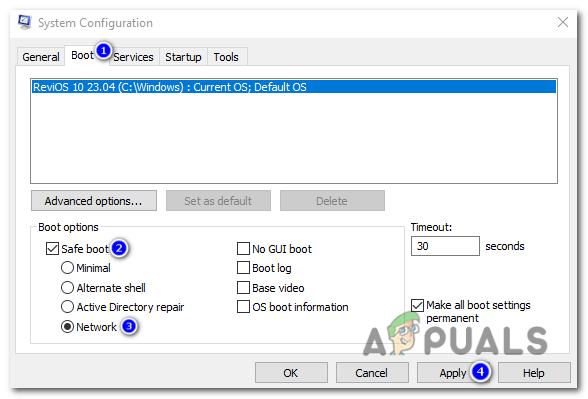
Once the system configuration window opens, click on the “Boot” tab. Check the “Safe boot” option and select the option below that specifies “Network.” Click “Apply”. - Restart your computer to enter Safe mode.
- Once you are in safe mode, you can proceed to the next step, which is removing the malware from your computer system.
2. Using Rkill to Terminate the Virus
RKill is a program developed by BleepingComputer.com that aims to terminate all known malware processes. Its purpose is to allow your regular security software to run and effectively clean your computer from infections. When RKill is executed, it terminates malware processes, corrects incorrect executable associations, and fixes policies that may hinder the use of certain tools. To download and use Rkill follow these steps:
- Open your web browser and go to the official RKill download page.
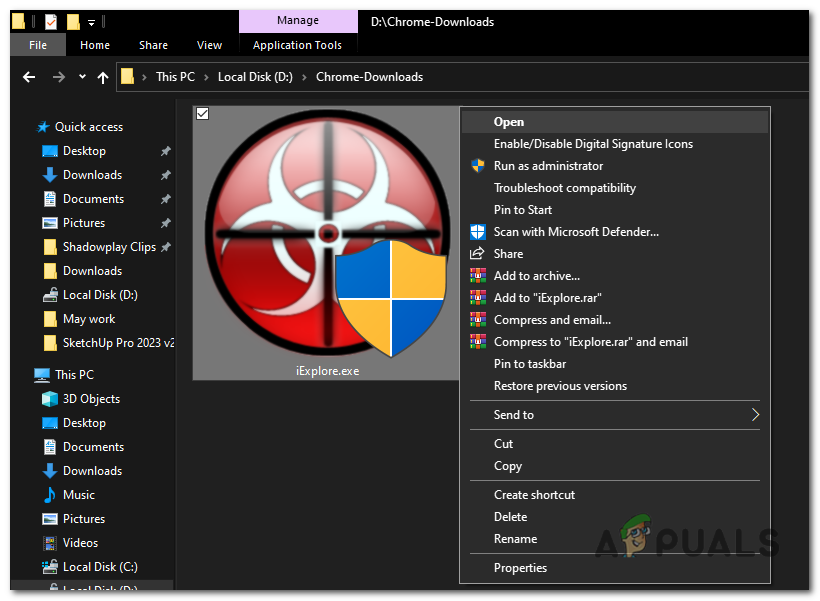
- On the download page, look for a specific download link labeled “iExplore.exe” and click on it. This is a renamed version of RKill that can bypass certain malware restrictions.

Press the download link labeled “iExplore.exe”. - Once the download is complete, navigate to the folder where the browser downloaded the RKill executable file.
- Double-click on the RKill executable file (iExplore.exe) to run it. A warning prompt will appear, click “Yes” or “Run” to proceed.
Double-click on the RKill executable file (iExplore.exe) to run it. - RKill will now start scanning and terminating known malware processes on your computer. It may take some time to complete the process, and you may see a black command prompt window displaying the progress.

RKill will now start scanning and terminating known malware processes on your computer. - Once RKill has finished running, the black window will close automatically, and a log file will be generated.
- It is important not to restart your computer at this point. Instead, proceed to the next step of running a full system scan.
3. Run a Full System Scan
Performing a full system scan using Windows Security will detect the location of the virus file and eliminate it using its built-in antivirus capabilities. This process is straightforward, especially if you do not have any external antivirus software installed, as Windows Security is integrated within the Windows operating system. To run a full system scan, follow these steps:
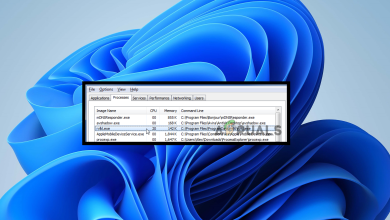
- Press the Windows key to open the Start menu, type “Windows Security” in the search bar, and select the Windows Security app from the search results.
- In the Windows Security app, click on the “Virus & threat protection” tab located on the left-hand side of the window.
- Inside “Virus & threat protection” tab, under the “Quick scan” option, press “Scan options”.
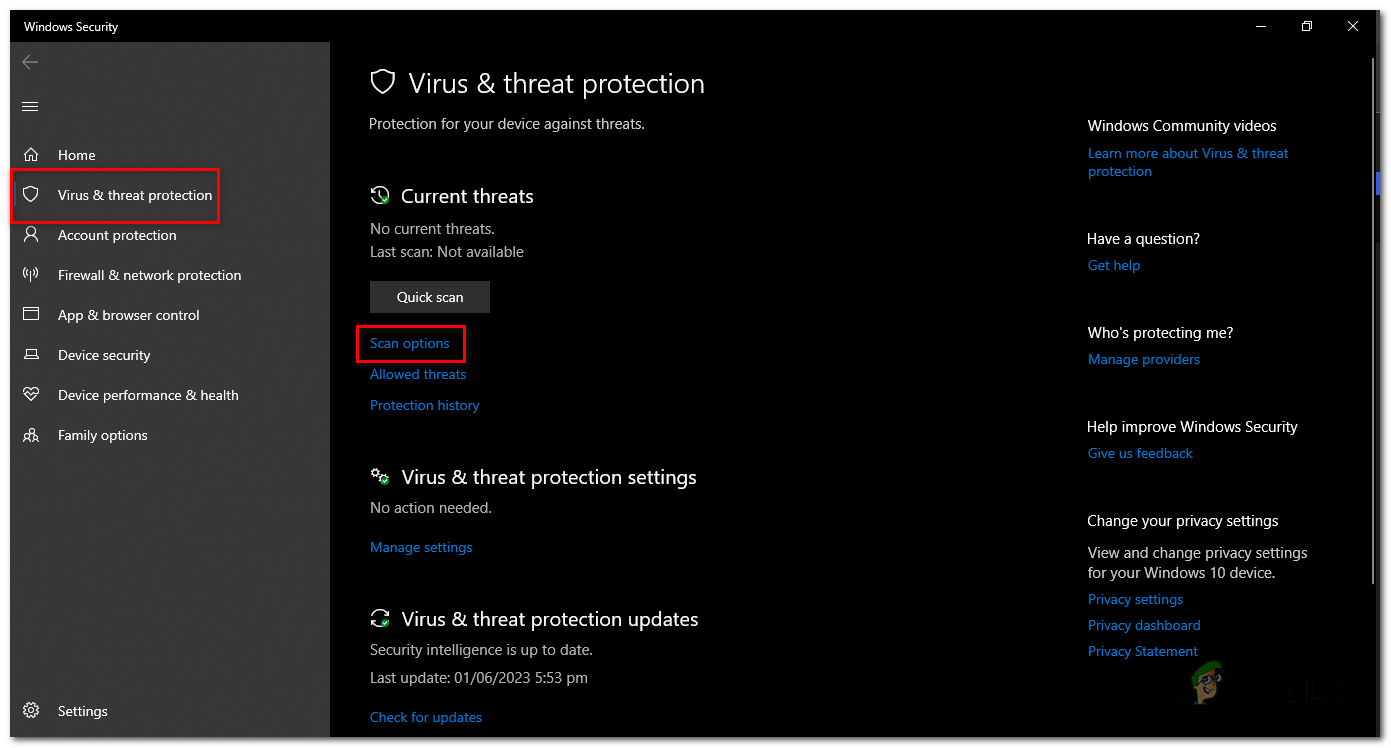
Inside “Virus & threat protection” tab, under the “Quick scan” option, press “Scan options”. - A menu will appear with different scanning options. Choose “Full scan” from the list.
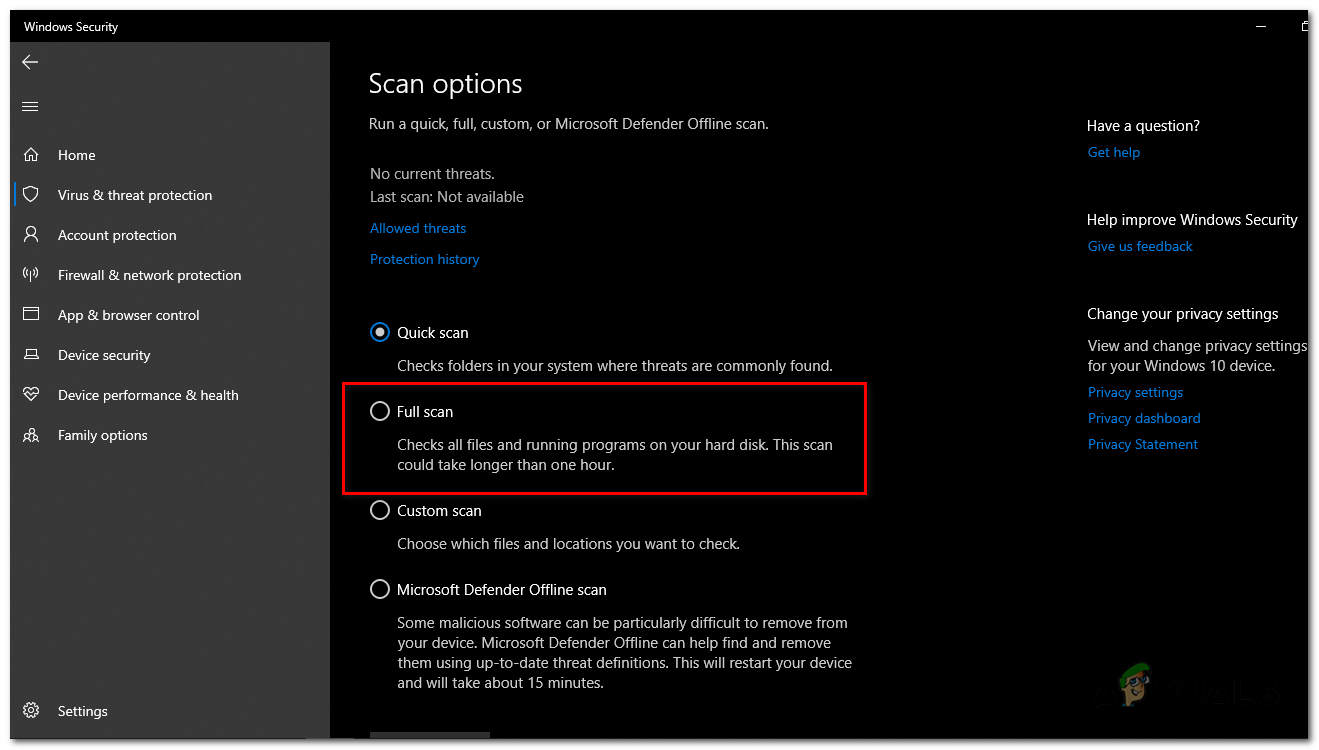
A menu will appear with different scanning options. Choose “Full scan” from the list. - Click on the “Scan now” button to begin the full scan. Windows Security will now scan your entire system for malware, including the “PUABundler:Win32” virus.
- The scanning process may take some time, depending on the size and speed of your storage drive and the number of files on your system. You can monitor the progress of the scan on the screen.
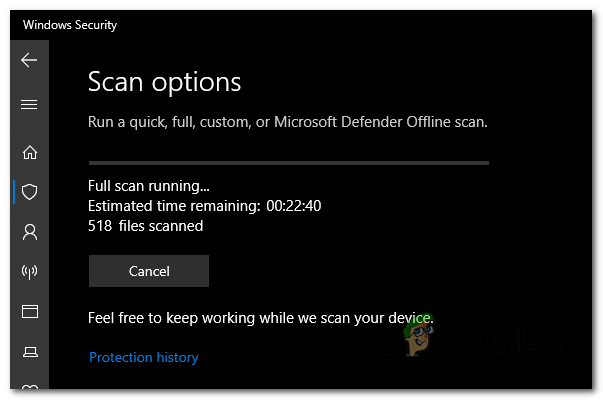
You can monitor the progress of the scan on the screen. - Once the scan is complete, Windows Security will display the results. It will list any detected threats.
- Windows Security will provide options to take action against the detected threats. If the PUABundler:Win32 virus is found, follow the prompts to remove or quarantine it.
If the PUABundler:Win32 virus is found, follow the prompts to remove or quarantine it. - In some cases, Windows Security will prompt you to restart your computer to complete the removal process. If prompted, save your work and restart your computer.
4. Using Malwarebytes anti-virus
Malwarebytes is widely recognized as one of the most popular and effective anti-malware software for Windows. Its reputation stems from its ability to successfully eliminate various types of malware that other programs might overlook. The best part is that Malwarebytes offers its powerful features at no cost. When it comes to dealing with an infected device and ensuring its cleanliness, Malwarebytes has consistently been available as a free and indispensable tool in the ongoing battle against malware. To download and use Malwarebytes, follow these steps:
- Open your browser and open Malwarebytes download page.
- Click on the “Free Dowload” button, the program will start downloading.
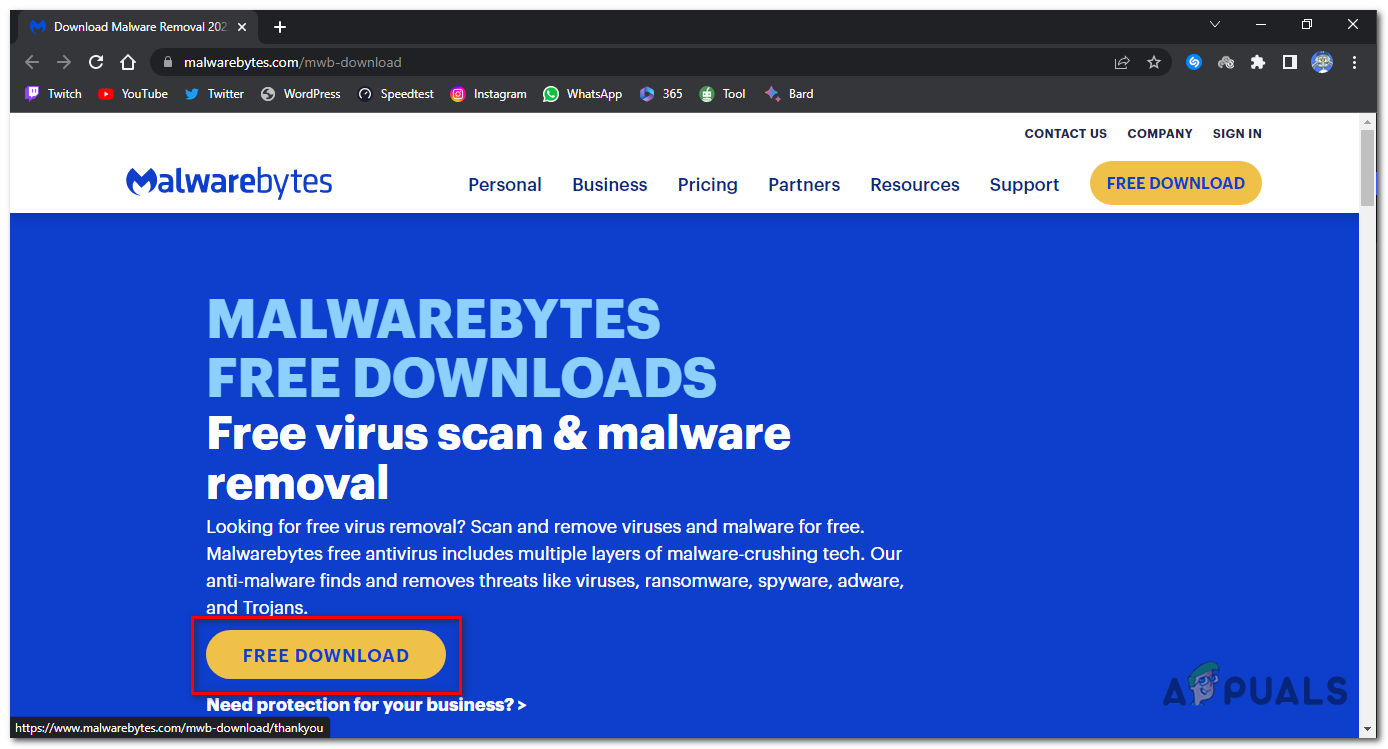
Click on the “Free Dowload” button, the program will start downloading. - Once the download is complete, locate the downloaded file (usually in the Downloads folder) and double-click on the “MBSetup” file to begin the installation of Malwarebytes.
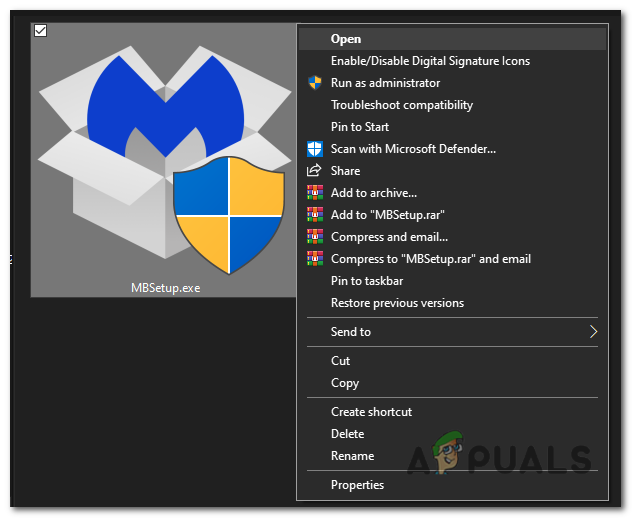
double-click on the “MBSetup” file to begin the installation of Malwarebytes. - Follow the on-screen prompts presented by the Malwarebytes setup wizard to complete the installation. When asked to select the type of computer, choose either “Personal Computer” or “Work Computer.” Then, click “Next” to proceed.
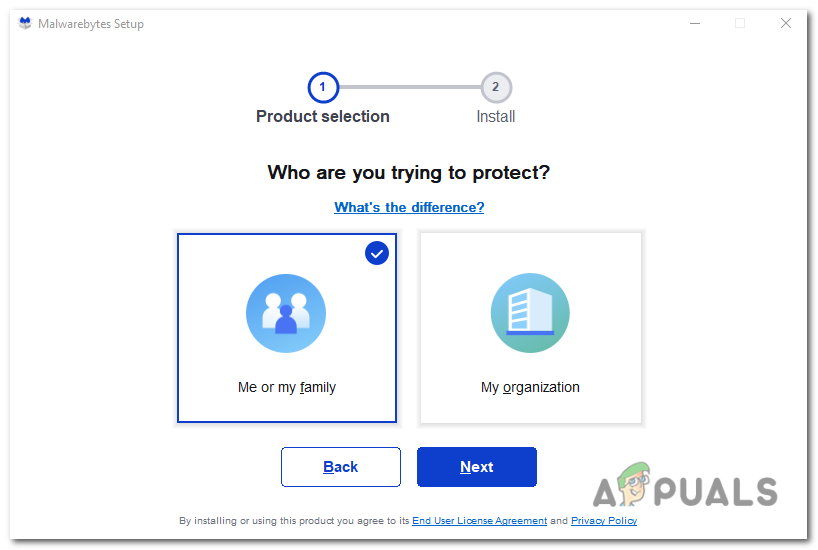
choose either “Personal Computer” or “Work Computer.” Then, click “Install” to proceed. - Click on the “Scan” button to start a scan of your computer. The program will automatically update its antivirus database before scanning for malicious programs.
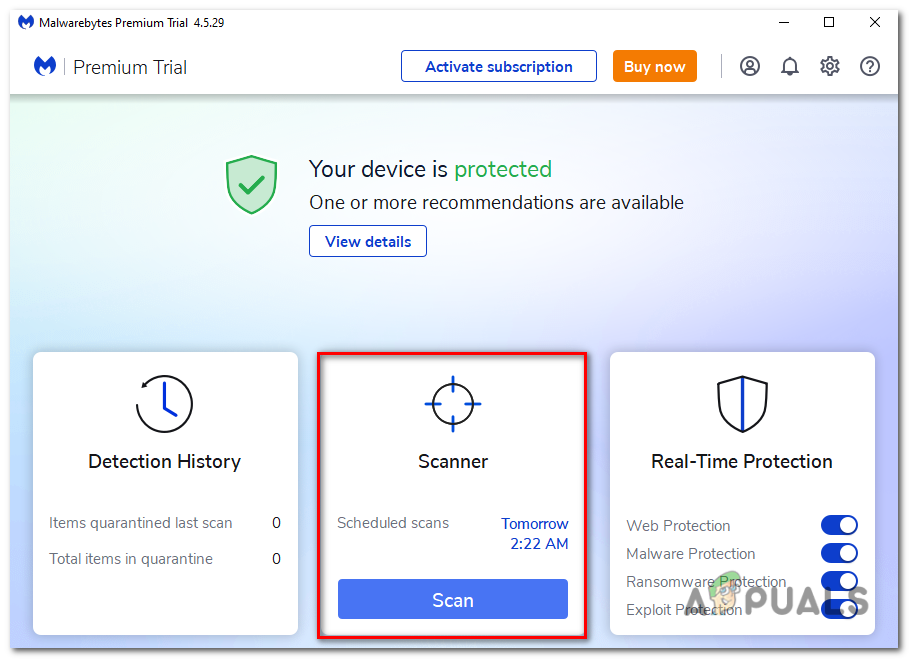
Click on the “Scan” button to start a scan of your computer. - Wait for the scan to complete. The program will scan your computer for browser hijackers, malware, and potentially unwanted programs. This process may take a few minutes, so you can do other tasks while periodically checking the scan’s progress.
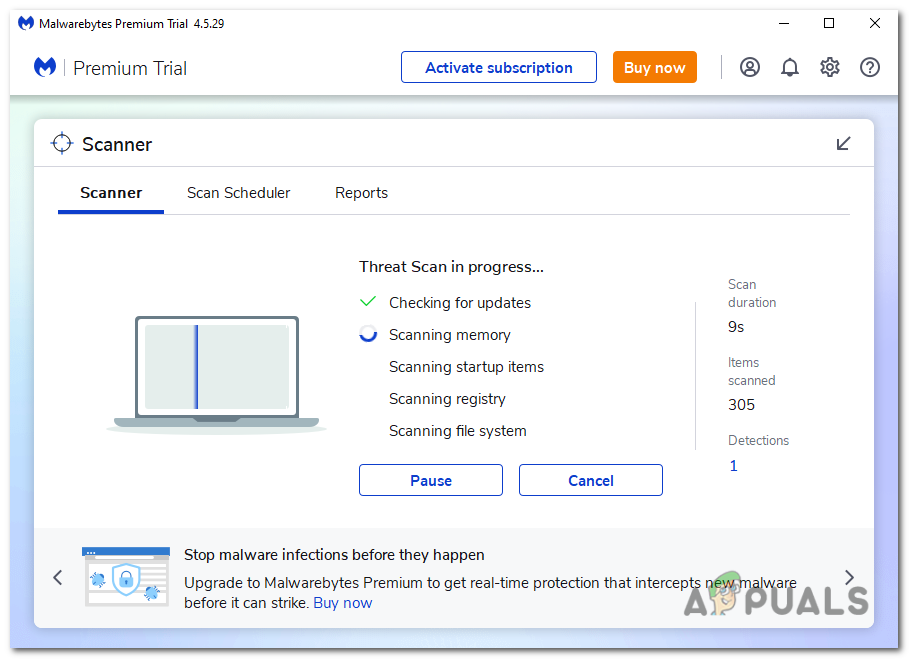
The program will scan your computer for browser hijackers, malware, and potentially unwanted programs. - Once the scan is complete, it will display a screen showing any detected malware, adware, or potentially unwanted programs. To remove these threats, click on the “Quarantine” button.
- Review the list of identified malicious programs and click “Quarantine” to remove them from your system.
- To complete the removal process, Malwarebytes will prompt you to restart your computer.
5. Resetting Browsers to Default Settings
If this Virus is effecting your browsing experience, it has infected your browser with spam notifications, malicious extensions, and rogue settings. To bring back your browser to its default state you will have to reset it, resetting it will remove all extensions, toolbars, and other customizations but will leave your bookmarks and favorites intact.
5.1 Resetting Google Chrome for Windows to default settings:
- Open Chrome and click on the menu button (represented by three vertical dots) in the top-right corner of the window.
- From the dropdown menu, select “Settings”.

From the dropdown menu, select “Settings”. - In the Settings page, click on the “Reset settings” tab in the left sidebar.
- Then, click on “Reset settings to their original defaults”.
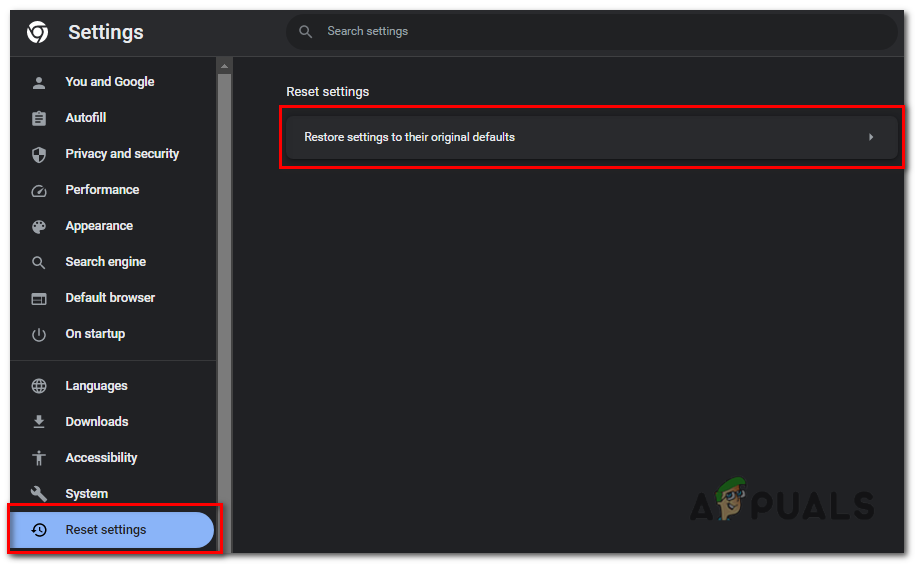
click on “Reset settings to their original defaults”. - A confirmation dialog will appear, detailing the components that will be restored to default. To proceed, click on the “Reset settings” button.

click on the “Reset settings” button. - Optional: If a malicious extension keeps reinstalling itself, you can also reset the data sync for your browser by visiting chrome.google.com/sync and clicking on the “Clear Data” button.
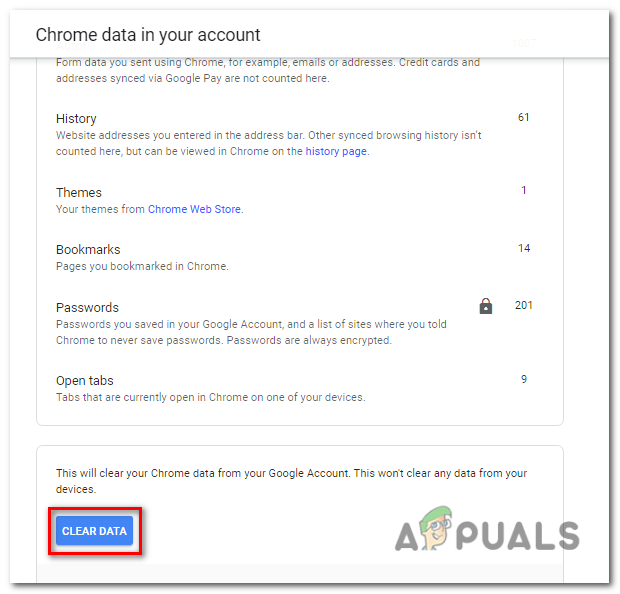
If a malicious extension keeps reinstalling itself, you can also reset the data sync for your browser by visiting chrome.google.com/sync and clicking on the “Clear Data” button.
5.2 Resetting Microsoft Edge to default settings:
- Open Microsoft Edge and click on the menu button (represented by three horizontal dots) in the top-right corner of the window.
- From the dropdown menu, select “Settings”.
- In the Settings page, scroll down and click on the “Reset settings” button.
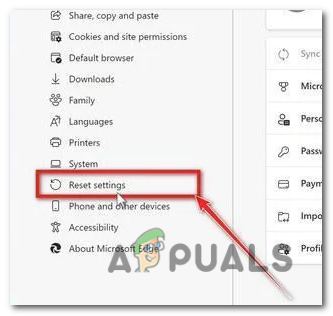
In the Settings page, scroll down and click on the “Reset settings” button. - Then, click on “Reset settings to their original defaults“.
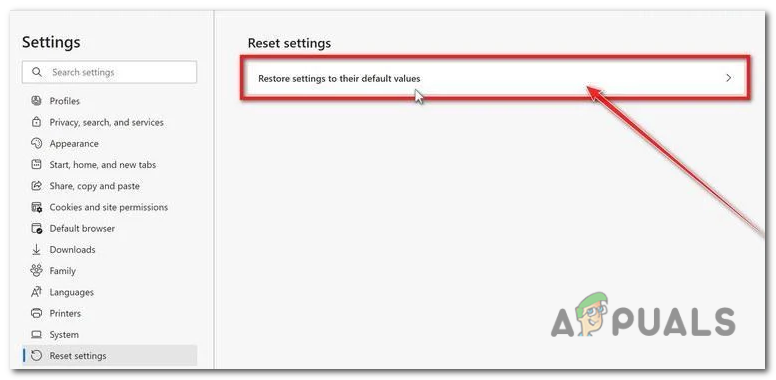
click on “Reset settings to their original defaults”. - A confirmation dialog will appear, asking if you want to reset Microsoft Edge. To proceed, click on the “Reset” button.
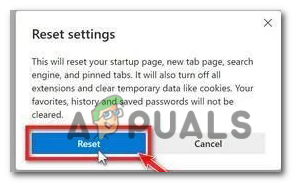
A confirmation dialog will appear, asking if you want to reset Microsoft Edge. To proceed, click on the “Reset” button.
Reviewed by Muhammad Zubyan