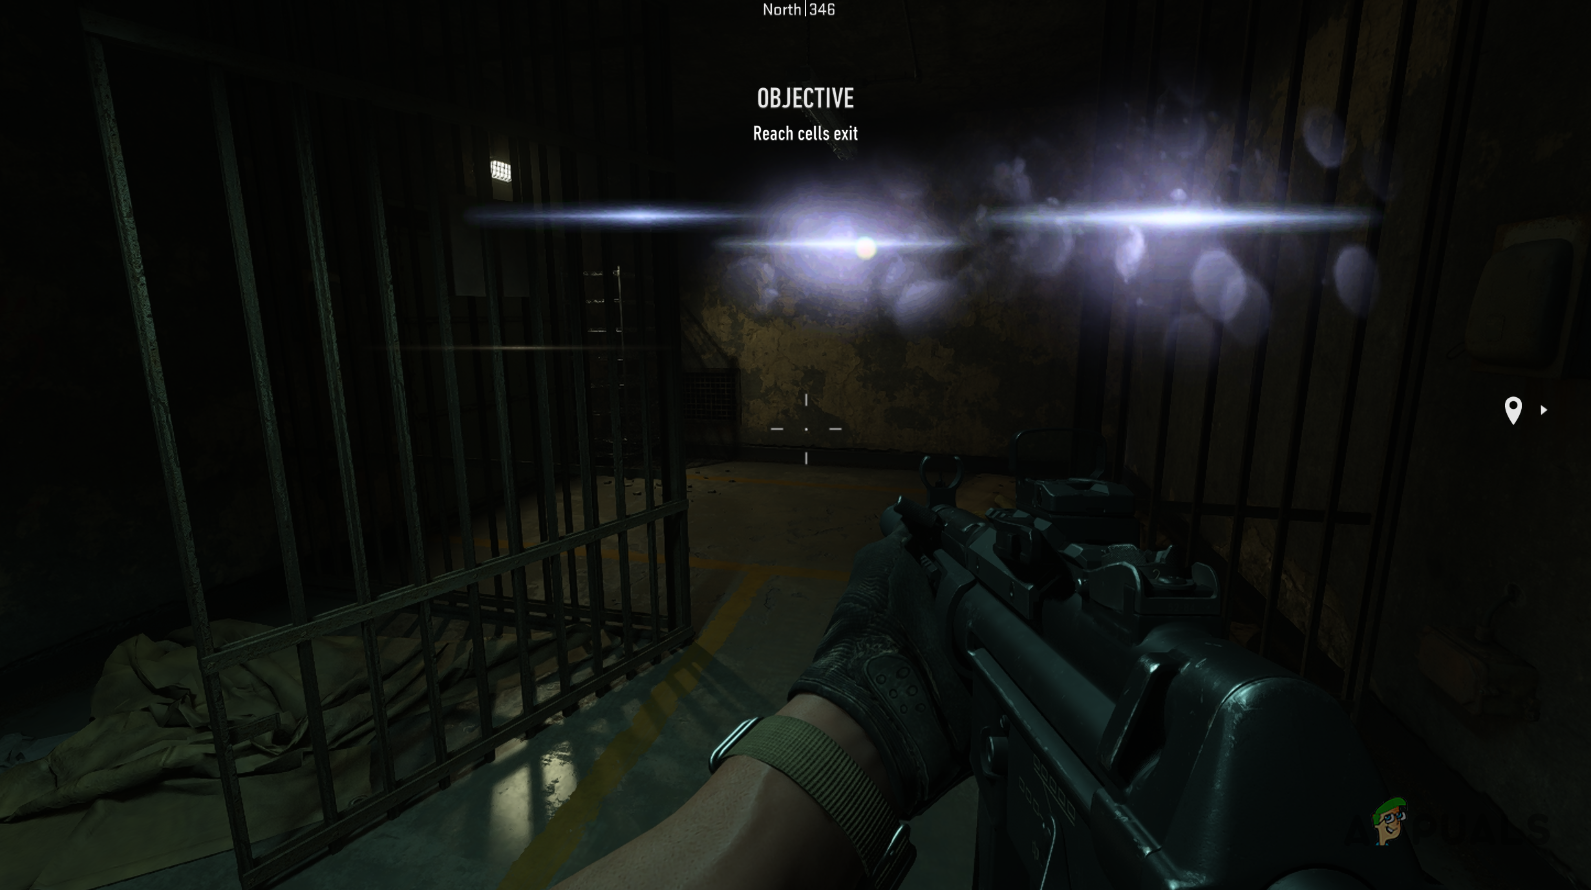
How to Fix Call of Duty Modern Warfare 2 Lights Through Walls?
The lights through walls issue in Call of Duty Modern Warfare 2 can be caused by the game’s shaders optimization, the graphics drivers installed on your computer, and more. The problem can arise randomly on any mission that you are playing, and it often lasts throughout the mission.
In some cases, your in-game settings can also trigger the issue in which case you will have to reset them. To help you resolve the issue, we have compiled a list of various methods that you can implement. Let us start right away.
Workaround: Restart Mission through Mission Select
The first thing you should do when starting to troubleshoot the problem mentioned above is to restart the mission via the Mission Select menu. Doing this will remove any progress that you have made through the mission.
With that said, playing a mission with the lights through walls issue is not fun at all, and it ruins the experience of the game. As such, restarting the mission should not be a hard choice to make. If restarting the mission through the Mission Select menu does not isolate the issue for you, and you are still seeing lights through walls, move to the following method below.
1. Turn off On-Demand Texture Streaming
To provide better graphics when you are playing the game, Call of Duty Modern Warfare II uses your internet to download additional textures. This is the result of the On-Demand Texture Streaming feature, and you can easily turn it off via the Settings menu.
In some cases, using the On-Demand Texture Streaming feature can cause the light through walls issue since it replaces the local textures with the newly downloaded ones while playing the game. In addition, you might also experience network lag issues in Warzone 2 in some scenarios due to On-Demand Texture Streaming as it downloads high-quality textures.
To turn off On-Demand Texture Streaming, follow the instructions below:
- First, open Call of Duty Modern Warfare 2 on your PC.
- After that, open the Settings menu by clicking the gear icon.
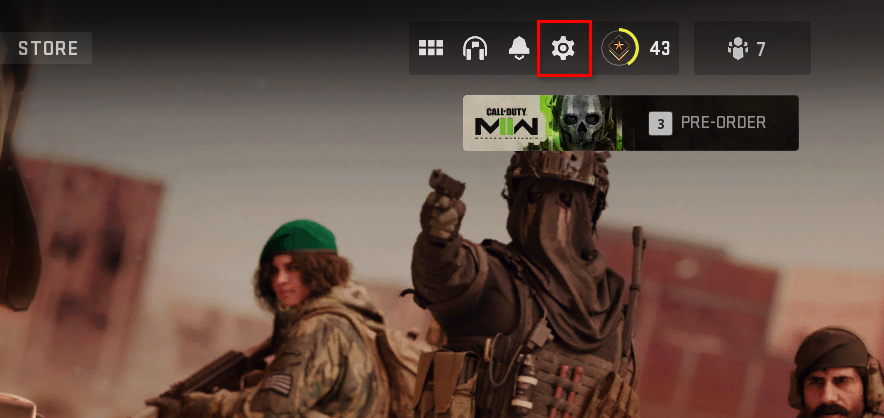
Navigating to the Settings Menu - Navigate to Graphics > Quality via the Settings menu.
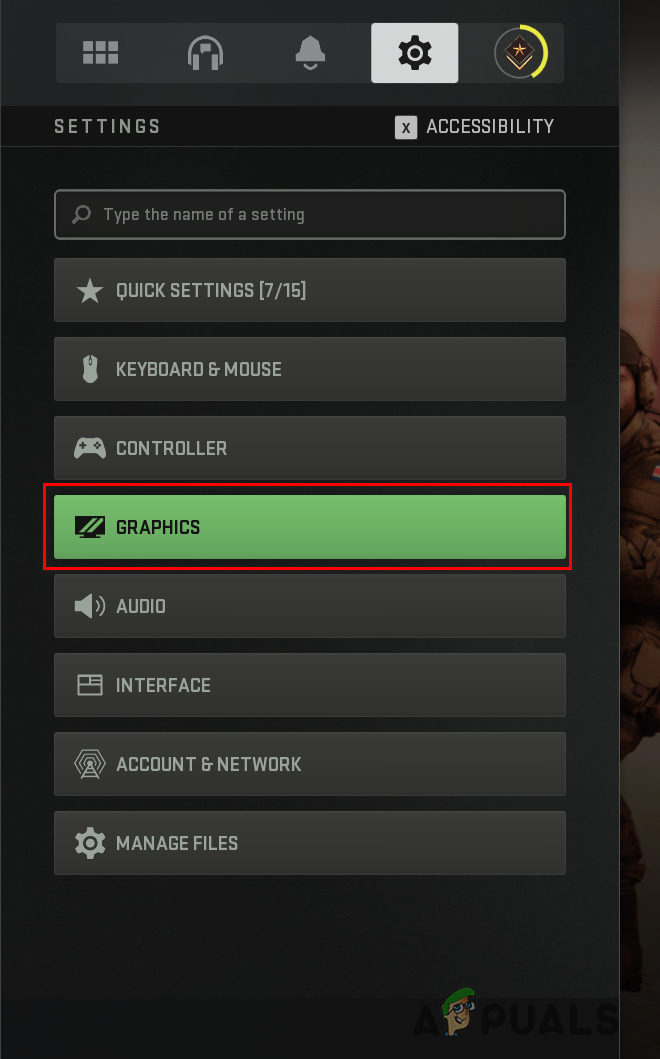
Navigating to Graphics Settings - Under Quality settings, scroll down to locate On-Demand Texture Streaming.

Disabling On-Demand Texture Streaming - Use the slider provided to turn the feature off.
- Once you do that, restart your game and see if that resolves the issue.
2. Reset the Field Of View
Another way you can potentially overcome the light through walls issue is by resetting your in-game field of view. Changing your field of view allows you to see more of the in-game surroundings. This is completely based on your preference, but it seems to cause the issue mentioned above in some scenarios.
In such a scenario, you can resolve the issue by resetting your FOV and force quitting the game. Follow the instructions below to do this:
- Start by opening Call of Duty Modern Warfare 2 and launch the mission you are in.
- After that, open the Settings menu.
- Then, navigate to Graphics > View via the Settings menu.
Navigating to Graphics Settings - Right-click on Field of View and choose Reset from the drop-down menu.
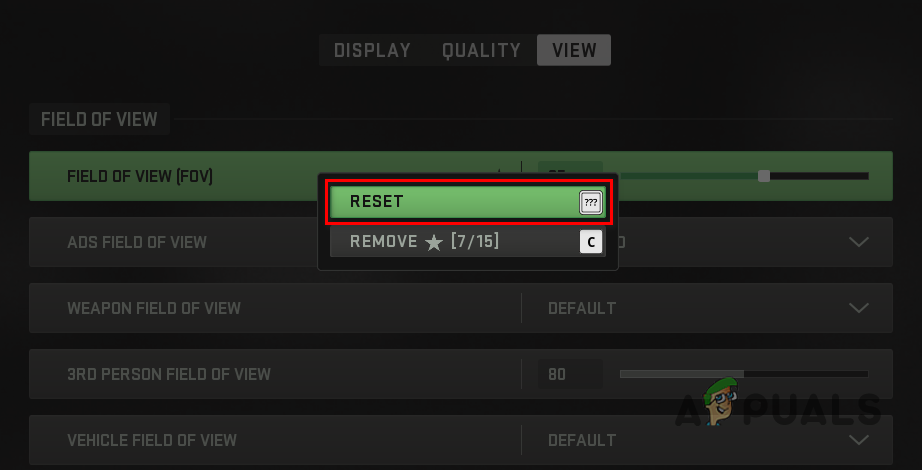
Resetting Field of View - Once you do that, press ALT + F4 to force quit the game.
- After that, launch the game and select your mission through the Mission Select option.
- See if that fixes the issue.
3. Reset Shaders Cache
Call of Duty Modern Warfare 2 performs shader optimization when you launch the game for the first time to improve the quality and performance of the game. These shaders are stored locally on your computer in a shaders cache and utilized the next time you open the game.
Therefore, the shaders do not have to be optimized every time you launch the game. However, in some scenarios, the shaders cache on your computer can get damaged or corrupted which can cause various issues with the game.
In such a scenario, you will have to reset the shaders cache which will get rid of the old optimization. As such, shader optimization will be performed the next time you open the game. This can often resolve the lights through walls issue.
Follow the instructions below to reset your shaders cache:
- First, open Call of Duty Modern Warfare 2.
- Then, open the Settings menu by clicking the gear icon in the top-right corner.
Navigating to the Settings Menu - Navigate to Graphics from the Settings Menu.
Navigating to Graphics Settings - After that, scroll down to the bottom and select the Restart Shaders Optimization option.
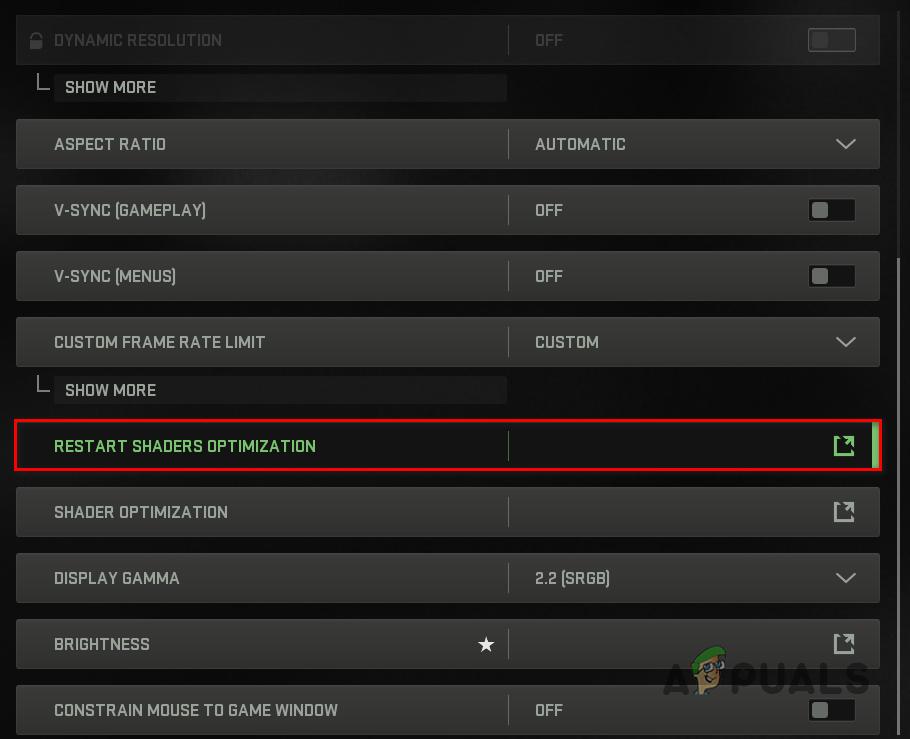
Restarting Shaders Optimization - Once you do that, restart the game.
- After the game launches, wait for the shaders to be optimized.
- With that done, start your mission to see if the issue has been resolved.
4. Update Graphics Drivers
Finally, if none of the methods above has resolved the problem for you, the issue is likely due to the graphics drivers installed on your computer. Graphics drivers play a vital role on your computer as they offer a bridge of communication between the graphics card on your motherboard and any running processes.
If your graphics drivers are running into an issue, you can often find yourself having trouble with the games that you play on your computer. In such a scenario, you will have to update your graphics drivers to mitigate the issue.
To do this, you will need to uninstall the graphics drivers currently installed on your computer using a third-party utility called Display Driver Uninstaller (DDU). Follow the instructions down below to do this:
- First, download the latest version of Display Driver Uninstaller from the official website here.
- Extract the downloaded file to a location of your choice on your computer.
- Then, navigate to the extracted directory and open the Display Driver Uninstaller.exe file.
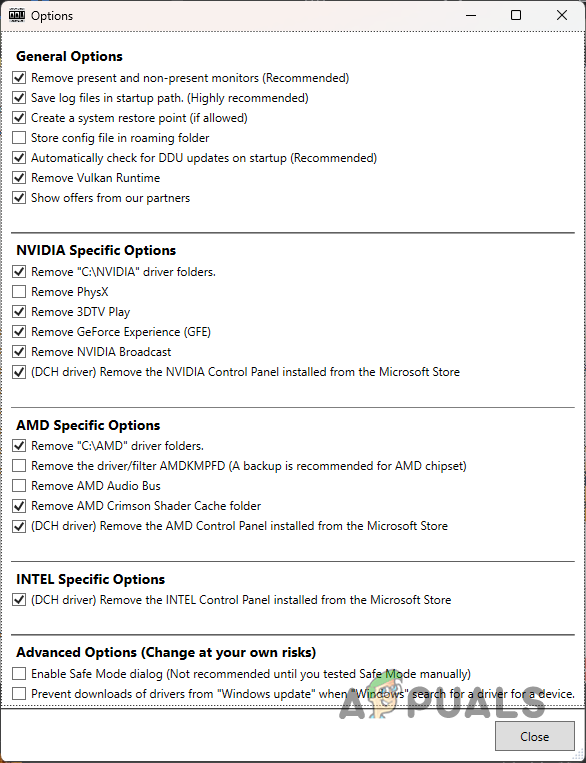
- Once DDU starts, you will be shown the General Options window. Click on the Close button to continue.
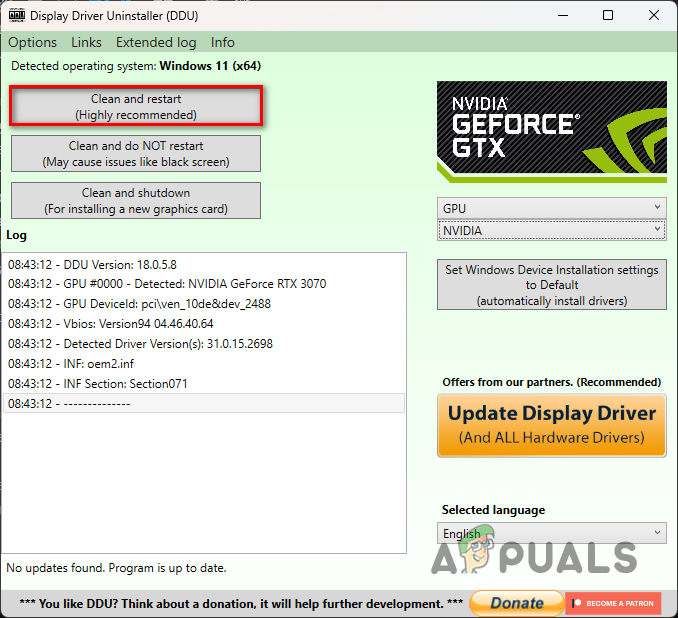
DDU General Options - After that, choose GPU from the Select device type drop-down menu.
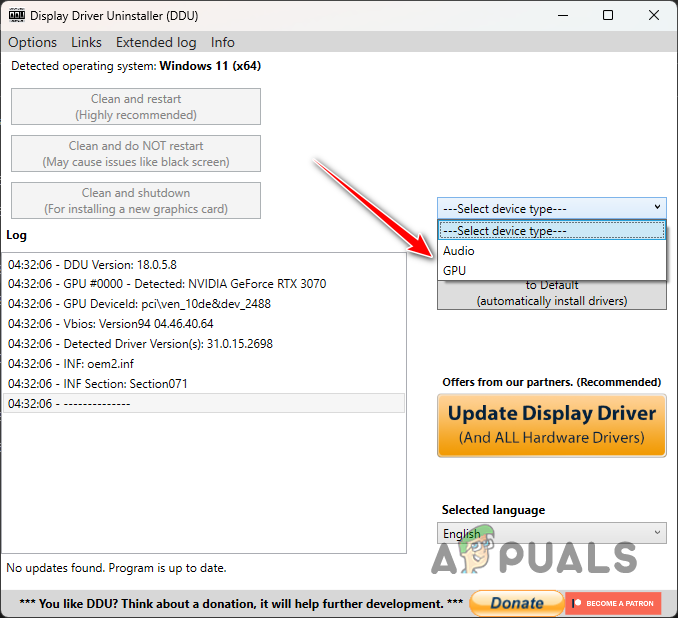
Selecting GPU as the Device - Follow it up by selecting your graphics card manufacturer from the Select device drop-down menu.
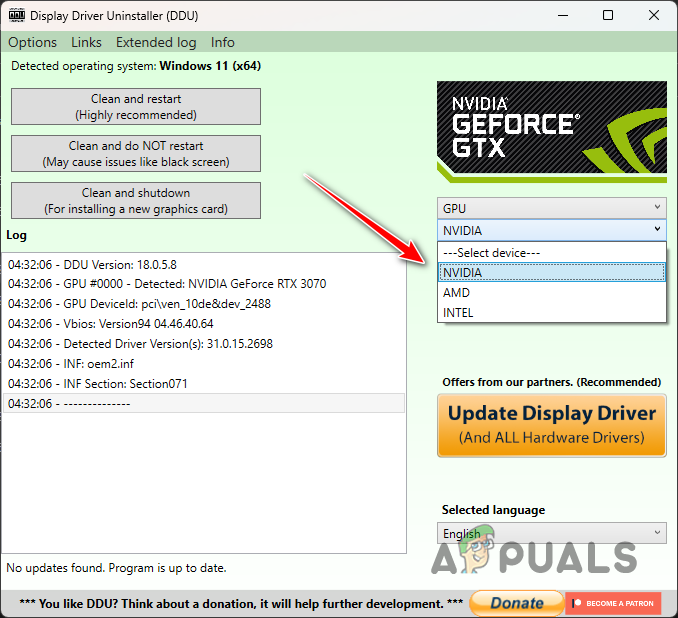
Selecting Graphics Card Manufacturer - Finally, click the Clean and restart button to uninstall your drivers.
Uninstalling Graphics Drivers - After your PC boots up, head to your manufacturer’s website and download the latest drivers available.
- Install the new graphics drivers and see if the issue is still occurring.


did not work