How to Fix Call of Duty Warzone 2 Network Lag and Packet Loss?
Network lag in Warzone 2 often causes problems like rubberbanding, slow responses, or players freezing during fights, even if the game looks smooth and the framerate is good. This usually happens because of packet loss, where some data doesn’t reach the Activision servers, causing things like out-of-sync actions or odd movement.
The main reason is usually problems with the game servers, especially in some data centers like AWS Central or NA East. Other common reasons include issues with your internet provider’s routing and different NAT types.
Before you start troubleshooting, we recommend checking the server status to see if the game servers are experiencing any issues that could negatively affect your connection. You can usually check this by visiting the game’s official Twitter page or support website.
Also, make sure to check your own internet speed to see if it’s slower than usual. If your connection speed is low, you might need to contact your Internet Service Provider (ISP) for support. If the game servers are working properly and your internet speed is normal, try the steps below to fix the problem.
1. Turn Off On-Demand Texture Streaming
On-Demand Texture Streaming is a feature in Call of Duty: MW/WZ 2 that lets the game download high-quality textures over your internet connection as you play, which can improve graphics quality.
However, because this feature uses your internet while you’re gaming, it can sometimes cause lag, connection spikes, or high ping.
To fix this, you can turn off this feature in your game settings.
- Open Call of Duty Warzone 2 on your computer.
- Go to the Settings menu by clicking the gear icon in the top-right corner.
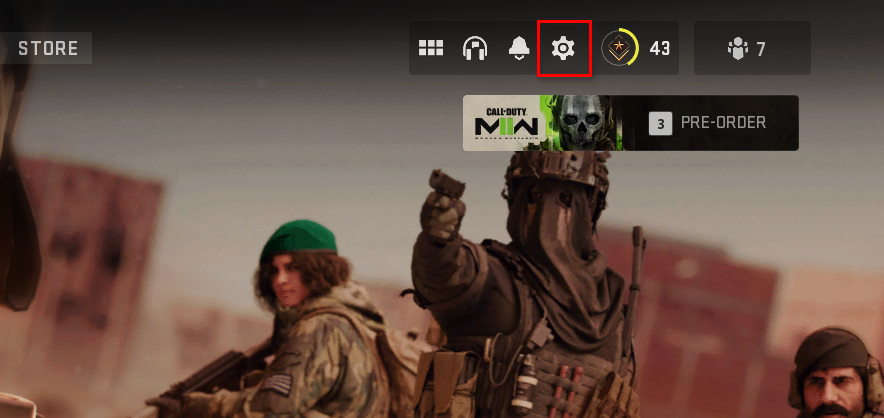
Opening the Settings Menu in Warzone 2 - Next, navigate to the Graphics > Quality menu.
- Scroll down and find On-Demand Texture Streaming.
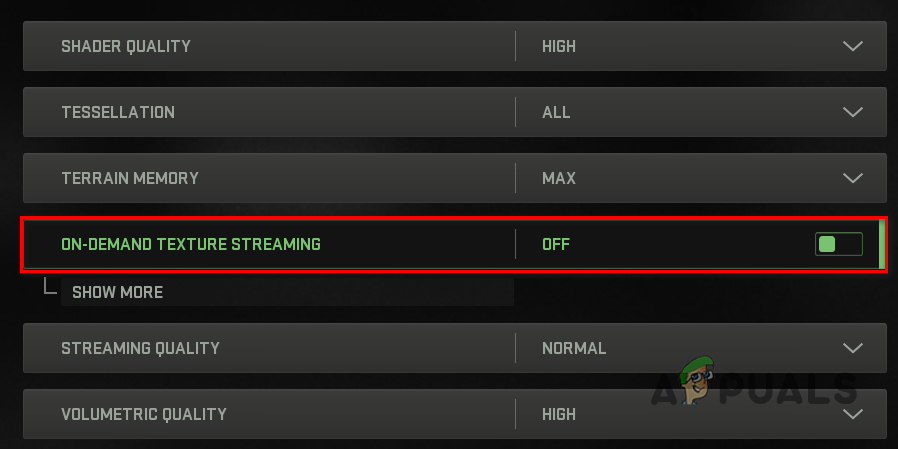
Disabling On-Demand Texture Streaming - Turn it off by clicking the toggle button in front of it.
- Apply the settings and check if your in-game lag is reduced.
2. Use a Wired Connection
Although wireless connections are convenient, wired connections are much more reliable for online gaming. Wired networks use a physical cable, which means your data isn’t affected by wireless interference from other devices or appliances.
If you are playing Warzone 2 using Wi-Fi, try connecting your computer directly to the internet using an ethernet cable. This can help reduce lag and provide a more stable gaming experience. If the network issues persist, continue with the next step.
3. Disable Third-Party VPN
Many people use third-party VPNs for online privacy or to potentially reduce ping. However, VPNs can sometimes add extra steps to your connection by routing your traffic through another server, which may increase your ping and cause packet loss while playing multiplayer games.
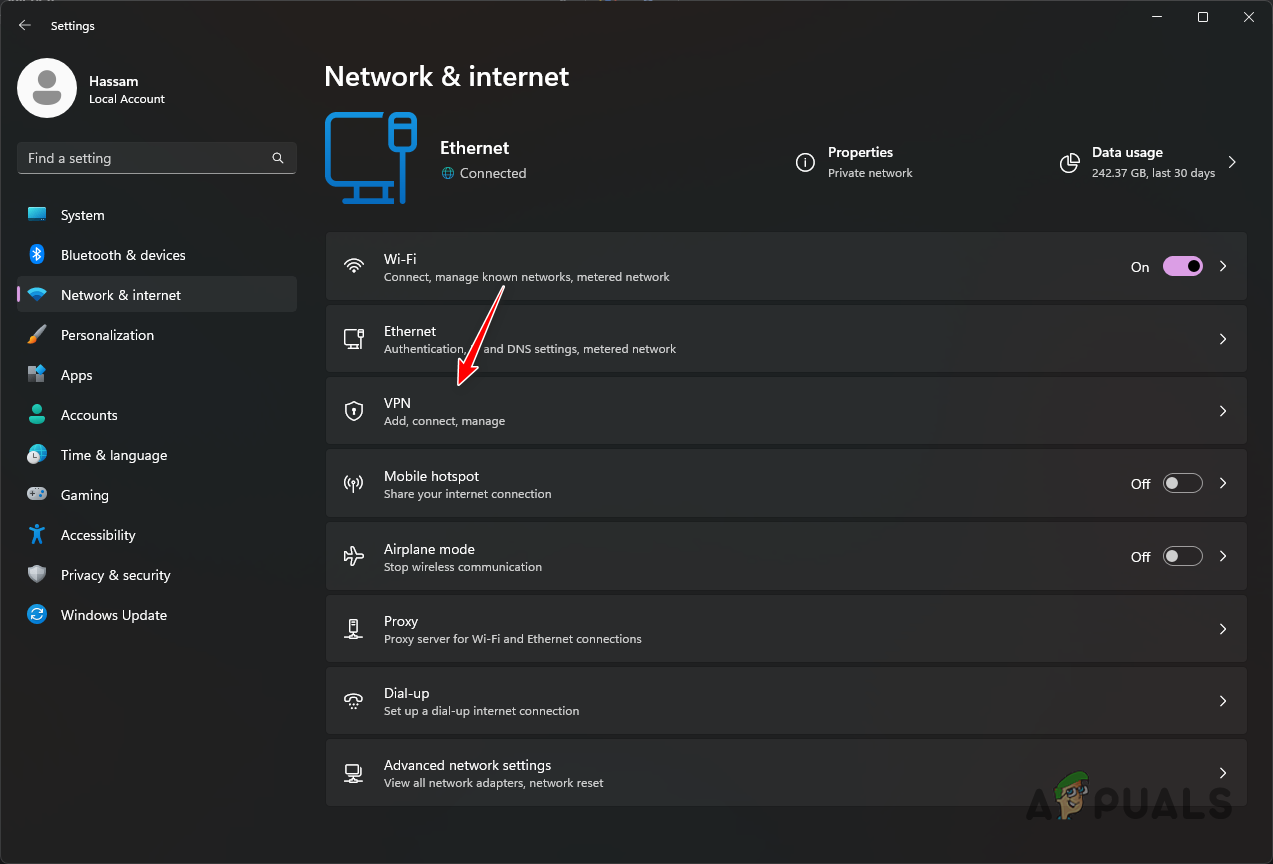
If you’re using a VPN, we suggest turning it off to see if this improves your connection in Warzone 2. If you have set up a VPN in your Windows network settings, follow these steps to remove it:
- Open the Settings app by pressing Windows key + I on your keyboard.
Windows Settings - Go to Network & Internet > VPN in the Settings app.
Navigating to VPN Settings - Click the down arrow next to your VPN connection to show more options.
- Click the Remove button to delete the VPN connection.
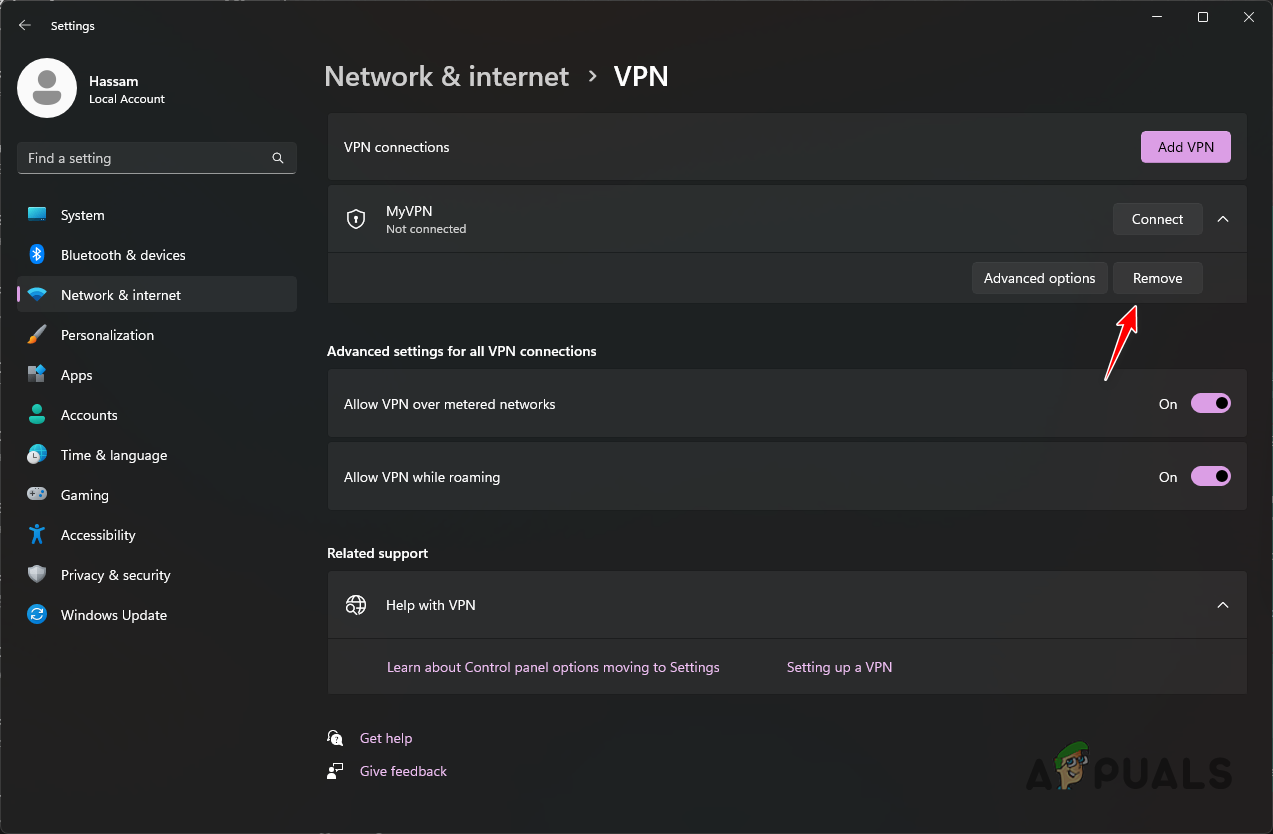
Removing VPN Connection - Afterwards, try playing Warzone 2 again to see if the lag issue is fixed.
4. Stop Background Downloads
Your computer’s network resources are limited. When you’re gaming, you want to make sure as much of your network speed as possible is available for Call of Duty.
Programs running in the background can use up your network bandwidth for updates or downloads. If you have any downloads running, pause them while gaming to avoid connection issues.
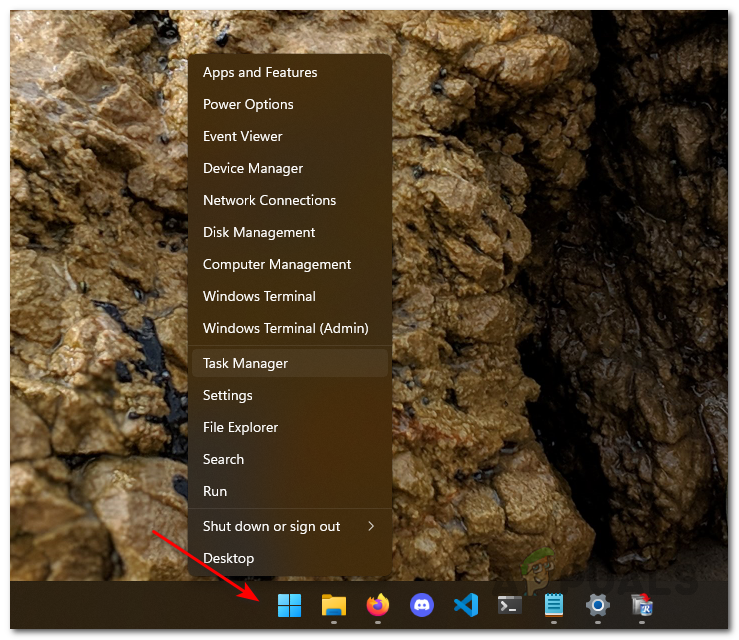
- Right-click the Start Menu icon and select Task Manager from the menu.
Opening Task Manager - Click the Network column header to sort apps by network usage.
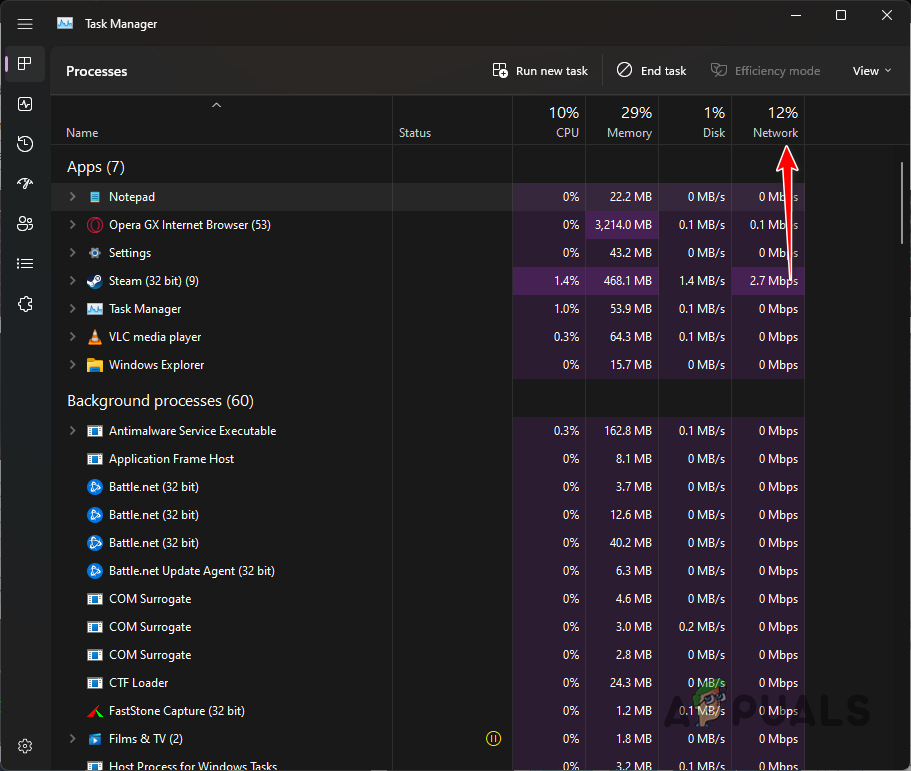
Listing Apps by Network Usage - Select any programs using your network and click End task to close them.
5. Change DNS Server
A Domain Name System (DNS) server helps your PC find the correct address of websites and game servers. Changing your DNS server can sometimes improve your network speed and reduce issues such as jitter or packet loss in online games.
You can switch your DNS to Google or Cloudflare for potentially better results.
- Press Windows key + I to open the Settings app.
Windows Settings - Go to Network & Internet > Advanced Network Settings > More network adapter options.
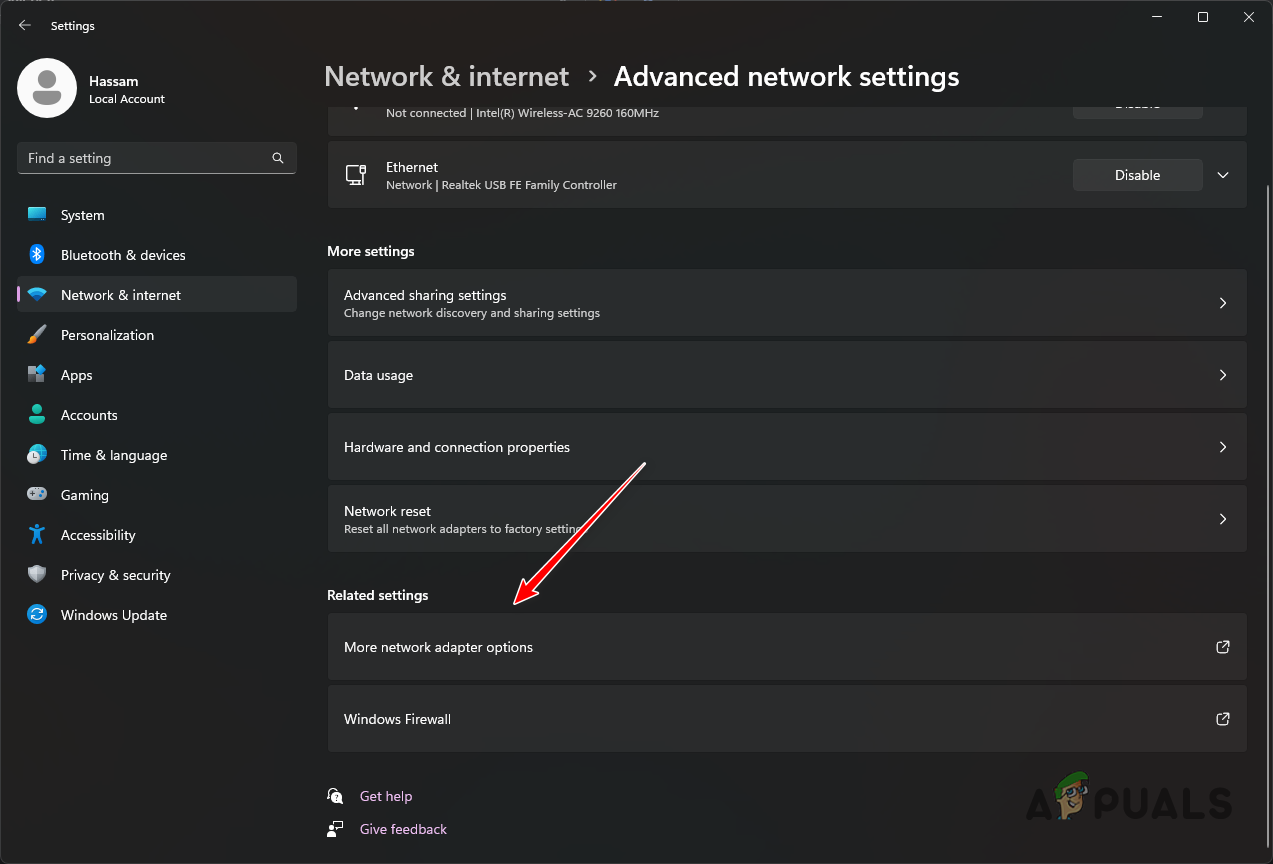
Navigating to Network Adapter Options - Right-click your Ethernet adapter and select Properties.
- Double-click Internet Protocol Version 4 (TCP/IPv4).
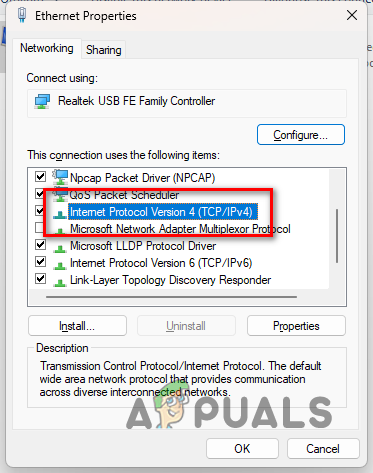
Opening IPv4 Properties - Select Use the following DNS server addresses and enter one of the following sets:
Google: 8.8.8.8 8.8.4.4
Cloudflare: 1.1.1.1 1.0.0.1
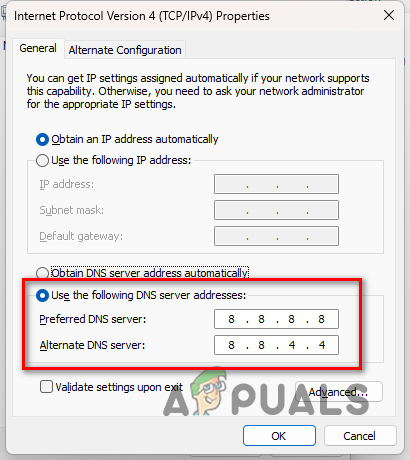
Changing DNS Server - Click OK when you’re finished.
- Restart Warzone 2 and check to see whether the network lag has improved.


