How to Resolve COD Error Code BLZBNTBGS000003F8 ‘Server Disconnected’?
The COD error code BLZBNTBGS000003F8 causes players to disconnect from the server, interrupting the game. This usually happens because of a weak network or background apps running on your device.
Other possible reasons include server issues, incorrect DNS settings, or firewall settings that block the connection. Sometimes, outdated network drivers or problems with the internet service provider (ISP) can also trigger this error.
In this article, we will discuss different ways to solve this error.
1. Roll Back Network Driver
Sometimes, new network driver updates can cause problems with games, leading to connection issues. Switching back to an older driver version can resolve these problems and help your device connect better with game servers, ensuring a stable connection.
- Press Windows key + R, type “devmgmt.msc”, and press Enter to open Device Manager. If prompted by UAC, click Yes.

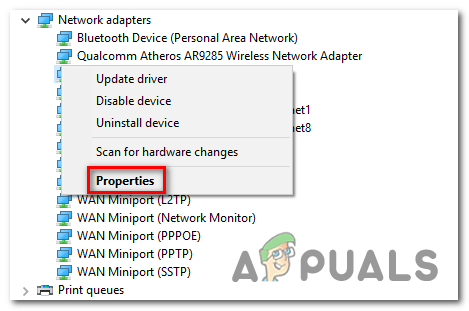
Running Device Manager - In Device Manager, expand the Network adapters section by clicking the drop-down arrow.
- Find your Killer E2200 driver, right-click it, and choose Properties.
Accessing the Properties screen of the Networking driver - Go to the Driver tab and click Roll Back Driver, then click Yes to confirm.
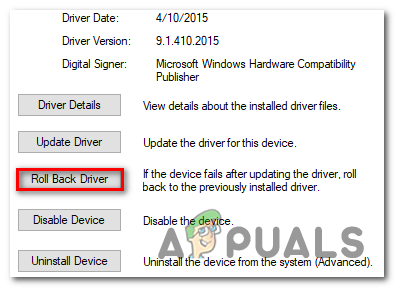
Rollback the Killer Networking driver - Let the rollback complete and restart your computer if needed.
- After restarting, check if the issue is resolved.
2. Use a VPN
Using a VPN can help avoid regional network blocks or slow internet speeds from your ISP. By hiding your real IP and connecting through a different server, a VPN can make your connection to the game servers more stable, reducing disconnections.
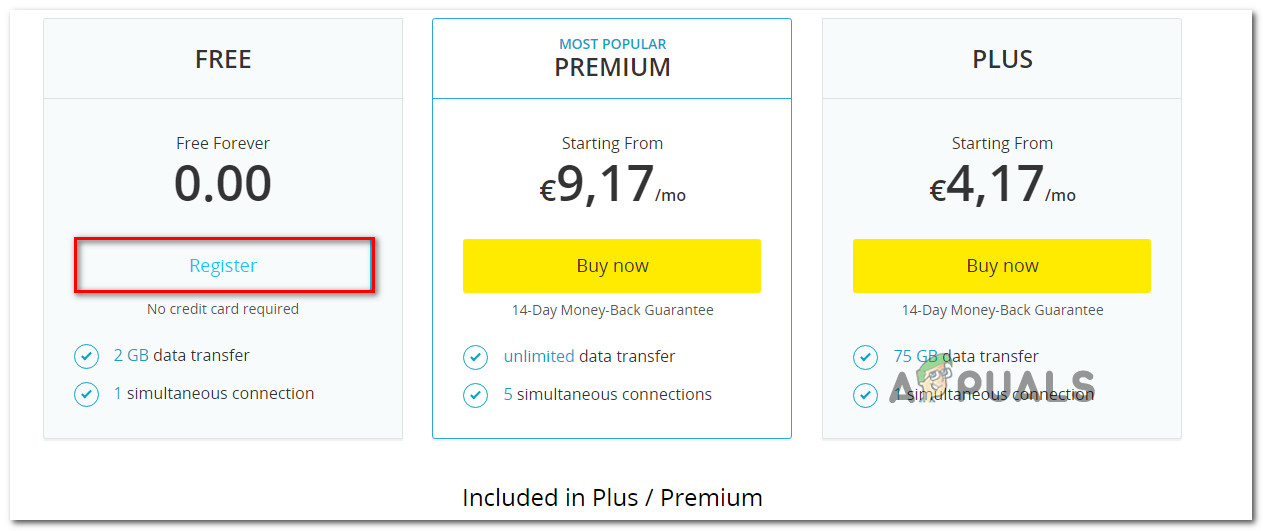
- Visit this link (here) and click Download Now. Register for a free account, then download the free version of Hide.me VPN.
Downloading the VPN solution - Enter your email address for registration. Make sure it’s valid as you’ll need to verify it.
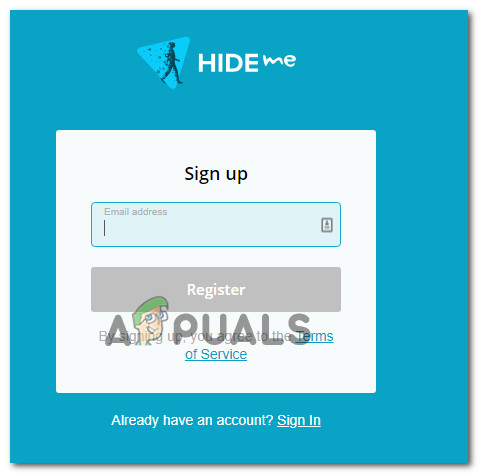
Registering for the service - Check your inbox for the verification email from Hide.me and click Activate my account.
- Once verified, set up a username and password for your Hide.me account. Click Create Account.
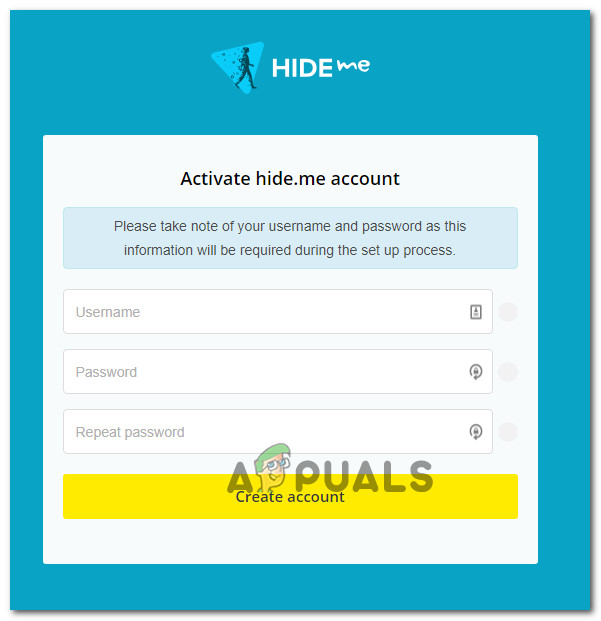
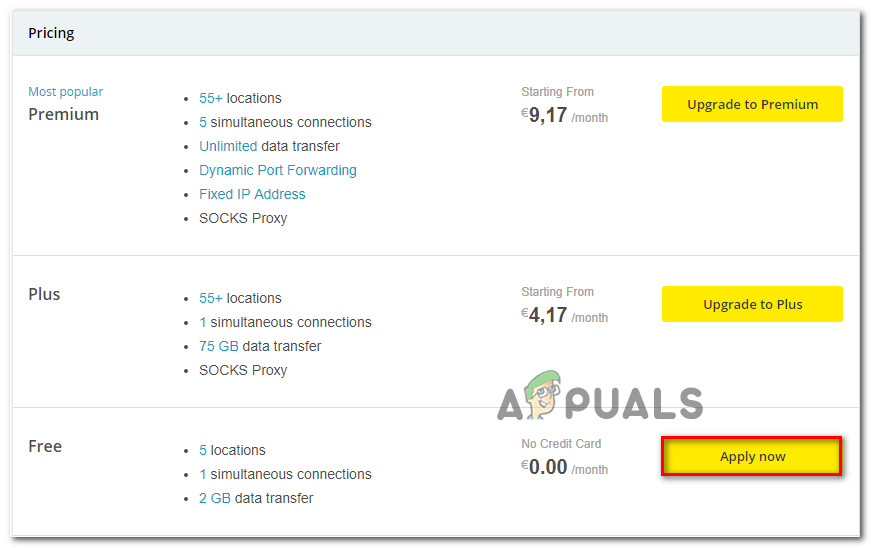
Creating an account with Hide.me - Sign into your account, go to Pricing > Free, and click Apply Now to activate the free plan.
Apply for the free account - Go to Download clients, and click Download Now for your operating system.
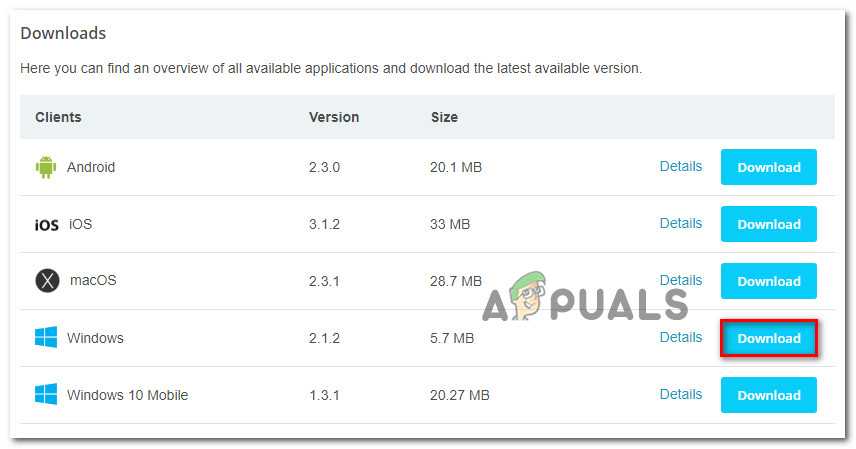
Downloading the Windows client of Hide.me - Once downloaded, double-click the executable and complete the installation.
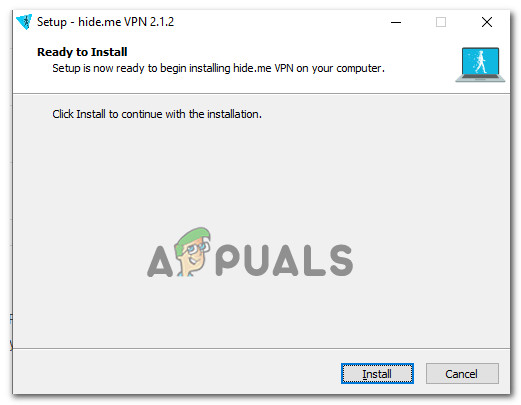
Installing the Hide.Me VPN application - Sign in with the account you created. Click Start your free trial and choose a location outside Asia or Australia.
- While the VPN is active, start the COD game to check if the issue is resolved.
3. Change the DNS server
Changing to a different DNS server can improve your connection to game servers. Opting for a reliable one, like Google or Cloudflare, helps avoid issues with your ISP’s DNS, cuts down on lag, and prevents connection drops. This tweak can result in smoother gaming.
- Press Windows key + R, type ‘control.exe’, and press Enter to open the Control Panel.
Running Control Panel - Click on Network and Internet, then Network and Sharing Center.
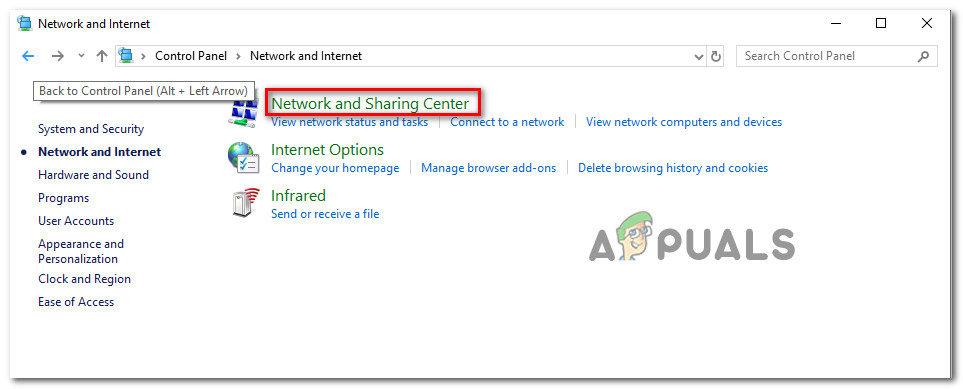
Accessing the Network and Sharing Center via classic Control Panel - Click on Change adapter settings.
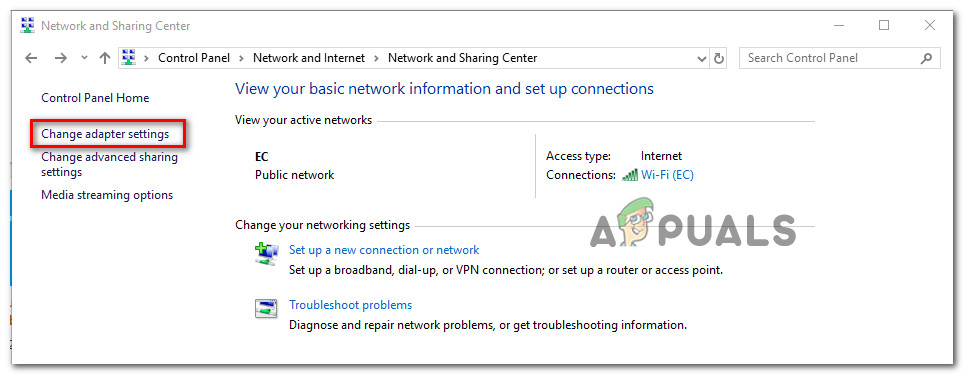
Accessing the adapter menu - Right-click your current network and select Properties.
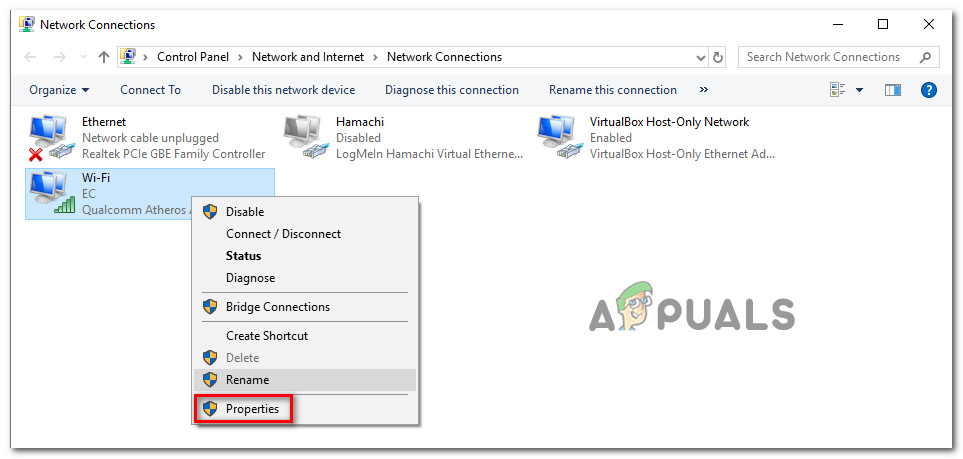
Opening the Properties screen of the active connection - Go to the Networking tab and double-click Internet Protocol Version 4 (TCP/IPv4).
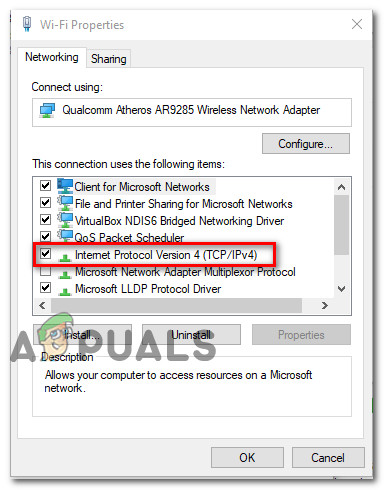
Accessing the Internet Protocol Version 4 settings - Select Use the following DNS server addresses. Set 1.1.1.1 as the Preferred DNS Server and 1.0.0.1 as the Alternate DNS Server.
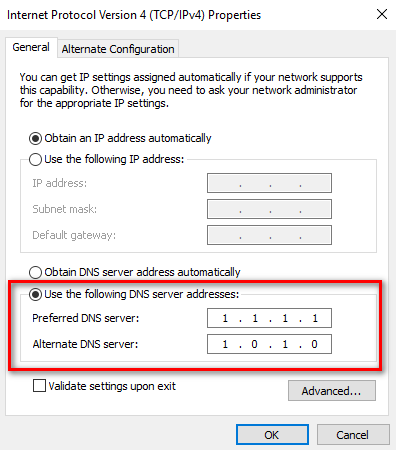
Changing the alternate DNS server - Click Ok and restart your computer to apply changes.
- After restarting, launch the game to check if the issue is resolved.


hello i have the game servers problem on modern warfare i have tried all the solution and that didnt get better can you help me please i can only play 10 minutes at mw until the error message come to me thanks i appreciate if anyone can help me