How to Fix ‘Can’t Open asio3.sys’ Error on Windows 11 / 10
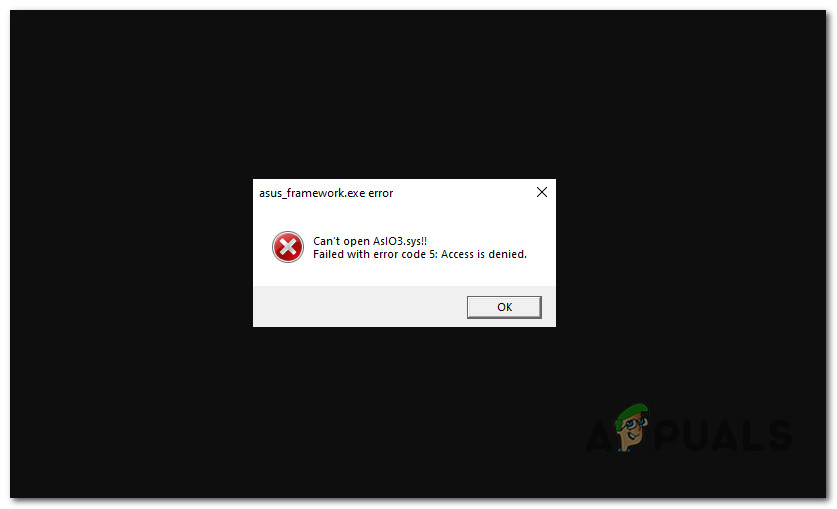
The “Can’t open AsIO3.sys” error shows up when Windows starts as ASUS apps like Armoury Crate try to load the AsIO3.sys driver. This means Windows can’t access or load the AsIO3.sys driver file, often with error code 5 meaning “Access is denied.”
The main cause is a turned-off ASUS service such as AsusCertService, with other causes including missing or mismatched AsIO3_32.sys or AsIO3_64.sys files.
1. Unblock the zip file
One of the most common reasons this issue occurs is because the .zip file you downloaded (containing software that uses AsIO3.sys) is blocked by Windows.
This is known to happen with older software builds—until recently, many .zip files downloaded from the official ASUS support website were marked as blocked.
To fix this and get around the ‘Can’t open AsIO3.sys‘ error, open the Properties of the .zip file and unblock it before you install anything.
- Open File Explorer and navigate to the location of the .zip file.
- Right-click it and choose Properties from the context menu.
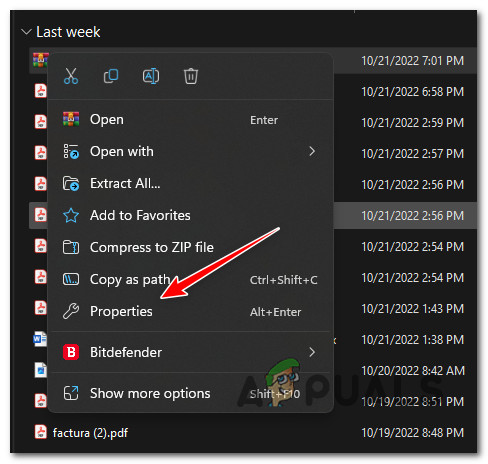
Access the Properties screen - Inside the Properties window, open the General tab.
- At the bottom, look for a Security section.
- If you see it, check Unblock, then click Apply.

Unblock the .zip file - At the confirmation prompt, click Yes, then wait for the file to be unblocked.
- Double-click the unblocked .zip file and extract it, then proceed with the installation normally.
- Run the installer and check if the ‘Can’t open AsIO3.sys‘ error still appears.
2. Grant yourself full permission for AsIO.sys (if applicable)
If the method above didn’t work and you already have ASUS drivers installed, the AsIO.sys/AsIO3.sys file might already be on your PC—but without the right permissions.
This can happen if the file doesn’t have full permission to run when the Windows installer calls it during another ASUS software install.
Note: This is often seen on systems with aggressive UAC (User Account Control) settings.
To fix this, go to C:\Windows\SysWOW64\drivers\AsIO.sys and adjust its permissions from the Security tab. This has been confirmed to work for many users seeing the ‘Can’t open AsIO3.sys‘ error.
Important: This only applies if you previously installed other ASUS software and the AsIO.sys file already exists on your PC.
- Make sure you’re signed in with an administrator account.
- Open File Explorer (Windows key + E) and navigate to:
C:\Windows\SysWOW64\
Note: If you don’t see AsIO.sys inside this directory, this method doesn’t apply. Skip to the next one.
- Right-click the drivers folder and choose Properties.
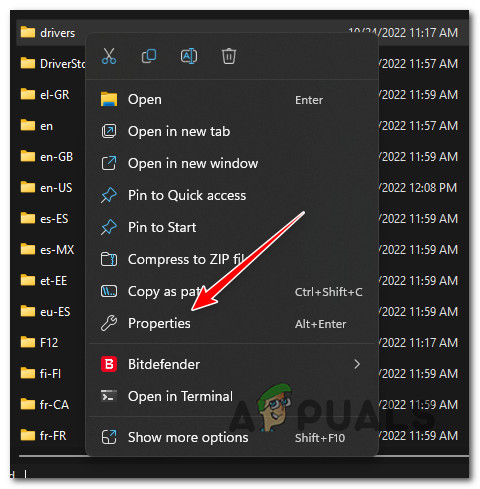
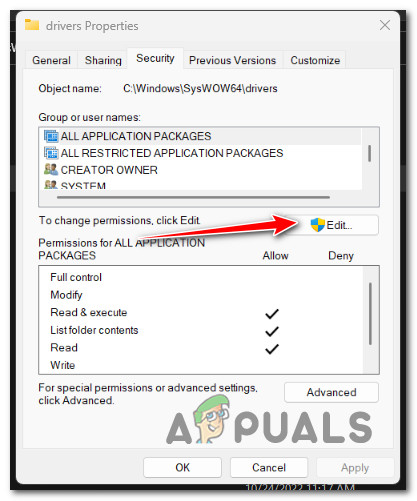
Access the Properties screen of drivers - In Properties, go to the Security tab and click Edit (next to Change permissions).
Click on the Edit button - On the Security tab, click Add under Group or user names.

Adding new security for user - In the Select Users or Groups window, type Everyone in the box under Enter the object names to select, then click OK.
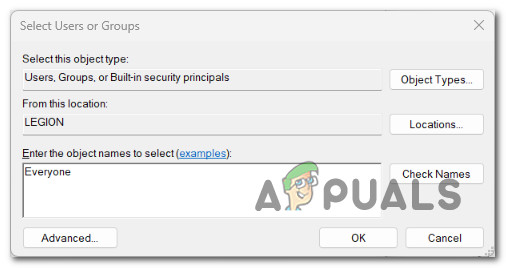
Apply security rule for everyone - Click Apply to save your changes.
- Go back to the folder’s Properties > Security tab and click Advanced (under Advanced permissions).
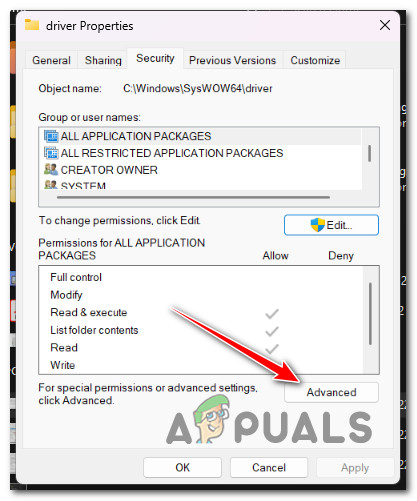
Access the Advanced Permissions settings - In Advanced Security Settings, open the Permissions tab and click Change permissions.
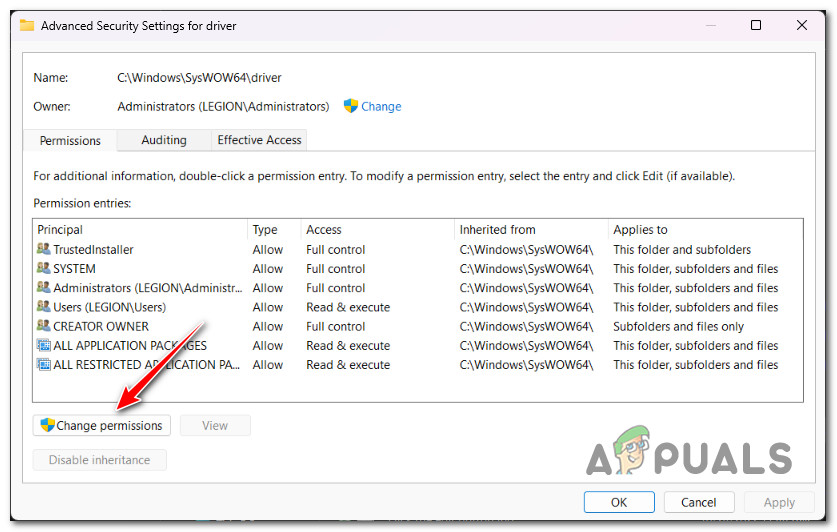
Changing Permissions - When prompted to select a user or group, enter Everyone.
- Make sure Replace owner on subcontainers and objects is checked.
- Go to the Auditing tab and click Add. Set Everyone as the Principal (owner).
- In the Auditing Entry window, choose Everyone as the Principal, then under Basic permissions, check Full control.

Setting up the ‘Everyone’ value as Principal for every group - Click OK, then Apply to save everything.
- Restart your computer and try installing the ASUS software again.
If you’re still seeing the ‘Can’t open AsIO3.sys‘ error, try the next method below.
3. Perform SFC & DISM scans
If you’re still stuck, check whether a corrupted system file is blocking ASUS software from installing (and triggering the ‘Can’t open AsIO3.sys‘ error).
You can do this using Windows’ built-in tools: SFC and DISM.
System File Checker and Deployment Image Servicing and Management can repair system files that Windows Installer depends on.
Start with System File Checker because it runs offline. Follow these steps to deploy an SFC scan.
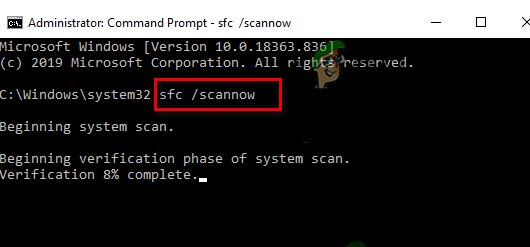
Important: If the SFC window seems to stop responding, do not close it. Let it finish.
Note: SFC replaces damaged parts of system files using a local cache. Interrupting it can cause more issues. On older HDDs, this may take an hour or more.
When the SFC scan finishes, restart your PC and test if the ‘Can’t open AsIO3.sys‘ error is gone.
If not, run a DISM scan next.
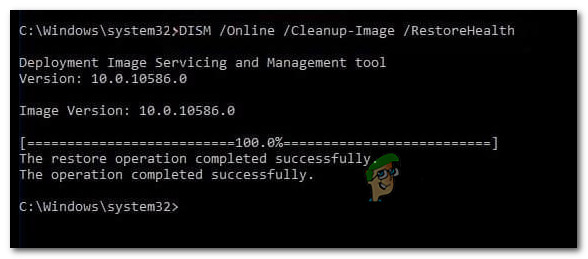
DISM uses Windows Update to pull clean system files, so you need a stable Internet connection.
After both scans, restart your PC and check if the error still appears.
4. Install ASUS Armoury Crate (if applicable)
Even if you’re not a fan of extra utilities, consider installing ASUS Armoury Crate—it often fixes the issue by installing all required components automatically.
Note: Armoury Crate is an integration app for ROG and TUF gaming laptops and desktops. It combines features from ROG Gaming Center, AEGIS III, Lighting, and AURA Sync. Installing it helps by pulling all needed dependencies (including the AsIO3.sys dependency).
The downside is that it also installs a few ASUS extras, but they’re generally non-intrusive.
Important: Only follow this if you’re on a ROG or TUF gaming laptop or desktop.
- Open your browser and go to the official download page of ASUS Armoury Crate.
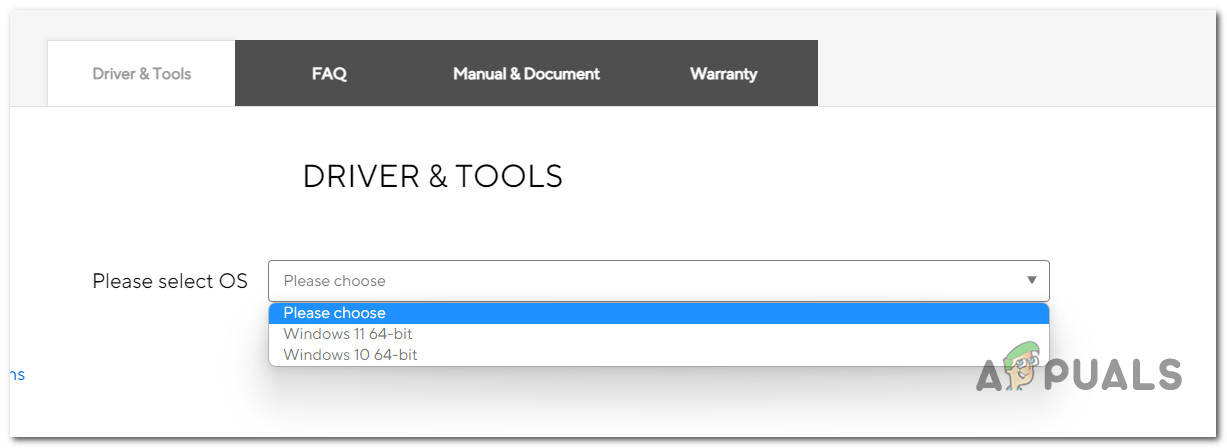
- From the Please select OS drop-down menu, choose your operating system.
- Click Download for the recommended version of Armoury Crate.

Downloading the ASUS Armoury Crate installation executable - After the executable downloads, extract it using the built-in tool or a third-party app like WinZip or WinRAR.
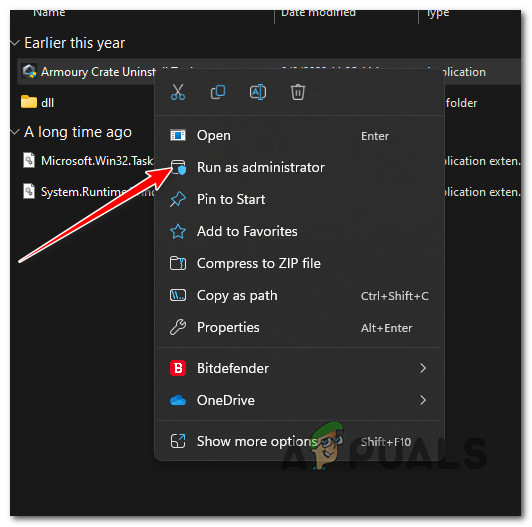
- Right-click ArmouryCrateInstaller.exe and choose Run as administrator.
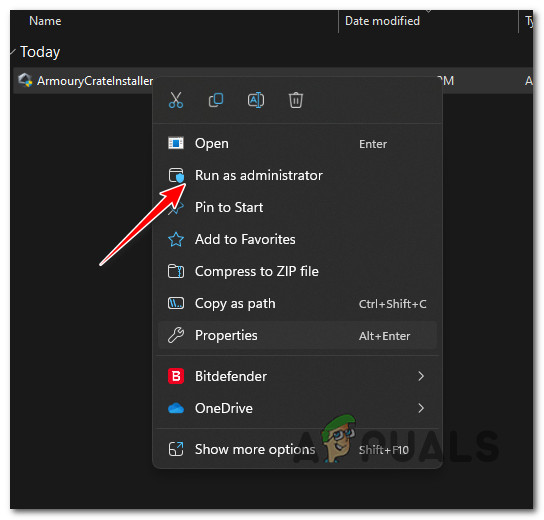
Run the executable as administrator - Follow the on-screen instructions to complete the installation, then reboot your PC.
- After restart, try the action that caused the ‘Can’t open AsIO3.sys – Failed with error code 5: Access is denied’ error and see if it’s fixed.
5. Uninstall the latest Windows Security Update
This problem has also been linked to a bad Windows security update that Microsoft released for some Insider and retail builds on specific ASUS models.
If the “Can’t open AsIO3.sys” error started right after Windows installed an update, uninstalling that update may fix it.
Important: After uninstalling it, you can hide the update to stop Windows from reinstalling it.
- Press Windows key + R to open Run, then type appwiz.cpl and press Enter to open Programs and Features.
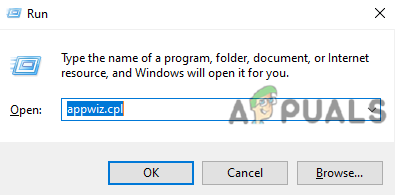
Open the Programs and Features menu - Click View installed updates from the left sidebar.
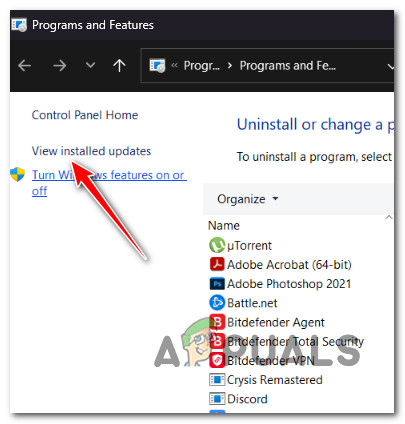
View the recently installed Windows Updates - On the Installed Updates page, find the most recent Windows update, right-click it, and choose Uninstall.
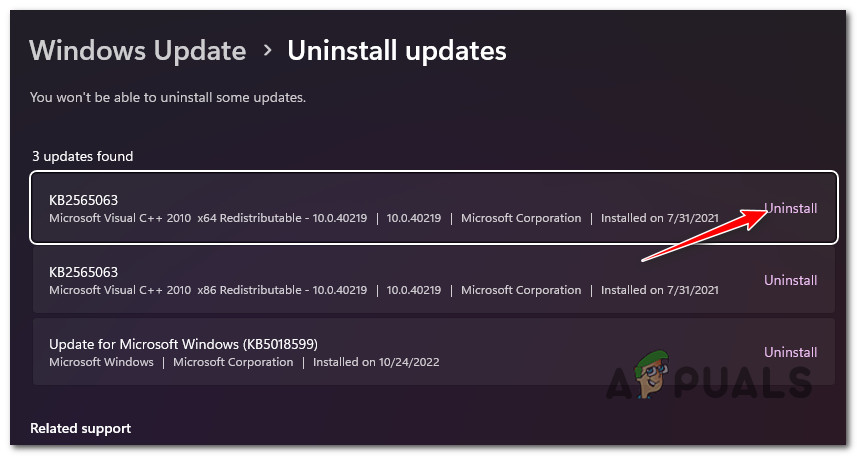
Uninstall the Windows Update that was installed recently - When asked to confirm, click Yes and let the uninstaller finish.
- Do not restart yet. Go to the official Microsoft Show or Hide troubleshooter download page.
- The download should start right away.
- Open the .diagcab file and click Advanced.
- Check Apply repairs automatically, then click Next.
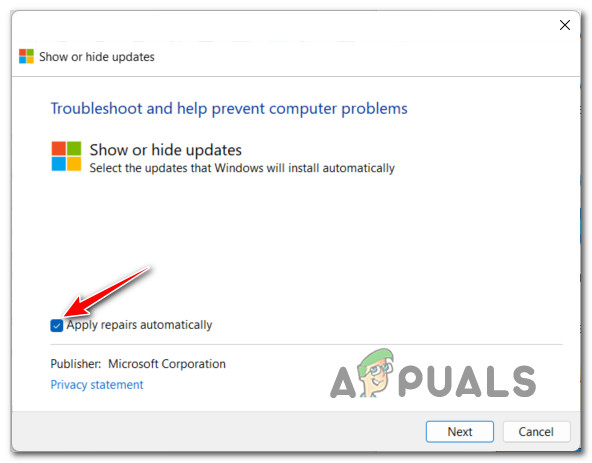
Applying the repairs automatically when using Windows Show / Hide Troubleshooter Note: The tool will scan for available updates. On the next screen, click Hide updates.
- Select the most recent Windows update you just removed and click Next. This prevents Windows from reinstalling it.
- Restart your computer and test again.
6. Install ASUS AI Suite add-on (if applicable)
If you suspected a bad Windows update above, also check for a pending ASUS AI Suite add-on.
Note: ASUS has released add-ons to address this issue for certain models. These are applied using the manual installer from ASUS.
AI Suite doesn’t auto-update. To ensure you have the latest components, run the AsusSetup executable from the download package and install any pending add-ons.
- Close all third-party apps (including ASUS AI Suite).
- Download the latest compatible version of ASUS AI Suite for your motherboard or laptop from the official ASUS download website.
- Extract the downloaded .zip archive.
- Open the extracted folder, right-click AsusSetup, and choose Run as administrator.
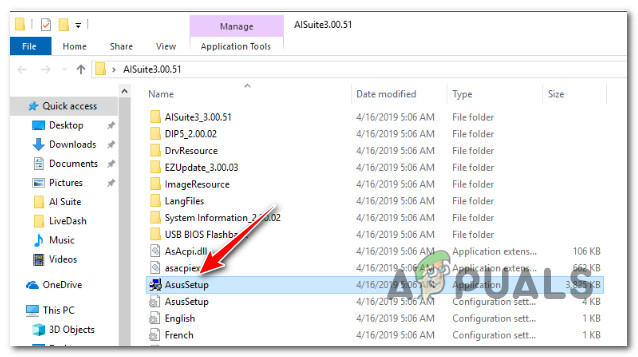
Run the AsusSetup executable with administrative access - Click Yes at the User Account Control (UAC) prompt.
- On the next screen, check every ASUS application box and click Install to update all components to the latest version.
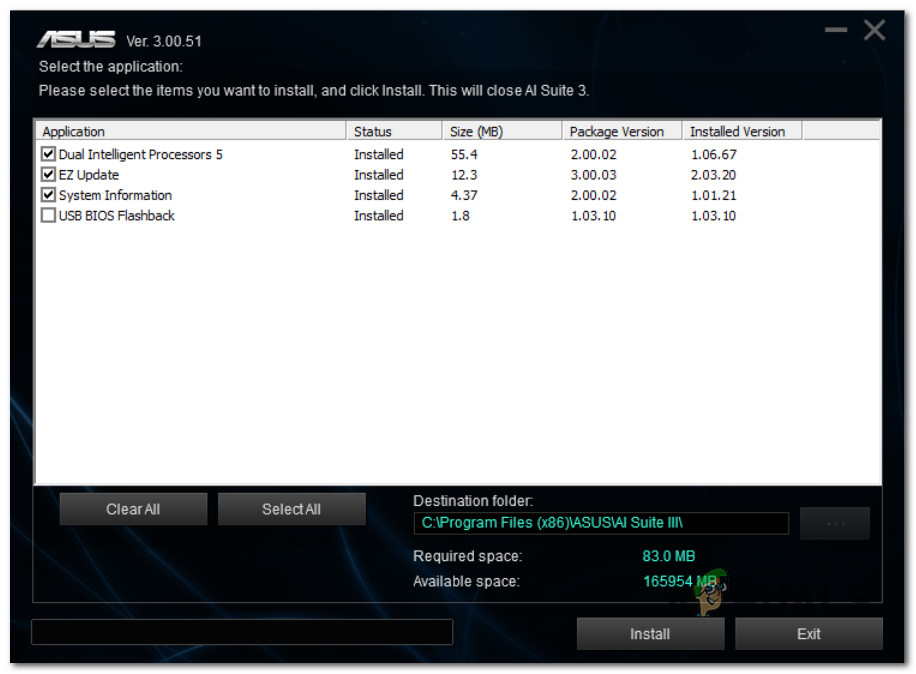
Update the ASUS suite to the latest version - When the installer confirms the update is complete, click OK.
- When prompted, click Yes to reboot.
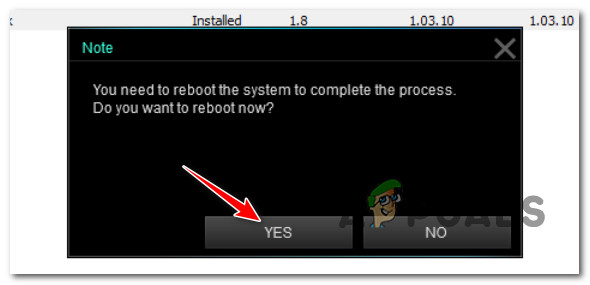
Confirm the reboot operation - After restart, try the action that caused the AsIO3.sys error and see if it’s fixed.
If the problem is still not fixed or this method doesn’t apply, continue below.
7. Use System Restore to revert the installation of ASUS AI Suite
If the issue started right after updating ASUS AI Suite, you can roll back to a version that didn’t cause this behavior.
ASUS only hosts the latest AI Suite build on its site. If you don’t want to use a third-party archive like Oldversion.com, use System Restore.
Note: System Restore lets you roll your system back to a previous state. By default, Windows creates restore points at key system events (like app installs and updates).
If you didn’t disable System Restore, you should have a restore point from right before the AI Suite update.
- Open Run, type rstrui, and press Enter to launch the System Restore wizard.
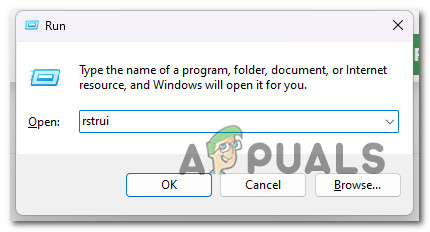
Open Restore point - Click Yes if the User Account Control prompt appears.
- On the first System Restore screen, click Next.
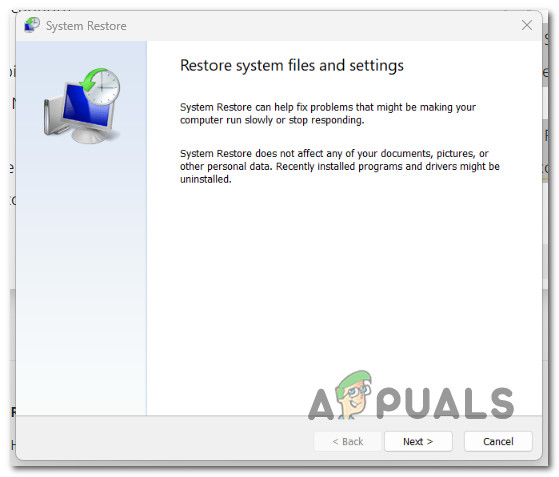
Get past the initial System Restore screen - Choose a restore point you trust. If you don’t see one from before the AI Suite update, check Show more restore points.
- Select a restore point created before the first ‘Can’t open AsIO3.sys‘ error, then click Next to begin.
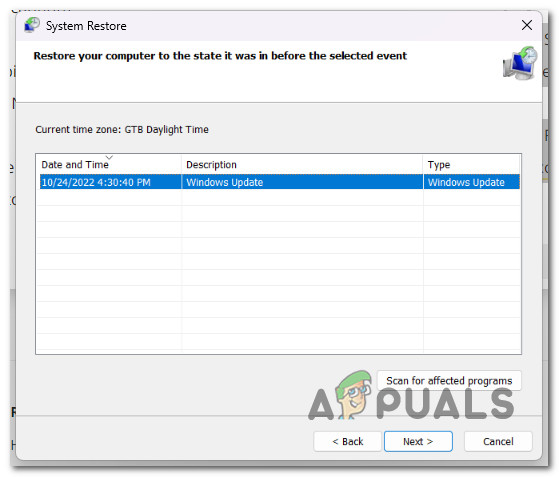
Selecting a viable Restore Point - After the restore completes and your PC restarts, try the action that previously caused the AsIO3.sys error.
8. Uninstall Armoury Crate using a dedicated uninstaller
If you started seeing this after installing or updating ASUS Armoury Crate, you’re not alone—several users reported the same ‘Can’t open AsIO3.sys‘ error tied to a bad Armoury Crate version.
To fix it, uninstall the utility using ASUS’s dedicated uninstaller.
Important: If you remove Armoury Crate through Programs and Features, leftovers may remain and the error can persist. Use the official uninstaller instead.
- Close all third-party apps (including any ASUS tools).
- Open a browser and go to the official Armoury Crate download page.
- Select your OS to get the correct downloads.
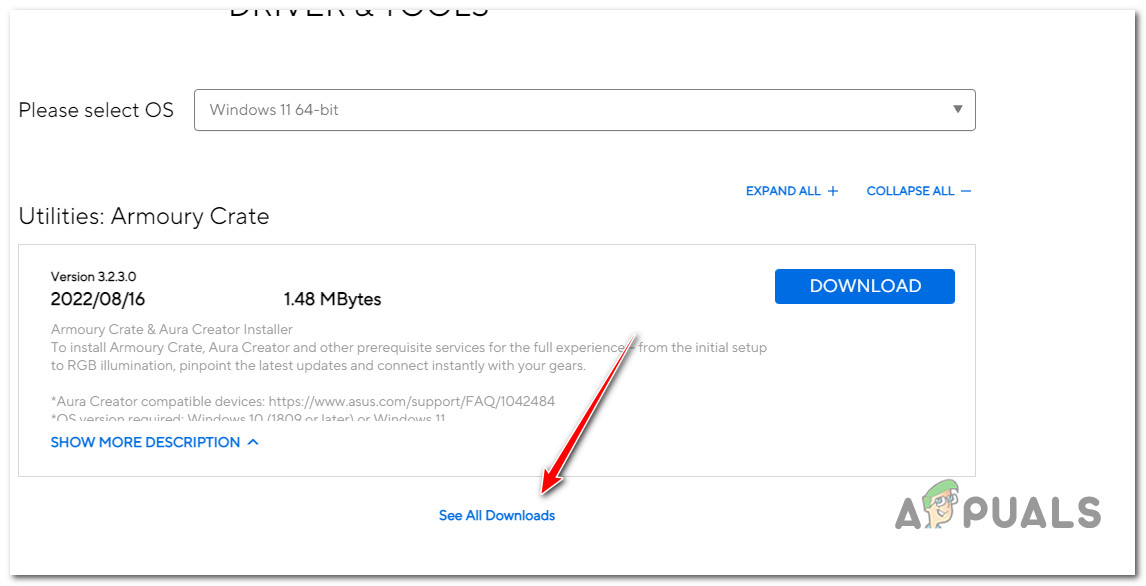
Selecting the correct OS version - You’ll see the latest version by default. Click See All Downloads.
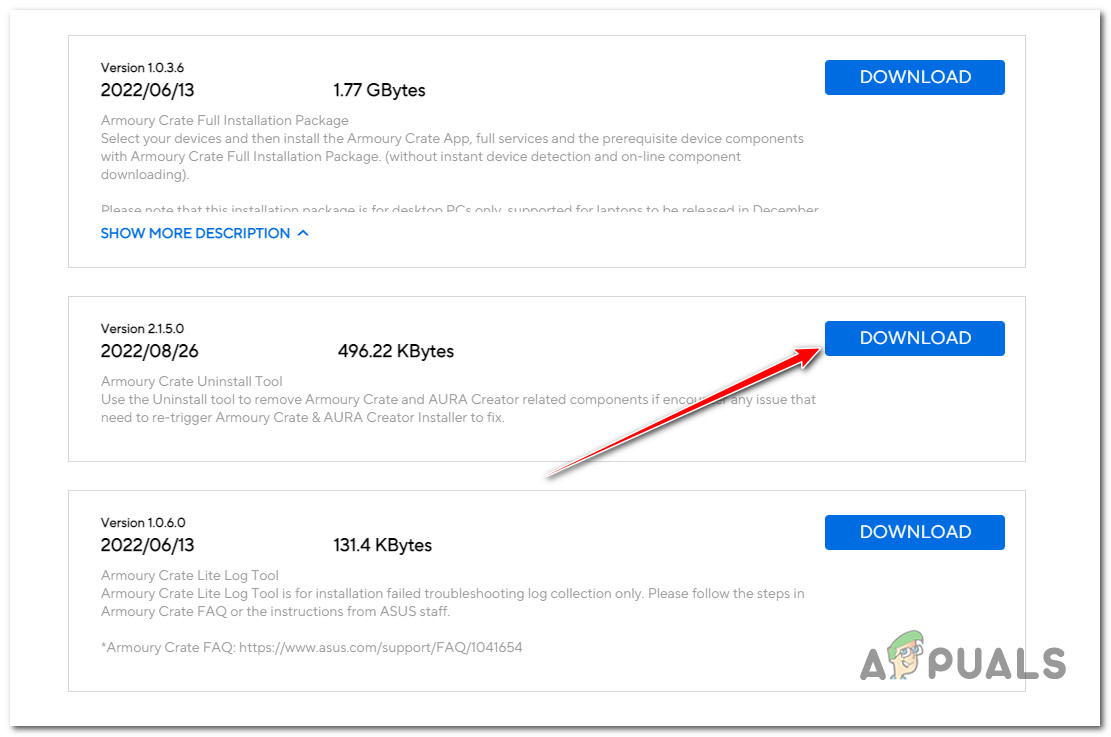
Viewing all available updates - Scroll down and find the Armoury Crate Uninstall Tool. Click Download.
Downloading the correct uninstaller - When the download finishes, extract the archive.
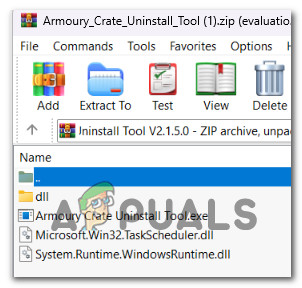
Extracting the uninstaller Note: Use the built-in extraction tool or a third-party app like WinZip or WinRAR.
- Right-click Armoury Crate Uninstall Tool.exe and select Run as administrator.
Running as administrator - At User Account Control, click Yes.
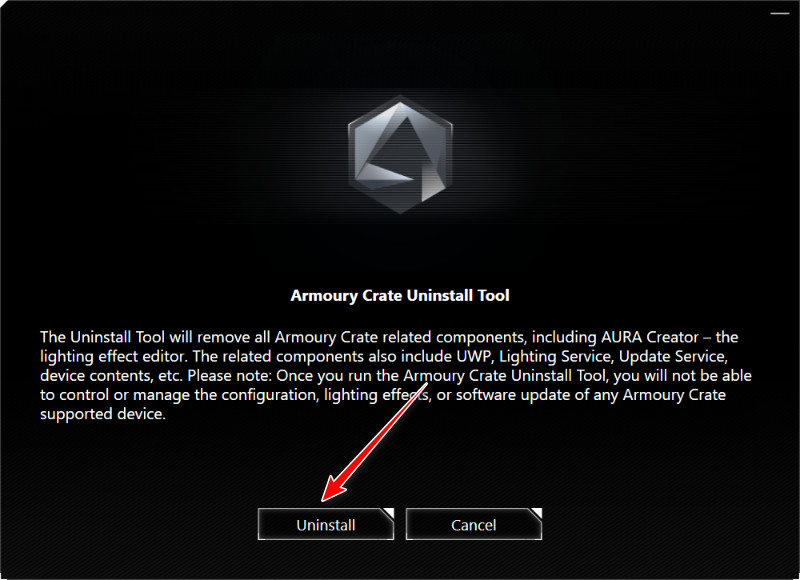
- Click Uninstall to begin, then confirm when prompted.
Uninstalling the Armoury Crate - When it’s done, click Restart Now and let the PC reboot.
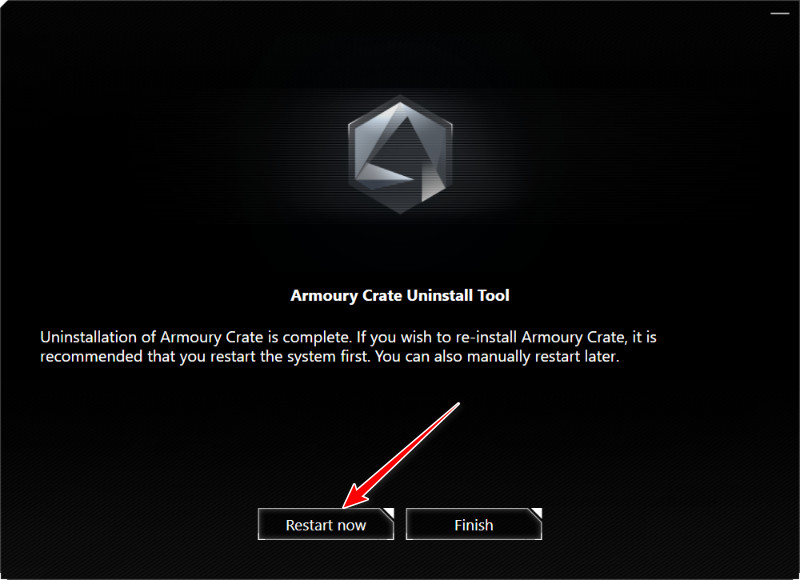
Restarting the PC after uninstallation - Test again to see if the error is gone.
9. Enable AsusCertService
Some system optimizer tools can disable the AsusCertService to “save” resources, which can break ASUS apps and trigger the ‘Can’t open AsIO3.sys‘ error.
The fix is simple: make sure the Asus Certificate Service is enabled and set to start automatically.
- Press Windows key + R to open Run.
- Type services.msc and press Ctrl + Shift + Enter to open Services with admin rights.

Accessing the Services screen - At the User Account Control (UAC) prompt, click Yes.
- In the Services list, find Asus Certificate Service.
- Right-click it and choose Properties.
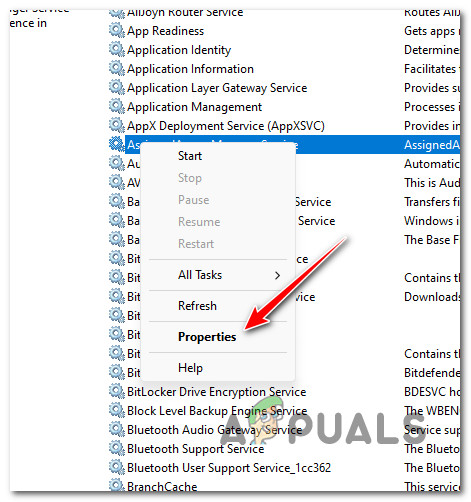
Accessing the Properties screen of AsusCertService - Set Startup type to Automatic, then click Start to run the service now.
- Click Apply to save your changes.
- Try the action that caused the error and see if it’s fixed.
10. Install the latest lighting updates via Aura
Another possible cause is missing lighting updates in one of your ASUS suites.
Note: This is a newer dependency required by most ASUS software today.
The quickest way to get these components is to use Aura Sync to install them automatically.
Aura Sync is now part of Armoury Crate, but you can still install it on its own.
- Close all third-party applications, including ASUS software.
- Go to the official Aura Sync download page.
- Click the hyperlink at the bottom to download the standalone Aura Sync Utility.
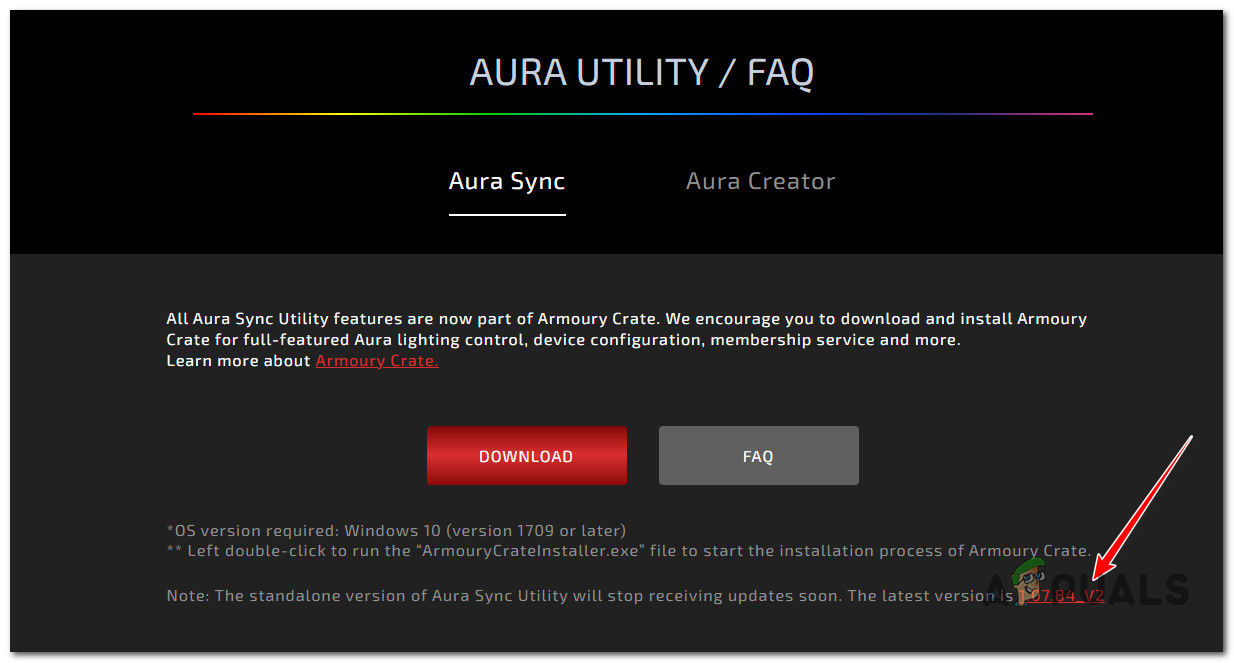
Download the standalone version of Aura Sync - Extract the archive, right-click Setup.exe, and choose Run as administrator.
- Click Yes at the UAC prompt.
- Complete the installation, then reboot your PC.
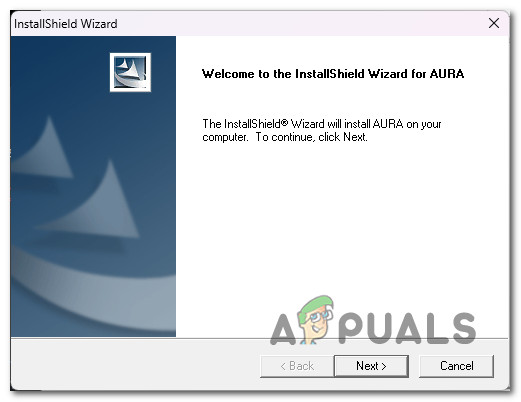
Go through the installation instructions - Open Aura Sync. If prompted to install pending updates, click Yes. Let all lighting dependencies install, then restart your PC.
11. Disable Plugins in iCUE Settings (if applicable)
If you use Corsair’s iCUE to sync RGB lighting, it can conflict with ASUS AI Suite and cause ‘Can’t open AsIO3.sys‘.
You can usually fix this by opening iCUE Settings and unchecking Enable plugins.
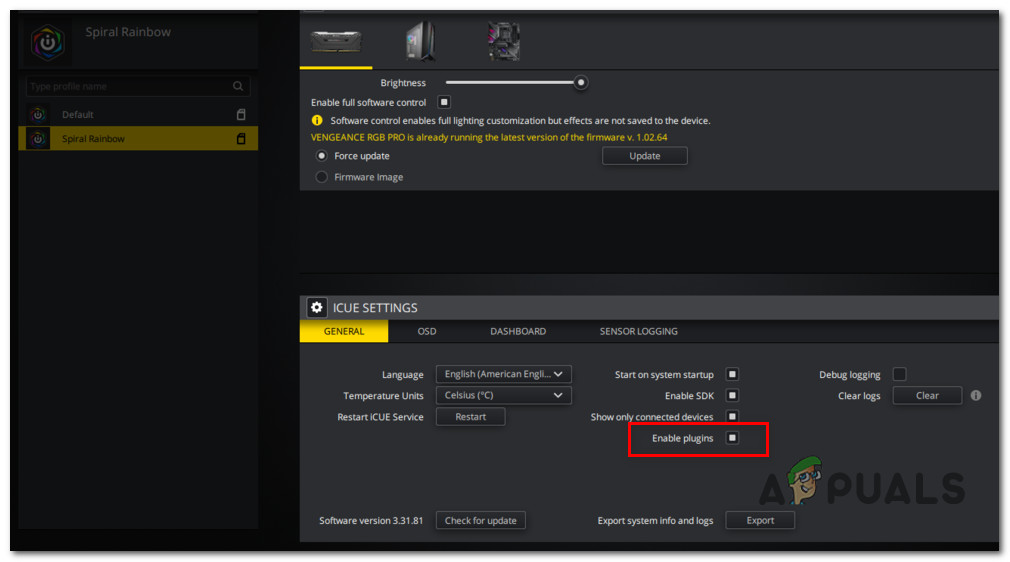
After doing this, reboot your PC and test again.
12. Uninstall ASUS Probe (if applicable)
ASUS Probe is a legacy tool that ASUS no longer supports. It’s known to cause compatibility issues with newer ASUS software (AI Suite, Aura Sync, EZ Flash, etc.).
Everything it does is already covered by ASUS AI Suite, so there’s no reason to keep it installed.
- Press Windows key + R to open Run.
- Type appwiz.cpl and press Ctrl + Shift + Enter to open Programs and Features with admin rights.
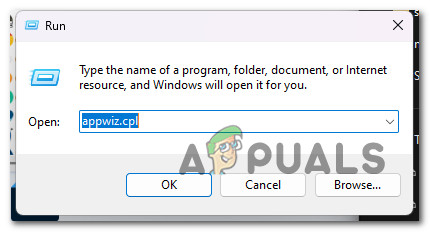
Open up the Programs and Features screen - Click Yes at the User Account Control (UAC) prompt.
- In Programs and Features, right-click ASUS Probe and choose Uninstall.
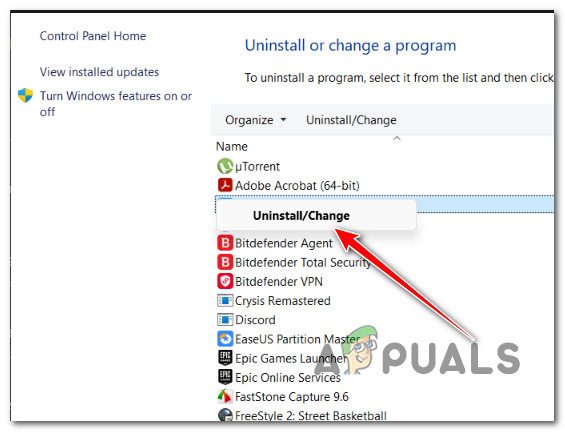
Uninstalling ASUS probe - Follow the prompts to finish the uninstallation, reboot your PC, and see if the conflict is resolved.
13. Perform a clean install or repair install
If none of the above worked and you’re still getting “Can’t open AsIO3.sys – Failed with error code 5: Access is denied“, the last resort is to refresh Windows system files.
Many users resolved this by doing a full system refresh. You can pick either a clean install or a repair install (in-place upgrade).
A clean install wipes everything unless you back up your data (apps, games, personal files, etc.) first.
A repair install (in-place upgrade) keeps your personal files, installed apps, and most settings, but it takes a bit longer to complete.


I used “Enable AsusCertService”, its work.The problem that had been bothering me for hours was solved,thanks!