Can’t Delete the MountUUP Folder? Here’s How to Fix It
Trying to delete the MountUUP folder can cause an error saying “You require permission from [computer name]” even if you have full access. This means Windows sees the folder as protected, either because it is still in use or blocked by system permissions.

The most common reason is that it contains a mounted Windows image (WIM/VHD) that was not unmounted properly, with other possible causes including TrustedInstaller owning it, encryption, or system processes still running.
1. Delete Directory via Command Prompt
If you want a method that’s very likely to work, boot into the Advanced Options menu and delete the mountUUP directory from an elevated Command Prompt before Windows mounts anything from it.
Note: Opening an elevated CMD from Advanced Options is necessary because you need to do this before Windows has a chance to lock files in the mountUUP folder.
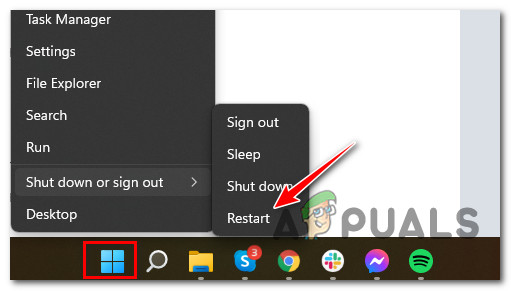
- Right-click the Windows icon on your taskbar.
- Expand Shut down or sign out, then press and hold Shift while clicking Restart.
Restart directly into the Advanced Startup menu - Wait for your PC to restart into the Recovery menu.
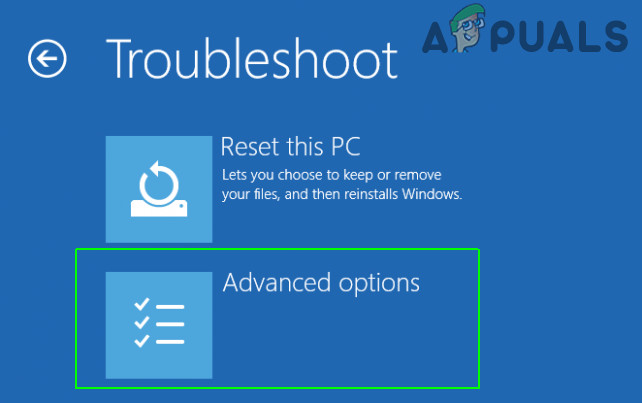
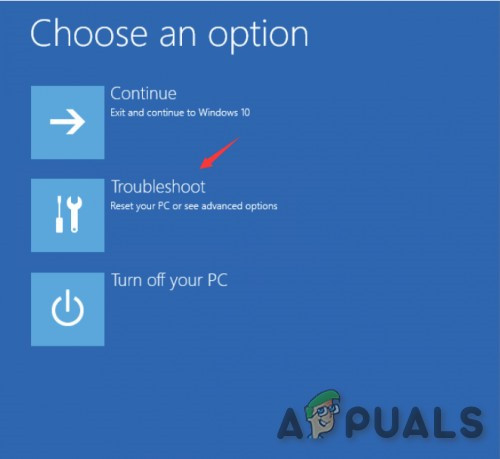
- Click Troubleshoot, then choose Advanced Options.
Opening up the Advanced Options menu - In Advanced Options, click Command Prompt.
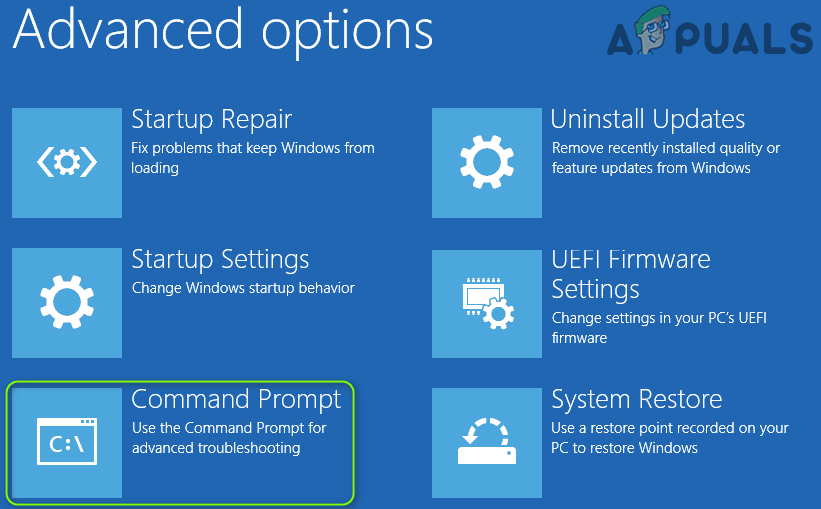
Opening up the Command Prompt window - In the Command Prompt, note that the temporary environment runs from drive X:. Your Windows drive might be listed as C:, D:, or E: instead.
- Type the following to check for the mountUUP folder on a drive (try C:, then D:, then E: if needed):
dir C:\mountUUP
Note: Replace C: with the correct letter if the folder isn’t on C:.
- Once you identify the correct drive, run this command to remove the folder and everything inside it:
rd /s /q C:\mountUUP
Note: Replace C: with the correct drive letter you found in the previous step.
- After the command completes, restart your PC normally and check that the folder is gone.
2. Giving Yourself Full Control of the folder
Often, the issue is caused by permissions. If you’d rather not force-delete the folder, you can take ownership and give your account full control, then delete it normally.
- Open File Explorer and go to the mountUUP folder.
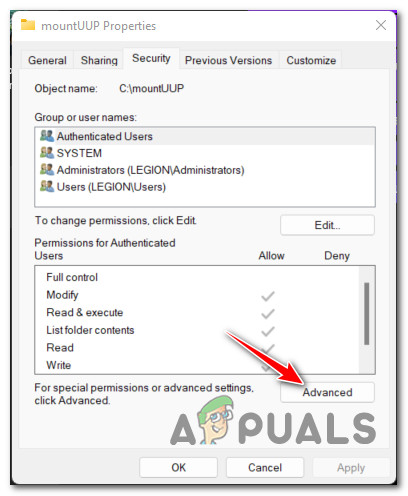
- Right-click the folder and choose Properties.
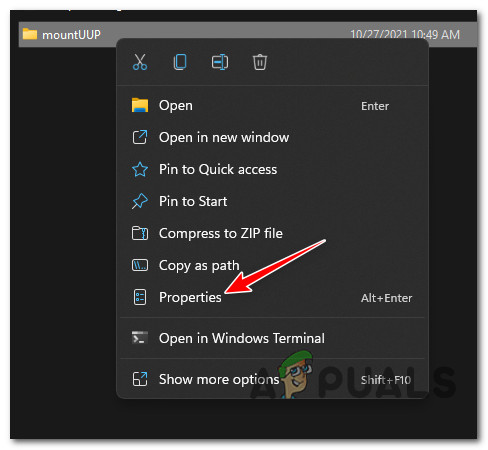
Accessing the Properties screen of mountUUP - In Properties, open the Security tab and click Advanced (under Permissions for Authenticated Users).
Accessing the Advanced permissions button - Click the Change link next to the Owner field, then click Yes if prompted for admin approval.
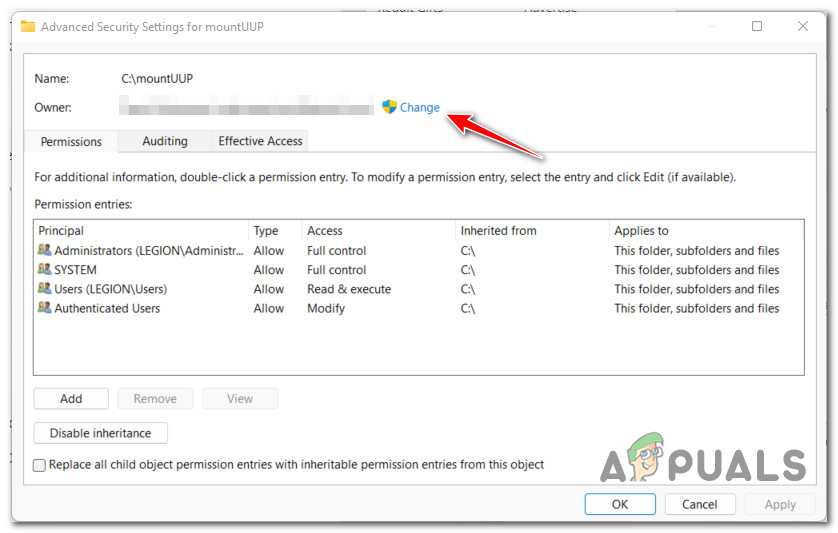
Changing the owner of the mountUUP folder - In Select User or Group, click Advanced at the bottom.
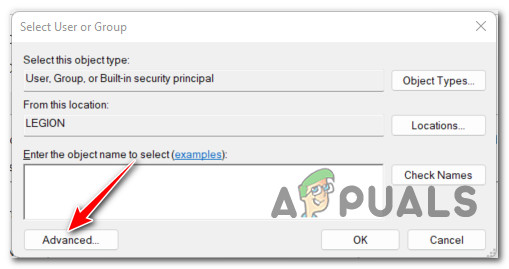
Accessing the Advanced menu - Click Find Now.
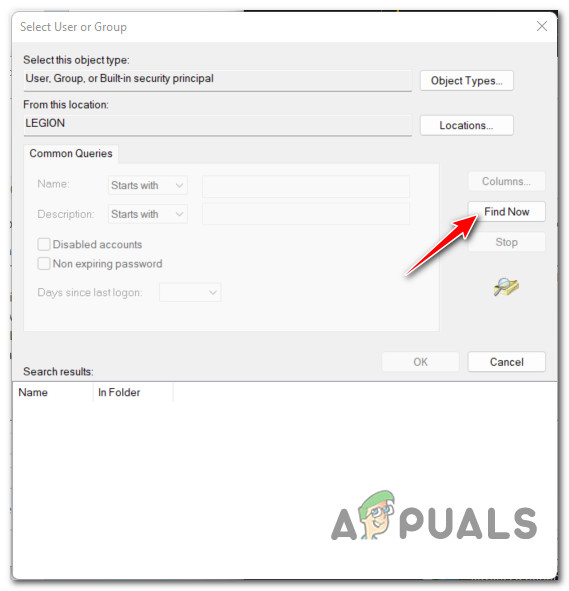
Using the Find functionality - From the Search results, double-click Administrators, then click OK.
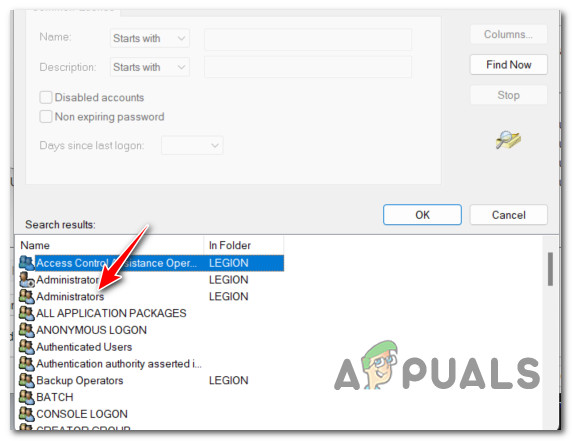
Opening up the Administrators menu - Back in Select User or Group, click OK to apply.
- In Advanced Security Settings for mountUUP, check Replace owner on subcontainers and objects, then click Apply.
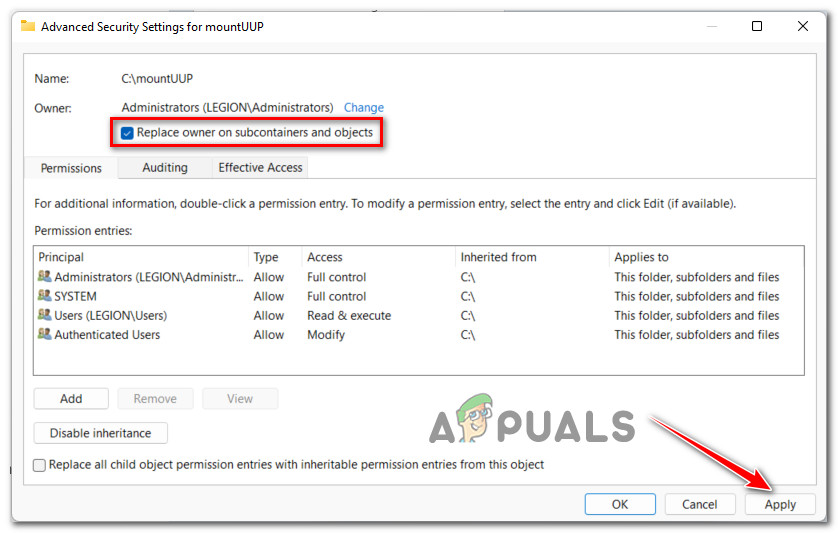
Applying the permission changes Note: If a warning about permissions appears, click OK to continue.
- Return to the main Properties window for mountUUP and click Advanced again.
- Under Permission entries, make sure the Administrators principal has Full control. Click OK and restart your PC so the changes take effect.
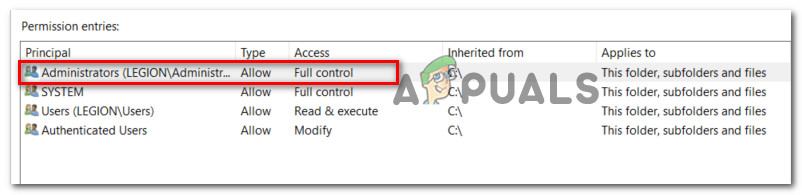
Checking for the required permissions - After the restart, try deleting the mountUUP folder again.
3. Unmount and Clean the .WIM or .VHD files first
If the methods above didn’t work, the folder may contain a .wim or .vhd file that’s currently mounted. In that case, Windows will keep the folder in use and block deletion.
You can fix this by running a DISM command to unmount and clean up any mounted images.
Follow these steps:
- Press Windows key + R to open Run. Type cmd and press Ctrl + Shift + Enter to open an elevated Command Prompt.
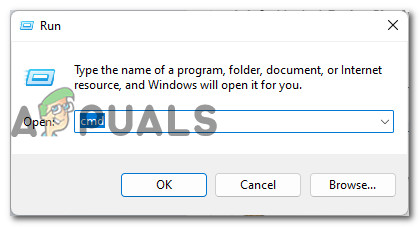
Opening an elevated Command Prompt - At the User Account Control prompt, click Yes.
- In Command Prompt, run:
dism /cleanup-wim
If that doesn’t clear it, you can also try:
dism /cleanup-mountpoints
- When the command finishes, go to the mountUUP folder and try deleting it normally (right-click > Delete).
4. Boot in Safe Mode without Networking
Another reliable option is to boot in Safe Mode without Networking. This starts Windows with only essential services, so any .wim files in mountUUP won’t be used by the system.
Note: Use Safe Mode without Networking to prevent Windows Update components from accessing files in the mountUUP folder.
Note: These steps work on Windows 8.1, Windows 10, and Windows 11.
- Right-click the Start icon on your taskbar, expand Shut Down or Sign out, and hold Shift while clicking Restart.
Restart directly into the Advanced Startup menu Note: This restarts your PC into the Advanced Startup (WinRE) menu.
- When the Recovery menu appears, click Advanced Startup, then select Troubleshoot.
Accessing the Troubleshoot tab - Click Startup Settings.
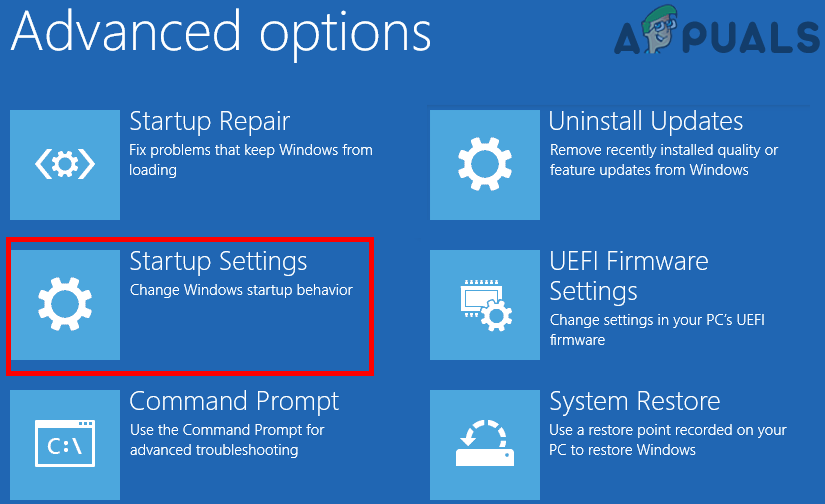
Accessing the Startup settings menu - Click Restart to go to the Startup Settings screen.
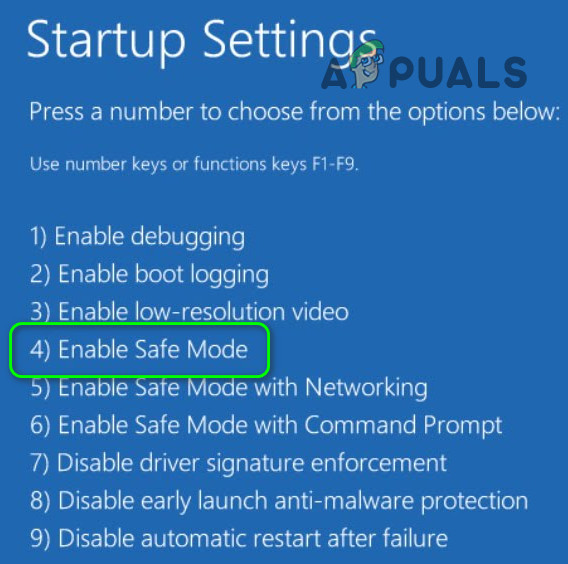
- Press F4 (or the 4 key) to boot into Safe Mode (without Networking).
Boot in Safe Mode - After Windows loads Safe Mode, try deleting the mountUUP folder again.
- When you’re done, restart your PC to return to normal mode.
5. Remove mountUUP from the list of Protected Folders
A less common cause is Windows Security (Defender) protecting the mountUUP folder through Controlled folder access. While it’s protected, you won’t be able to delete it.
To fix this, remove mountUUP from the Protected folders list, then delete it normally.
- Press Start, type Windows Security, and open Windows Security from the results.
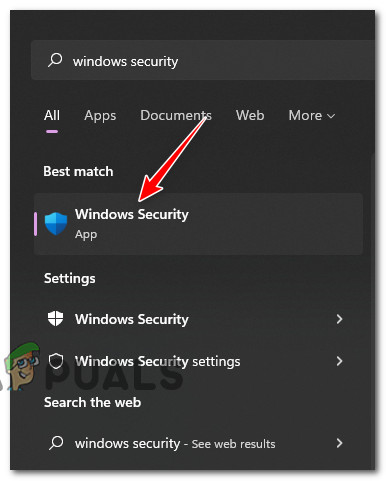
Open up the Windows Security tab - In Windows Security, click Virus & threat protection. Under Ransomware protection, click Manage ransomware protection.
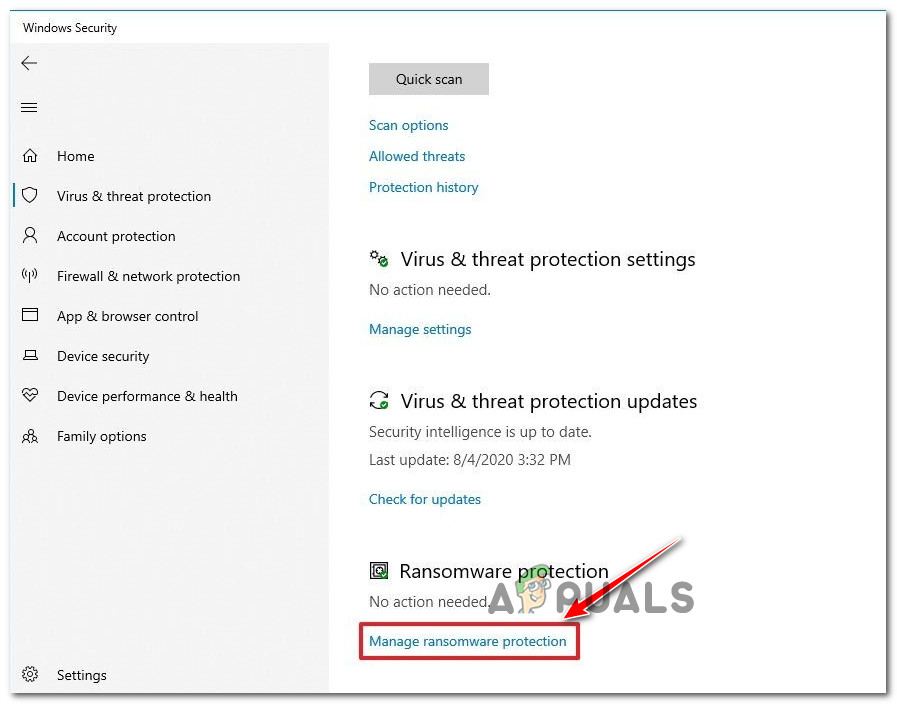
Manage the Ransomware protection settings Note: If the left menu is hidden, click the menu icon in the top-left corner.
- Click the Protected folders link (under Controlled folder access).
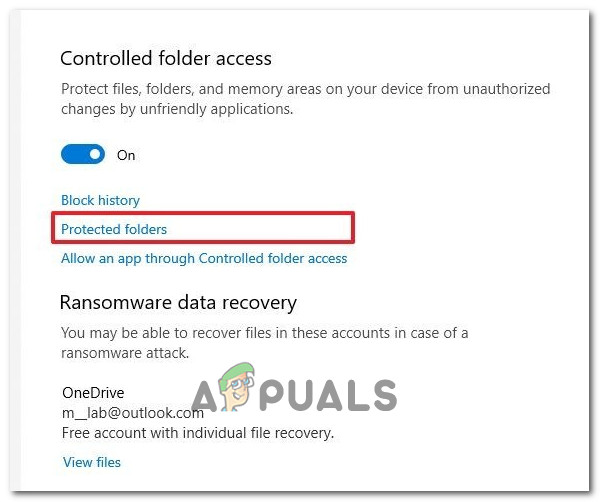
Accessing the Protected folders menu - In Protected folders, look for the entry pointing to the mountUUP folder.
- Select it, click Remove, and confirm. You should now be able to delete the folder normally.


Espectacular!!! … funcionó con cmd > dism /cleanup-wim … Gracias!!!