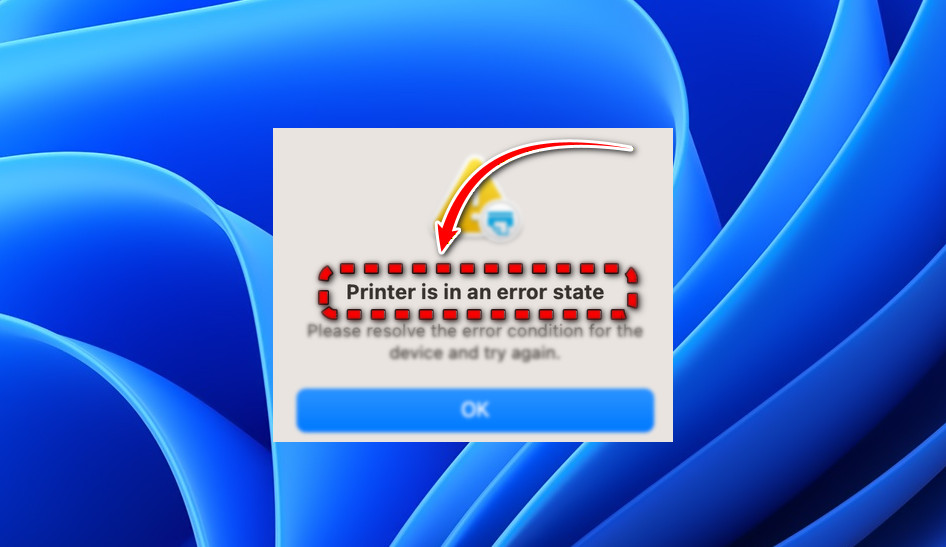
How to Fix “Printer is in an error state” Issue?
The “Printer is in an error state” message appears when Windows fails to properly communicate with your connected printer. In this condition, print jobs may stay stuck in the queue or fail to initialize entirely, even though the printer seems powered on and connected. The issue can occur with both USB and network printers and usually points to a driver, spooler, or port configuration problem.
Other recurring causes include communication timeouts over USB or Wi-Fi, incomplete driver installations after Windows updates, and queued print data that traps the spooler in an error loop.
1. Clear the Print Spooler and Reinstall the Printer
Over time, damaged or leftover print files can accumulate inside the spool folder. These corrupted entries may prevent new print commands from being processed, locking the spooler into an error state and making Windows think your printer is malfunctioning.
Clearing the print spooler removes those faulty files, while reinstalling the printer refreshes driver links and registry configurations to restore proper communication.
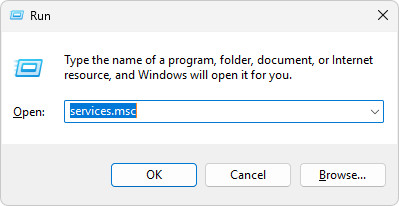
- Press Windows + R, type services.msc, and press Enter.
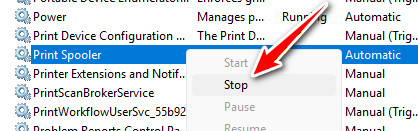
- Find Print Spooler, right-click it, and select Stop.
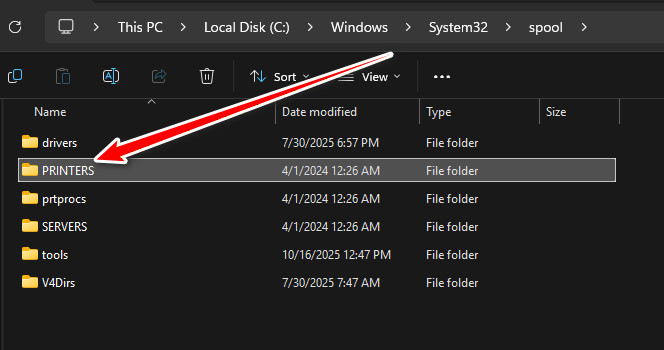
- Open File Explorer and navigate to:
C:\Windows\System32\spool\PRINTERS
- Delete all files in this folder these are stuck print jobs causing the conflict.
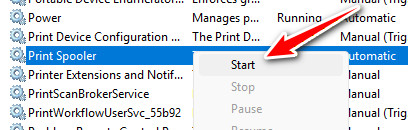
- Return to the Services window, right-click Print Spooler, and choose Start.
- Finally, reinstall your printer through Settings > Bluetooth & Devices > Printers & Scanners.

2. Install the Correct Printer Driver
Sometimes, Windows automatically installs a generic or incompatible driver that prevents proper communication between the printer and the system. This mismatch leads to failed print jobs or detection errors.
Installing the manufacturer’s official driver ensures both devices communicate correctly and eliminates compatibility problems.
- Press Windows + I to open Settings, then navigate to Bluetooth & Devices.
- Select Printers & Scanners.

- Choose your printer and click Remove.

- Visit the official website of your printer’s manufacturer.
- Download and install the latest driver for your exact model (or the Universal driver if recommended).
- Restart your PC and reconnect the printer.
3. Enable Legacy Plug and Play for LPT Port
Older printers connected through LPT ports may rely on Legacy Plug and Play detection to initialize properly. When this option is disabled, Windows might fail to detect the printer during startup.
Re-enabling this feature restores the hardware handshake and allows the printer to initialize automatically when your system boots.
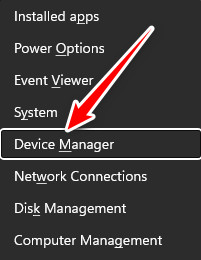
- Press Windows + X and select Device Manager.
- Expand Ports (COM & LPT), right-click your printer port (e.g., LPT1), and select Properties.
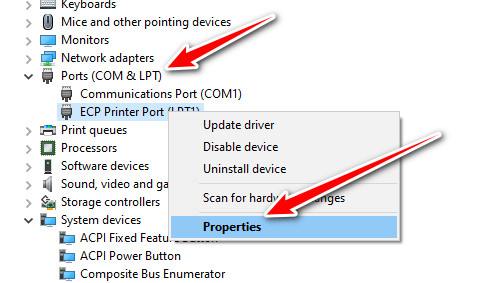
- Go to the Port Settings tab.
- Check Enable legacy Plug and Play detection.
- Click OK and restart your computer.