Fix Canon Print Job Error 853 on Windows 7/8/10
Print jobs on Windows 7/8/10 may fail right away with Error 853, leaving nothing in the queue and no printout from the Canon printer. Error 853 means that printing or Secure Print could not be finished, often because the printer could not handle the received data correctly.
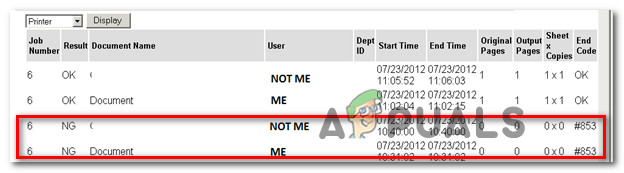
The main cause is using the wrong driver, such as a PostScript or Microsoft IPP Class driver instead of the Canon UFR-II driver; other causes include old drivers, firmware problems, or stopped print jobs.
1. Install the UFR2 driver (if applicable)
Because error 853 is often an internal processing issue, start by making sure it’s not caused by a PostScript mismatch. This error commonly shows up when your Canon tries to print using a PostScript driver even though the printer model does not support the PostScript language.
Note: This is common with printers using the Canon PS v4.x driver.
If this matches your situation, install and use the UFR II (UFR2) driver instead.
- Open your default browser and navigate to the download page of the generic version of the UFR2 printer driver.
- Once you’re inside the correct page, click on the Download button to initiate the download.
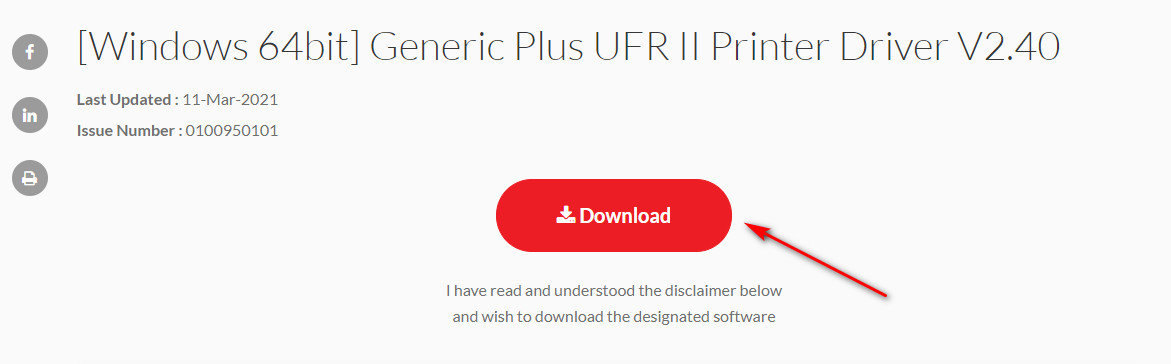
Downloading the UFR driver Note: This driver is compatible with recent Windows versions including Windows 7, Windows 8.1, and Windows 10.
- Once the download is complete, double-click the file you downloaded and click Yes at the UAC (User Account Control) prompt to allow it.
- Follow the on-screen instructions to complete the UFR2 driver installation, then restart your computer.
- After your computer boots back up, the new printer driver should replace the old one automatically.
- Try printing again to see if the #853 error is gone.
2. Force the correct driver (UFR II)
Even after installing the UFR II driver, your PC might still be using the Microsoft IPP Class Driver by default.
Several users fixed the issue by changing the driver priority in Device Manager and forcing the printer to use the Canon Generic Plus UFR II driver instead of the Microsoft IPP Class Driver.
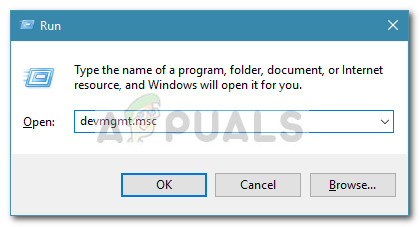
- Press Windows key + R to open a Run dialog box. Type ‘devmgmt.msc’ and press Enter to open Device Manager. When you see the UAC (User Account Control) prompt, click Yes.
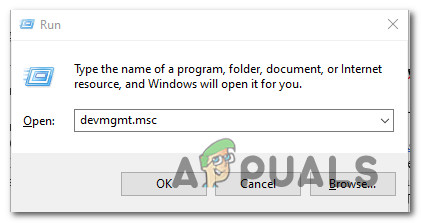
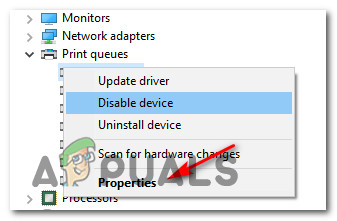
Opening Device Manager - In Device Manager, scroll through the list and expand Print Queues.
- Right-click your printer in the list and select Properties.
Accessing the Properties menu - In the Properties window, open the Driver tab and select Canon Generic Plus UFR II from the drop-down instead of Microsoft IPP Class Driver (or whatever is currently set).
- Click Apply to save the change, then restart your computer and test printing again.
3. Run the Windows Printer Troubleshooter
If the first two methods didn’t help, you might be dealing with a general printer issue that Windows can fix automatically.
On Windows 10, the built-in Printer Troubleshooter can scan for common problems and apply the right fix with minimal effort.
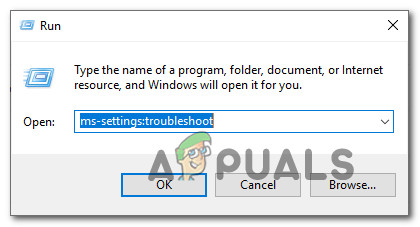
- Press Windows key + R to open a Run dialog box. Then type “ms-settings:troubleshoot” and press Enter to open the Troubleshoot section in Settings.
Opening Troubleshoot settings - In the Troubleshooting section, go to Get up and running, click Printer, then click Run the troubleshooter.
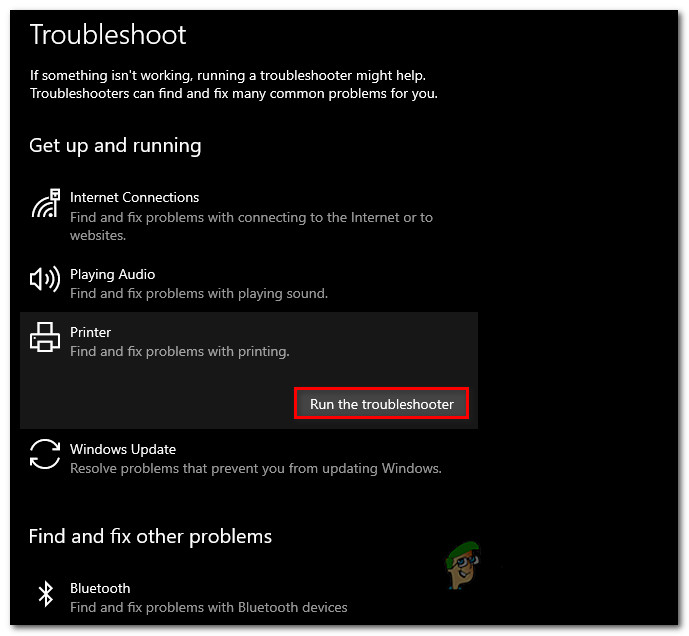
Running the printer troubleshooter - After the scan, click Apply this fix if a solution is recommended.
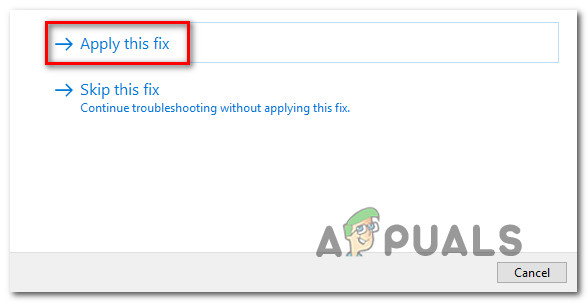
Applying the recommended fix - When it finishes, close the troubleshooter and try printing again.
4. Update your printer’s driver version
The 853 error can also be caused by an outdated or incompatible printer driver that interrupts communication between your PC and the Canon printer.
You can update the driver in two ways:
- Update your printer driver via Windows Update
- Update your printer driver manually
Use whichever method you prefer.
4.1. Update your printer driver via Windows Update
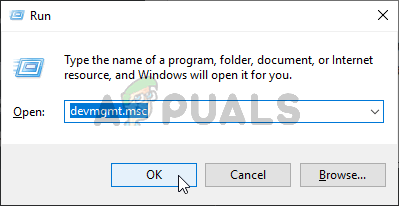
- Press Windows key + R to open a Run dialog box. Type “devmgmt.msc” and press Enter to open Device Manager. If prompted by UAC (User Account Control), click Yes.
Opening Device Manager - In Device Manager, expand Printers (Print queues).
- Right-click the printer you’re having trouble with and choose Update driver.
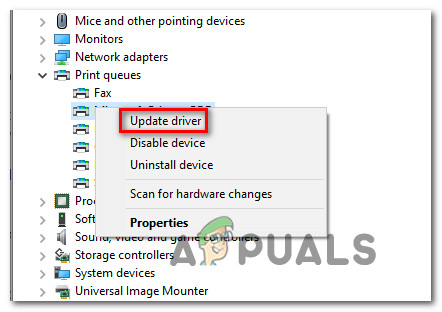
Updating your printer driver - Click Search automatically for updated driver software to let Windows Update find and install a newer driver if available.
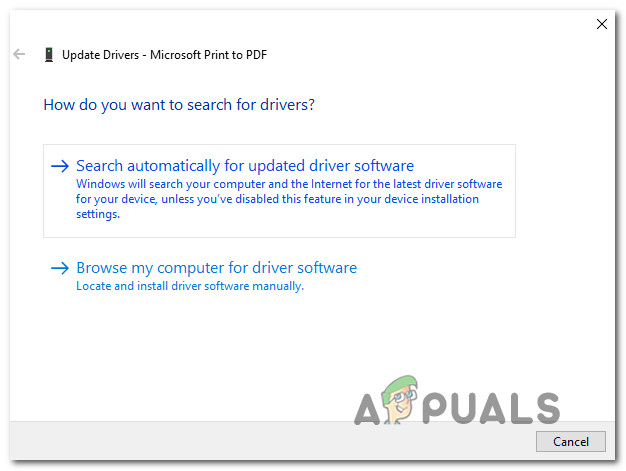
Updating the driver version - If a new driver is found, follow the prompts to install it.
- Restart your computer and test the printer.
4.2. Update your printer driver manually
- Press Windows key + R to open a Run dialog box. Type “devmgmt.msc” and press Enter to open Device Manager. If you are prompted by UAC (User Account Control), click Yes.
Opening Device Manager - Expand Printers (or Print Queues). Right-click the affected printer and choose Uninstall device. Confirm to remove the driver.
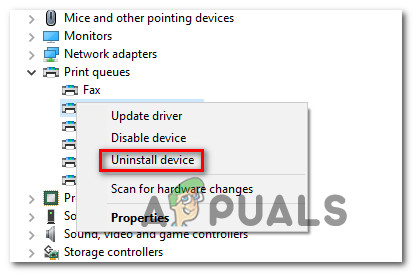
Uninstalling the Printer Driver Note: Do not restart your computer yet. Restarting now allows Windows Update to install a generic driver at startup, which may bring the same error back.
- After removing the driver, open your browser and go to your printer manufacturer’s website (Canon Support) to find the latest driver for your exact model.
Note: Drivers are usually found in the Support or Downloads section. - Download the latest driver, open it, and follow the on-screen steps to install it. Most printer drivers are self-installing—just double-click the file and accept the UAC prompt.
- Restart your computer and test printing once the startup is complete.
5. Update the Canon printer’s firmware (if applicable)
If none of the methods above worked, outdated printer firmware might be preventing the printer from accepting jobs on your network.
Several Canon users fixed the issue by updating the firmware over the Internet after connecting the printer online.
Note: The steps below were tested on a MF733Cdw model. They should be similar on other Canon models with the same interface and Wi‑Fi/Wired capabilities.
- On the printer, open the Menu.
- Go to System Management Settings.
- Make sure the printer is connected to the Internet (via Wi‑Fi or Ethernet).
- Select Update Firmware, then choose Via Internet when asked how to update.
- Wait for the update to complete, then restart the printer. Return to the Update Firmware screen to confirm.
- If you see ‘This is the latest firmware version‘, the update was successful and your printer is on the latest firmware.
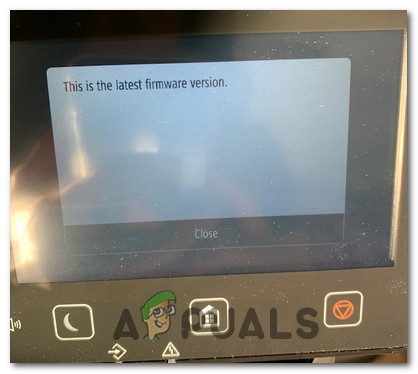
Updating the latest firmware version on Canon printer


