Fix: Imaging Devices is Missing in Device Manager
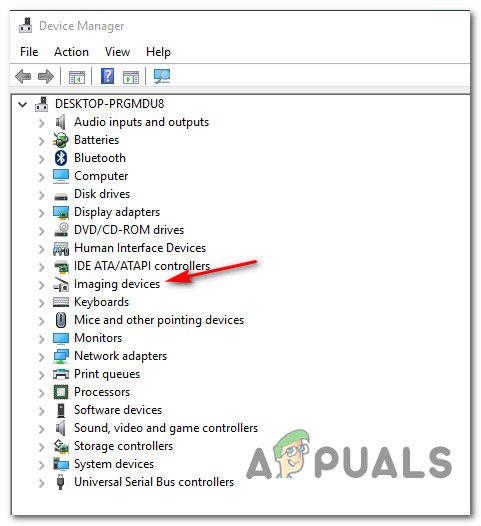
When the “Imaging Devices” category is missing in Device Manager, it indicates that your system cannot recognize or access your webcam or other imaging devices. This often leads to functionality issues with built-in cameras. The problem usually arises when a driver isn’t installed correctly or when the device is disabled due to hardware or software issues. The most common cause is an outdated or missing camera driver.
It can also be due to accidentally turning off the camera with function keys, wrong system settings, recent update conflicts, or incorrect device permissions.
In this article, we will talk about different solutions to fix this error.
1. Restart your computer
When you reboot your computer, it reloads all drivers and services, potentially fixing issues where the system might have skipped loading essential drivers, such as those related to imaging devices.
2. Check if your webcam is On
Sometimes, webcams are disabled at the system level due to accidental key presses or privacy settings. Checking if your webcam is on ensures it’s enabled and ready to use. Many laptops have function keys, like “Fn + F6,” to toggle the webcam. Ensuring it’s activated can solve issues where it doesn’t appear in Device Manager, allowing it to be recognized and drivers to load.
3. Add Imaging Devices Manually
Sometimes, if the imaging device isn’t detected automatically, manually adding it can help Windows recognize it. Using the “Add Legacy Hardware” option allows you to search for and install missing components, bypassing automatic detection issues. This method lets you select imaging devices from a list, ensuring the correct drivers are installed, even if they weren’t detected at startup.
- Press the Windows Key + R.
- Type hdwwiz.cpl and click OK.
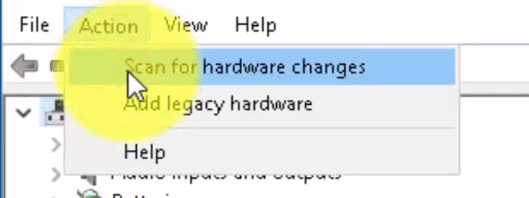
- Select Action, then Add Legacy Hardware.
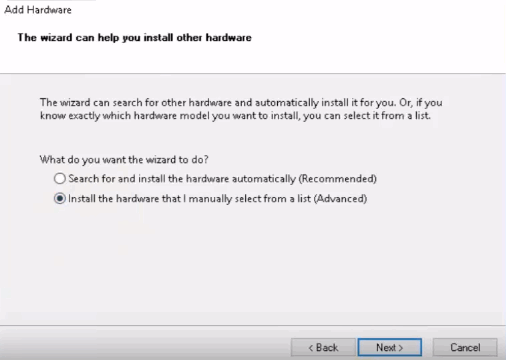
- Click Next, select “Install the hardware that I manually select from the list“, and click Next. Choose Imaging Devices, then click Next again.
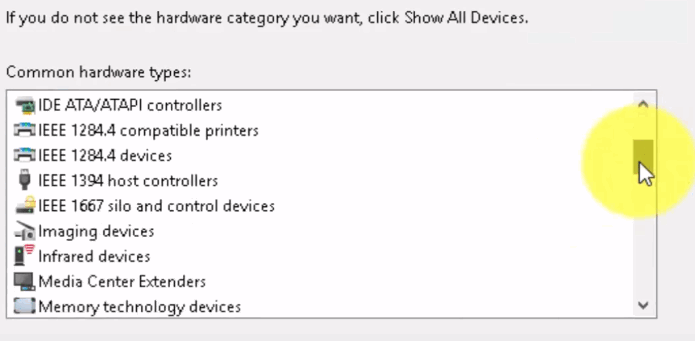
- Find and add the missing device via the manufacturer’s tab.
4. Run the Windows Troubleshooter
Running the Hardware and Devices troubleshooter in Windows is an easy way to find and fix hardware issues, including missing imaging devices. This tool automatically detects hardware problems like webcam issues, identifies the cause, and tries to fix them by re-enabling the device or reinstalling missing drivers, all in one step.
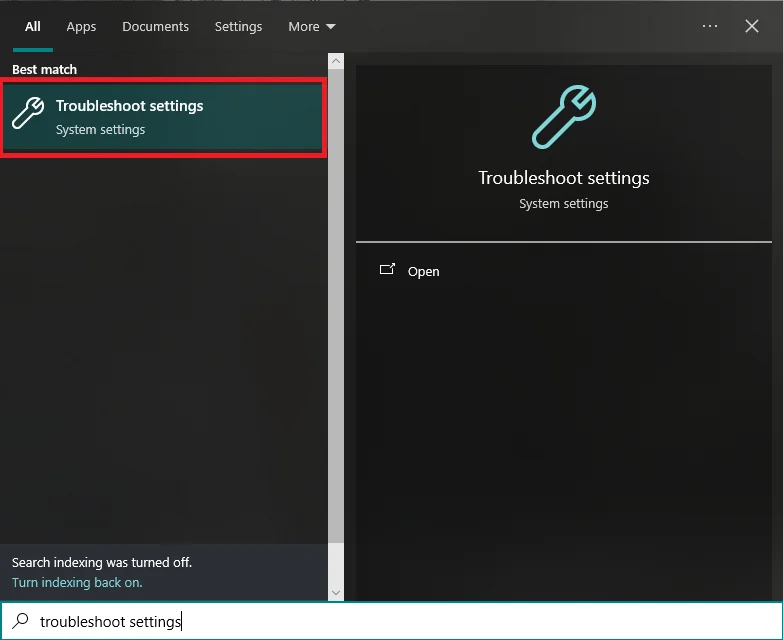
- Press the Start button and type ‘Troubleshoot’.
- Select ‘Hardware and Devices‘. This scans for connected devices like your webcam and attempts to fix any issues.
- Click ‘Run the troubleshooter.’ Wait for it to complete and check if it reports resolving your issue.
Important Note: Press “Fn” + “F6” and check if that solves this issue for your MSI Laptop. This has reportedly fixed the issue for many MSI Laptop users.
Hello Kevin, can you help with error code 39. It’s saying driver may be corrupted or missing.