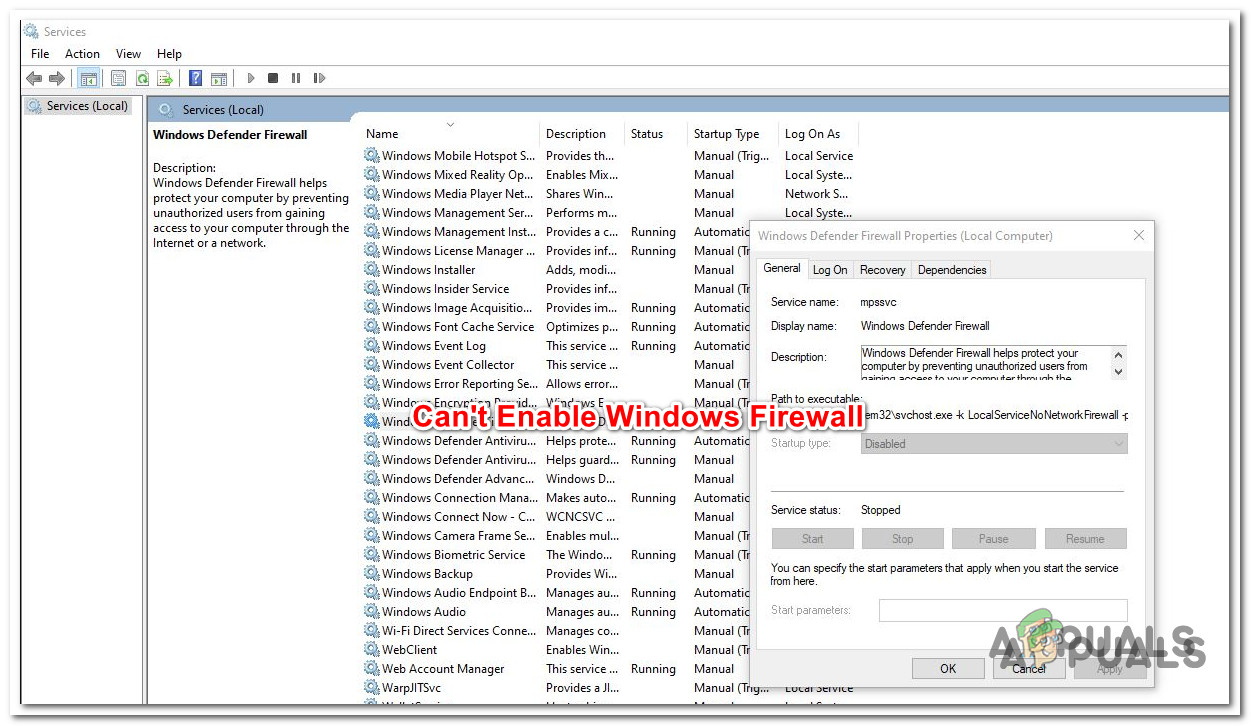
Fix: Can’t Able to Enable Windows Firewall Service in Windows 10/11
The Windows Firewall on Windows 10 and 11 sometimes won’t start or keeps turning off. You might see error messages like 0x8007042c or 1058. This happens when the Firewall (called the Windows Defender Firewall service) can’t start up because its settings are wrong or some parts it needs are missing. If your Firewall won’t turn on, your computer isn’t protected on the internet.
This problem usually happens if you installed or removed other antivirus programs, which can change the Firewall’s settings. Other reasons include broken system settings, missing important system parts, or computer viruses.
Now that you know the main causes, let’s walk through reliable solutions to help you fix the issue where Windows Firewall won’t enable on Windows 10 or 11.
1. Run the Windows Firewall Troubleshooter
If you’re having trouble accessing Windows Firewall, try running the Windows Firewall Troubleshooter. This tool can automatically detect and fix common firewall issues.
If Microsoft has a repair solution for the root cause, just running this troubleshooter and following its suggestions may fix your issue.
Note: The Windows Firewall Troubleshooter isn’t included by default on Windows 10 or 11—you’ll need to download it from Microsoft’s official site.
- Open your web browser and download the Firewall troubleshooter from Microsoft’s official page.
Note: This troubleshooter works on both Windows 10 and 11. - After downloading, right-click the file and select Run as administrator from the context menu.
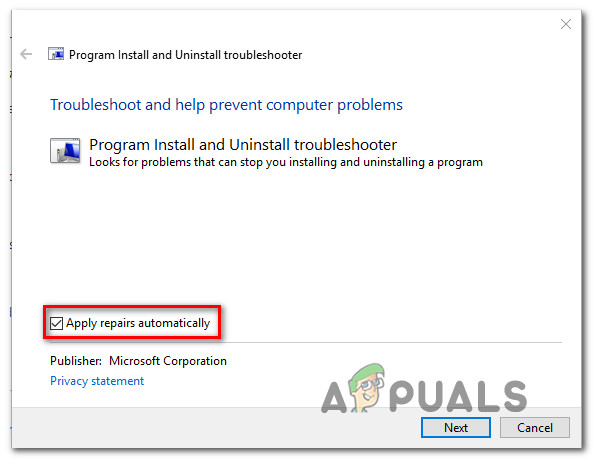
- On the first screen of the Windows Firewall Troubleshooter, click the Advanced link and make sure Apply repairs automatically is checked.
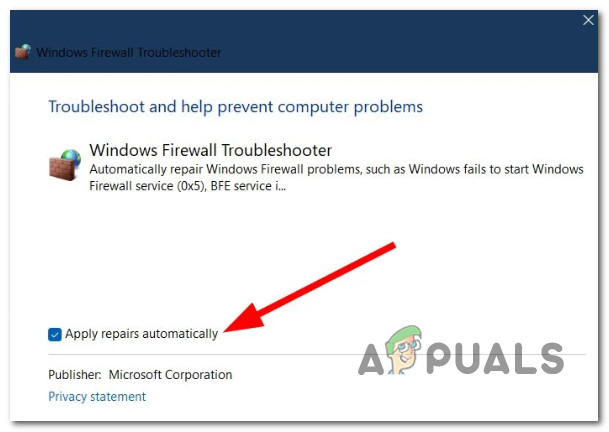
Apply repairs automatically - Click Next and wait for the troubleshooter to scan and apply any fixes automatically.
- Once it’s finished, restart your PC and see if the problem is resolved.
2. Restart the Firewall Service & Related Services
If the troubleshooter didn’t help, the main Firewall service or its dependencies could be stuck. You can manually restart them from the Services window.
You’ll need to start the following services:
- Windows Defender Firewall
- Windows Defender Advanced Threat Protection Service
- Windows Defender Antivirus Network Inspection Service
- Windows Defender Antivirus Service
- Windows Defender Security Center
- Press Windows key + R to open the Run dialog box.
- Type services.msc and press Ctrl + Shift + Enter for administrative access.
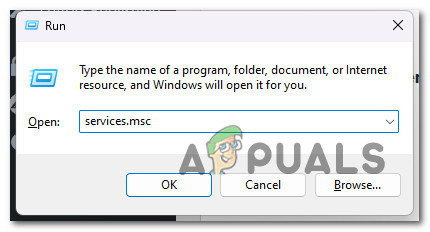
Access the Services screen - If prompted by User Account Control, click Yes.
- Scroll down and locate the Windows Defender Firewall service.
- Right-click it, choose Properties, then in the General tab, click Start if the service isn’t running.
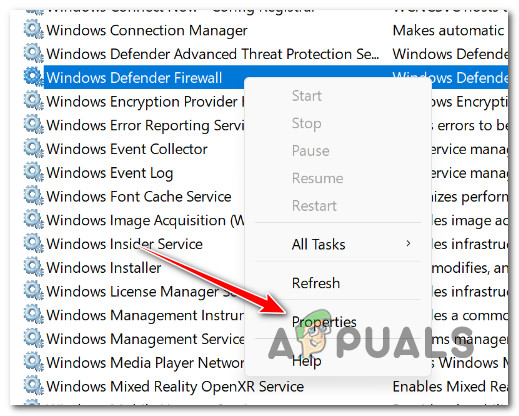
Access the Properties screen - Repeat steps 4 and 5 for each of the other services listed above.
- After all services are running, check if Windows Firewall is enabled now.
3. Delete the DisableAntiSpyware Registry Key
If there’s no third-party antivirus installed and the issue seems related to the Windows interface, you may be able to re-enable Windows Firewall by deleting a particular registry key that’s forcing Windows Defender and Windows Firewall to stay disabled.
IMPORTANT: You’ll need to run these steps with administrative privileges.
- Press Windows key + R to open the Run dialog box.
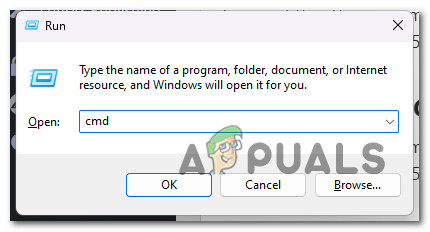
- Type cmd in the Run box and press Ctrl + Shift + Enter to open Command Prompt as admin.
Open a CMD window - If you see a User Account Control window, select Yes.
- At the command prompt, type or paste:
REG DELETE "HKLM\SOFTWARE\Policies\Microsoft\Windows Defender" /v DisableAntiSpyware
- Restart your computer to see if Windows Firewall can now be enabled.
4. Adjust BFE Permissions
If the Base Filtering Engine (BFE) permissions aren’t set correctly, Windows Firewall might not work. You can adjust these permissions using the Registry Editor.
Note: It’s a good idea to back up your registry before making changes.
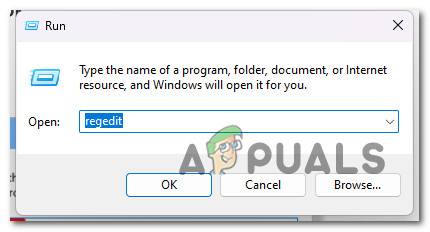
- Press Windows key + R, type regedit, and press Ctrl + Shift + Enter to open the Registry Editor with admin rights.
Open Registry Editor - Click Yes if User Account Control prompts you.
- Navigate to:
HKEY_LOCAL_MACHINE\SYSTEM\CurrentControlSet\Services\BFE
Tip: You can copy and paste the path into the Registry Editor’s address bar and press Enter.
- Right-click BFE and choose Permissions.
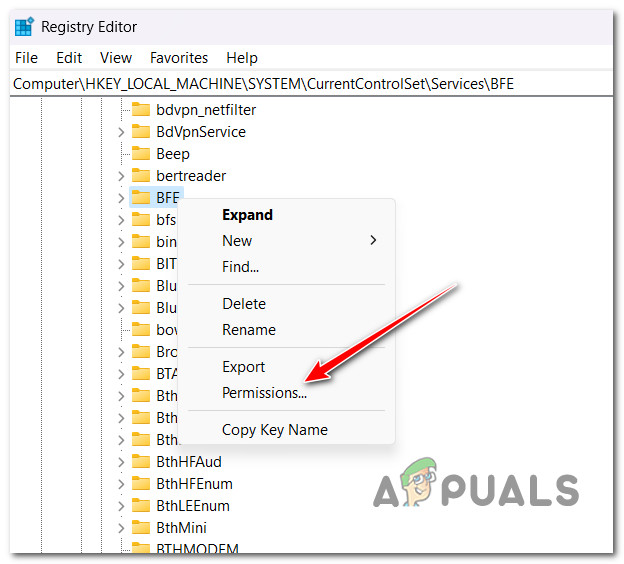
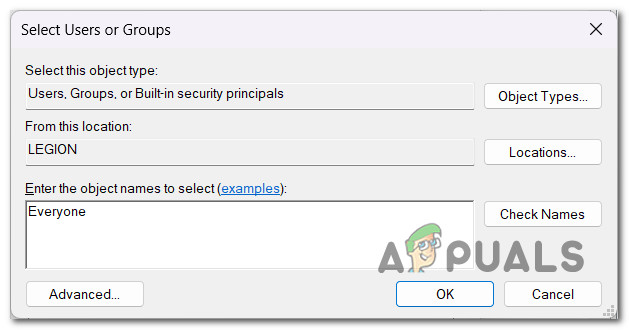
Access the Permissions - Click Add under Group or user names on the Security tab.
- Type Everyone, then click OK.
Access the Everyone tab - Select Everyone, then under Permissions for Everyone, check Full Control in the Allow column.
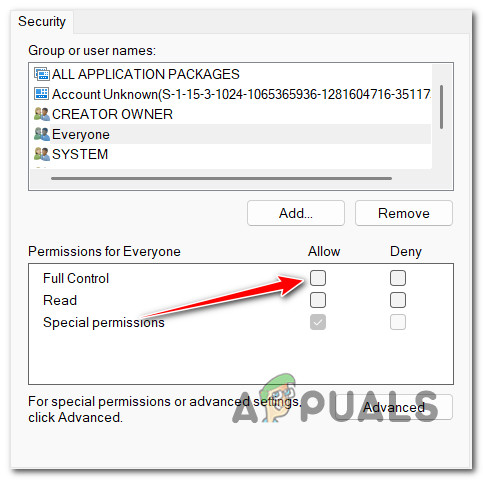
Grant full control - Click Apply and restart your PC. Check if Firewall is now active.
5. Reset the Firewall Component via Command Prompt
If BFE permissions didn’t help and you’re not using other firewall software, you can try to reset the Windows Firewall using a terminal command.
Note: Only try this if you’re using Windows’ built-in Firewall.
- Press Windows key + R to open Run.
- Type cmd and press Ctrl + Shift + Enter for admin Command Prompt.
Open a CMD window - Click Yes to grant admin access if prompted by User Account Control.
- Type or paste:
netsh firewall set opmode mode=ENABLE exceptions=enable
- After it finishes, restart your PC and check if the firewall is now working.
6. Uninstall the Latest Windows Update
Sometimes, a recent Windows update may accidentally cause problems with Windows Firewall. If you noticed the issue started just after an update, uninstalling the latest update could solve the problem.
- Press Windows key + R to open Run.
- Type appwiz.cpl and press Enter.
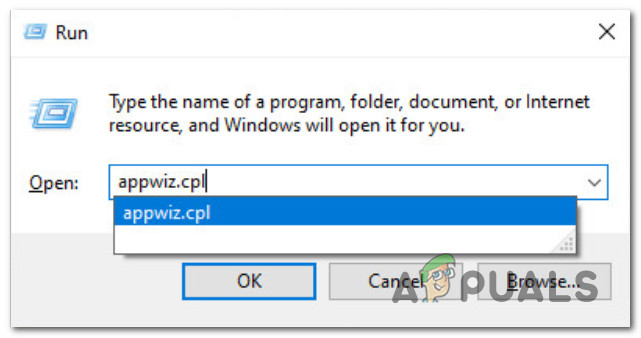
Open the Programs and Features menu - In the Programs and Features window, click View installed updates from the left panel.
- Find the most recent update on the Installed Updates list, right-click it, and select Uninstall.
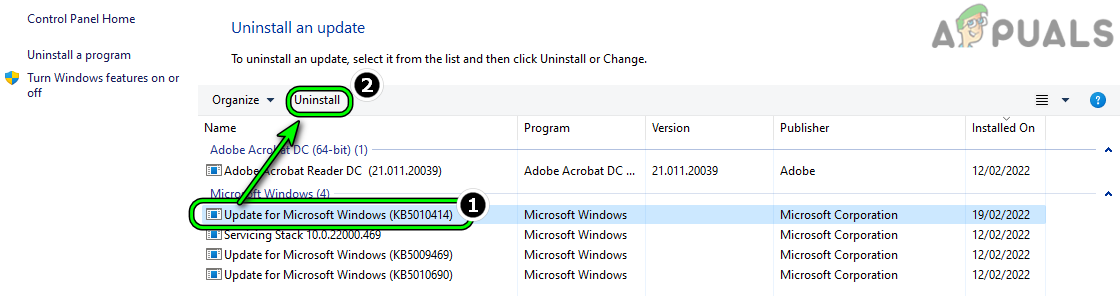
Uninstall the latest Windows updates - Click Yes to confirm and let the uninstall process complete.
- Before rebooting, go to the official Microsoft Show or Hide troubleshooter site and download the tool.
- Open the .diagcab file and click Advanced after it loads.
- Select Apply Repairs Automatically, then click Next.
Uninstall the Troubleshooter - The tool will search for updates. On the next screen, choose Hide Updates.
- Check the box next to the recent update you just uninstalled, then click Next. This will prevent Windows from reinstalling that update automatically.
- Finally, restart your PC to check if the firewall issue is fixed.
7. Run DISM & SFC Scans
System file corruption can also stop Windows Firewall from working. To address this, run a System File Checker (SFC) scan and a Deployment Image Servicing and Management (DISM) scan.
Note: While these tools have some overlapping features, running both in a row increases your chances of fixing any corrupted files.
- Start with the SFC scan:
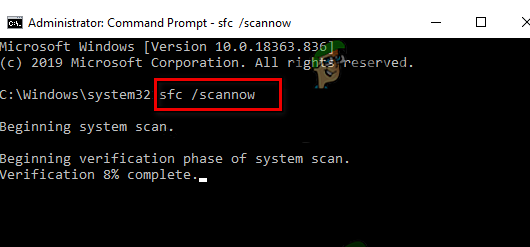
Deploy an SFC scan - Note: SFC works offline and doesn’t require an internet connection. Even if it seems stuck, leave the window open until the scan is finished.
- After the SFC scan, restart your computer and see if the issue is resolved.
- If not, proceed to the DISM scan:
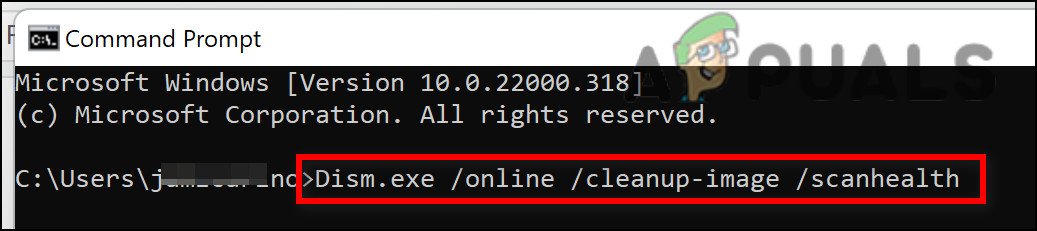
Deploy a DISM scan - Note: DISM needs a stable internet connection because it downloads new copies of any corrupted files.
- Restart your PC once the DISM scan is finished and check if Windows Firewall works as expected.
8. Perform an In-Place Repair or Clean Install
If none of the above solutions have worked, you may be dealing with deeper system corruption. At this point, performing a full Windows refresh is recommended.
You can choose between a clean install or an in-place repair (repair install).
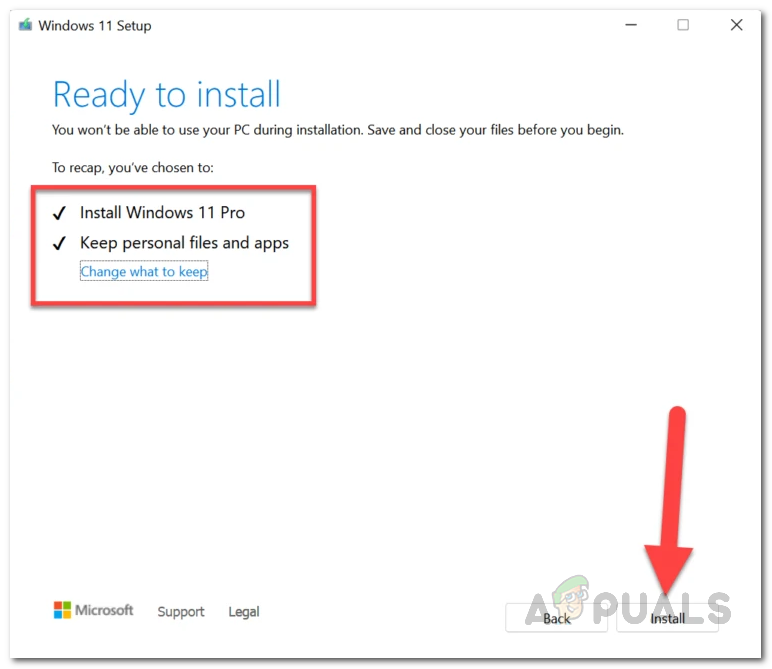
Note: A clean install wipes your files, apps, and settings unless you back them up first.
Tip: An in-place repair allows you to keep your personal data, installed applications, and most settings, but the process takes a bit longer.


