How to Fix the Camera Error in Windows 11?
The Camera app in Windows 11 might show the message “We can’t find your camera” with error code 0xA00F4244, which stops you from using your webcam. This error means that Windows can’t find your camera, usually because of missing, old, or disabled drivers.
Other possible reasons include privacy settings blocking the camera, security software getting in the way, or problems in your system settings.
Now that you know the common causes, let’s look at the solutions that have worked for other users to fix this camera error.
1. Use a Keyboard Shortcut
If your camera won’t open the usual way, try launching it with a keyboard shortcut. On many devices, one of the F keys (like F6, F8, etc.) acts as a webcam toggle, but it can vary depending on your laptop or keyboard.
Hold down the Fn (function) key and press the F key marked with a camera icon. Check if your camera works now. If not, move on to the next method below.
2. Run the Built-in Camera Troubleshooter
Windows comes with built-in troubleshooters created by Microsoft to help solve common problems like this one. To try and fix the camera error, you can run the Camera troubleshooter in Windows.
The troubleshooter checks your system for camera-related issues and suggests solutions based on its findings.
- Press Win + I to open Windows Settings.
- Select System from the left pane, then click Troubleshoot on the right.
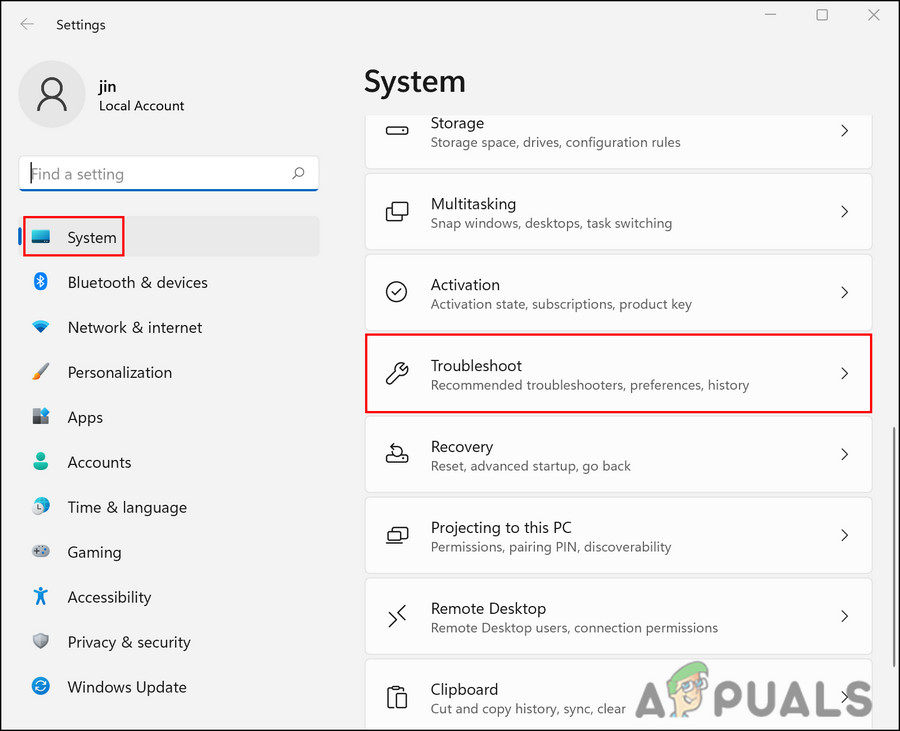
Click on Troubleshoot under System - Click on Other troubleshooters.
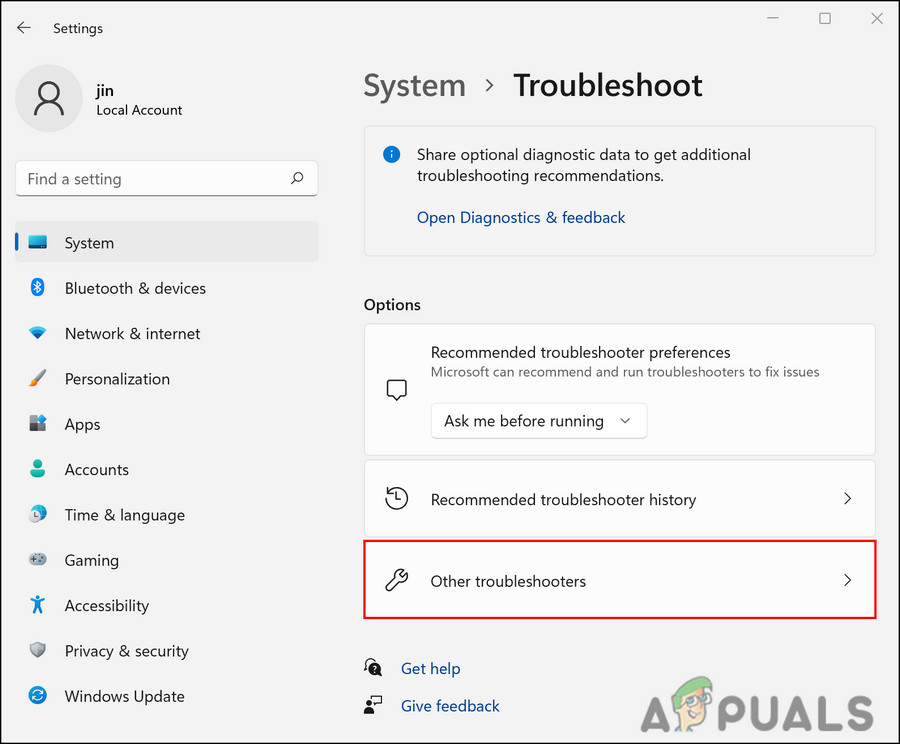
Go to Other Troubleshooters - In the list, find Camera and click the Run button next to it.
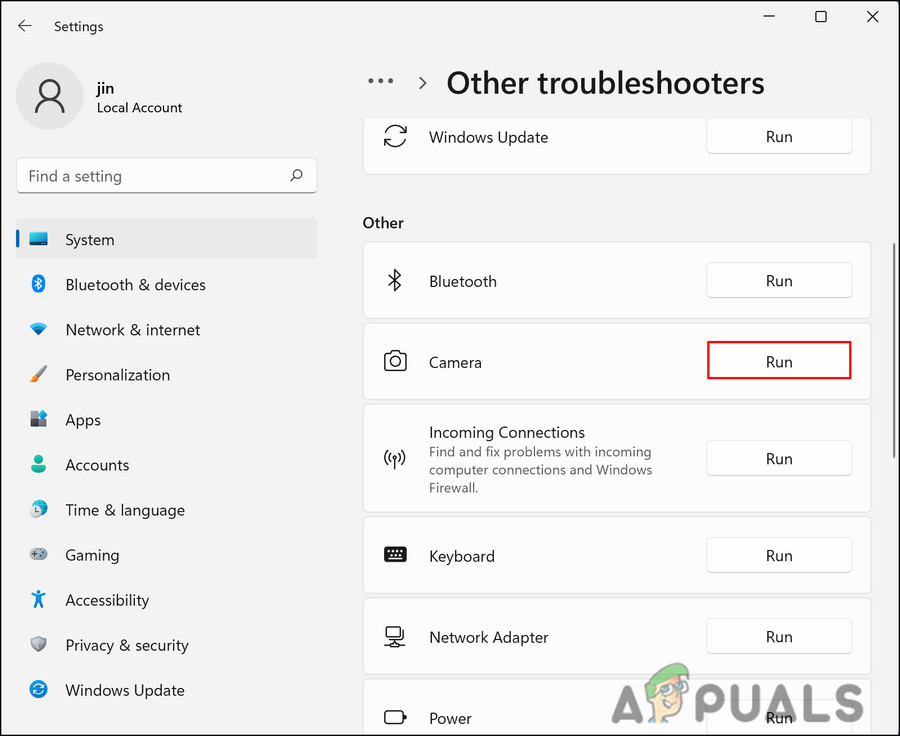
Click the Run Button - Wait for the troubleshooter to finish. If it finds any problems and suggests fixes, click Apply this fix.
3. Modify Privacy Settings
Apps need the right permissions to work properly. If these permissions are missing, apps might not work as expected or might not launch at all.
If you see a lock icon on your camera app, it might not have permission to access your camera. You can fix this by updating your privacy settings to allow the app to use your camera.
- Press Win + I to open Windows Settings.
- In Settings, choose Privacy & Security from the left panel.
- On the right, click Camera under App permissions.
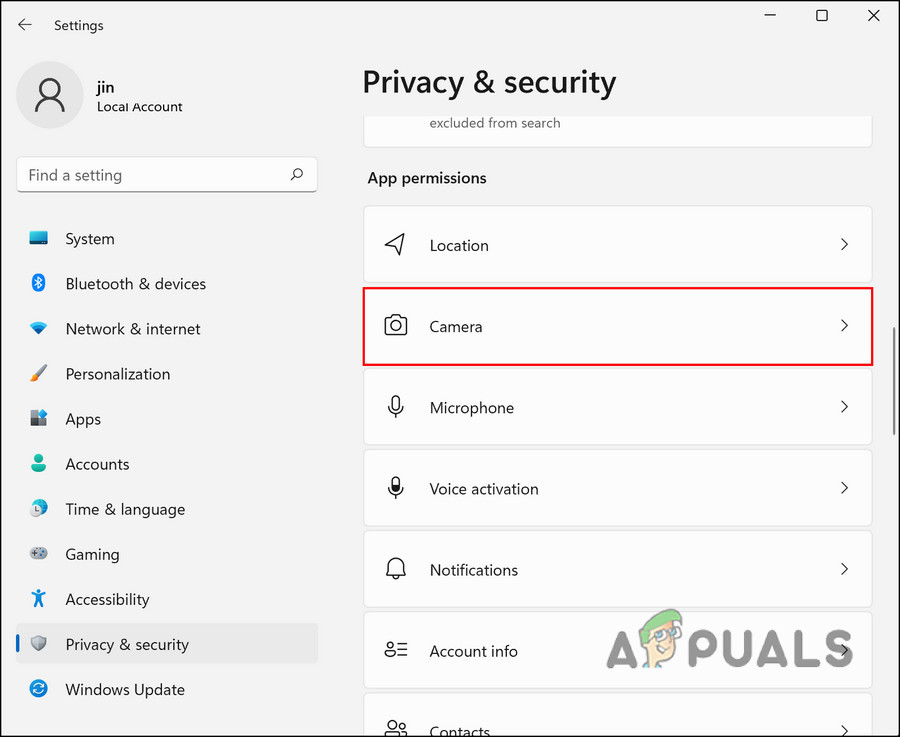
Click on Camera - If camera access is off, turn the Camera access toggle on.

Turn Toggle On - Make sure your desired apps are allowed to use the camera on this screen as well.
- Also, turn on Let desktop apps access your camera.

Turn Toggle On - Close Settings and check if your camera app works now.
4. Disable Antivirus Temporarily
If your camera already has the necessary permissions, your antivirus software might be blocking it. Some antivirus programs can be overly cautious and may prevent your camera from working.
Temporarily disable or uninstall your antivirus software and test your camera. If it starts working, consider switching to a different antivirus program that doesn’t interfere with your camera.
5. Reinstall the Webcam Driver
Another solution that has helped many users is reinstalling the webcam driver using Device Manager. This is especially effective if the error is due to a corrupt driver or buggy software.
- Type Device Manager in the search box on the taskbar and click Open.
- In Device Manager, go to the View menu at the top and choose Show hidden devices.
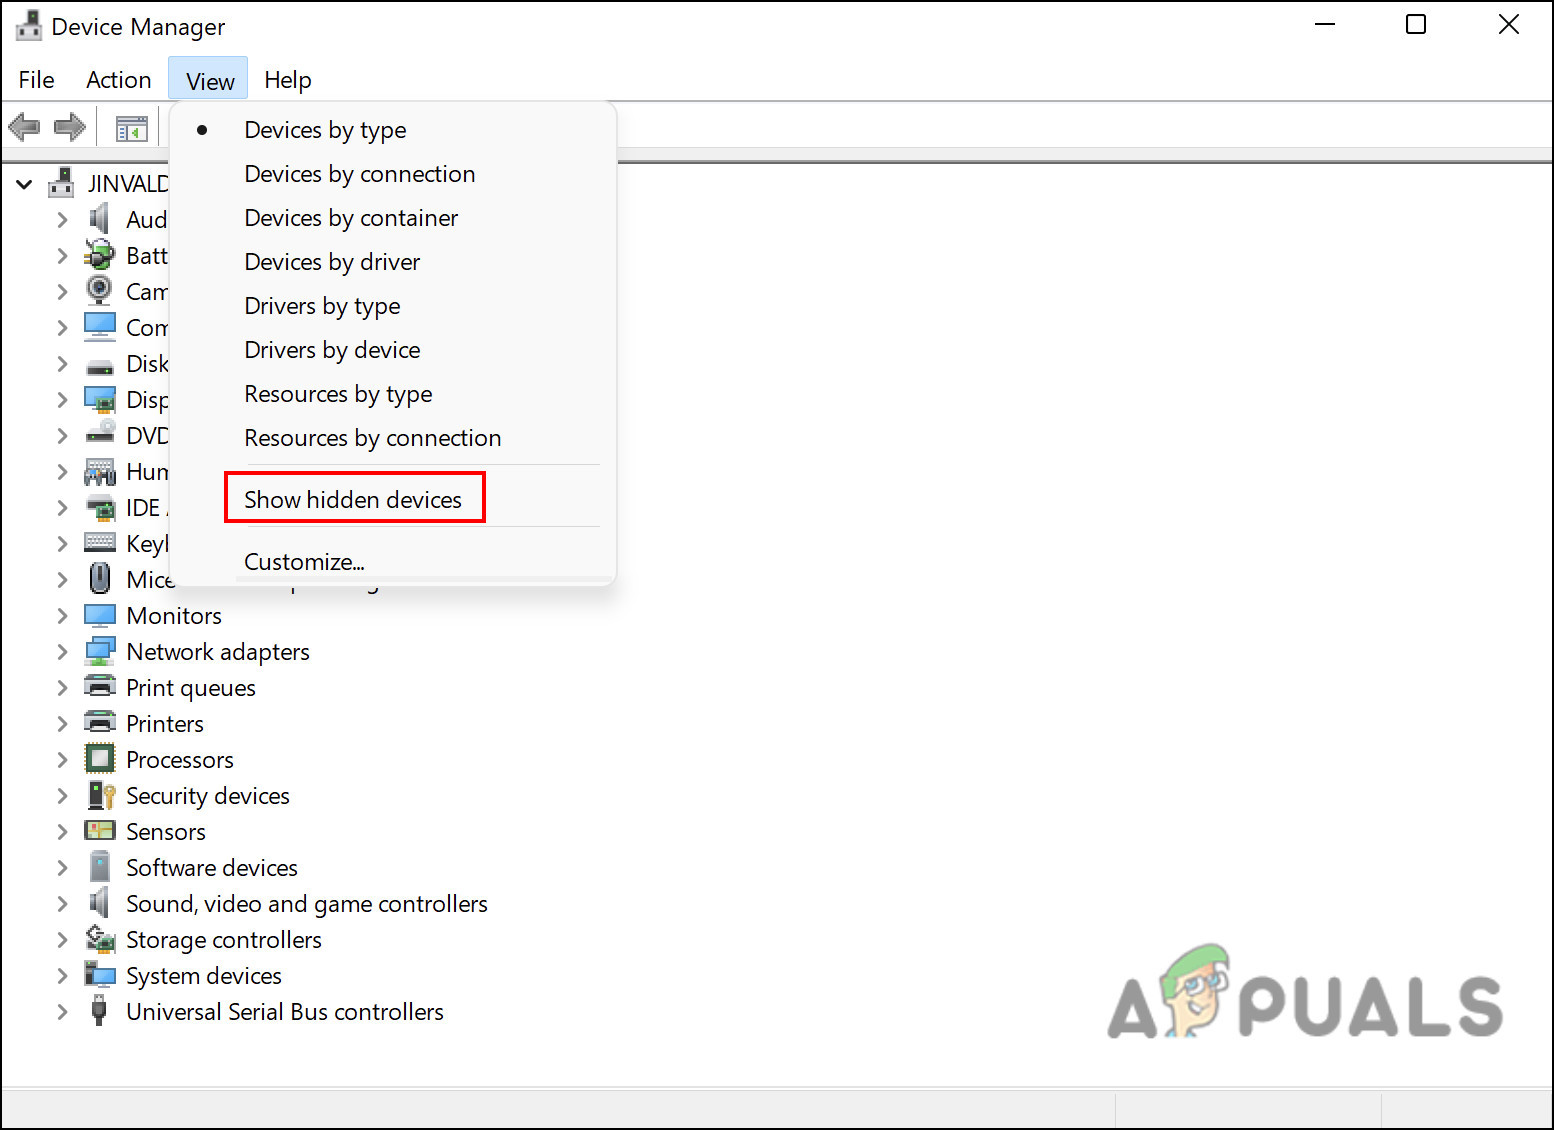
Show hidden devices - Expand Imaging Devices or Other Devices and right-click your camera.
- Choose Uninstall device from the context menu.
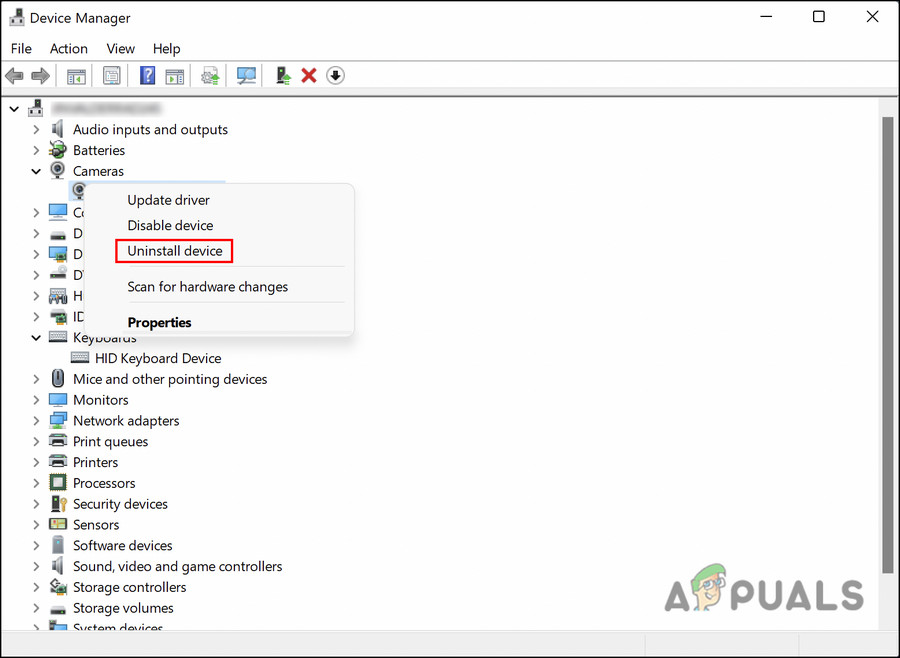
Uninstall Device - If asked, check Delete the driver software for this device.
- Click Uninstall again to confirm.
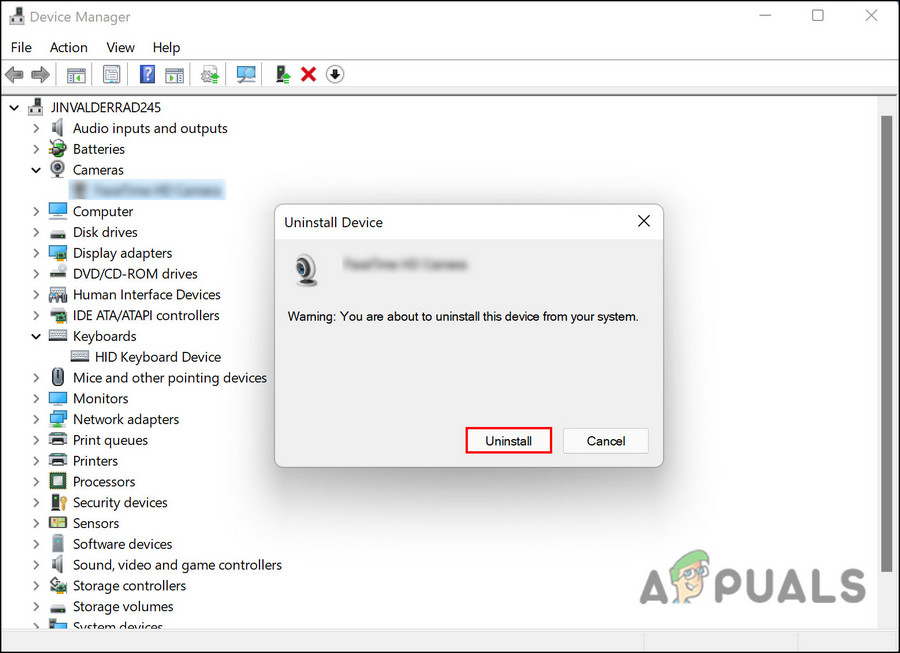
Uninstall Camera - Restart your PC. Windows should install the latest driver automatically after rebooting. Check if your camera error is fixed.
6. Enable Camera from Lenovo Vantage (If Applicable)
Many Lenovo users resolved the camera issue by enabling the camera through the Lenovo Vantage app.
If you have a Lenovo computer, open the Lenovo Vantage app and make sure your camera is enabled there. This step often solves the problem quickly for Lenovo devices.


