How to Install Windows 11 on Unsupported PCs: Bypassing System Requirements
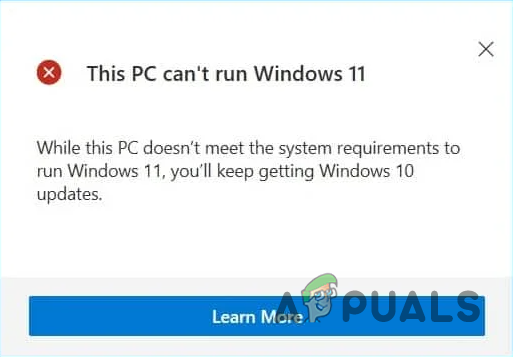
When Microsoft released Windows 11, many users were excited to upgrade but were met with strict hardware requirements such as TPM 2.0, UEFI Secure Boot, and specific CPU compatibility. While these requirements help improve performance and security, they also prevent older PCs from installing the new operating system. Luckily, there are practical workarounds that allow you to bypass these checks using tools like Rufus or by modifying the Windows Registry.
While these methods allow you to install Windows 11 on older computers, they come with some important risks. Unsupported installations may not receive all security updates, potentially leaving your system vulnerable. Additionally, your PC might not perform as smoothly or reliably due to hardware limitations.
Bypassing the installation requirements can impact how well Windows 11 runs on your device. Always back up your important files before you start.
Windows 11 System Requirements
Below are the official installation requirements for Windows 11:
- Processor – 1 gigahertz (GHz) or faster with 2 or more cores on a compatible 64-bit processor or System on a Chip (SoC)
- Memory – 4 gigabytes (GB) or more
- Storage – 64 GB or larger storage device
- System Firmware – UEFI, capable of Secure Boot
- TPM – Trusted Platform Module (TPM) version 2.0
- Graphics Card – Compatible with DirectX 12 or later with WDDM 2.0 driver
For the complete list of system and feature-specific requirements, visit the official Microsoft website here.
Prerequisite
Before you begin, you’ll need a Windows 11 image file to create a bootable USB drive for the installation.
If you don’t already have a Windows 11 image file, follow our guide to download an official Windows 11 ISO. The guide includes clear, step-by-step instructions.
1. Use Rufus
Rufus is a simple tool that helps you create a bootable USB drive for Windows 11, even on unsupported PCs. It lets you skip the checks for TPM 2.0, Secure Boot, and minimum RAM, making installation possible on many older systems.
- Download and open Rufus from the official website here.
- Connect your USB drive and select your Windows 11 ISO image.
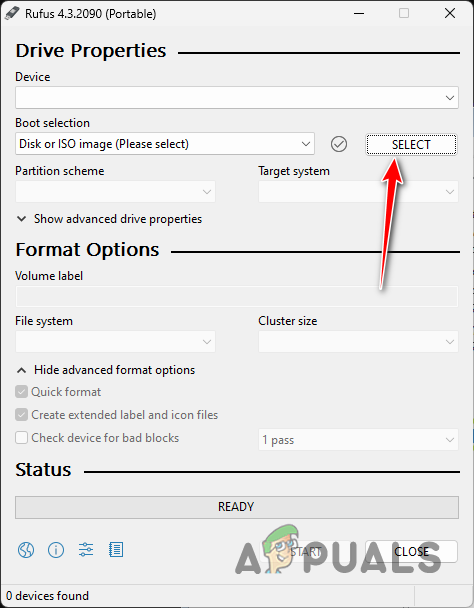
Selecting Windows 11 Image - Choose ‘Standard Windows Installation.’ Set ‘Partition Scheme’ to ‘GPT’, and make sure ‘Quick Format’ is checked.
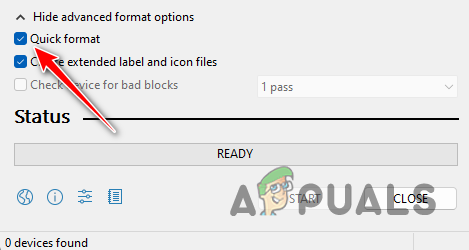
Selecting Quick Format - Press ‘Start.’ When prompted, check the boxes to remove requirements for 4GB+ RAM, Secure Boot, TPM 2.0, and an online account.

Bypassing Windows 11 Requirements with Rufus - Click OK and wait for Rufus to finish creating your bootable drive.
2. Use Windows Registry Hack
Changing certain entries in the Windows Registry can help you bypass hardware checks during installation. These tweaks tell Windows to ignore requirements like TPM and CPU compatibility, so you can complete the setup on unsupported devices.
- Boot from your Windows 11 bootable USB drive.
- On the first Windows Setup screen, press SHIFT + F10 to open the Command Prompt.
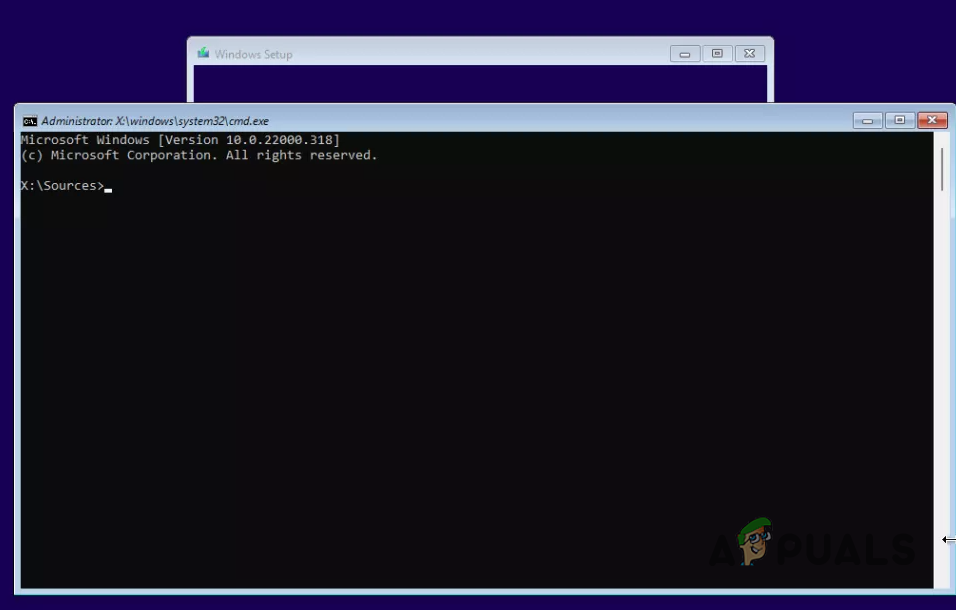
Opening Command Prompt in Windows Setup - Type
regeditand press Enter to launch the Registry Editor.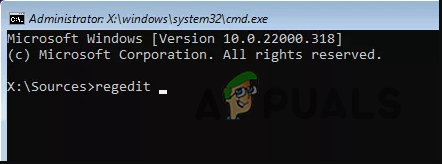
Opening Windows Registry via the Command Prompt - Navigate to:
HKEY_LOCAL_MACHINE\SYSTEM\Setup
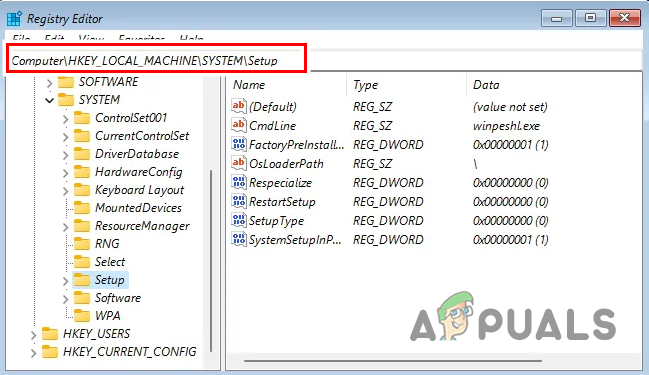
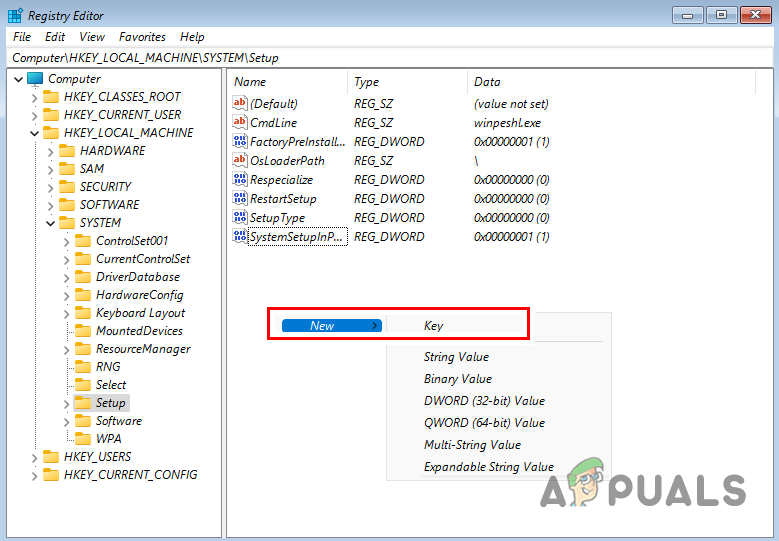
Navigating to Registry Path - Right-click the ‘Setup’ folder, choose ‘New > Key,’ and name it ‘LabConfig.’
Creating New Key - Inside the ‘LabConfig’ key, right-click the right pane, select ‘New > DWORD (32-bit) Value,’ and create the following entries:
- BypassTPMCheck (set the value to 1)
- BypassSecureBootCheck (set the value to 1)
- BypassRAMCheck (set the value to 1)
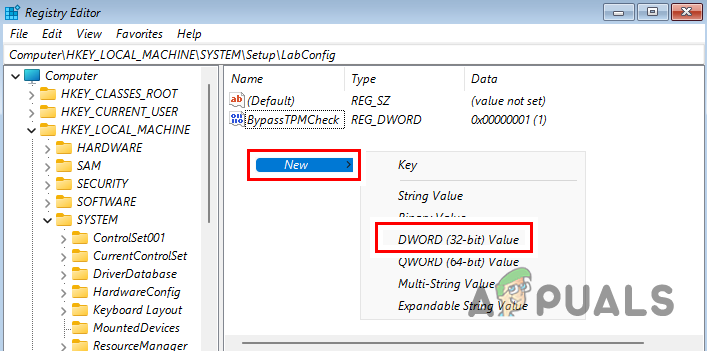
Creating Windows 11 Installation Requirements Bypass Keys - Close the Registry Editor and the Command Prompt window.
- Continue with the Windows 11 setup process as usual.
3. Use Windows Update
If you don’t have a Windows 11 ISO file or if downloading one is inconvenient, you can try upgrading to Windows 11 using the Windows Update feature and a small registry patch.
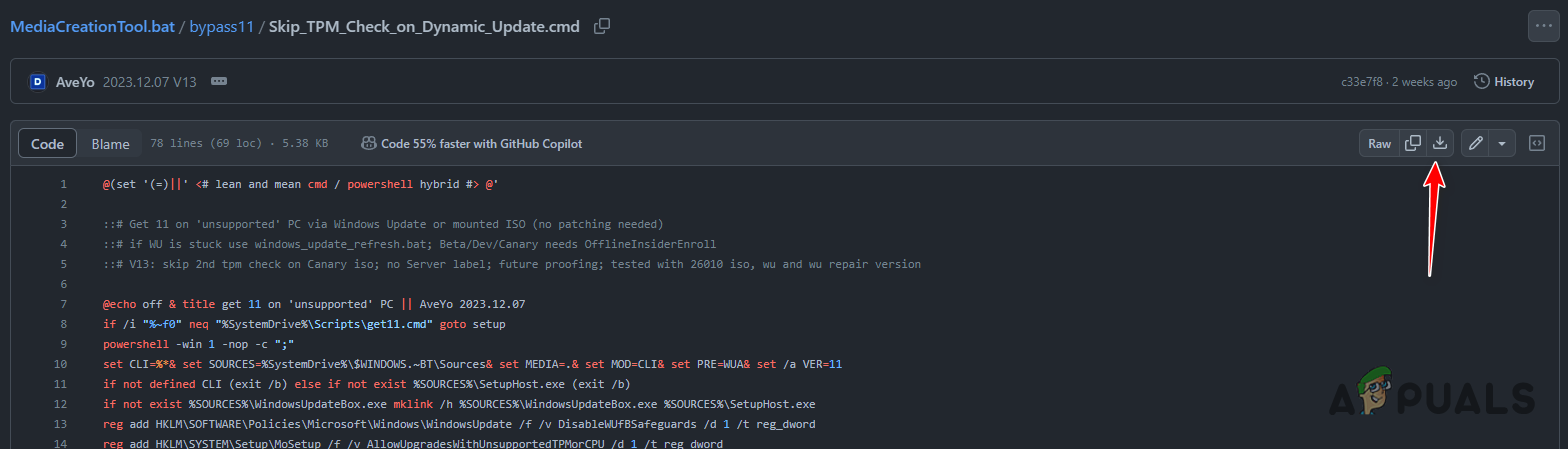
- Click this link to access a GitHub script that skips the TPM check in Windows updates.
- On the GitHub page, click the ‘Download raw file’ option to download the script.
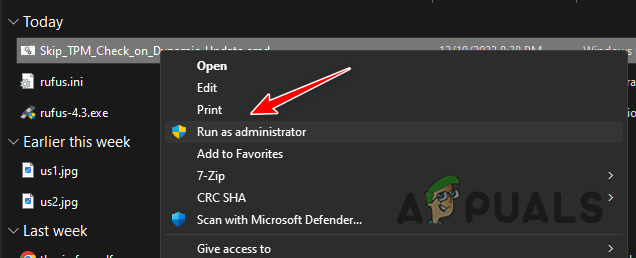
Downloading Script from GitHub - Right-click the downloaded file and select ‘Run as administrator.’
Running Script as Admin - If prompted, allow the script to run in the User Account Control dialog.
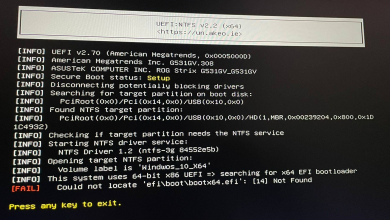
- Wait until the PowerShell window shows ‘Skip TPM Check on Dynamic Update [INSTALLED]’.
- Press any key to exit the script window.
- Press the Win key + I to open Windows Settings.
- Go to ‘Windows Update’ and check for the Windows 11 upgrade.
- If the upgrade option isn’t visible, restart your computer and check again.
4. Edit Windows Registry
Tweaking a specific setting in the Windows Registry can help your PC bypass hardware checks and allow unsupported devices to upgrade to Windows 11. This adjustment lets Windows think your device meets the requirements. Please be careful when editing the Registry, and back up your important files just in case.
- Press the Win key + R, type
regedit, and press Enter to open the Registry Editor.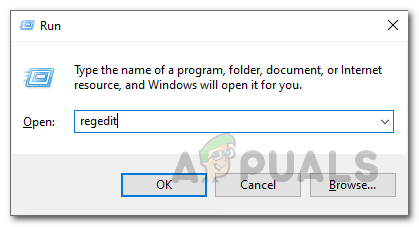
Opening Windows Registry - Navigate to:
HKEY_LOCAL_MACHINE\SYSTEM\Setup\MoSetup

Navigating to Registry Path - In the right pane, right-click and choose ‘New > DWORD (32-bit) Value.’ Name it AllowUpgradesWithUnsupportedTPMOrCPU.
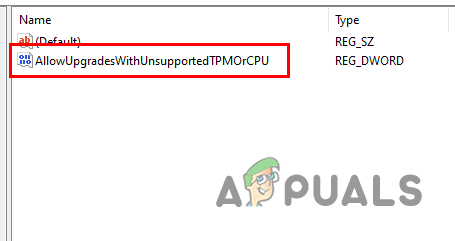
Creating AllowUpgradesWithUnsupportedTPMOrCPU Key - Set this value to 1, exit the Registry Editor, and restart your computer.
- After restarting, use your Windows 11 installation media to start the upgrade.

The ISO switch trick doesn’t work. The windows 11 install.wim is larger than 4gb which when you try to replace the smaller windows 10 install.esd you get an error message saying the file image is too big. I’m currently converting the 11 install.wim to a .esd file which is further compressed. I will update on results and procedure when op is complete.{SOLVED}
I have successfully created a thumb boot drive for Win 11 without UEFI, secure boot , and TPM requirements. I will leave a brief description of the process here. First, download the Windows 10 and Windows 11 ISO files from whichever sources you choose off the net. Next, download Poweriso. It’s a free download and you’ll be using the trial version. Open Poweriso and under the tools menu select “create bootable usb drive”. Use the Windows 10 ISO to make the drive. Then, goto tools menu in Poweriso and select “WIM ESD converter”. After that, choose the “convert WIM to ESD” tab. Go to the windows 11 ISO and in the sources folder select the install.wim file. Convert it. Next, take the converted WIM file which is now an ESD file and replace the intall.esd file in the sources folder on your bootable thumbdrive that you created earlier. Voila! Boot to the thumbdrive and you’re good to go for a clean install. I’ve already used this to update about half a dozen machines that don’t meet the new requirements. Hope this helps!