9 Fixes for Error 345 Blazing Gator in Black Ops Cold War
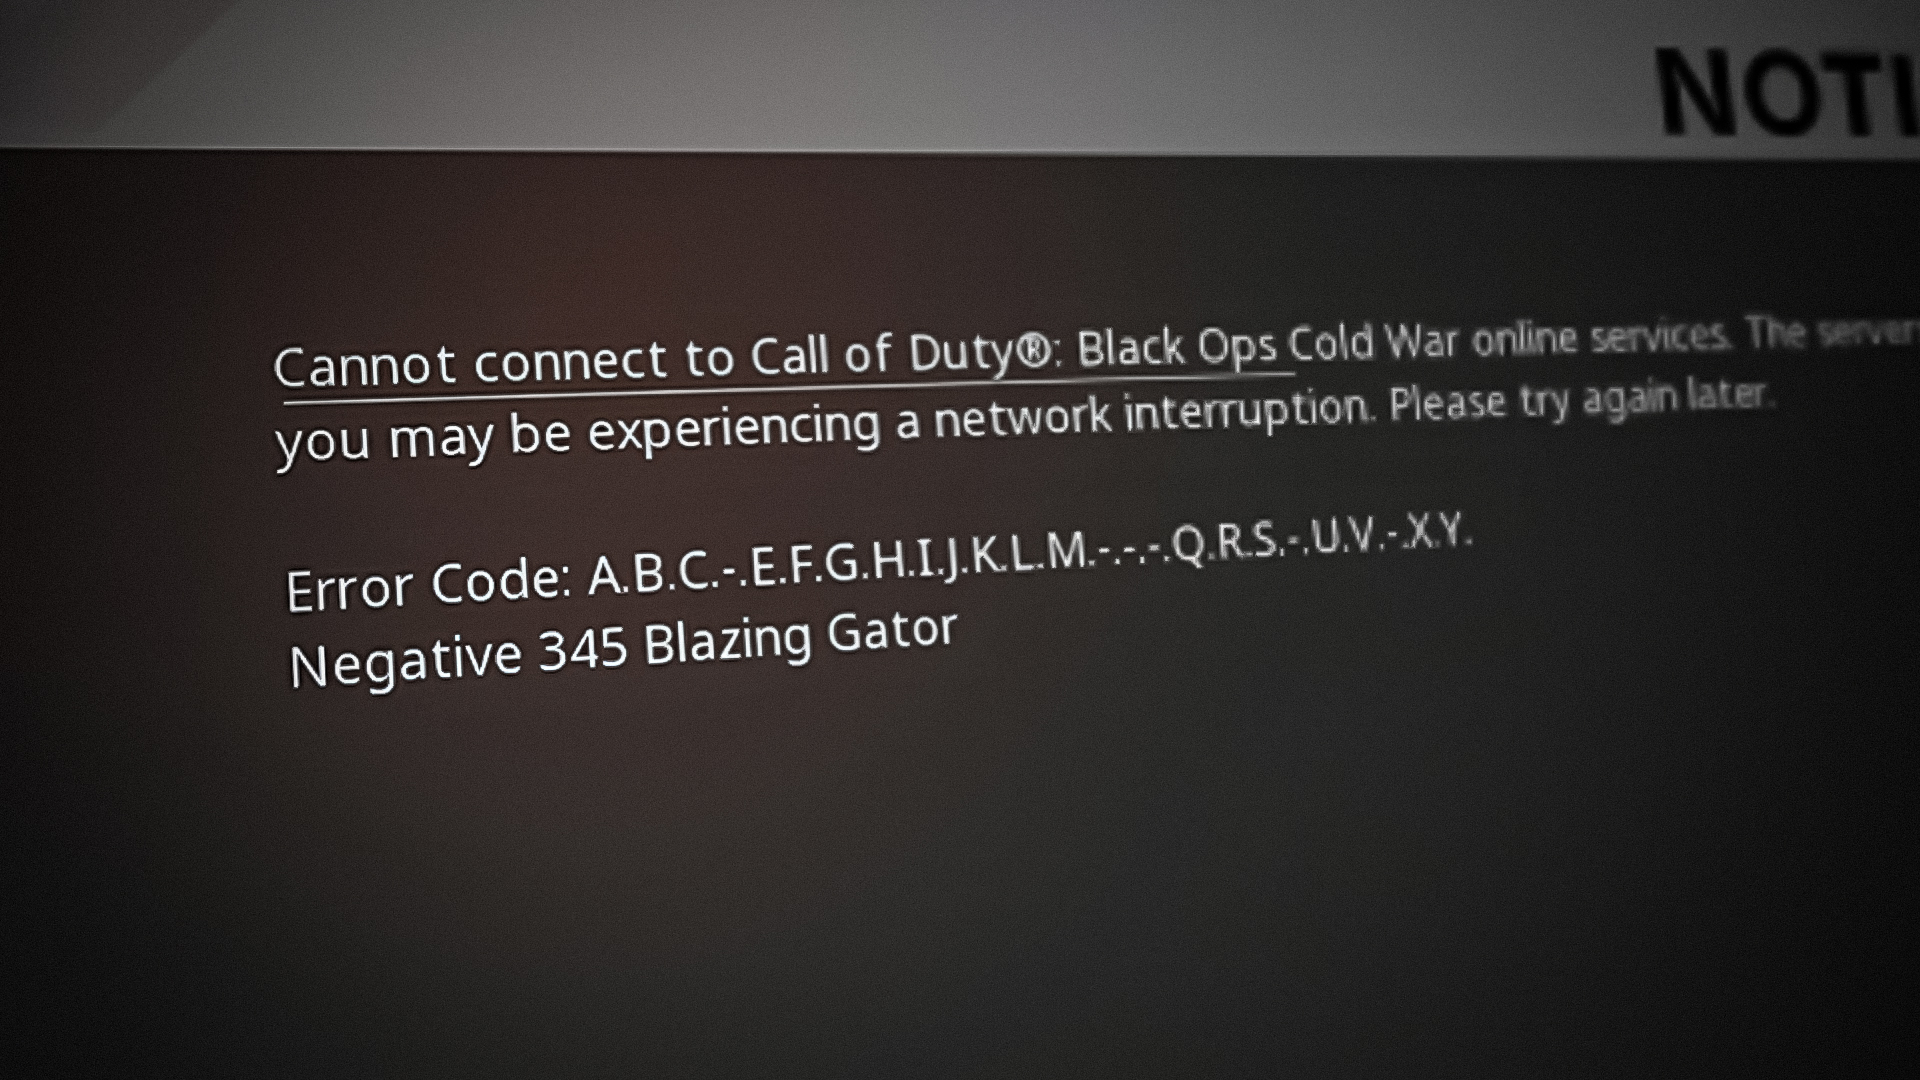
The Error Code Bravo 345 Blazing Gator is a Call of Duty Black Ops Cold War issue that appears immediately after players launch the game or after they get booted out of a multiplayer session. This issue is still ongoing and being encountered on PC, as well as PlayStation and Xbox.
The most common cause of this error is a network problem or inconsistency that’s inhibiting the connection with the game servers. This can be caused by many reasons, one of them being a router is not working properly. There are also a few settings that can be changed to lessen the frequency of this error.
You can also expect to see this problem when there’s an issue with your ethernet cable or Wi-Fi connection.
System file corruption is also known to cause the ‘Error Code Bravo 345 Blazing Gator’ error if your AV suite has recently quarantined files from your OS drive.
Here is a list of all the methods that will help you fix the error code Bravo 345 Blazing Gator:
1. Use a mobile hotspot
If you’re looking for a quick fix, connecting the PC or console to a hotspot powered by mobile data is the best way to get past the ‘Error Code Bravo 345 Blazing Gator’ error.
This issue could occur if your internet connection is not able to connect to the game’s server due to a Node 3 roadblock or a different local connection issue. It can happen if you use an ethernet connection, as well as a Wi-Fi connection.
In this case, you can use an alternative option and try to use a mobile hotspot to try to connect to the servers. All you need to do is to turn on the hotspot on your mobile phone and connect your PC or console to it.
Note: You should keep in mind that if you use the hotspot, the game will use a lot of data. In case you don’t have an unlimited data plan, you should not use the hotspot too much. If possible, avoid multiplayer matchmaking until your local connection gets better.
Here is a guide for every platform that will show you how to connect to your personal hotspot when playing Call of Duty:
1.1 Connect to a personal hotspot on PC
After you create a hotspot, you can connect your PC to it from the Manage Wi-Fi Connections tab. Here’s how:
- Go to the Settings of your mobile phone and turn on the hotspot.
Note: This process can be different from phone to phone, so search online for specific steps if you find it difficult. - When the hotspot is working, access the internet connection menu from the bottom right side of the taskbar.
- Click on the Wi-Fi section and click on the arrow to Manage Wi-Fi connections.
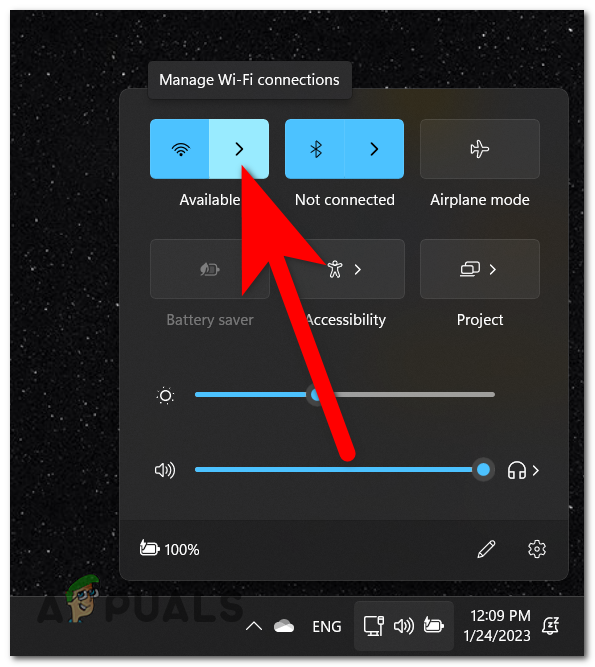
Managing the Wi-Fi connections - Now scroll through the list of available connections and choose the hotspot connection you want and click on Connect.
- Enter the password and click on Next to connect to your hotspot.
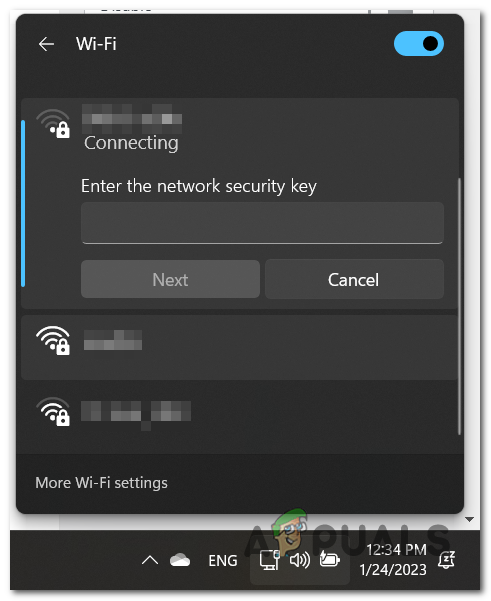
Connecting to your personal hotspot - Launch the COD Black Ops to see if the error code Bravo 345 Blazing Gator has been fixed.
1.2 Connect to a personal hotspot on PlayStation 4
On PlayStation 4, you can discover and connect to your hotspot network from the Set Up Internet Connection menu:
- Make sure that the personal hotspot is turned on.
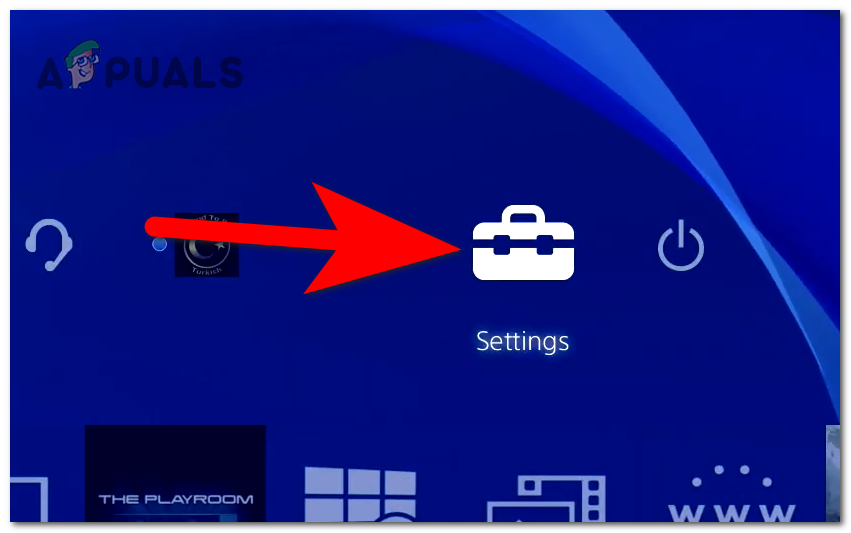
- Now go to your PlayStation 4 console and access Settings.
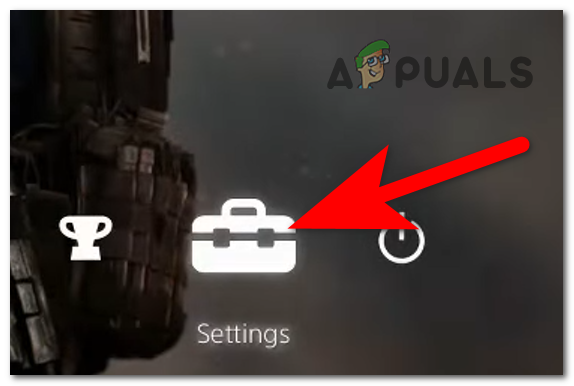
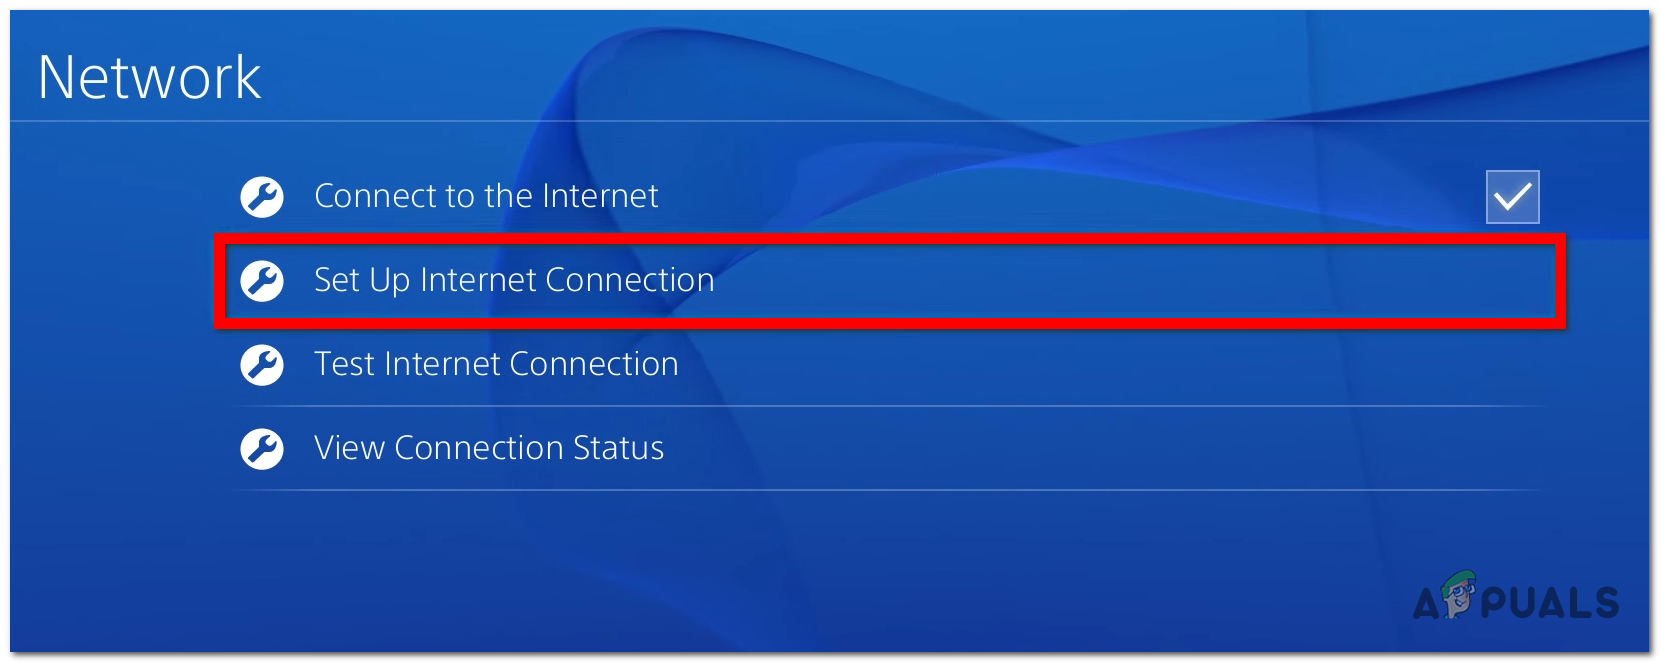
Accessing the PS4 Settings - Access the Network settings and select the Set Up Internet Connection option.
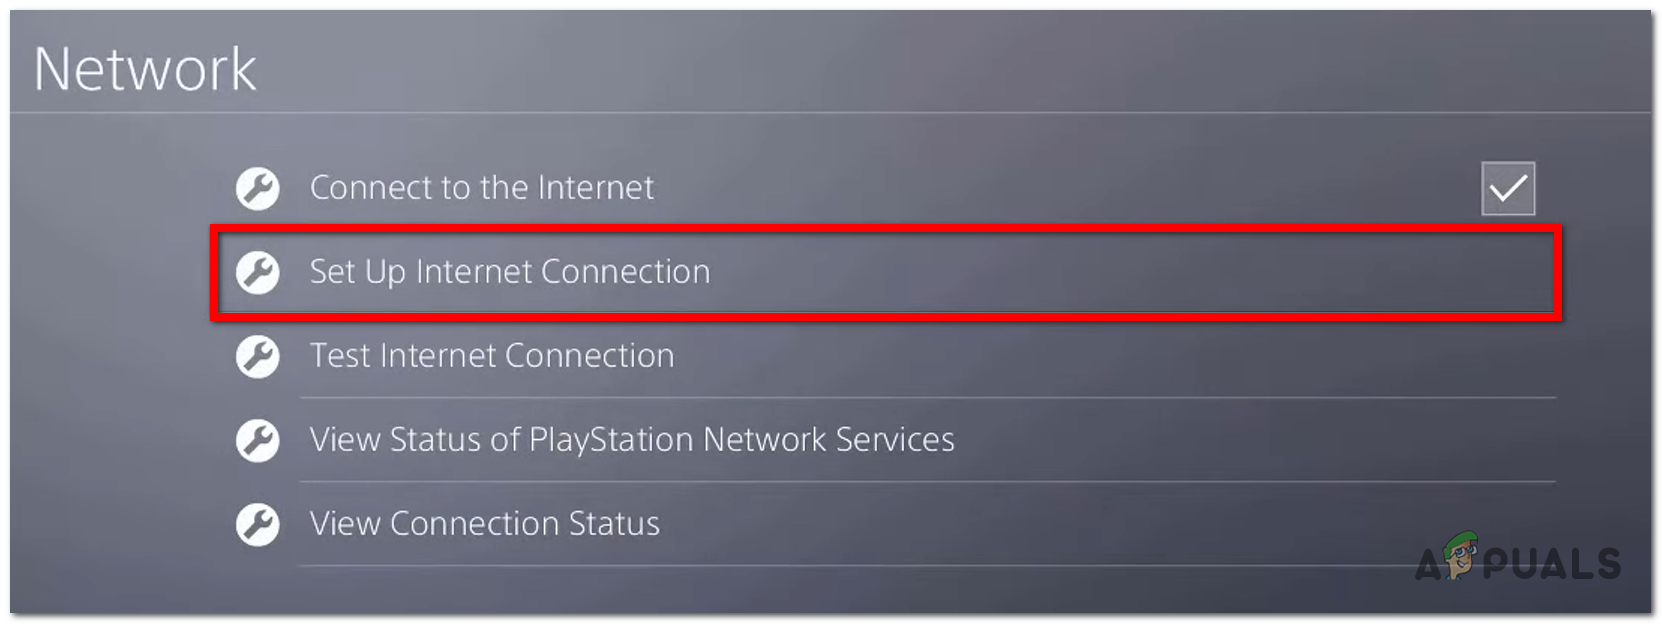
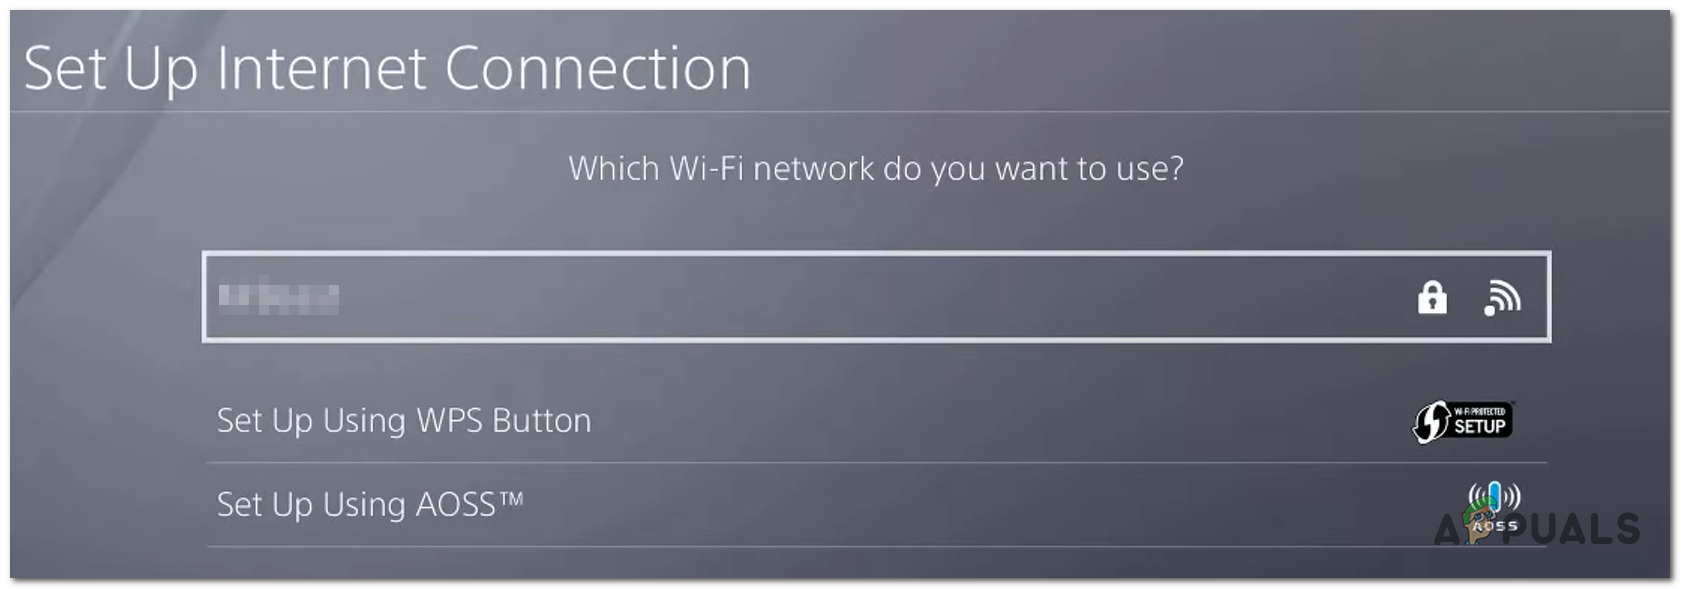
Setting up an internet connection - Select Use Wi-Fi and Easy to get to the connections.
- Now from the list of available Wi-Fi connections, choose your personal hotspot and enter your password.
Connecting to your hotspot on PS4 - When the internet connection has been updated, launch the game to see if the error has disappeared.
1.3 Connect to a personal hotspot on PlayStation 5
On PlayStation 5, you can connect to your previously created hotspot from the Network side menu:
- Turn on your personal hotspot from your mobile phone.
- Go to your PlayStation 5 home screen and open Settings.
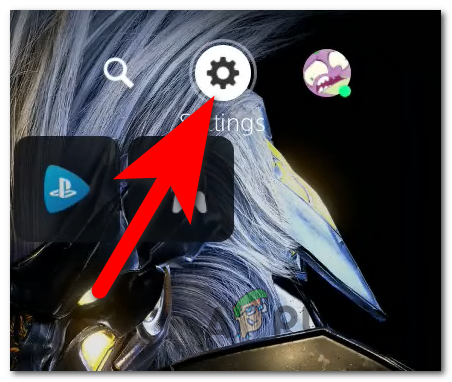
Opening the PS5 Settings - From the side menu on the left, access the Network section.
- Highlight the Settings section and choose Set Up Internet Connection.

Setting up your internet connection on PS5 - Look for the hotspot connection you want to use and choose it, then enter the password to connect to it.
- When the connection has been made, launch the game to see if the error code Bravo 345 Blazing Gator.
1.4 Connect to a personal hotspot on Xbox consoles
Whether you’re on Xbox One (old-gen) or Xbox Series S / X, the steps of connecting to a personal hotspot are identical:
- Make sure that your personal hotspot is working.
- Go to your Xbox console and open the guide menu, then access the Settings.
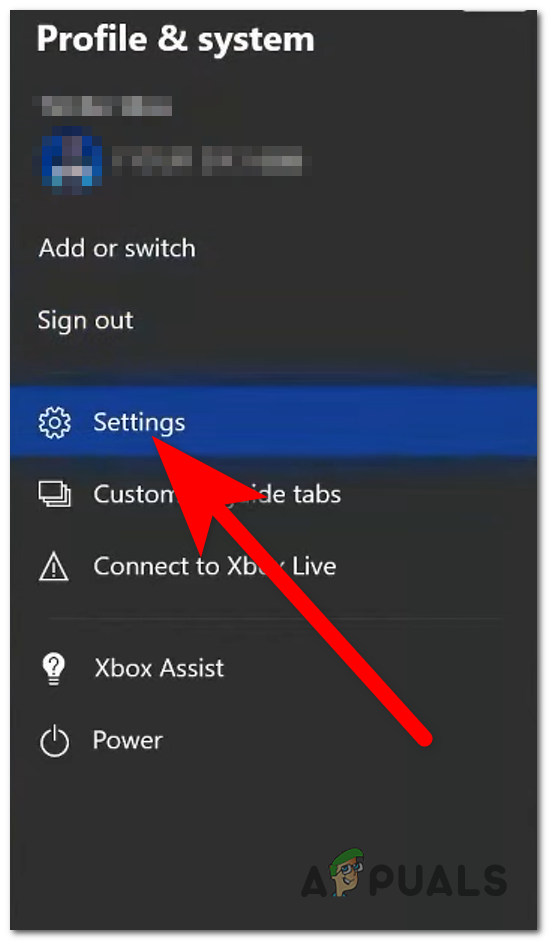
Opening the Xbox Settings - From the General tab, access the Network settings.
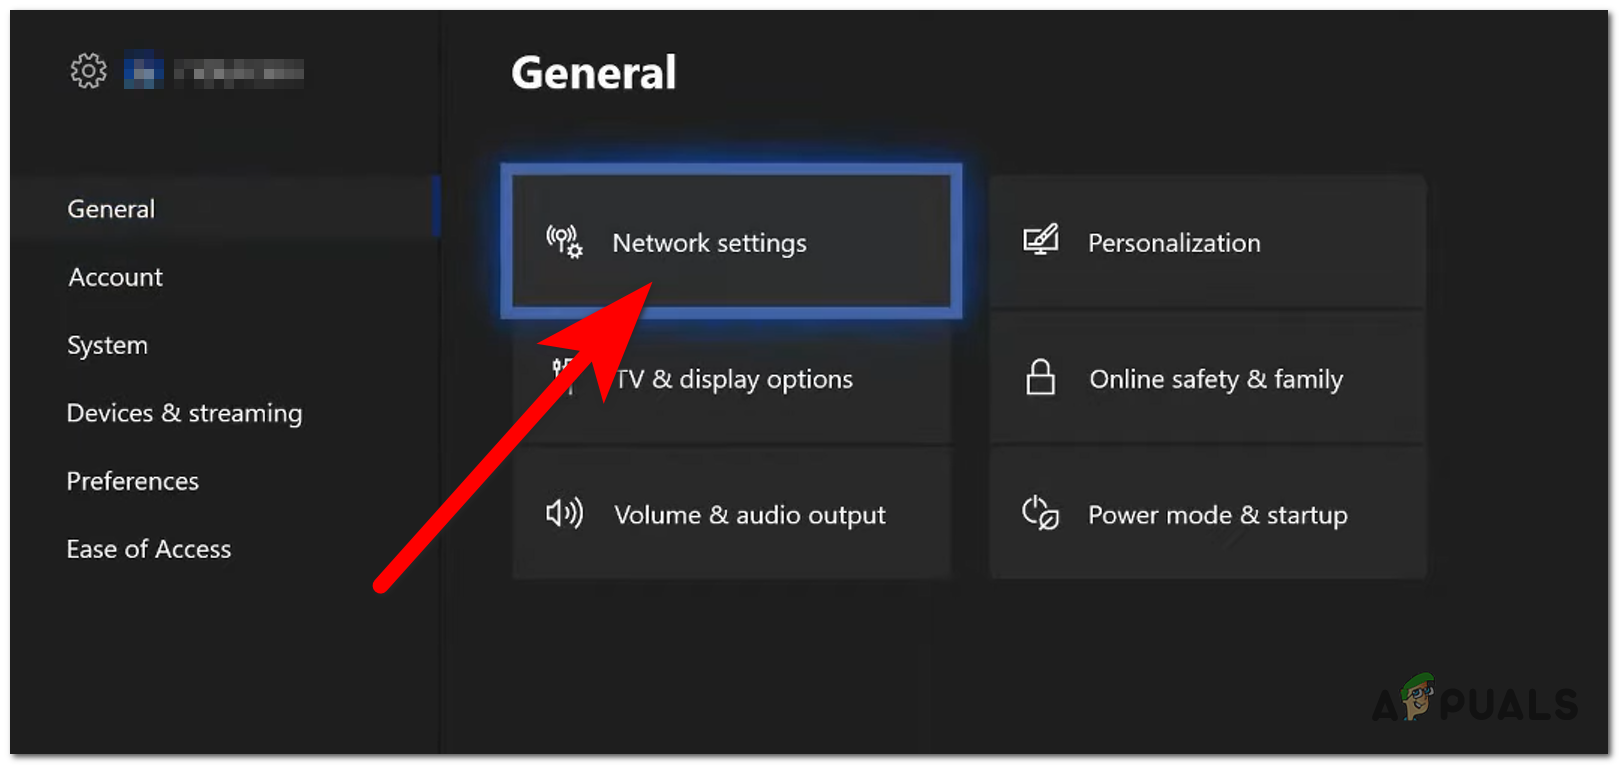
Accessing the Network settings - Now select Set up wireless network and choose the hotspot connection from the list.
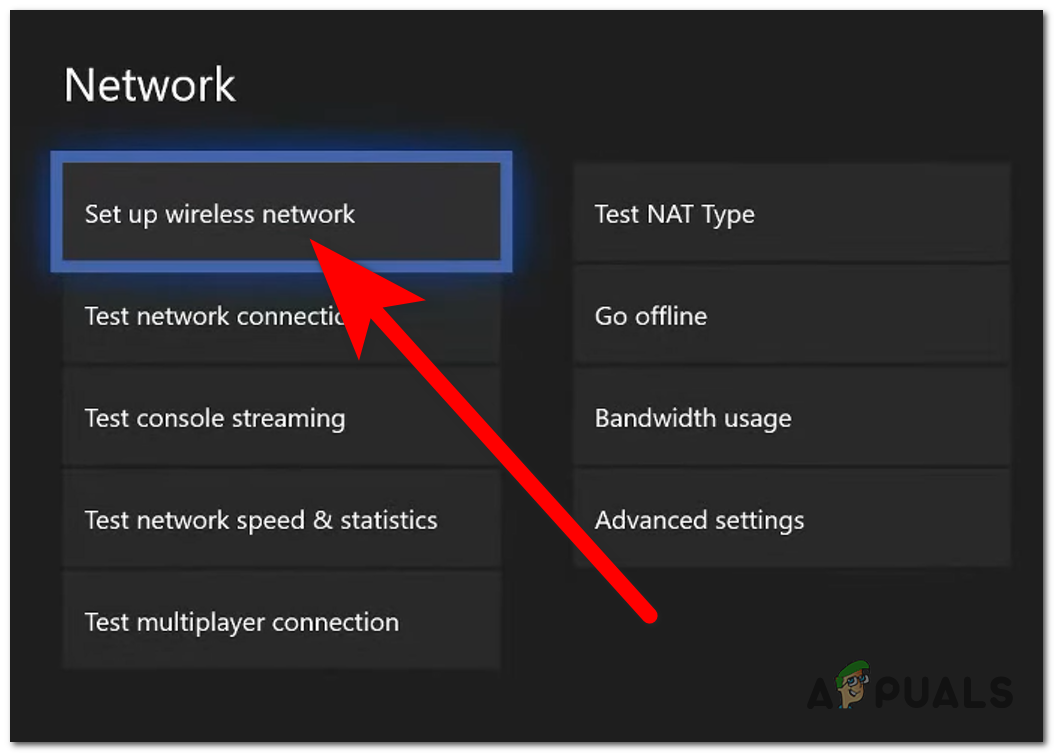
Setting up a wireless connection on Xbox - When you manage to connect to the hotspot, launch Call of Duty Black Ops Cold War to see if the error code Bravo 345 Blazing Gator has been fixed.
2. Use a VPN
Since this error appears when you are unable to connect to the servers, another thing that you can do to fix it is to use a VPN. This is especially helpful in countries with an intranet or when you try to play the game from a school or work environment.
Note: VPN allows you to use the internet securely by encrypting your internet traffic and disguising your online identity.
But in this case, the VPN is useful because it is acting as an intermediary and rerouting your traffic. This can be helpful in fixing this issue because the connection to the game’s server might be doable when your IP is masked and encrypted.
Use a VPN connection to see if that will fix your issue.
Note: The problem with VPNs is that they are a temporary solution because most of them have limited data usage for the free option. To have unlimited data usage, you will need to buy a paid plan.
Since it is unsure whether this fix will be successful, we advise you to first test a free VPN client.
The following VPN services provide free subscriptions or trials:
3. Change the DNS to Cloudflare
You might also be able to fix this issue by changing your DNS to Cloudflare. This should resolve your error because you are relocating your DNS range to a more stable domain name address. The most recommended domain name address, in this case, is Cloudflare.
You can change it from the Control Panel on your PC, and from the Settings of your Xbox or PlayStation console.
Here is a specific guide for every platform where you can encounter this issue:
3.1 Change the DNS to Cloudflare on PC
Altough you can change the DNS with a 3rd party tool, the recommended way is from the Network Connections tab:
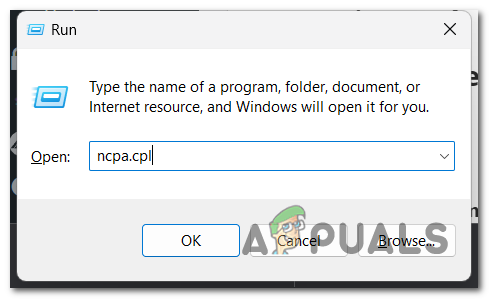
- Open a Run dialog box by pressing the Windows key + R.
- Type inside the search bar ‘ncpa.cpl‘ and press Enter to open the Network Connections window.
Opening the Network Connections windows - Now you must identify the Internet connection you are currently utilizing. Right-click on it and select the Properties option.
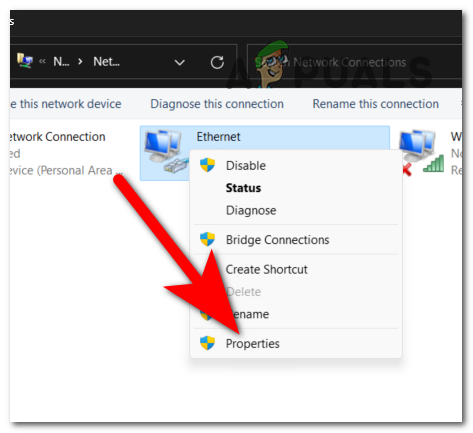
Opening the Properties menu - Click the tab labeled Networking and search for Internet Protocol Version 4 (TCP/IPv4). Select the item and then click Properties.
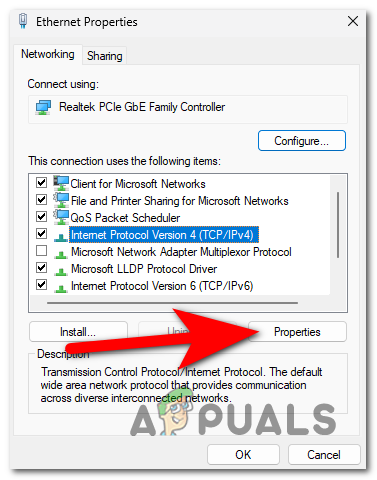
Opening the Properties of IPv4 - After doing so, click Use the following DNS server addresses and then enter the following numbers:
1.1.1.1 for Preferred DNS server
1.0.0.1 for Alternate DNS server
- When you are finished, click OK, and the DNS should be successfully updated.
- Launch the game to see if the error has been fixed.
3.2 Change the DNS to Cloudflare on PlayStation 4
When changing the DNS on a Playstation 4 console, it’s very important to avoid specifying a DHCP host. Here are the full steps:
- From the home screen, navigate to the vertical menu at the top and access Settings.
Opening the PS4 Settings - Select the Network option from the menus offered, then choose Set Up Internet Connection.
Setting up a new internet connection - Choose between Wi-Fi and LAN, then choose Custom.
- Select Automatic when prompted for the IP address settings.
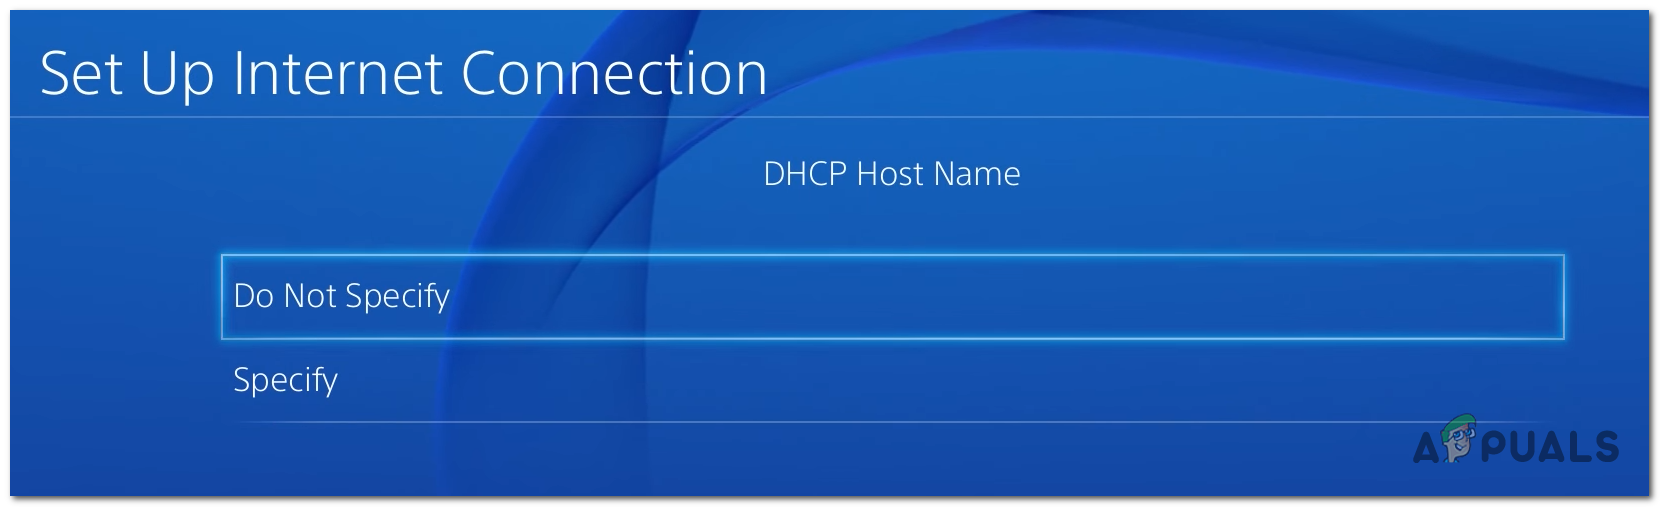
- Ensure that you select Do Not Specify at the following window.
Choosing Do Not Specify - On the DNS Configuration page, select Manual.
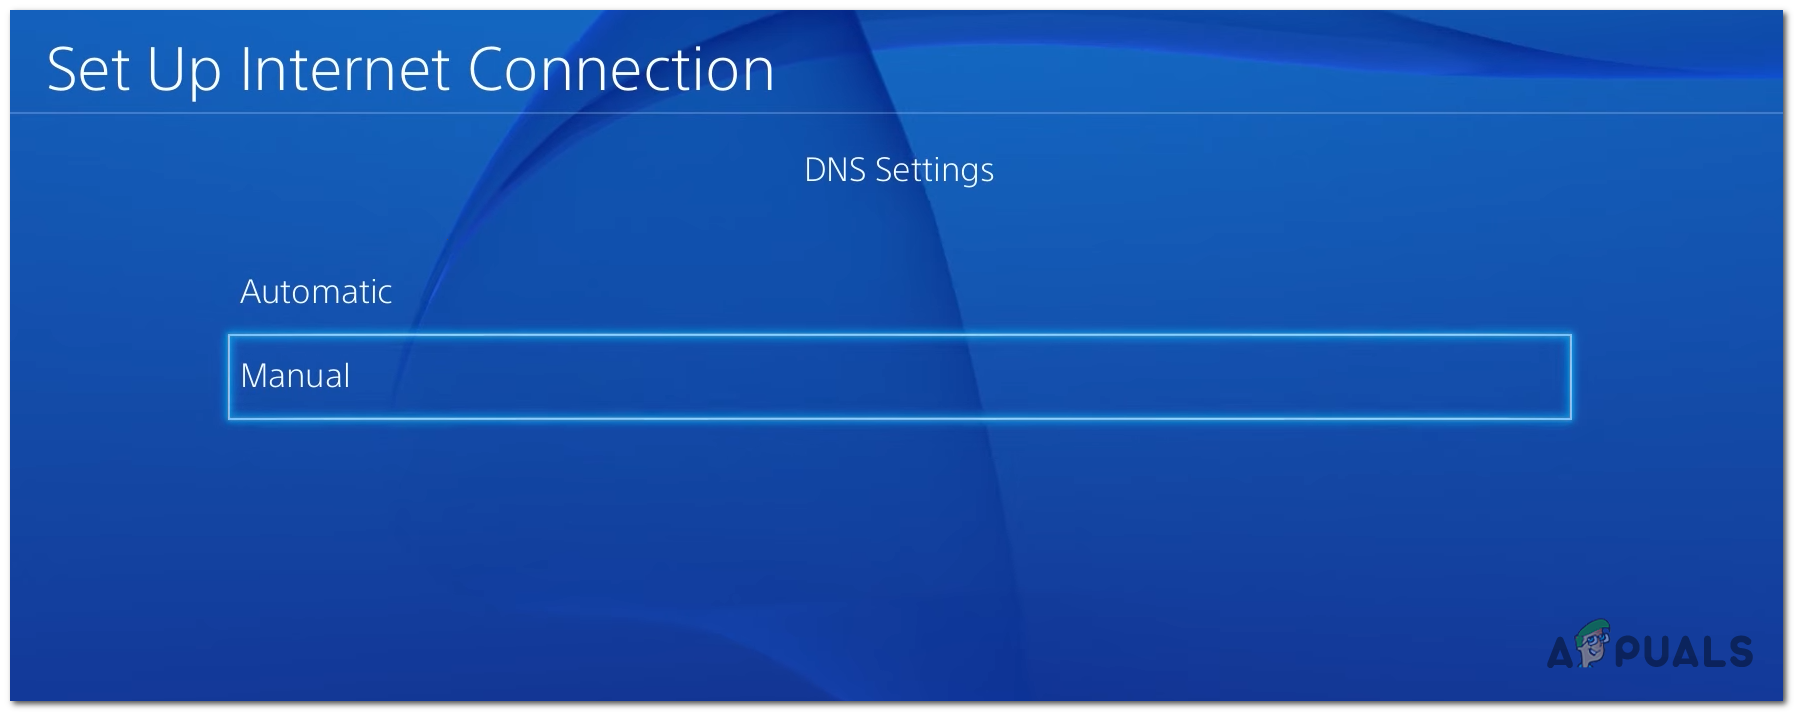
Setting the Cloudflare DNS - Now enter the following numbers in the right box:
1.1.1.1 for Primary DNS
1.0.0.1 for Secondary DNS
Note: If you want to configure IPV6 DNS, use the following settings:
208.67.222.222 for Primary DNS
208.67.220.220 for Secondary DNS
- To determine if the error code Bravo 345 Blazing Gator has been resolved, save the modifications and restart your console and router, then test the game.
3.3 Change the DNS to Cloudflare on PlayStation 5
On PlayStation 5, the DNS settings can be changed from the Advanced Settings menu:
- From the home screen, navigate to Settings and open them.
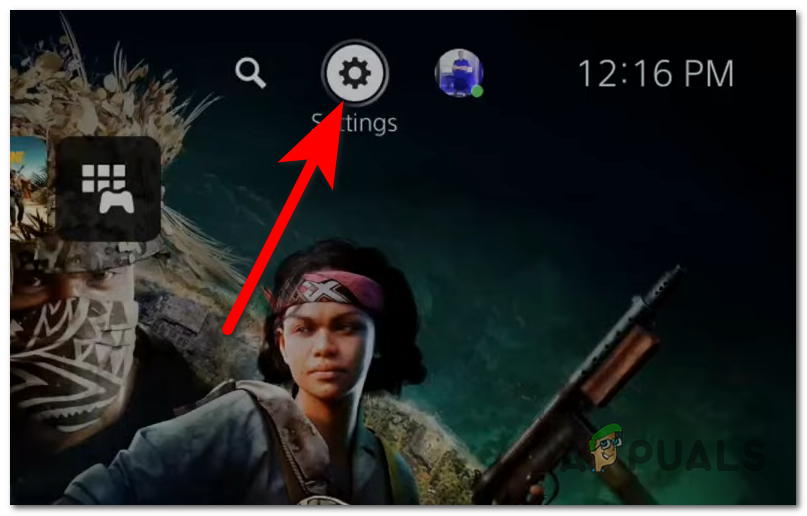
Opening the Settings of your PS5 - Access the Network settings.
- Now go to the Settings section and access the Set Up Internet Connection.
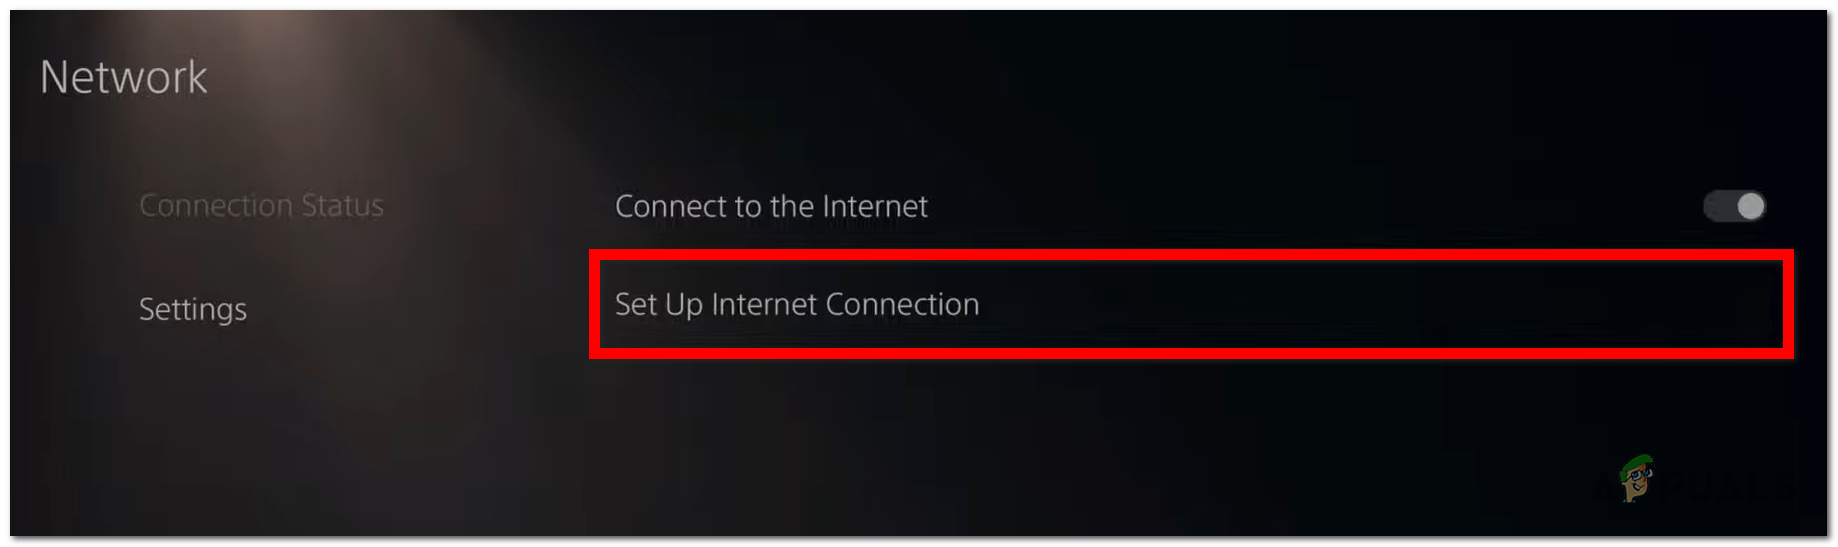
Setting up an internet connection on PS5 - Highlight your internet connection and press the Options button on your controller, then select Advanced Settings.
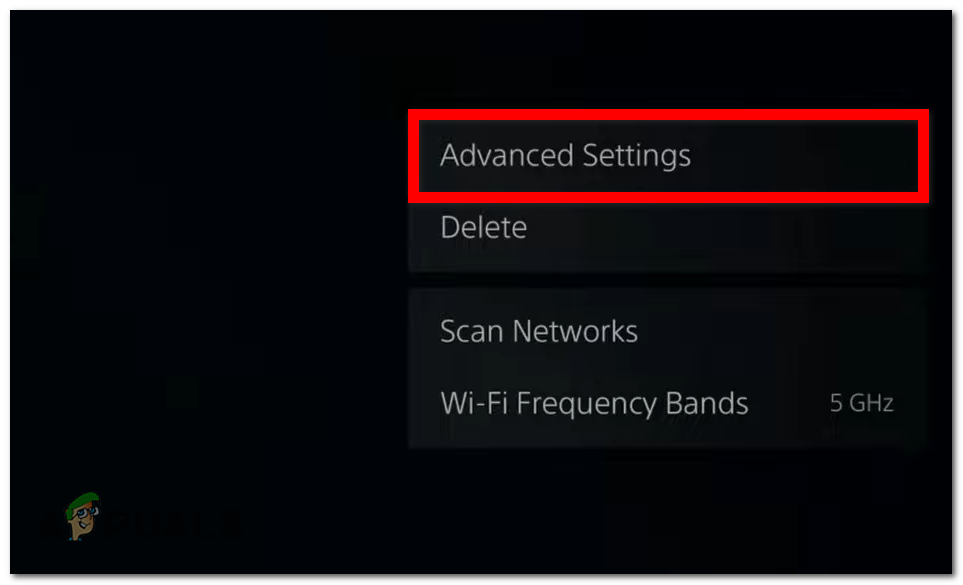
Opening the Advanced Settings - Now type the following number for the Primary and Secondary DNS:
1.1.1.1 for Primary DNS

1.0.0.1 for Secondary DNS
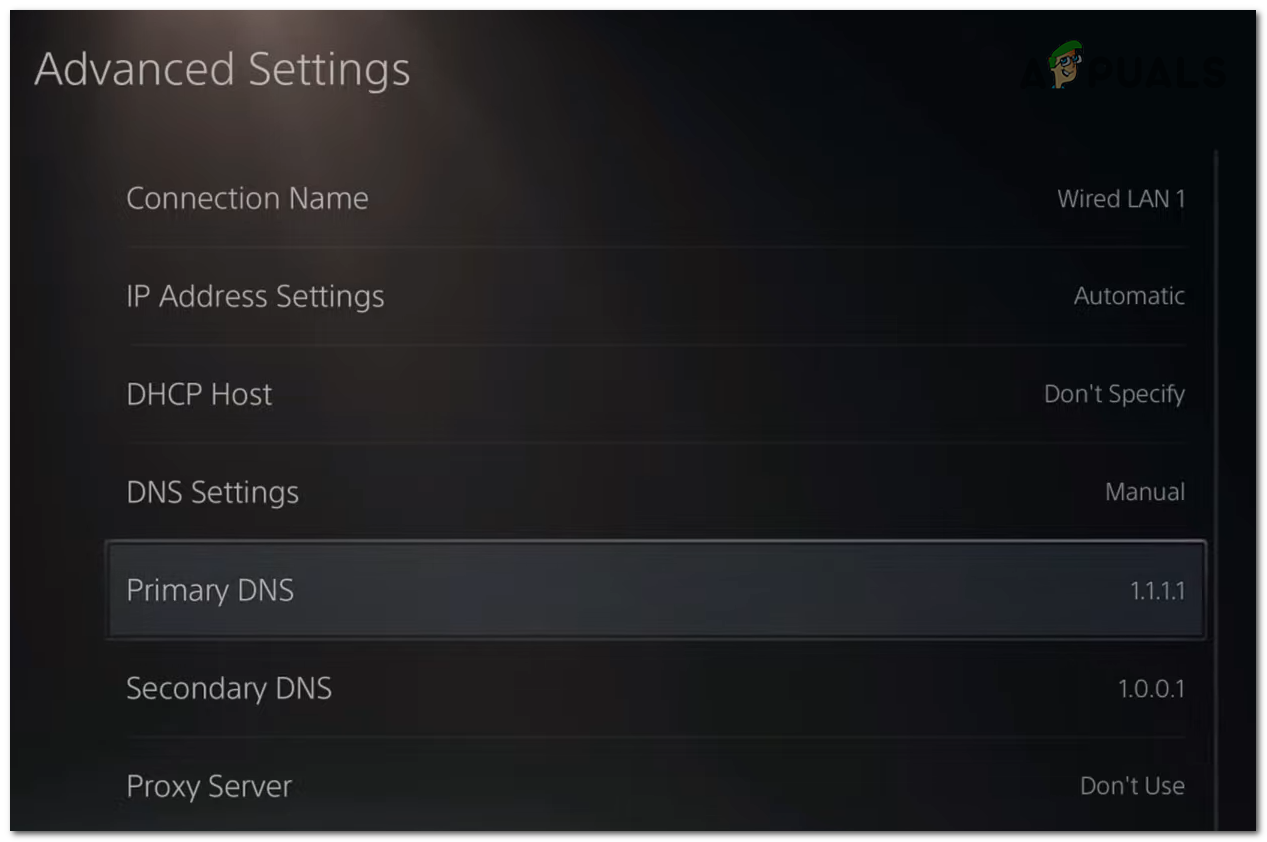
Changing the Primary DNS and Secondary DNS on PS5 - When you are done, select OK and launch the game to see if the error has been fixed.
3.4 Change the DNS to Cloudflare on Xbox consoles
Since the operating system is almost identical on both the last-gen and current-gen Xbox consoles, the guide below is universal. Here’s how:
- To open the guide menu on your controller, press the Xbox button.
- Navigate to the Settings menu (gear icon) and select Settings.
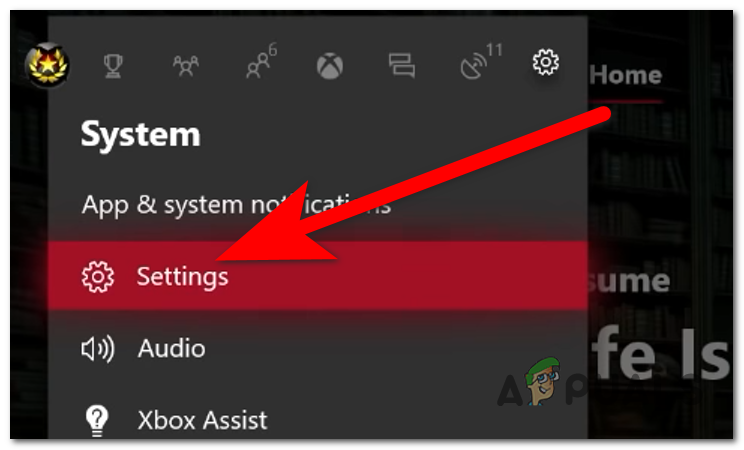
Opening the Xbox Settings - Select the Network tab and access the Network settings.
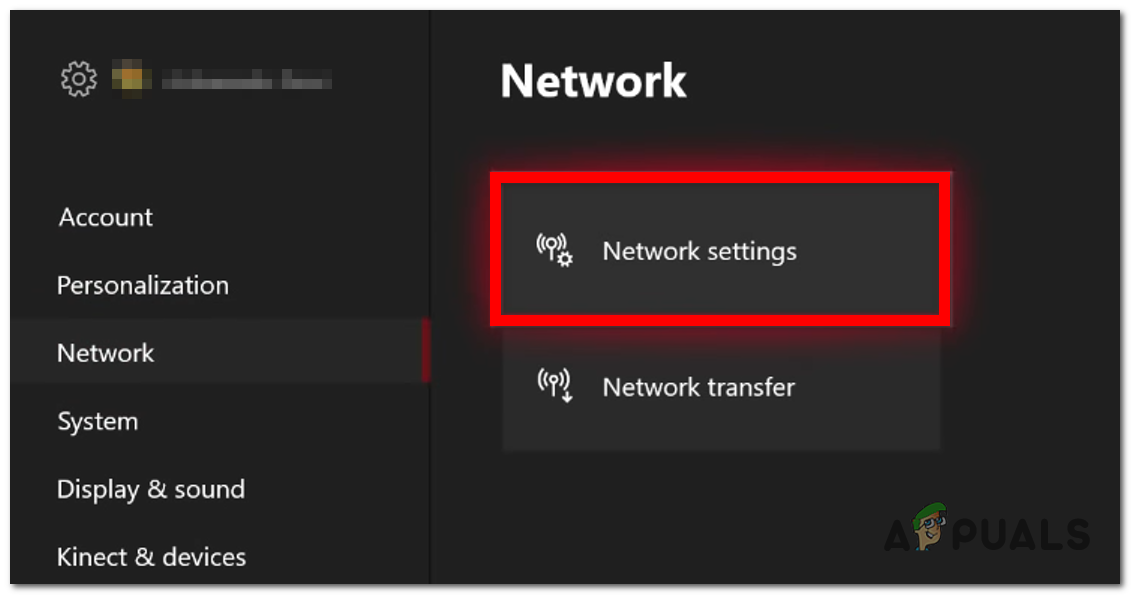
Accessing the Network settings - Now choose the Advanced settings and then select the DNS settings.
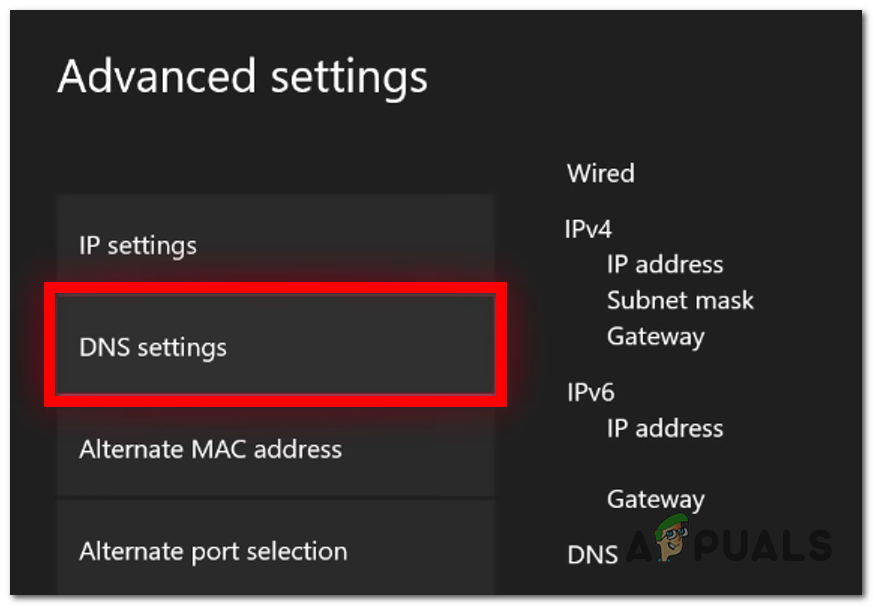
Accessing the DNS settings - Choose Manual and insert the following numbers for Primary IPv4 DNS and Secondary IPv4 DNS:
1.1.1.1 for Primary IPv4 DNS

1.0.0.1 for Secondary IPv4 DNS
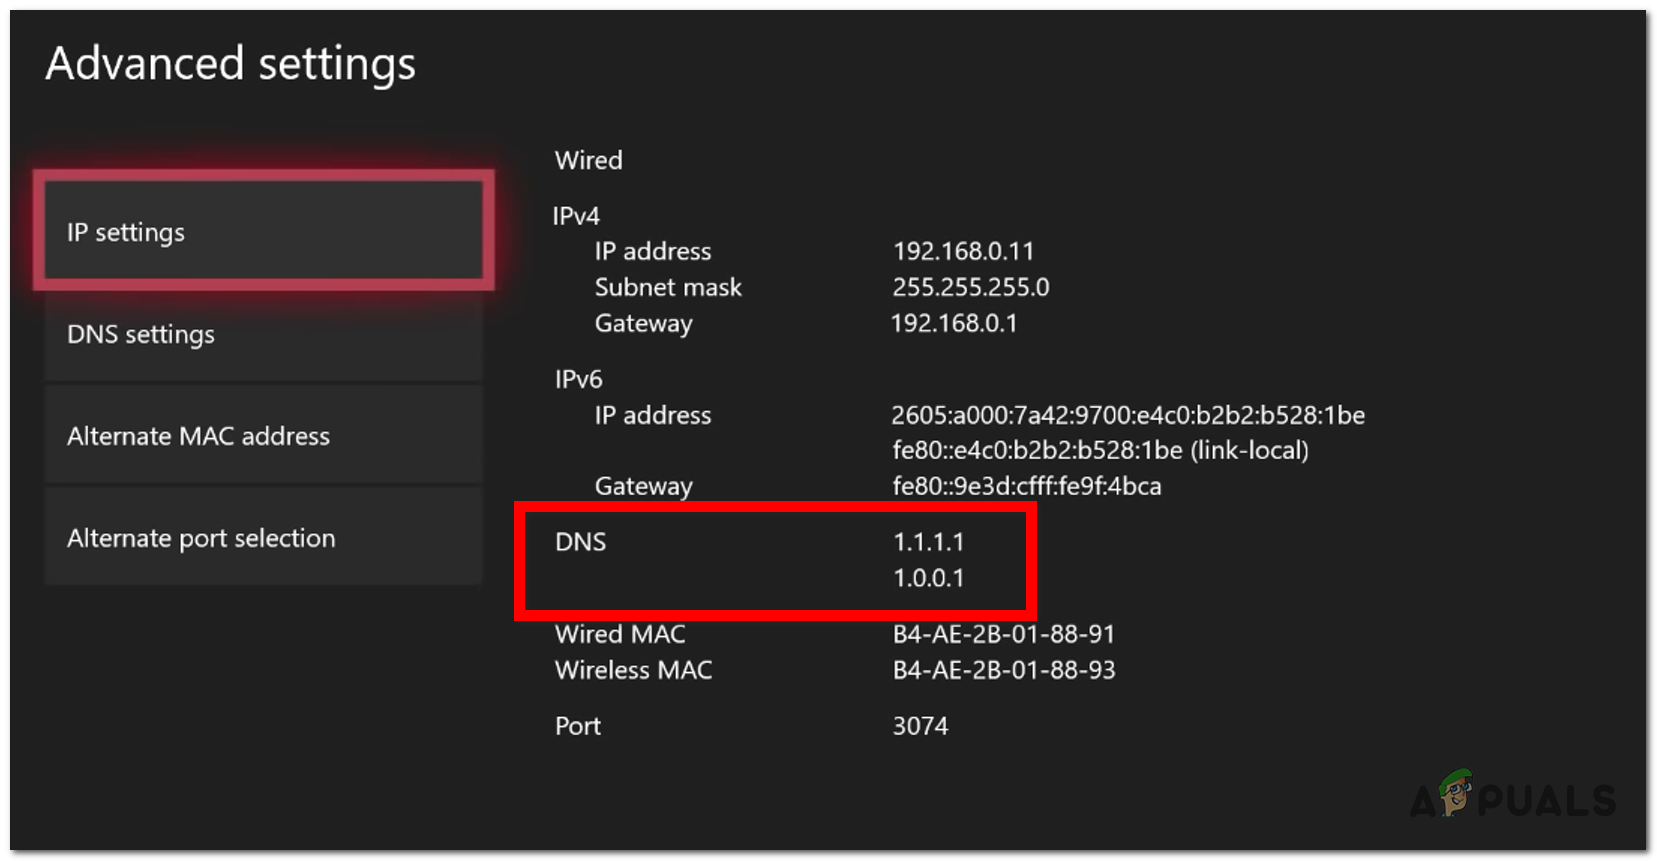
Setting the Cloudflare DNS on Xbox - When you are done with that, save the changes and launch Call of Duty Black Ops Cold War to see if the error code Bravo 345 Blazing Gator was fixed.
4. Remove the power cord and Ethernet cable (consoles only)
This error could be caused by a firmware bug that is affecting your console. This is confirmed to occur on both Xbox and PlayStation consoles and is usually reported after a new system update while COD: Cold War is running in the background.
One way to fix an issue like this one is to hard restart (power cycle), unplugging every cable that is connected to it.
This process will make your console remove all the temporary files that are stored via RAM. These files could affect the performance of the console, so it is worth doing this. Save files will not be affected.
Here is a guide that will help do this:
- Firstly, make sure that your console is turned off to not cause any damage.
- Now unplug the power cord from your Xbox or PlayStation console, as well as the Ethernet(LAN) cable from your console.
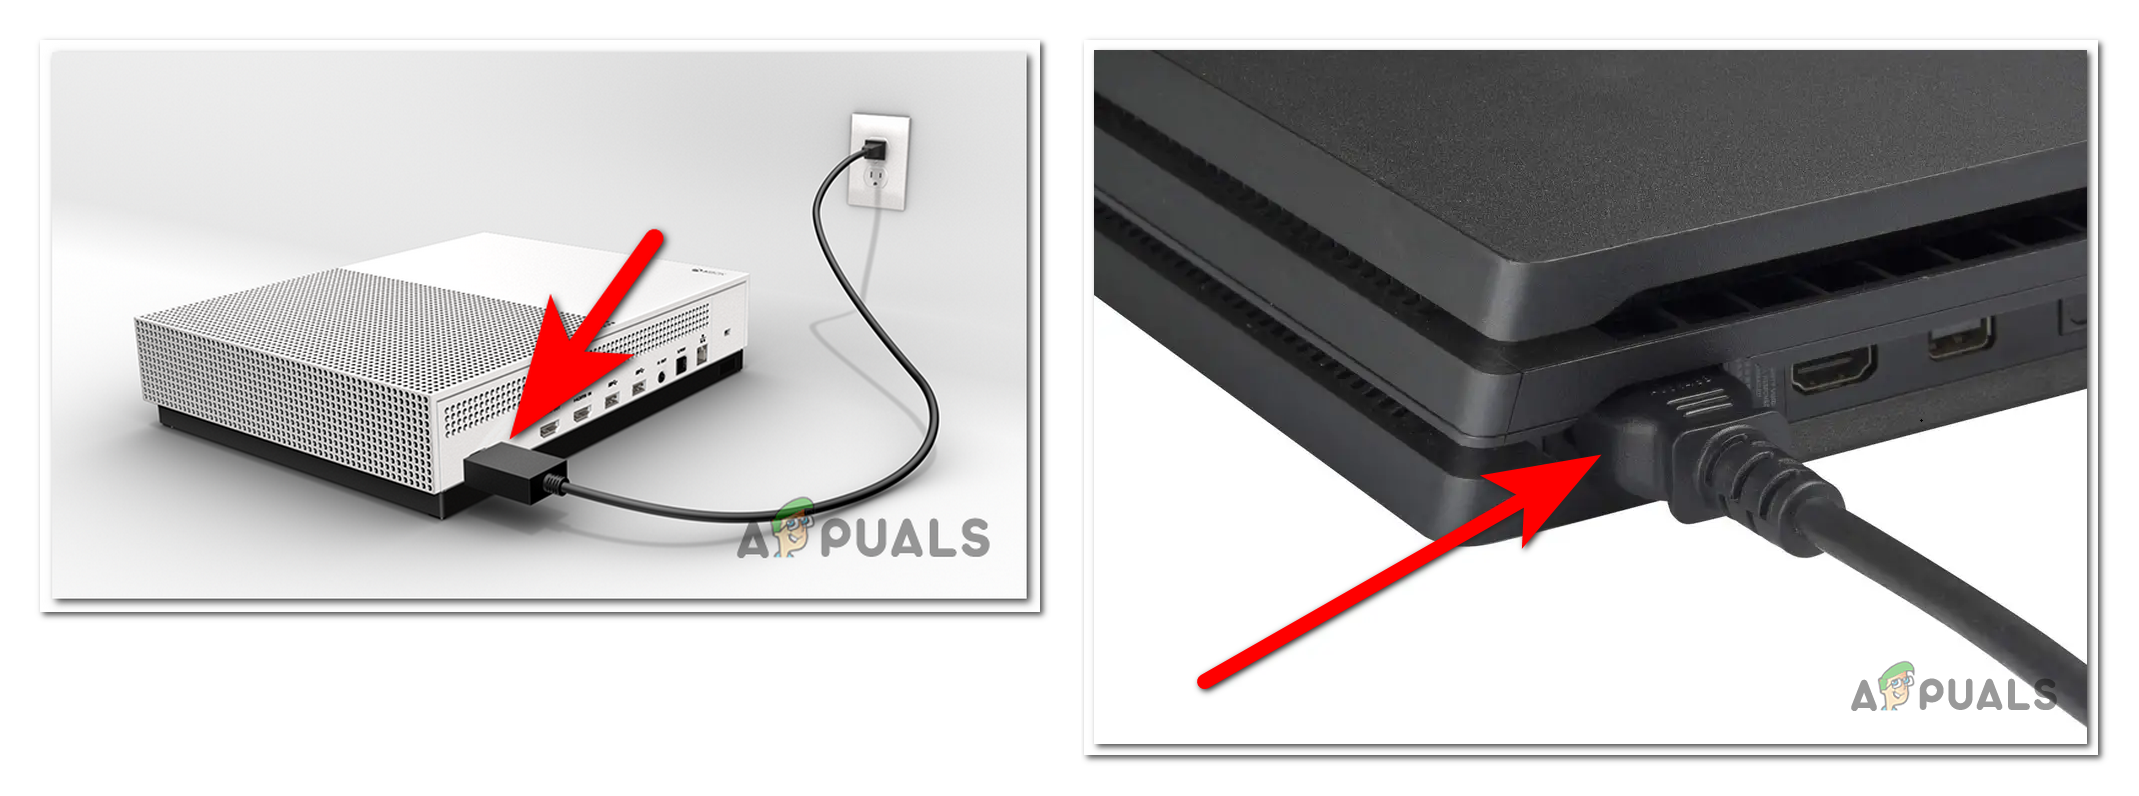
Unplugging the power cord from the console - Leave the cables unplugged for about 2 minutes to ensure the console restarts completely.
- Plug the cables back inside the console and turn them on.
- Launch the game to see if the error code Bravo 345 Blazing Gator is still occurring.
5. Disable Proxy (if applicable)
A proxy connection can also cause this issue when playing Call of Duty: Black Ops Cold War. This can happen because if the matchmaking algorithm is detecting that you are trying to connect to the servers through a proxy server and is rejecting the connection.
Note: Proxy servers are intermediaries between you and the Internet. It is a server that separates end users from the websites they visit and the servers they are trying to join. It can become problematic if the other server doesn’t support proxy connections.
In case you are connected to a proxy server, you should disable it to see if that will change anything and stop the issue from appearing.
Here is a guide that will show you how to do this:
- Press the Windows key + R to open a Run dialog box.
- Type inside the search bar ‘ms-settings:‘ and press Enter to open the Windows Settings.
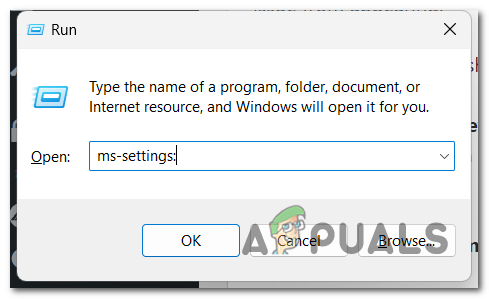
Opening the Windows Settings - Now go to the Network & internet section and access it, then select the Proxy section.
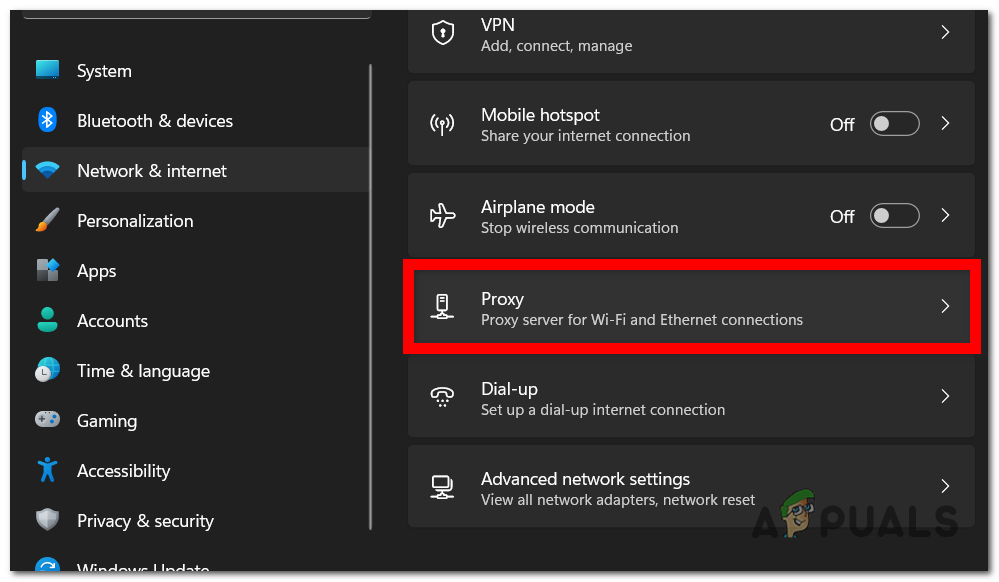
Accessing the Proxy settings - Look at the Manual proxy setup section and make sure that you turn off the proxy. This will happen when you see the Off button.
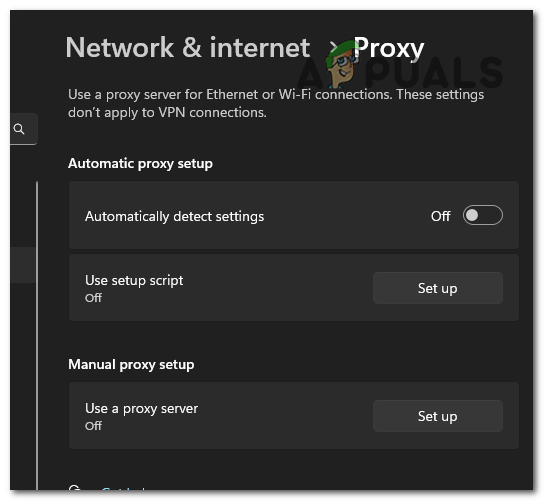
Turning off the proxy server - Now launch the game to see if the problem was fixed.
6. Enable IPv6
This issue may manifest because of an issue with your internet connection. This can happen because you are only playing the game through an IPv4 address, which is not enough to support certain game modes.
The game will surely be affected by the fact that your internet is not running through an IPv6 connection as well because it can’t maintain the same type of stability. The game requires an IPv6 connection to be able to work properly and at the best performance as does every other Call of Duty title.
Before moving any further, check and see if your internet connection allows the IPv6 protocol.
Here is a guide that will show you how to do this:
- Open a Run dialog box by pressing the Windows key + R.
- Inside the search bar, type ‘control‘ and press Enter to open the Control Panel.
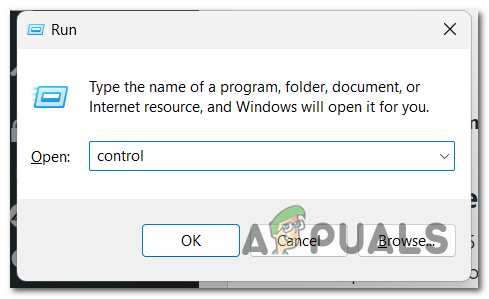
Opening the Control Panel - Now you need to click on the View network status and tasks button, then select the Change adapter settings from the left side menu.
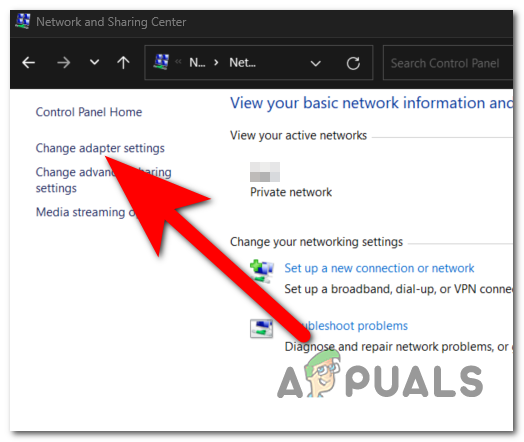
Accessing the adapter settings - Right-click on the internet connection in use and open the Properties.
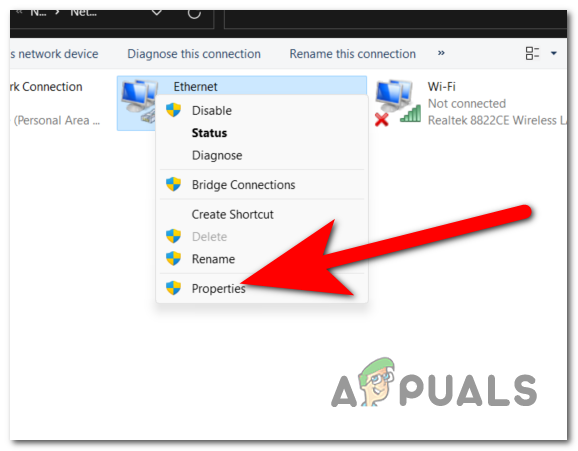
Opening the properties of your internet connection - Search through the list of items for Internet Protocol Version 6 (TCP/IPv6). When you find it, make sure that is enabled by checking the box associated with it.
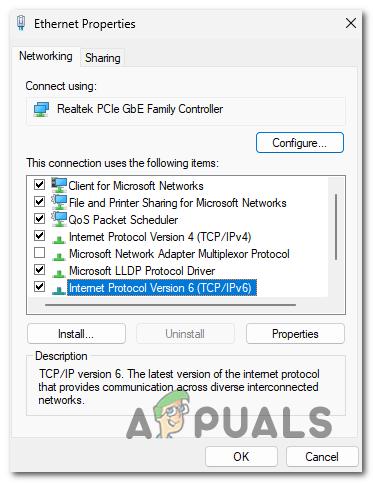
Enabling the IPv6 connection - Click on OK and the savings will be made.
- Launch Call of Duty: Black Ops Cold War to see if the error code Bravo 345 Blazing Gator.
7. Reinstall the game
The error code Bravo 345 Blazing Gator could also be triggered by corrupted game files. There could be a number of potential factors for this, but reinstalling the game should resolve the issue regardless of the culprit that’s causing it.
Therefore, to fix this issue please uninstall the game and install it again on your dedicated platform.


