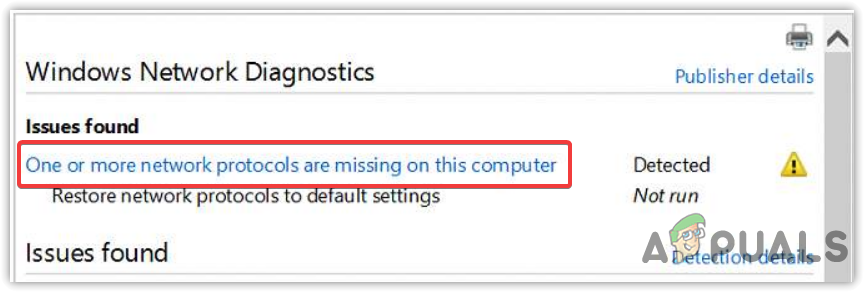
How to Fix One or More Network Protocols are Missing on this Computer Error?
When the “One or More Network Protocols are Missing on this Computer” error occurs, users typically experience a sudden loss of internet connectivity, despite other devices on the same network working fine. This error indicates that essential Windows Sockets registry entries required for network connectivity are missing.
The most common cause is the corruption or deletion of these registry entries, often due to malware, improper system updates, or third-party applications interfering with network settings.
Additional causes may include outdated network drivers or recent changes to network settings.
This problem has been frequently reported across various Windows versions, especially Windows 10.
Now, how to resolve this? Here are some solutions we found working for us when we faced this issue in a controlled environment.
1. Disable IPv6
Disabling IPv6 addresses a potential incompatibility or misconfiguration that may exist between your computer and the network infrastructure. Although IPv6 is designed to succeed IPv4 with improved capabilities, some networks still primarily rely on the older IPv4 architecture.
By turning off IPv6 on your computer, it simplifies the connection process.
Note: Turn this back on if it doesn’t resolve your issue because many internet services rely on IPv6, and they may not work with it being disabled.
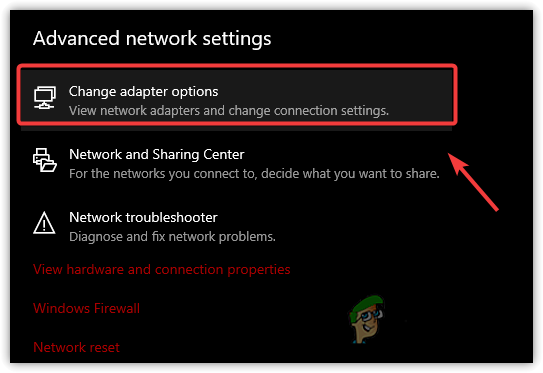
- Open Settings and go to Network & Internet > Change Adapter Options.
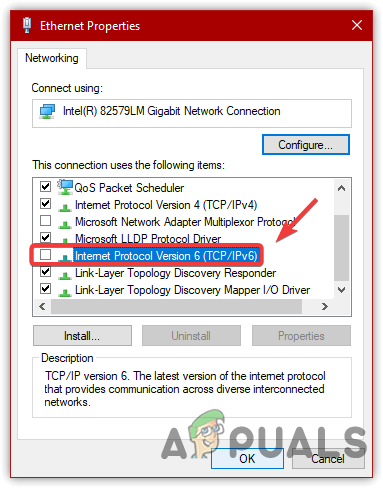
- Right-click on the current connection and select Properties.

- Uncheck Internet Protocol Version 6 (TCP/IPv6) and then click OK.
- Test to see if the error has been resolved.
- If it doesn’t resolve your issue, simply check the option again and restart your computer to enable IPv6 again.
2. Re-enable Adapter
This action can often resolve problematic internet connections because it prompts your computer to re-establish communication with the router, renew IP addresses, and resolve any temporary conflicts that might have caused the adapter to fall out of sync with network protocols.
- Press the Win key and type Control Panel.
- Navigate to Network & Internet and click on Network and Sharing Center.
- Click on Change Adapter Settings.

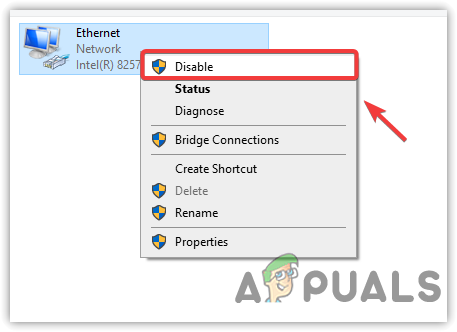
- Right-click on the network adapter and select Disable, then Enable.
- Verify if the error is resolved.
3. Reset Winsock
Winsock, short for Windows Socket, is a technical specification detailing how Windows network software should access network services, especially TCP/IP. When you reset it, you’re essentially clearing any remaining or incorrect configurations that could be blocking your connection to the internet, thus potentially fixing the error.
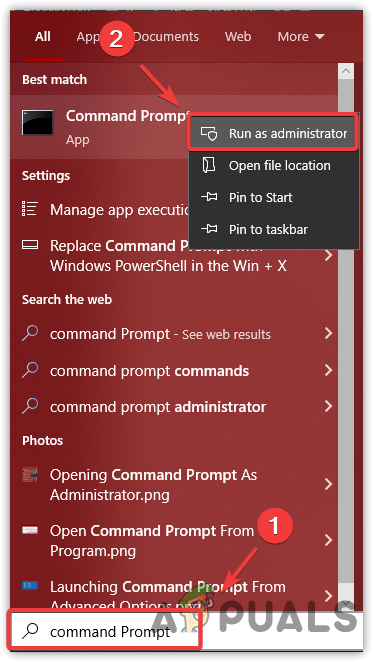
- Click on the Start Menu or press the Win key, then type Command Prompt.
- Right-click on the Command Prompt and select Run As Administrator.
- Copy and paste the following command into the terminal:
netsh winsock reset
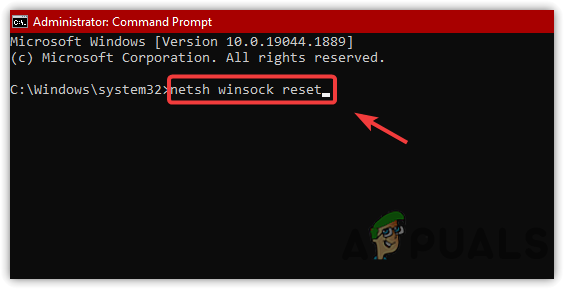
- Press Enter and restart the computer to see if the issue is resolved.
4. Reinstall TCP/IP
This fundamental set of protocols manages the transfer of data across network boundaries, making sure that packets of information find their way to the correct destination.
When TCP/IP configurations become corrupt, reinstating this protocol from scratch can act as a new start, essentially eliminating any incorrect settings or corruption that might have been disrupting your connection.
This fresh start for network communication protocols often resolves connectivity issues and resolves troublesome errors, like the one we’re addressing.
- Go to the Control Panel and navigate to Network and Internet > Network and Sharing Center.
- Click on Change Adapter Settings.

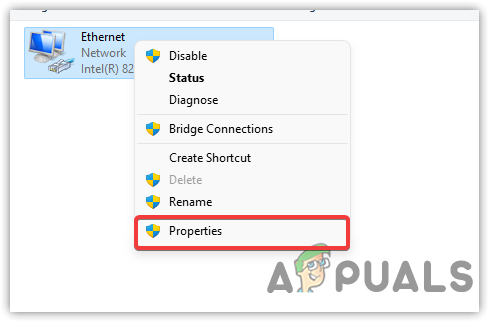
- Right-click the network adapter and select Properties.
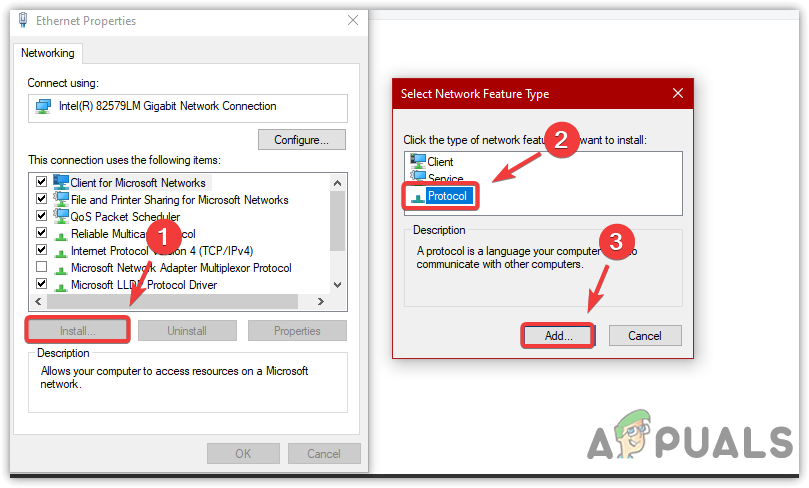
- Click Install, choose Protocol, then click Add.
- Choose Have Disk, then click Browse.
- Navigate to
C:\Windows\INF
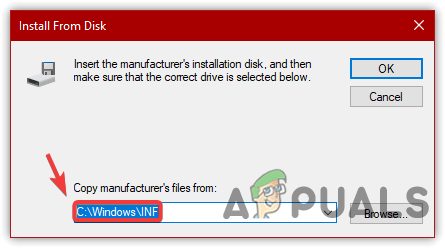
- Confirm the selection by clicking OK.
- Select Internet Protocol (TCP/IP) – Tunnels and confirm with OK.
- If you encounter an error message such as “Could Not Add The Requested Feature”:
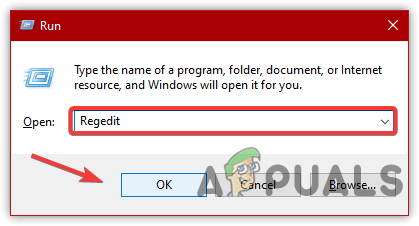
- Open the Run window using the Win + R keys.
- Type regedit and hit OK.
- Navigate to the following path:
HKEY_LOCAL_MACHINE\SOFTWARE\Policies\Microsoft\Windows\safer\codeidentifiers\0\Paths
- In the right pane, right-click on Paths and select Delete.
- Attempt the previous steps again and check for the resolution of the issue.
5. Reset Network Settings Via Command Prompt
This one is pretty self-explanatory. If your network configurations are corrupted, you may need to reset your network settings using a set of Command Prompt commands that we are going to provide down below.
Note: This will reset your Network Configuration. Ensure to backup your network settings or at least take note of them if you have any special changes done to your network, such as a custom DNS provider or dedicated IP address.
- Open the Start Menu and search for Command Prompt.
- Right-click on the result and select Run As Administrator.

- Enter the following commands one at a time, pressing Enter after each command:
ipconfig /flushdns
ipconfig /registerdns
ipconfig /release
ipconfig /renew
netsh winsock reset catalog
netsh int ipv4 reset reset.log
netsh int ipv6 reset reset.log
- After executing these commands, restart your computer and verify if the issue has been resolved.
6. Reinstall Network Driver
Network drivers are basically the software that facilitate communication between your operating system and the hardware, like Ethernet cards or wireless adapters.
When these drivers are outdated, missing, or corrupted, network performance can be seriously impacted, leading to errors.
By removing the current driver and then allowing the system to install a fresh copy upon reboot, you address any issues that may have been caused by corruption or incompatibility in the driver software.
This can resolve underlying problems and restore your computer’s ability to communicate properly with network protocols, ultimately fixing connectivity issues.
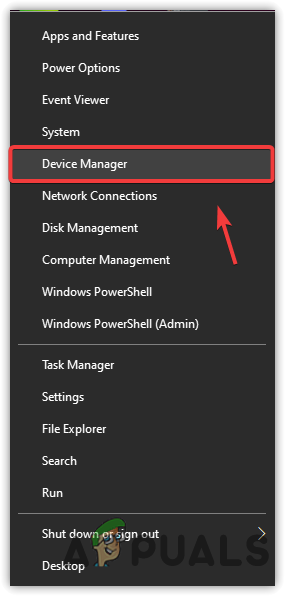
- Right-click on the Start Menu and select Device Manager.
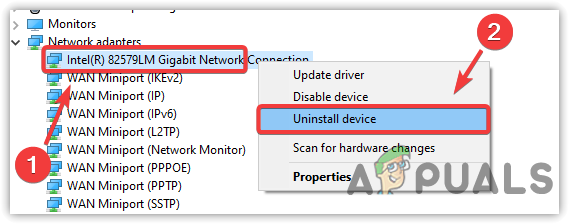
- In Device Manager, right-click on the network adapter and select Uninstall Device. Then, restart your computer to allow the driver to be reinstalled.
- Once rebooted, check if the error has been resolved.
7. Uninstall Third-Party Antivirus
Third-party antivirus programs often come with their own layered network drivers and firewall settings that may accidentally disrupt normal internet connectivity by blocking necessary communication ports or changing network configurations.
By uninstalling non-essential antivirus programs, you eliminate any such conflicts, potentially restoring smooth network operation and resolving the error message concerning missing network protocols.
If the issue continues, you may need to consider disabling Windows Defender.
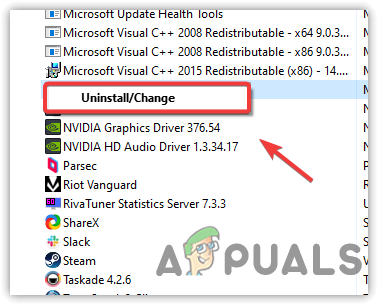
- Click on the Start Menu and type appwiz.cpl to open the Programs and Features in the Control Panel.

- From there, find the third-party antivirus software, right-click it, and select Uninstall.
- Verify if the issue still occurs after the uninstallation.
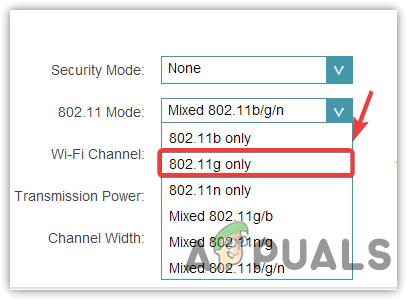
8. Change Wireless Mode to 802.11g
The 802.11g standard operates at a 2.4GHz frequency, which is compatible with most wireless devices. By enforcing this mode, you streamline the communication protocol, potentially bypassing interference and compatibility issues that could arise with mixed-mode settings.
This focused approach often helps in stabilizing your network connection, thereby resolving the protocol error and improving your device’s ability to communicate effectively over Wi-Fi.
- Open a web browser and enter your router’s IP address to access the admin panel.Note: If you don’t know the router IP address, use the ipconfig command in the Command Prompt to find the Default Gateway, then enter it in the browser.
- Locate the Wireless Mode or similar option and change it to 802.11g.
- Click Save and then check if the error is fixed.
Hi Kevin. I’ve tried all of these solutions but nothing works. I’ve been fighting with this issue from 2 months. Do you have any information if Microsoft is working to solve it? Or when they’ll give us a patch or something like this?