How to Fix CxUIUSvc High CPU Usage in Windows?
CxUIUSvc is a component of the HP-released “Conexant SmartAudio II” driver for sound. This driver enables users to adjust program settings and modify features of the Conexant SmartAudio hardware.
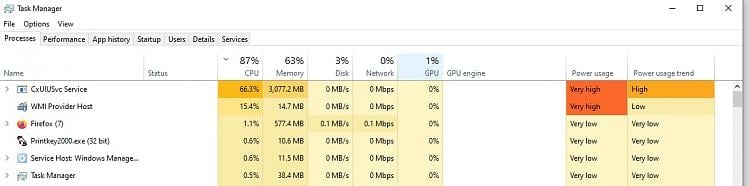
Generally found in HP hardware, it tends to cause a high CPU usage problem, resulting in rapid battery drain in laptops. Most often, this issue is due to outdated or faulty drivers.
This service is known to become problematic, particularly after updates to the audio or sound drivers.
In the following article, we will discuss various ways to decrease this CPU usage.
1. Update Drivers
Outdated drivers can lead to such problems. Hence, it is suggested to check for any available audio driver updates and apply them. By updating the drivers to the most recent version, you’ll install the new driver version, which contains bug fixes and may resolve this problem.
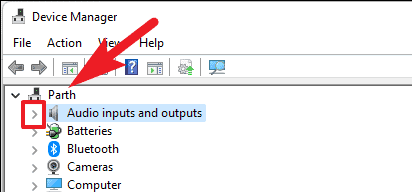
- Search for Device Manager in the Search box and open it.

- Click the arrow to view the Audio drivers section.
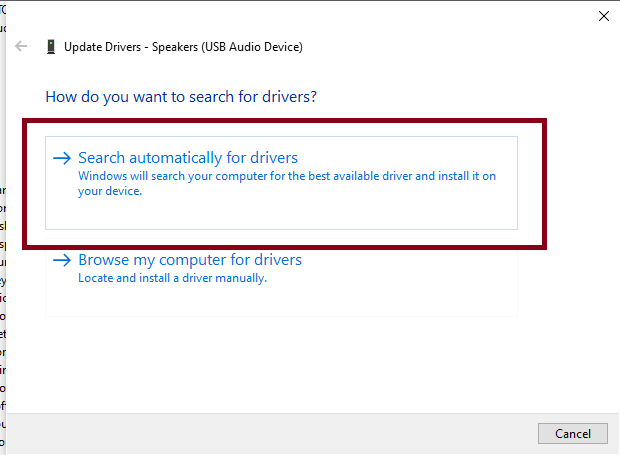
- Right-click on the driver and choose Update driver.

- Select Search Automatically and follow the displayed steps.
2. Reinstall Drivers
Corrupted files in the driver can cause problems. Therefore, it’s recommended to reinstall the audio drivers. This action will install a fresh version of drivers, which may solve this problem.
- Search for Device Manager in the Search box and open it.

- Click the arrow to view the Audio Inputs and Outputs section.

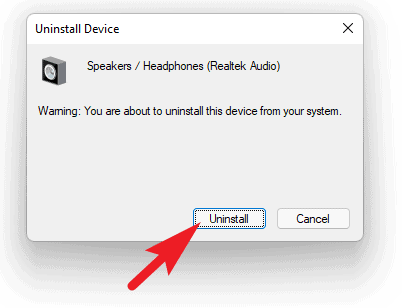
- Right-click on the audio device you want to remove and select Uninstall device.

- Click the confirmation button labeled Uninstall.
- Restart your computer. The device will automatically reinstall the drivers after a restart.
3. Change the Service Startup Mode to Manual or Disabled
If the problem still persists, you can switch the Startup Type of the CxUIUSvc service to manual. This action will prevent the service from starting automatically when the computer starts, potentially solving this issue.
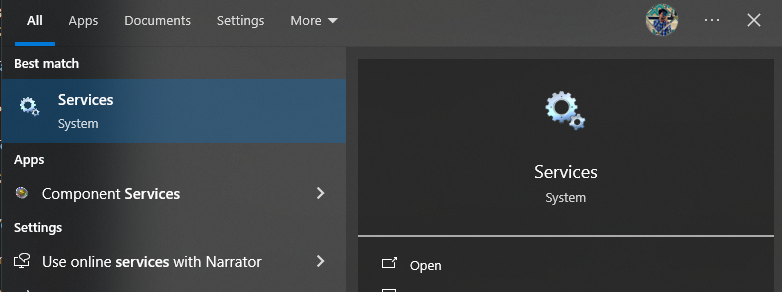
- Search for Services in the Search box and open it.
- In Services, locate the ‘CxUIUSvc‘ service, right-click on it and select Properties.

- Click on Startup type and choose Manual.
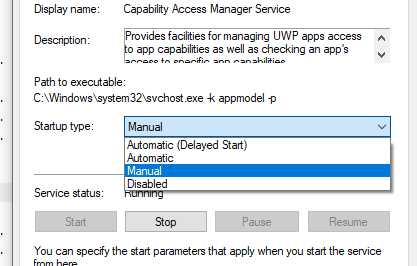
If the problem still occur after changing it to manual then you can disable it, it is not essential for basic audio operations of Windows. You can change the Startup type to Disabled in the third step.
4. Clean Install Windows
If none of the mentioned solutions work, you can completely reinstall Windows. This will install a fresh Windows version without any third-party software or files, potentially resolving the problem.
For a well-explained article on how to clean install Windows, you can check out our article here.