How to Fix ‘Installation Error’ in Bluestacks on Windows?
When you try to install Bluestacks, the setup might suddenly stop and show a simple “Installation Error” message. This stops you from finishing the installation. This error usually happens because of permission problems, missing files, or incomplete downloads that block the installer from getting the files it needs.

Most of the time, the main reason is old Hyper-V settings, Windows virtualization that doesn’t work well, or broken Visual C++ files.
In this guide, we’ll walk you through solutions to fix the BlueStacks installation error.
Prerequisites: Check System Requirements
Before trying any troubleshooting steps, first check that your computer meets BlueStacks’ system requirements. Here’s how you can check your computer’s specs:
- Open the Run command by pressing Win + R together.
- Type “dxdiag” into the box and click OK to launch the Diagnostic Tool.
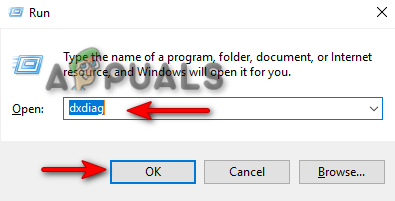
Opening the Diagnostic Tool - Click on the “System” tab to see general system information.

Checking System Information - For details about your graphics, go to the “Display” tab.
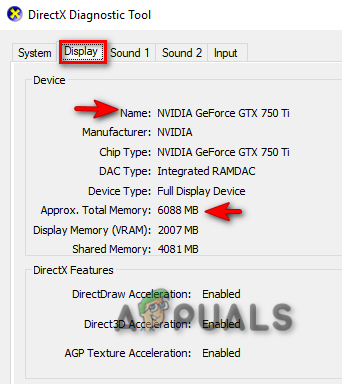
Checking System Display
Minimum Requirements
- OS: Microsoft Windows 7 and above
- Processor: Intel or AMD Processor
- Graphics: Intel/Nvidia/ATI, onboard or dedicated GPU with benchmark score of at least 750
- RAM: 4GB or more
- Storage: 5GB of free disk space
- Internet: Broadband connection recommended
- Additional notes: You must have administrator access on your PC
If your computer meets these requirements, go ahead with the steps below.
1. Check your Internet Connection
First, make sure your internet is working. A poor or disconnected internet connection can cause installation errors. BlueStacks downloads essential files during installation, so it won’t work if the program can’t connect to the internet.
2. End Unwanted Background Processes
Background apps and unnecessary processes running can interfere with BlueStacks installation. Ending these can help resolve the error.
- Right-click the Windows Start Icon and select “Task Manager.”
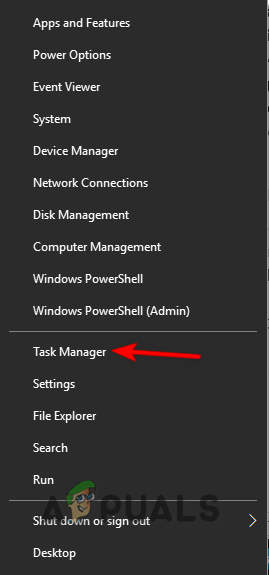
Opening Task Manager - Go to the Process tab and select background processes or apps using a lot of memory.
- To end them, click the End Task button at the bottom right.
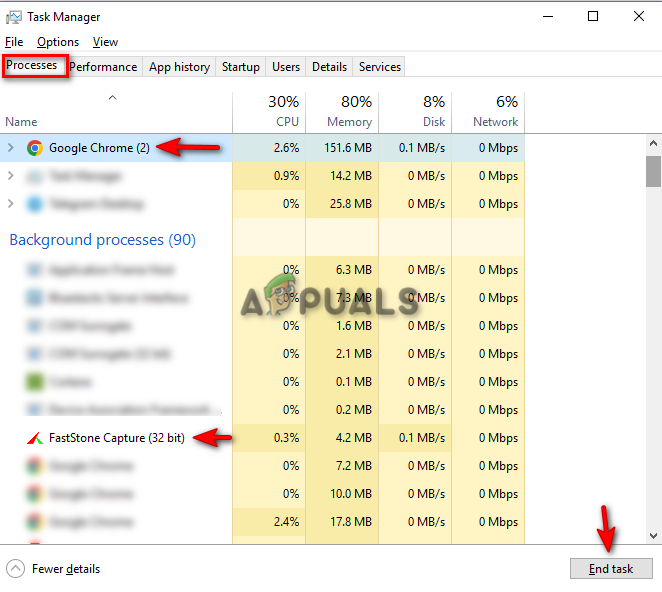
Closing unwanted apps and processes
3. Run BlueStacks as an Administrator
If you’re unable to install BlueStacks, it might be due to lack of required permissions. BlueStacks needs administrator rights to install correctly.
- Right-click the BlueStacks setup file and select Properties.
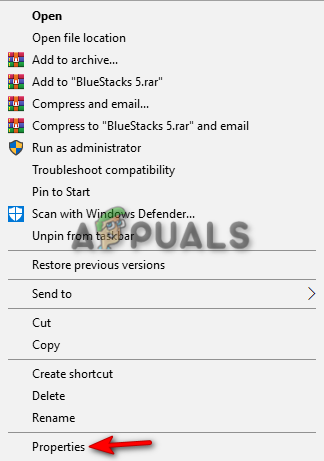
Opening BlueStacks properties - Open the Compatibility tab and check the box for “Run this program in compatibility mode for”.
- Choose a version of Windows such as Windows 7 or 8.
- Check “Run this program as an administrator” under Settings, then click Apply and OK.
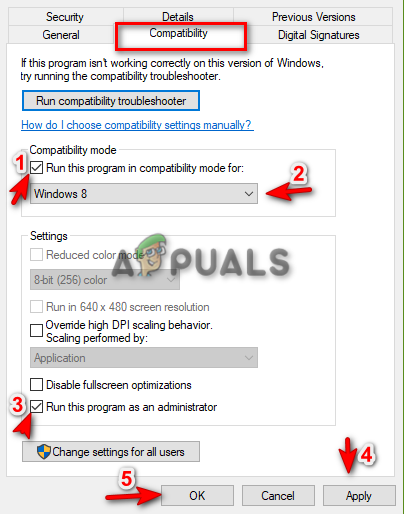
Running program as an Administrator - Now run the installer to see if the issue is fixed.
4. Temporarily Disable Virtualization-Based Security
Virtualization Based Security (VBS) is a Windows feature that can interfere with BlueStacks, as the program needs virtualization support to work properly. Try turning off this feature to see if it helps.
- Press Win + I to open Windows Settings.
- Go to Privacy & Security > Windows Security > Device Security.
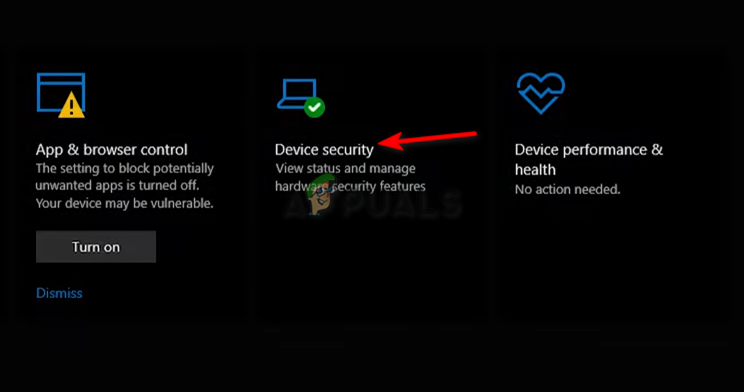
Opening Windows Device Security - Click on “Core isolation details” under Core Isolation.

Opening Core Isolation details - Toggle off the “Memory integrity” button to disable Core Isolation.
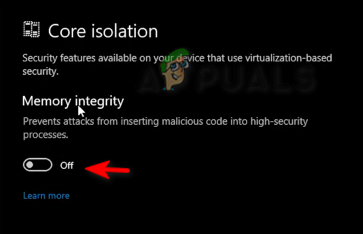
Disabling Core Isolation
Note: If you use antivirus software like Avast, you’ll also need to turn off Virtualization-Based Security in the antivirus:
- Open the Antivirus software, click on Menu, and go to Settings > Troubleshooting.
- Uncheck “Enable hardware-assisted virtualization” and try running the BlueStacks installer again.
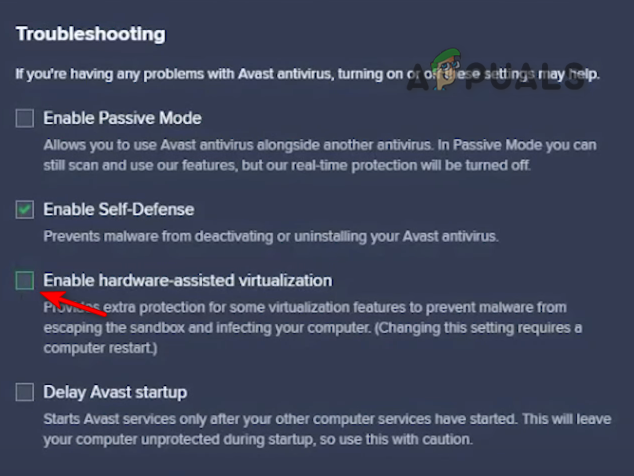
Turning off the Virtualization feature from the antivirus
5. Update Your Graphics Driver
Outdated graphics drivers can cause installation issues because BlueStacks requires certain graphics capabilities. Make sure your drivers are up to date.
- Press the Win key to open the Start Menu.
- Type “Device Manager” and open it.
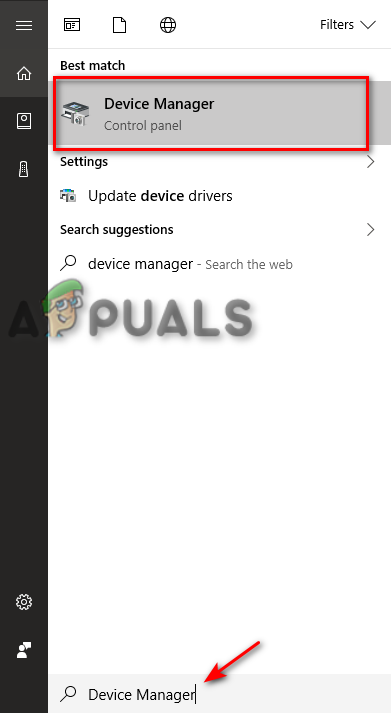
Opening Device Manager - Expand the Display adapters section to see your graphics card.
- To update your graphics driver, right-click on your driver and choose Update driver.
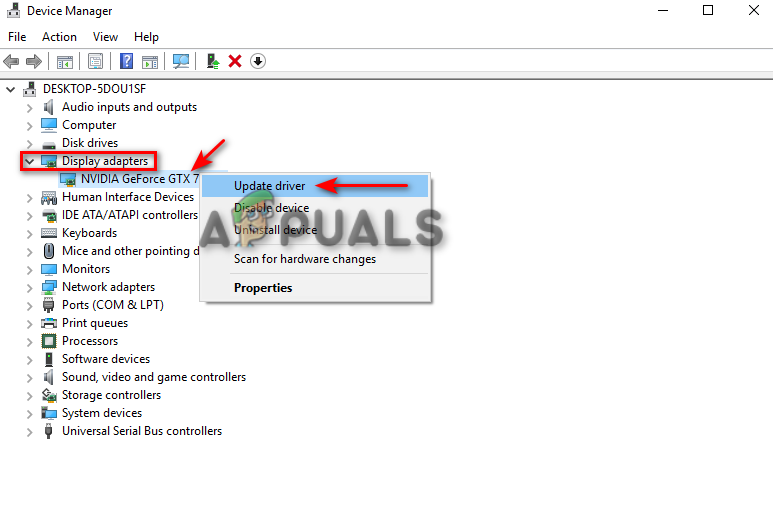
Updating Graphics Driver - Select the update method.
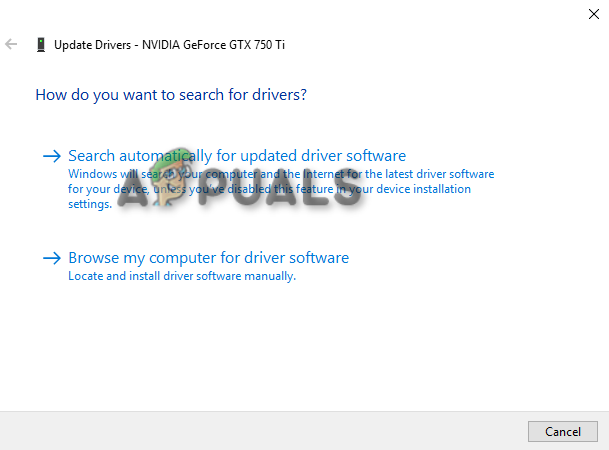
Selecting the Driver Updating method - Restart your computer after updating the driver and see if the installation works now.
6. Update Windows
An outdated Windows operating system may also cause installation problems.
- Press Win + I to open Settings.
- Go to Windows Update and Security > Windows Security.
- Click Check for Updates.
- If there’s an update available, click Download and restart your computer after the update completes.
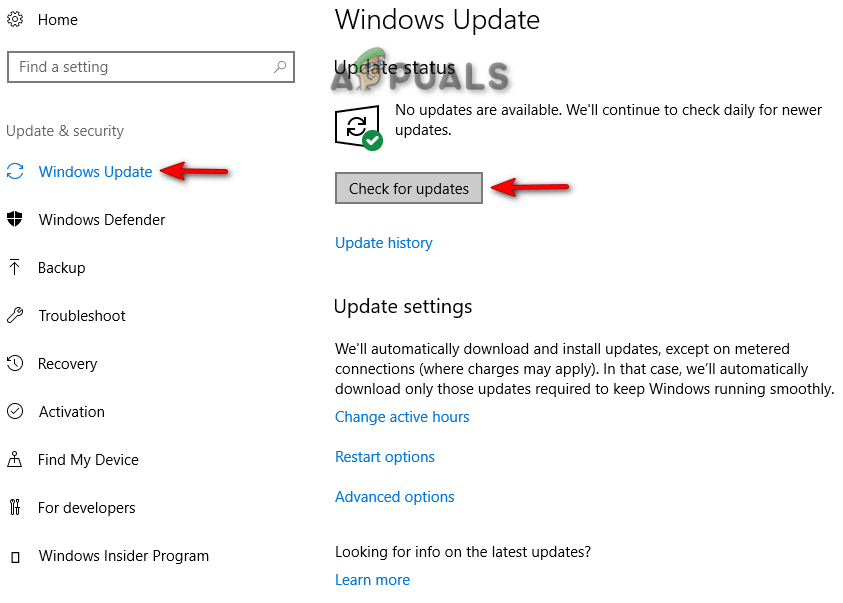
Checking Windows Update
Note: Sometimes, Windows might not notify you about new updates. Download them manually if needed:
- Go to the Official Microsoft Web Page.
- Click “Update Now” to download the latest Windows update,
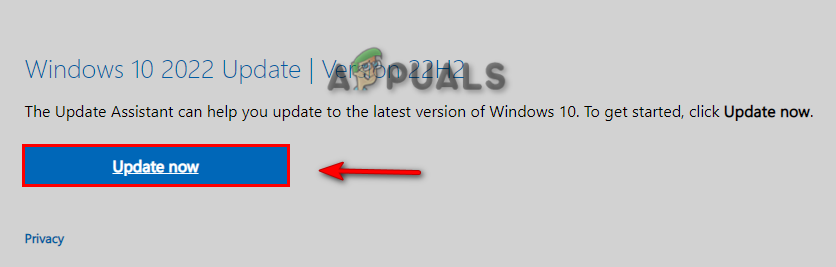
Downloading the Latest Windows Update - Click “Update Now” to start installing.
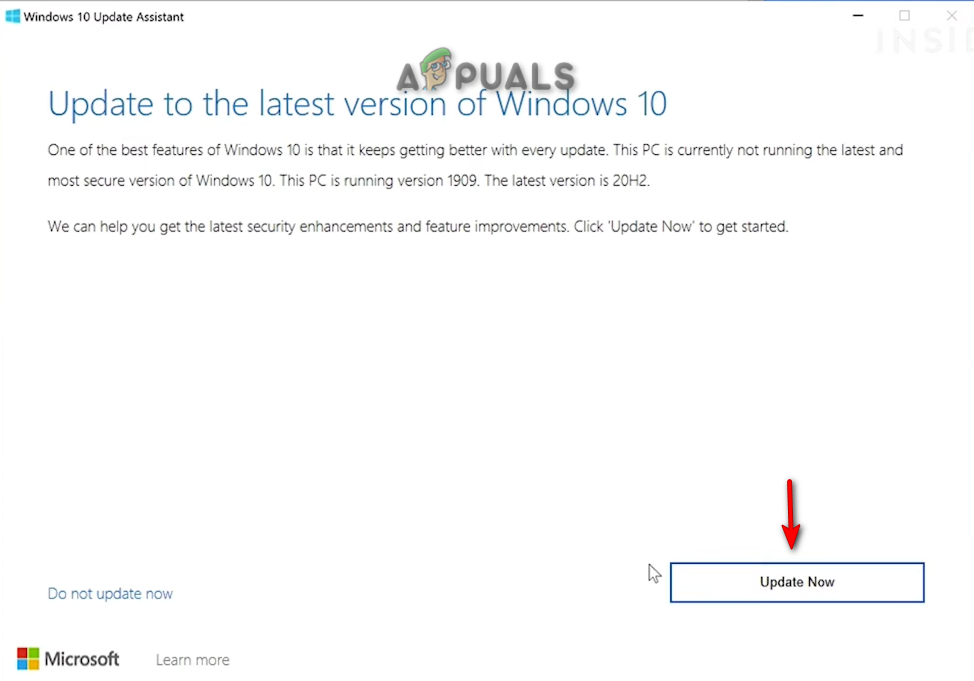
Installing Windows Update - After the installation is finished, restart your computer.

Restarting Computer
7. Run System File Checker
Corrupt system files can stop programs like BlueStacks from installing. Running a System File Checker can find and repair these files.
- Press the Win key to open the Start Menu.
- Type “cmd” in the search bar.
- Right-click Command Prompt and choose “Run as administrator.”
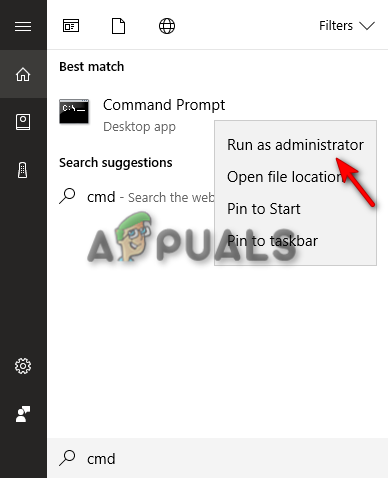
Running the Command Prompt as an administrator. - Enter the following command (make sure there is a space between “sfc” and “/”):
sfc /scannow
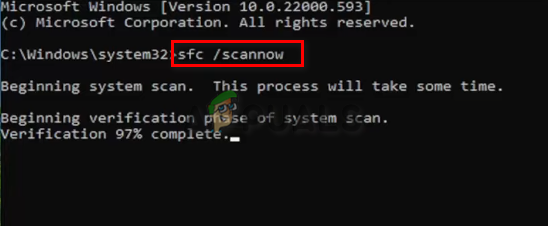
Running system file checker on the command prompt. - Once the scan finishes, Windows will fix any corrupted files it finds.
- Also, run the DISM command by copying and pasting the following:
Dism.exe /online /cleanup-image /restorehealth
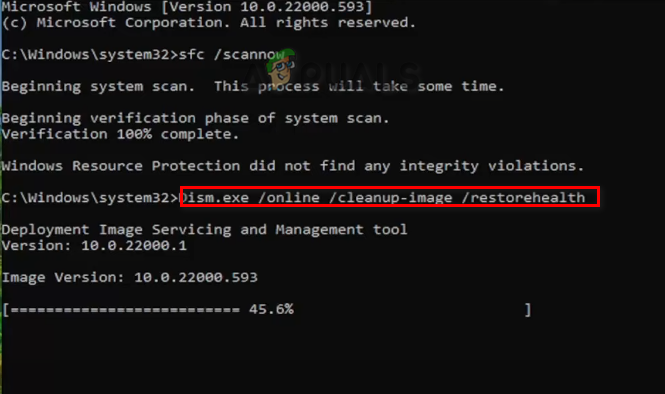
Running DISM Command on the Command Prompt - Restart your computer and try installing BlueStacks again.
8. Turn Off Hyper-V
Hyper-V is a Windows feature that allows creating virtual machines and can sometimes conflict with BlueStacks. Disabling it can help.
- Press Win + R to open the Run command.
- Type “optionalfeatures.exe” and press OK to open Windows Features.
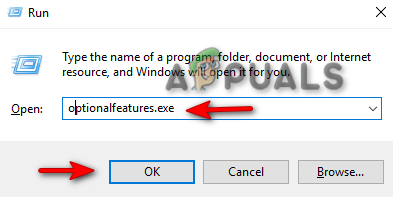
Opening Windows Features - Uncheck any “Hyper-V” related options and click OK.
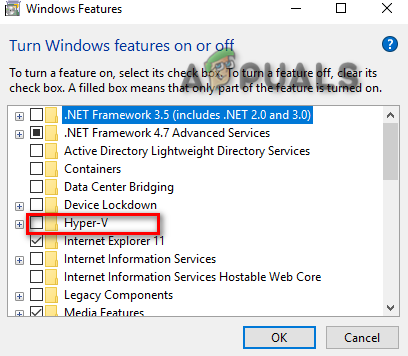
Turning off Hyper-V - Click “Restart Now” to restart your system.
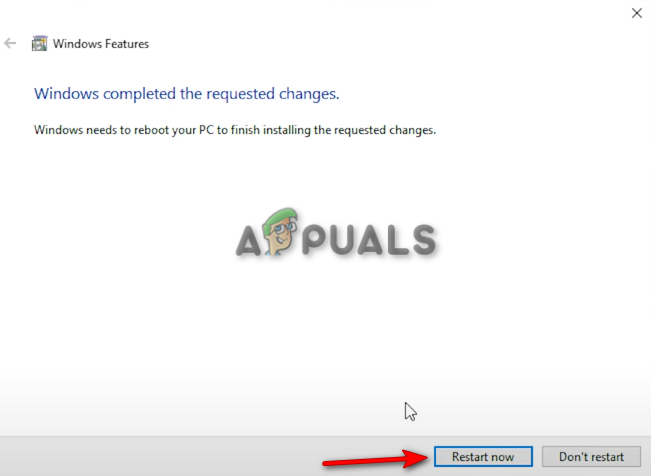
Restarting system
Note: You can also disable Hyper-V using Command Prompt:
- Press the Win key to open the Start Menu.
- Type “cmd“.
- Right-click Command Prompt and select “Run as administrator.”
Running the Command Prompt as an administrator - Paste this command and press Enter:
bcdedit /set hypervisorlaunchtype off
- Restart your computer via the Start Menu.
9. Clean the BlueStacks Installer Cache Before Reinstalling
If the installation error persists, try reinstalling BlueStacks after cleaning up its cache.
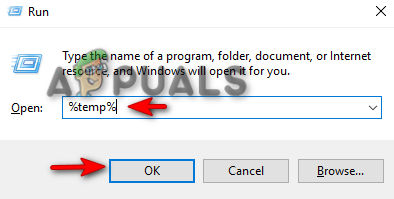
- Press Win + R to open the Run command.
- Type “%temp%” and press OK to open the Temp folder.
Opening the Temp folder - Press Ctrl + A to select all files in the folder.
- Press the Delete key to remove these files.
- Download the BlueStacks Cleaner Tool.
- Go to your browser’s Downloads, and click “Show in Folder” to locate the cleaner.
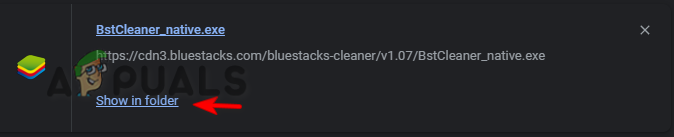
Opening BlueStacks file directory - Double-click the cleaner tool to completely uninstall BlueStacks.

Uninstalling BlueStacks - Once it finishes, click OK and then download and reinstall BlueStacks from the official website.