Fix: BlueScreen Recovery Error 0xc0000017 on Windows
When Windows starts or tries to fix itself, Error 0xc0000017 can cause a blue screen with the message “Your PC needs to be repaired,” which stops you from getting into Windows. This error means that Windows can’t get enough memory because there are “bad memory” areas listed in the system’s start-up settings (called BCD).

The most common reason for this error is a broken list that marks parts of the memory as bad. This often happens after you use bad RAM or after you update some drivers or the BIOS.
In this article, we will discuss different ways to solve this error.
1. Disable or Uninstall Your Antivirus Suite (if applicable)
If you see this error when trying to upgrade your version of Windows, start by ruling out interference from security software. Antivirus programs like Comodo, Avast, or McAfee are known to sometimes block upgrades due to overprotective security features.
First, try disabling the antivirus real-time protection and run the upgrade again. Most security suites allow you to do this from their taskbar icon.
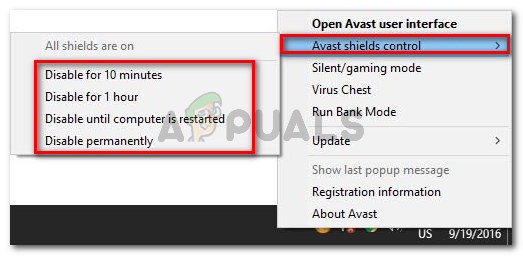
If that doesn’t work or your security suite includes a firewall, disabling is often not enough. In these cases, fully uninstall the software and make sure all its files are removed.
- Press Windows key + R to open the Run dialog. Type ‘appwiz.cpl’ and press Enter to open Programs and Features.

Typing in “appwiz.cpl” in the Run prompt - In the Programs and Features menu, scroll through the application list to find your third-party security software. Right-click on it, then select Uninstall.
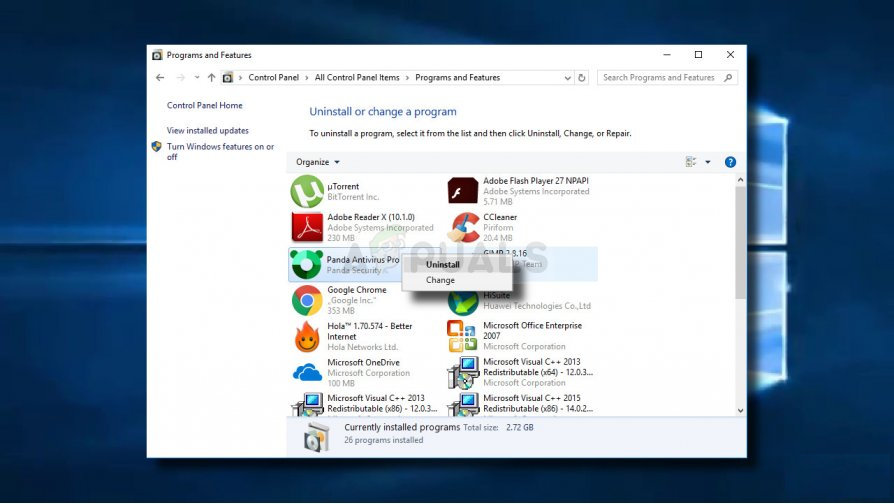
Uninstalling your antivirus - Follow the on-screen instructions to complete the uninstallation, then restart your computer.
- After restarting, follow the steps in this guide to remove any leftover files related to the antivirus suite.
2. Disconnect All External Devices
Although the 0xc0000017 error is labeled as a “bad memory” issue, it’s often caused by too much memory being reserved by connected devices, leaving not enough for the install process.
To fix this, disconnect every non-essential USB device (such as external drives, printers, cameras, or hubs) before starting the upgrade. Many users have reported that this step helped them complete the upgrade.
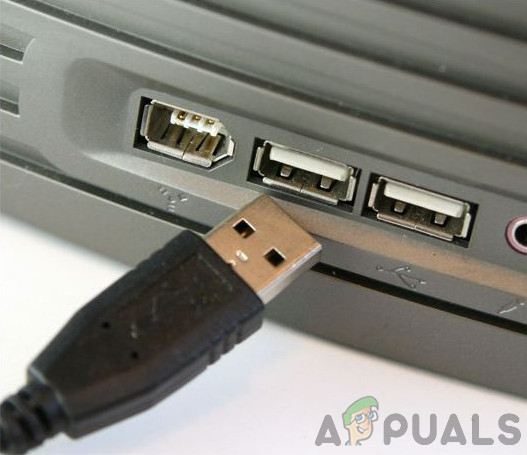
If a device isn’t necessary during setup, disconnect it so memory isn’t unnecessarily reserved. Try the upgrade again after doing this.
3. Update Your Motherboard Drivers
A severely outdated or incompatible motherboard driver can cause this error, especially during an upgrade to Windows 10. Windows Update often misses motherboard driver updates, so you’ll likely need to update them manually.
- Go to your motherboard manufacturer’s official website and download the latest drivers. If you don’t know your motherboard model, you can use Speccy to identify it.
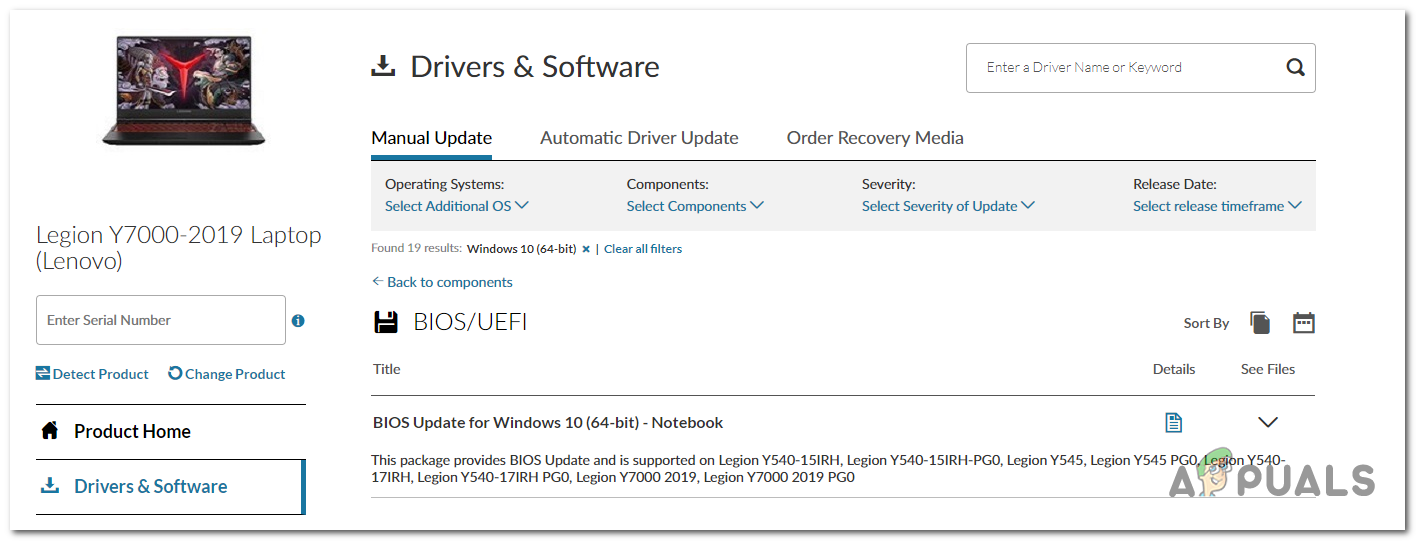
Downloading the motherboard driver Note: Only download drivers from the official website. Avoid third-party websites unless absolutely necessary.
- Run the installer and follow on-screen instructions to update your motherboard driver.
- Restart your computer and see if the error is resolved.
4. Remove Bad Memory Entries Using Command Prompt
Microsoft has confirmed that this error can also occur if bad memory blocks are found in the BCD (Boot Configuration Data) store when the OS creates the RAM disk during setup. You can use Command Prompt to check and clean any bad memory entries.
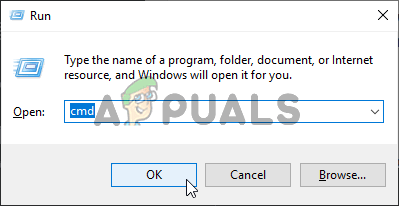
- Press Windows key + R, type ‘cmd’, and press Ctrl + Shift + Enter to open Command Prompt as an administrator. Click Yes if prompted by User Account Control.
Running Command Prompt - Type the command below and press Enter to list any bad memory entries:
bcdedit /enum {badmemory} - If you see bad memory entries, clear them with the command below, then press Enter:
bcdedit /deletevalue {badmemory} badmemorylist - Restart your computer and check if the problem is resolved.
5. Disable Hybrid Graphics in BIOS
If you have a laptop (especially HP ZBook models) with hybrid graphics enabled, this feature may cause the error. Disabling hybrid graphics in the BIOS often resolves it.
- Restart your computer, and as soon as it begins to boot, press the Setup (BIOS) key repeatedly.
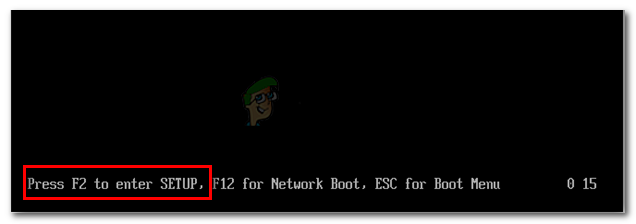
Press the BIOS key during startup procedure Note: The setup key (often Delete, Esc, F1, F2, or F10) will usually appear on the first screen. If you don’t see it, consult your motherboard or PC brand’s website.
- In the BIOS menu, use the navigation keys to go to the Advanced menu. Find the Device Configuration option and set Graphics Device to Discrete Graphics instead of Hybrid Graphics.
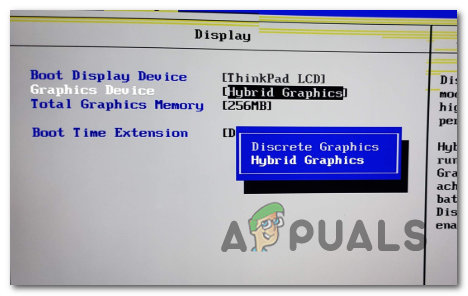
Disabling Hybrid graphics Note: If you see an option to disable Hybrid Graphics, choose that option.
- Save your changes and exit BIOS.
- Once your computer restarts, check if the error occurs again.
6. Upgrade After a Clean Boot (if applicable)
Various 3rd party applications or background processes can cause this error, not just antivirus programs. Doing a clean boot starts Windows with only essential services—none of your usual third-party background apps will run, which helps rule out interference.
- Press Windows key + R, type ‘msconfig’, and press Enter. Approve the User Account Control (UAC) prompt by clicking Yes.

Opening System Configuration through Run - In the System Configuration window, go to the Services tab. Check Hide all Microsoft services to prevent disabling essential services.
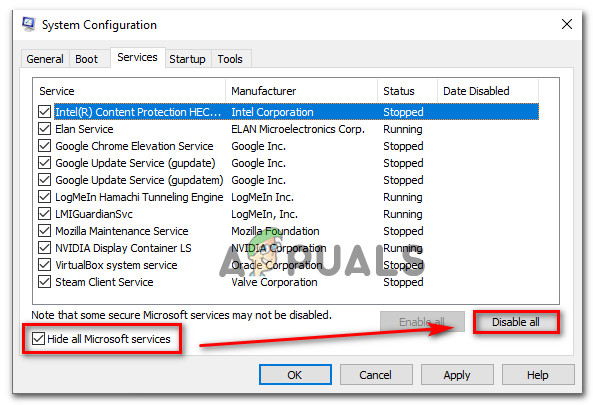
Disabling all non-Microsoft startup items - Click Disable all to turn off all third-party services.
- Next, switch to the Startup tab and click Open Task Manager.
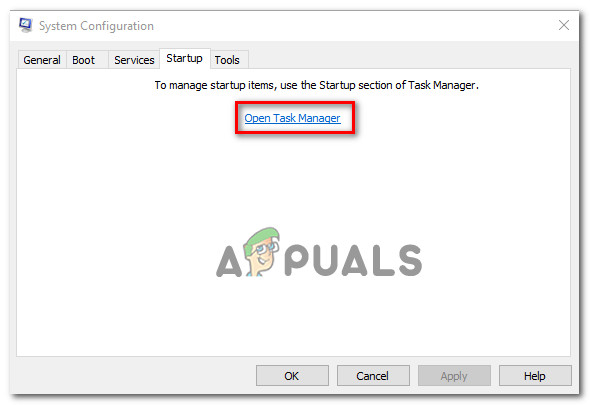
Opening the Startup items window via Task Manager - In Task Manager’s Startup tab, disable every startup item by right-clicking them and choosing Disable. Do this for all third-party programs.
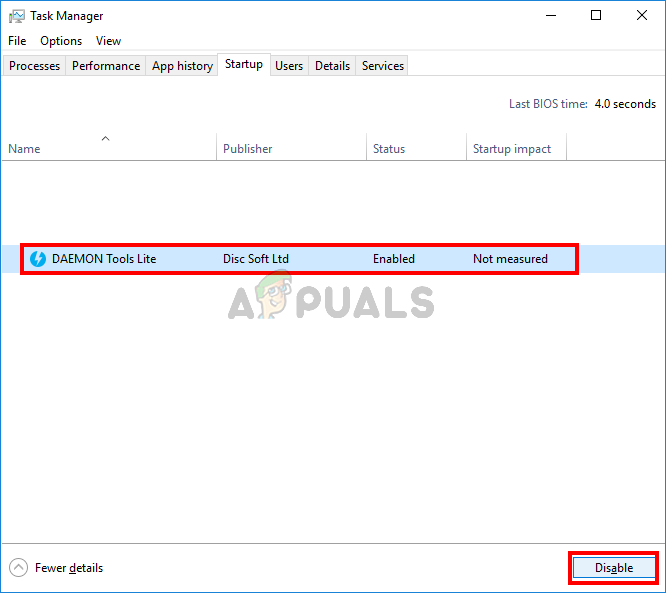
Disabling Apps from Startup - Restart your computer. Windows will now start in a clean boot state, running only necessary system processes.
- Try the upgrade again and see if the error is resolved.


