All 43 Bloodborne Bosses in Order [With Pictures & Tips]
- The game features 43 bosses, divided into four categories: Mainline Bosses crucial for the storyline, optional Side Bosses, Chalice Dungeon Bosses encountered in randomized dungeons, and DLC Bosses from "The Old Hunters" expansion.
- There are 9 mainline bosses in the main story, including Father Gascoigne, Vicar Amelia, and the Moon Presence. Each boss has unique strengths, weaknesses, and important item drops.
- Side and Other Bosses: Side bosses provide extra challenges and skills practice, while Chalice Dungeon bosses offer unique encounters. The DLC adds 5 additional bosses integral to its storyline.
Bloodborne is widely considered as the apex of FromSoftware‘s Souls series of games, which are known for their grueling and unforgiving combat. Like any other Souls game, Bloodborne also features the traditional intense boss fights. All the bosses are intricately designed, and their aesthetic matches the gruesome atmosphere of Yharnam.
Every fight against them is one for the ages and extremely difficult. But since Bloodborne offers little pointers as to where and when you should encounter a boss, we’ve decided to help you out. In this guide, we’ll go over every Bloodborne boss in order.
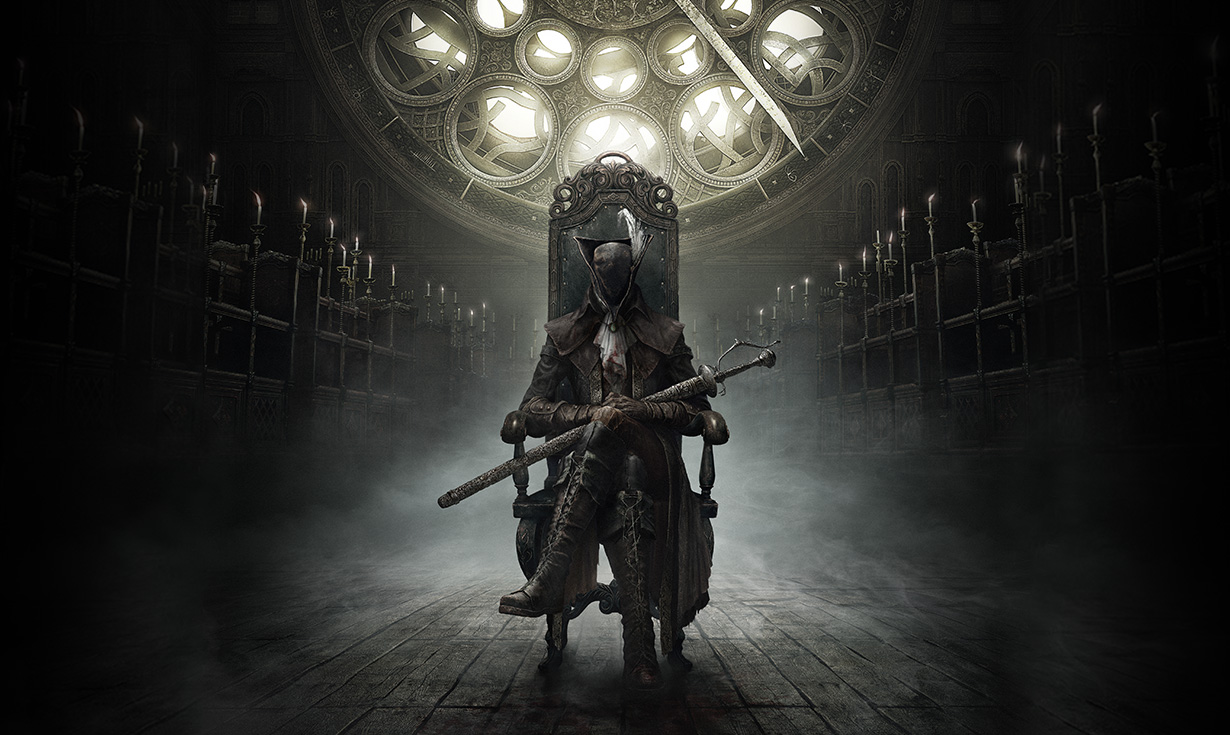
Table of Contents
How Many Bosses Are There in Bloodborne?
There are a staggering total of 43 bosses in Bloodborne. All of them can be divided into the following categories:
- Mainline Bosses: These are the main narrative bosses. The story can only progress further when you beat them, except under special circumstances. You’re destined to face 9 of them.
- Side Bosses: The non-essential bosses in Souls games have come to be known as Side Bosses. In Bloodborne, 8 of them can be found while exploring Yharnam. While defeating them is purely optional, we recommend battling them to hone your skills and to get a proper idea of how the game’s mechanics work.
- Chalice Dungeon Bosses: These are optional bosses that can be encountered randomly in the Chalice Dungeons. They are completely optional and a total of 21 await you if you decide to pursue them, each one being unique.
- DLC Bosses: If you own The Old Hunters DLC, you’ll have to face 5 more bosses. They are imperative to the storyline of the DLC, therefore, skipping them is not an option.
Each boss fight grants you a large amount of experience points, along with a rare piece of equipment or item; usually the perks of defeating the optional bosses.
READ MORE: Here Are The 11 God of War Games in Chronological Order ➜
Order of Mainline Bosses
Without further ado, let’s take a look at the order in which you’re supposed to face the Mainline Bosses:
1. Father Gascoigne
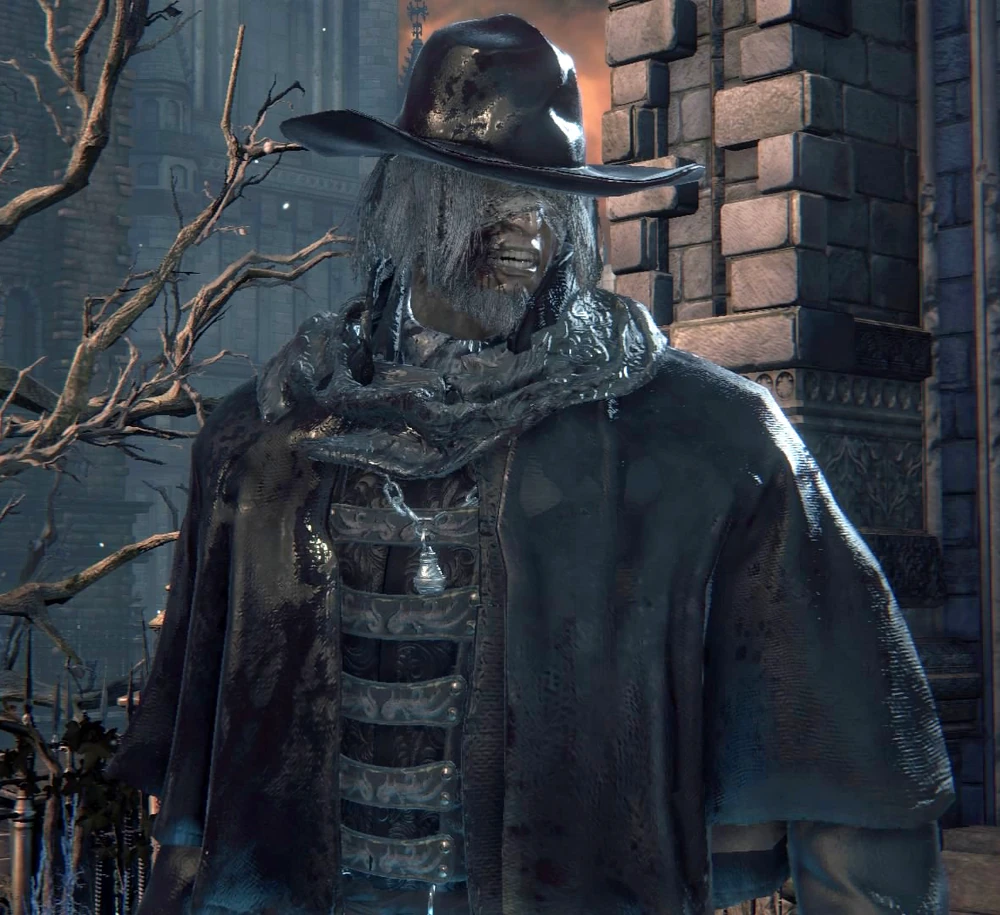
- Location: Central Yharnam
- Number of Phases: 3
- Weakness: Music Box, Serration, Fire (3rd phase only)
- Drops: Oedon Tomb Key
The first Mainline Boss of the game, Father Gascoigne was a priest from a foreign land who became a hunter for the Healing Church, just like your character. Unfortunately, he acquired a taste for blood and went on a killing spree, sparing no one in his path, presumably even his wife, whom he found amongst the corpses of beasts. It’s not confirmed whether he killed her, or the beasts did.
Father Gascoigne’s 2nd and 3rd phases are activated after taking out every one-third (1/3) of is health. He uses a Hunter Axe and an altered version of the Hunter’s Pistol, which functions like a Hunter’s Blunderbuss. In his 1st phase, he uses the axe in its traditional form along with the pistol. In the 2nd phase, he extends his axe and continues to fire the pistol, despite wielding the large axe with both hands.
The last phase sees him transform into a feral wolf-like Beast, and he gains a new jump attack. He is weak against Serration, and, during his last phase, he also becomes more prone to Fire damage. His daughter is still alive, and you can use the Music Box given to you for completing her mission, to stun Gascoigne. He serves as a great tutorial on what to expect from boss fights.
2. Vicar Amelia
- Location: Cathedral Ward
- Number of Phases: 2
- Weakness: Serration, Fire, Numbing Mist
- Drops: Gold Pendant
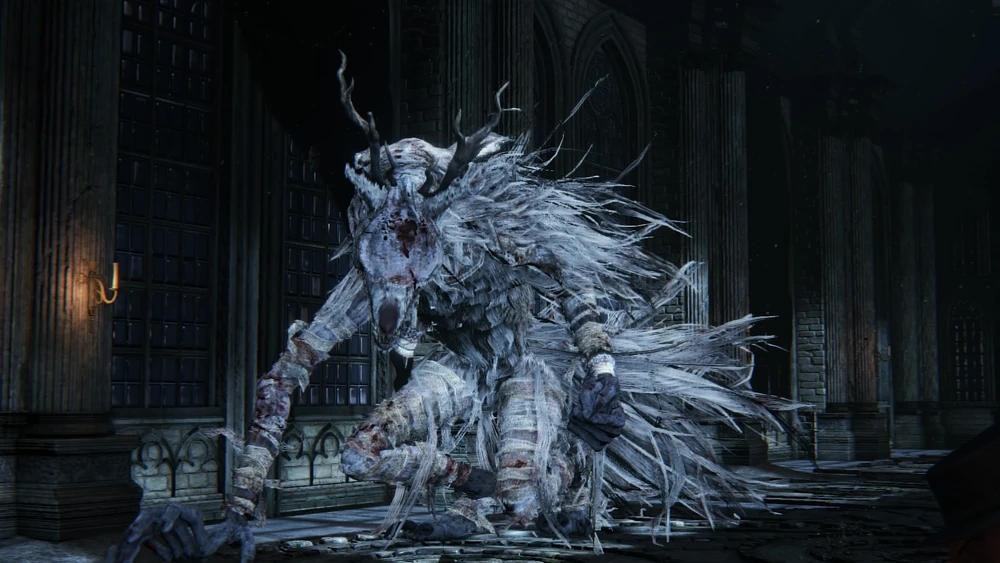
Vicar Amelia is the successor to Laurence, and a high-ranking member of the Healing Church. She’s also the owner of the Golden Pendant, which she drops when she is defeated. She appears to be human at the first glance, but abruptly changes when approached into a large Beast with multiple limbs and a face similar to a dog’s.
Amelia uses her large razor-sharp claws and arms to attack you. Since she holds the Golden Pendant in her left hand, it is the more vulnerable side and should be targeted. The right hand she’ll use for attacking.. When her health reaches 50%, she tends to retreat and uses the Golden Pendant to heal herself. Use a Numbing Mist to nullify this effect.
3. Shadow of Yharnam
- Location: Forbidden Woods
- Number of Phases: 3
- Weakness: Arcane, Bolt
- Drops: Blood Rapture
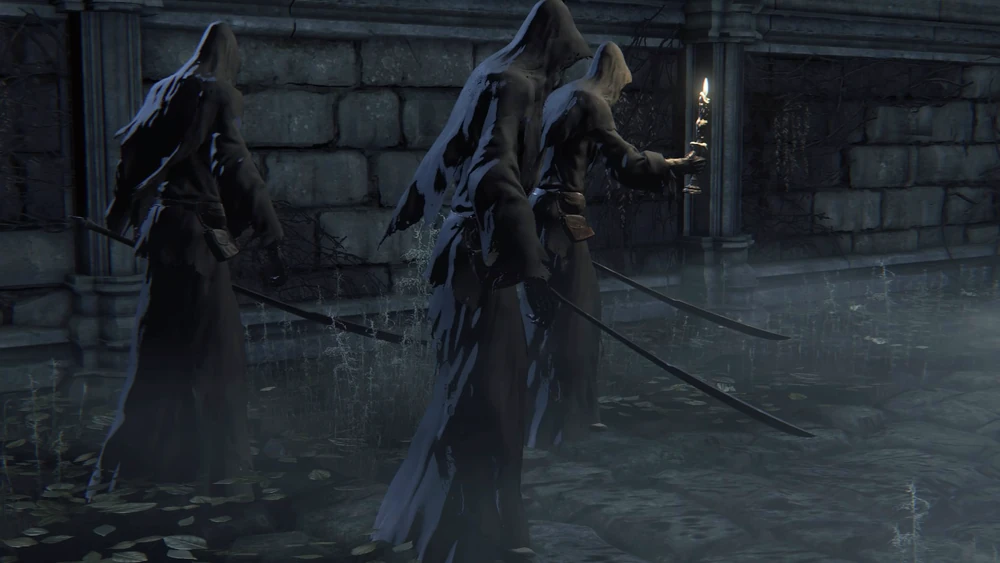
The Shadow of Yharnam is a trio of individuals that wear black robes. They are mutated versions of the snakes that inhabit the woods, and serve as the servants of Queen Yharnam. They can use their arms to attack by changing them into whips or they can summon large serpents to deal massive damage to the player.
The Shadow of Yharnam has 3 different Shadows that have their own unique abilities and equipment; the 1st wields a mace and attacks you with semi-homing fireball spells, the 2nd wields a large scimitar and a candle that acts as a flamethrower. The final Shadow only wields a large scimitar like the 2nd Shadow, but is much more aggressive. You’ll have to face all three at the same time.
While it’s possible to kill the 1st Shadow in the start by luring it away from its comrades, the Shadows will switch up tactics when they accumulate damage up to 75% of a Shadow’s health; arms can now be transformed into tentacles. They will switch up again if they’re running extremely low on health or if only 2 remain, with the main focus being summoning serpents in the final stage.
4. Rom, the Vacuous Spider
- Location: Moonside Lake
- Number of Phases: 3
- Weakness: Bolt, Fire, Arcane
- Drops: Kin Coldblood (x12)
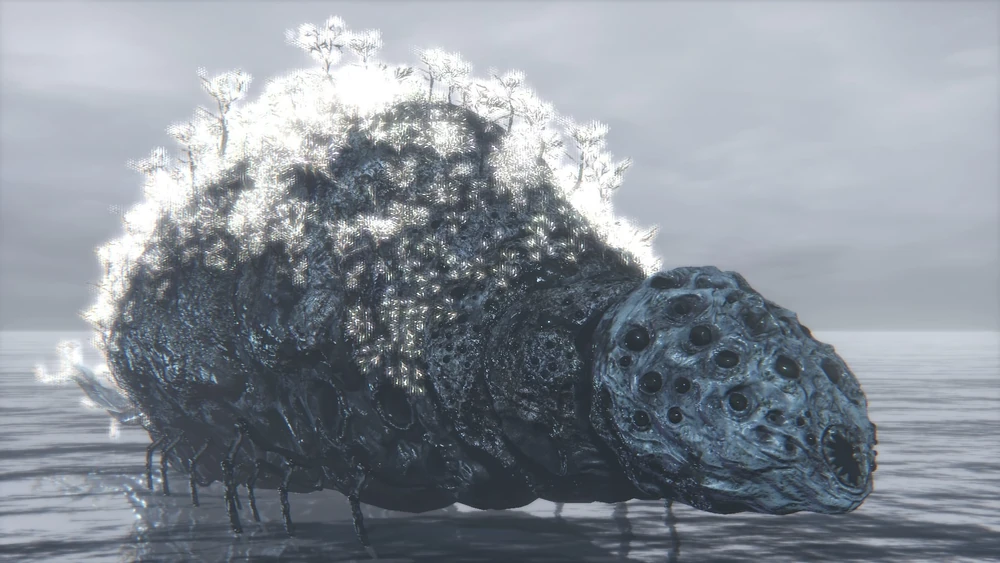
Rom is a large bug-like creature that resembles more of a leech and cocoon mashed up with spider legs. She is responsible for maintaining the barrier that conceals the reality from humans; that they’re surrounded by monsters. Rom is not hostile until provoked, and when engaged, she will summon miniature spiders like herself, called Children of Rom. The Children of Rom have bladed legs.
Rom’s 1st phase is the most defensive and sees her summon a multitude of spiders while remaining non-hostile. The 2nd phase activates after dealing significant damage and sees Rom finally attack you head-on with Arcane attacks, all while summoning more spiders. After some time, or if more damage is dealt to her, you’ll see her 3rd stage which sees her flail about if you get too close.
5. The One Reborn
- Location: Unseen Village in Yahar’gul
- Number of Phases: 1
- Weakness: Bolt, Fire
- Drops: Yellow Backbone (x3)
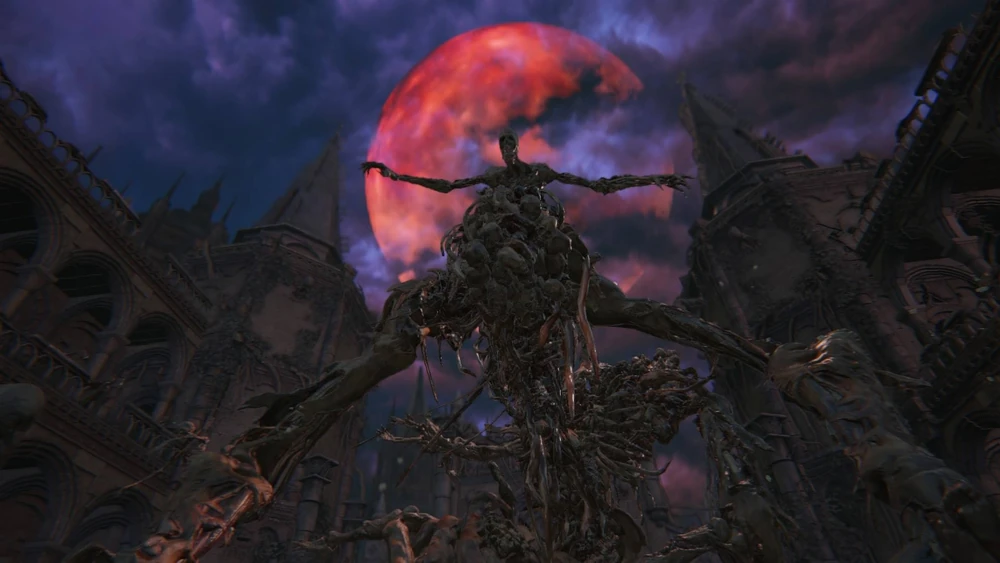
Born from an unholy ritual which used the decayed body part of Yharnam’s masses, The One Reborn is one of the most grotesque bosses you’ll ever encounter in video games. It uses both physical and Arcane attacks, with the Arcane attacks being projectile-natured. It has a very limited move set and most of its attacks require a long wind-up.
The arena of the boss fight has 6 Bell-Ringing Woman enemies which can target you during the boss fight and make it more difficult than it is. While you can kill them during the boss fight with The One Reborn on your tail, it’s better to scope them out and kill them before challenging The One Reborn.
6. Micolash, Host of The Nightmare
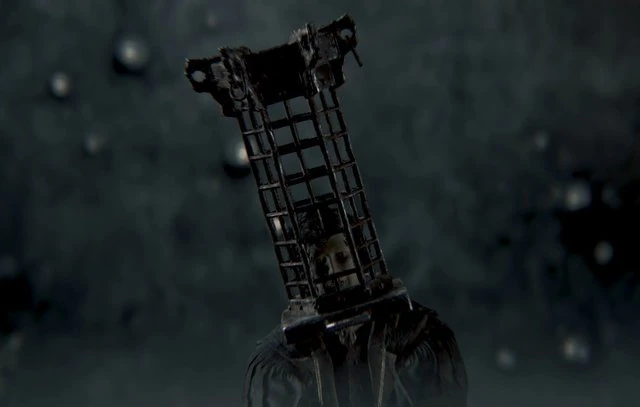
- Location: Mergo’s Loft Middle in the Nightmare of Mensis
- Number of Phases: 2
- Weakness: Very slightly weak against Fire and Bolt
- Drops: Mensis Cage
A being driven crazy after he succeeded in his attempt to contact the gods, Micolash wears a student uniform and a large cage on his head called the Mensis Cage. The fight’s first phase is more of a chase sequence; you must chase Micolash through the area. The second phase is where the real starts.
Since Micolash is a skilled Arcane user, he will rely on very strong Arcane-based attacks like A Call Beyond and Augur of Ebrietas. Both these spells are capable of very high damage and Micolash’s skill allows him to cast it in a few seconds. In terms of physical attacks, Micolash will try and punch you if you get close; nothing more. Be sure to equip Arcane-resistant equipment and you’re good to go.
7. Mergo’s Wet Nurse
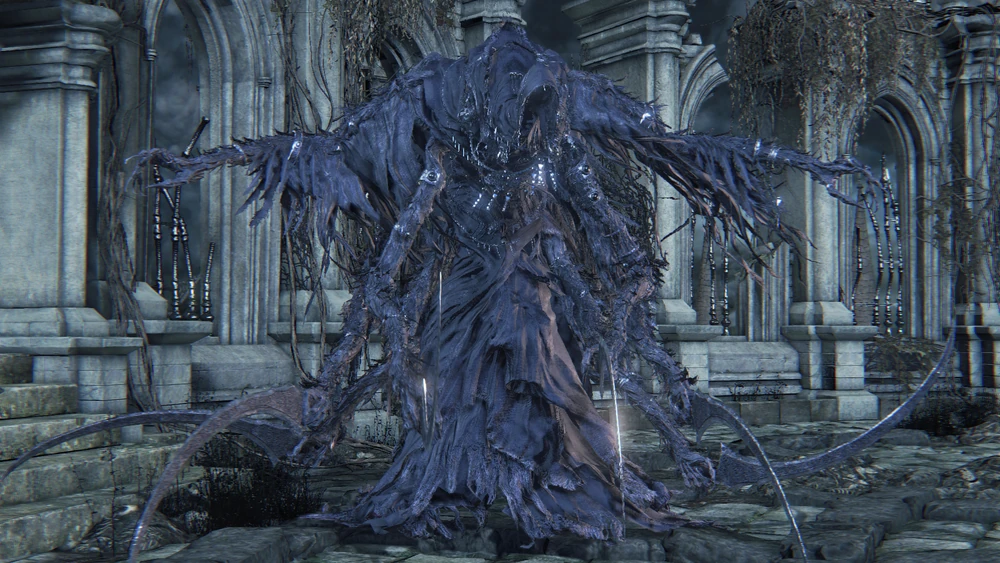
- Location: Wet Nurse’s Lunarium in Nightmare of Mensis
- Number of Phases: 1
- Weakness: Fire, Bolt, Arcane, Poison, Numbing Mist
- Drops: One Third of Umbilical Cord (x1)
A being that guards Mergo, the source of the Nightmare of Mensis, Mergo’s Wet Nurse is black-robed and has multiple arms. She moves slowly, but the presence of multiple arms allow her to attack from all directions, even towards the back. As such, maintaining a safe distance is optimal, although not too far away. Her attacks are purely physical, save for one exception, and deal high damage,
Mergo’s Wet Nurse will, at times, summon a glowing orb and cast the area in darkness, eliminating nearly all visibility. Use a Numbing Mist on her when she does this, as the Mist glows in the darkness, allowing you to know where she’s attacking from.
With damage dealt over time, she’ll become more aggressive and chain together combos. She’ll also summon a copy of herself during the darkness attack, which can be destroyed in 1 hit, but will respawn for the whole time you’re enveloped in darkness.
8. Gehrman, The First Hunter
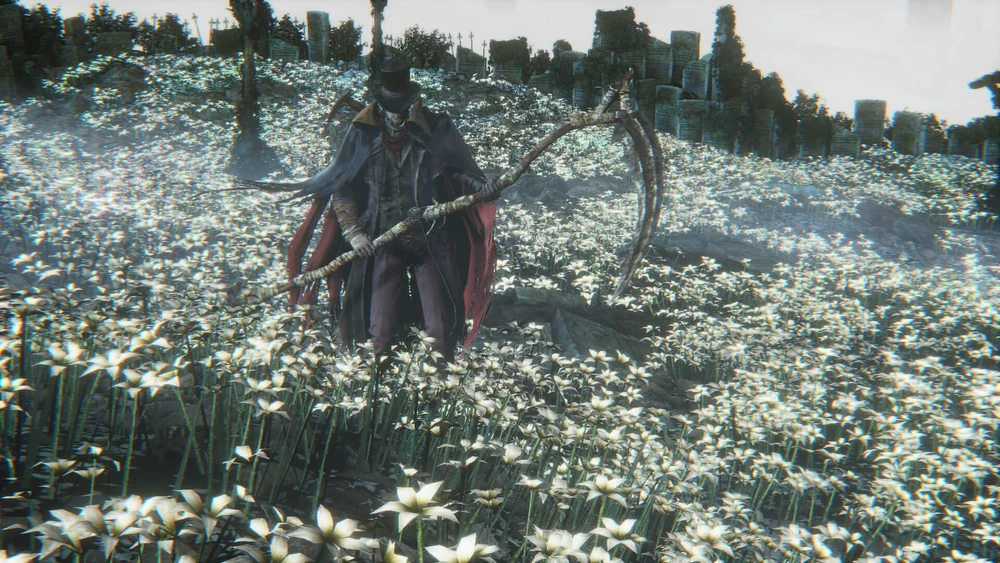
- Location: Hunter’s Dream
- Number of Phases: 4
- Weakness: Bolt, Fire, Arcane
- Drops: Old Hunter Badge
The first ever Hunter, the creator of the Doll, and your guide throughout the game, Gehrman is only available to fight if you talk to him after defeating Mergo’s Wet Nurse in the Hunter’s Dream and choose the Refuse option. Although he was in a wheelchair throughout the whole game as your guide, he will stand up effortlessly and remark that he’s “joining the hunt today”.
Gehrman has the Burial Blade and a unique variant of the Hunter’s Blunderbuss. He’ll use the Burial Blade in scythe mode for his 1st phase and sword mode, along with his Blunderbuss for his 2nd phase. For the 3rd and 4th phases, he’ll alternate between both modes, all while firing away with his Blunderbuss.
Gehrman operates on fast attacks and swift dodges. All his attacks are physical in nature, except for one uninterruptible Arcane attack that takes around 6 seconds to execute. But this attack has the potential to instantly kill the player, or in most cases, it leaves them injured severely. While it’s recommended to hit him as many times as possible while he charges up this attack, you should be ready for what comes next.
9. Moon Presence
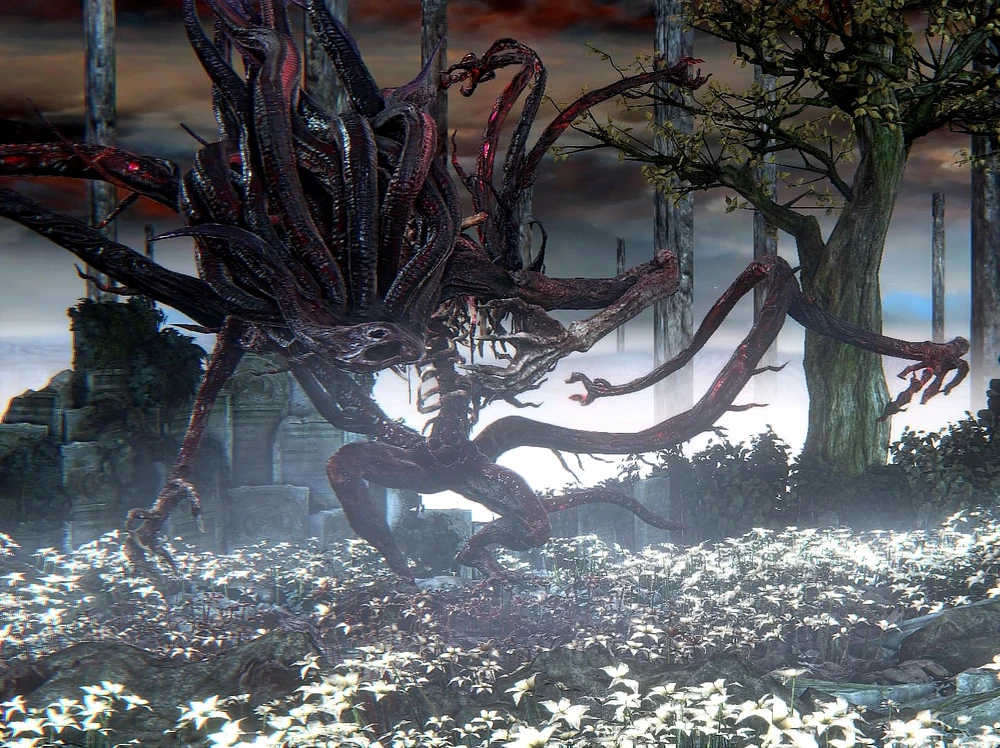
- Location: Hunter’s Dream
- Number of Phases: 2
- Weakness: Arcane, Fire, Bolt
- Drops: None
The final boss of Bloodborne, the Moon Presence, is a literal god that created and rules over the Hunter’s Dream. It has a body similar to a human’s; flesh, bone, a human ribcage. It has no definitive face, however, with only a hole present on the front of the head and tentacles protruding from the rest of the head, acting as hair.
The Moon Presence is fought immediately after defeating Gehrman; provided that you’ve consumed 3 of the 4 One Third of Umbilical Cord before defeating Gehrman. Defeating the Moon Plus will automatically trigger a New Game+, so only attempt it after you’ve finished up everything.
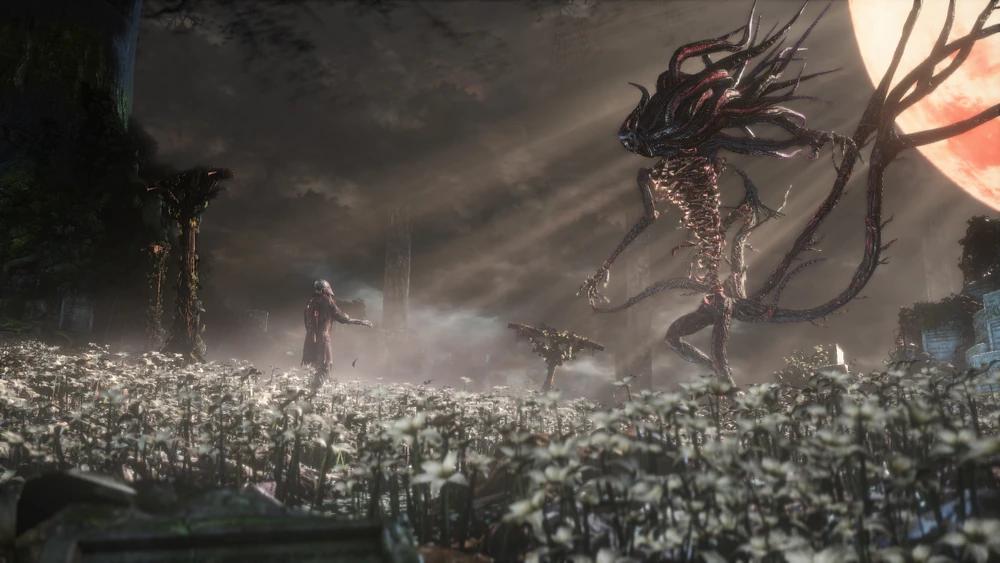
Although the final boss, it is still less difficult compared to Gehrman. However, this does not mean that you should take it lightly. The Moon Presence fights like a wild animal; its attacks being ferocious, quick and unpredictable. It has a tendency to attack in 3-hit combos and, at 50% health, it uses a blood orb to apply a similar effect as Numbing Mist on you.
Like Gehrman’s Arcane move, the Moon Presence also has an equally devastating move that is unavoidable and leaves you with only 1 health. This attack will, however, force it to take a breather for 5-6 seconds during which you can heal and get several hits in.
Other Bosses in Bloodborne
Now that you’re up to speed with all the mainline bosses, here are all the other bosses you can encounter in Bloodborne:
↪ Side-Bosses
Let’s take a look at the bosses you can optionally encounter in the main game or whose variants you might come across in the Dungeon:
- Amygdala: Main game, Nightmare Frontier (optional area).
- Blood Starved Beast: Main game, Old Yharnam (optional boss but often fought by players).
- Celestial Emissary: Main game, Upper Cathedral Ward (optional area).
- Cleric Beast: Main game, Central Yharnam (optional boss).
- Darkbeast Paarl: Main game, Yahar’gul (optional boss, encountered after being captured or later in the game).
- Ebrietas, Daughter of the Cosmos: Main game, Upper Cathedral Ward (optional area).
- Martyr Logarius: Main game, Cainhurst Castle (optional area).
- Witch of Hemwick: Main game, Hemwick Charnel Lane (optional area).
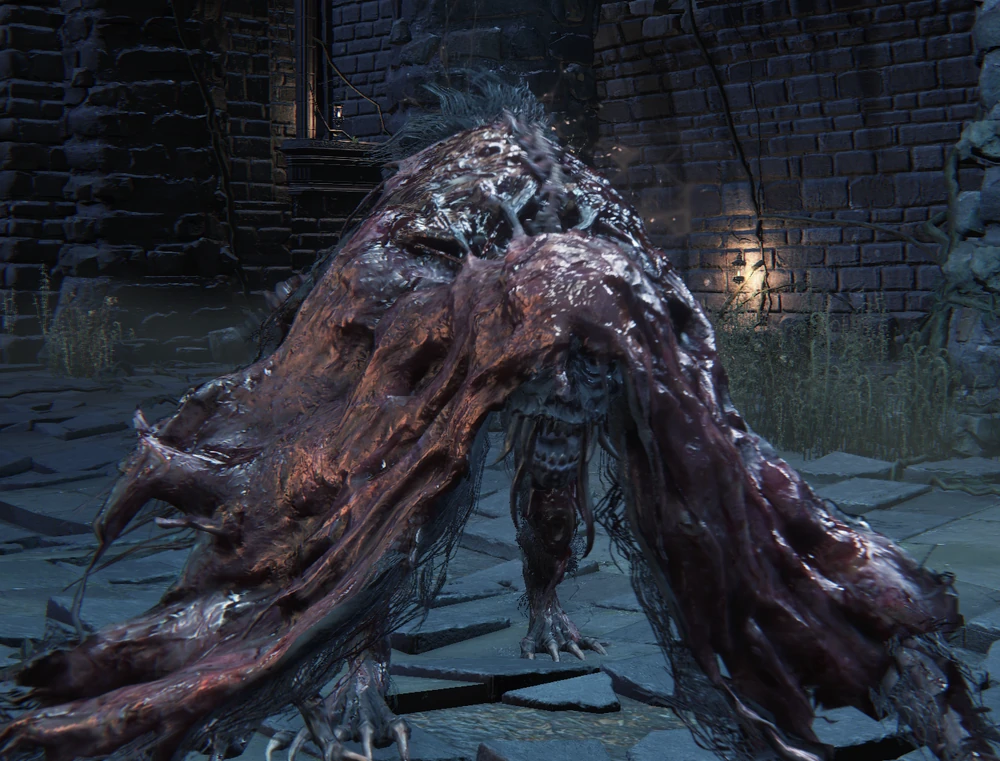
↪ Chalice Dungeon Bosses
These are the bosses you’ll encounter in the Chalice Dungeon bases on a general playthrough, so the order might vary based on the specific Chalice Dungeons a player chooses to explore:
- Abhorrent Beast: A ferocious and aggressive creature, with swift, electrical attacks that challenge players’ dodging skills.
- Amygdala: A grotesque, multi-limbed Great One boss, known for its arcane attacks and ability to grab players from a distance.
- Beast-Possessed Soul: A feral, fire-wielding beast that combines animalistic aggression with pyromancy.
- Blood Starved Beast: A gaunt, poison-inflicting creature, known for its erratic and fast-paced movements.
- Bloodletting Beast: A towering, powerful enemy, delivering devastating physical blows with immense strength.
- Headed Bloodletting Beast: A variant of the Bloodletting Beast, distinguished by the parasitic creature emerging from its head, adding complexity to its attack patterns.
- Brainsucker: A squid-like, insight-stealing enemy, using magic and grab attacks to immobilize and drain players.
- Celestial Emissary: A seemingly weak foe that multiplies into a crowd, culminating in a larger, more powerful form.
- Ebrietas, Daughter of the Cosmos: A cosmic entity combining brutal physical strength with arcane and blood-based attacks.
- Forgotten Madman: A crazed hunter with a varied arsenal, fighting alongside a ghostly ally in a chaotic battle.
- Keeper of the Old Lords: A pyromancer hunter, wielding fire magic and a curved sword with agility and precision.
- Loran Darkbeast: A skeletal, electric beast, attacking with high speed and devastating AOE lightning.
- Loran Silverbeast: A wolf-like creature, capable of quick movements and spitting fireballs, often accompanied by smaller enemies.
- Maneater Boar: A massive, aggressive boar, known for its charge attacks and high physical damage.
- Merciless Watcher and Chieftain: A duo of enemies, one ranged and one melee, coordinating attacks in confined spaces.
- Pthumerian Descendant: A fast-moving, scythe-wielding undead, adept at throwing its weapon for ranged attacks.
- Pthumerian Elder: A versatile caster, using a variety of elemental magic to attack from a distance.
- Rom, the Vacuous Spider: A Great One boss, summoning hordes of smaller spiders and using arcane meteors to attack from afar.
- Undead Giant: A massive, hulking enemy with devastating reach and powerful attacks, requiring careful timing to defeat.
- Watchdog of the Old Lords: A fiery canine guardian, unleashing flames and charge attacks, demanding precise evasion.
- Yharnam, Pthumerian Queen: A regal, blood-manipulating boss, using illusions and blood attacks in a multi-phase fight.
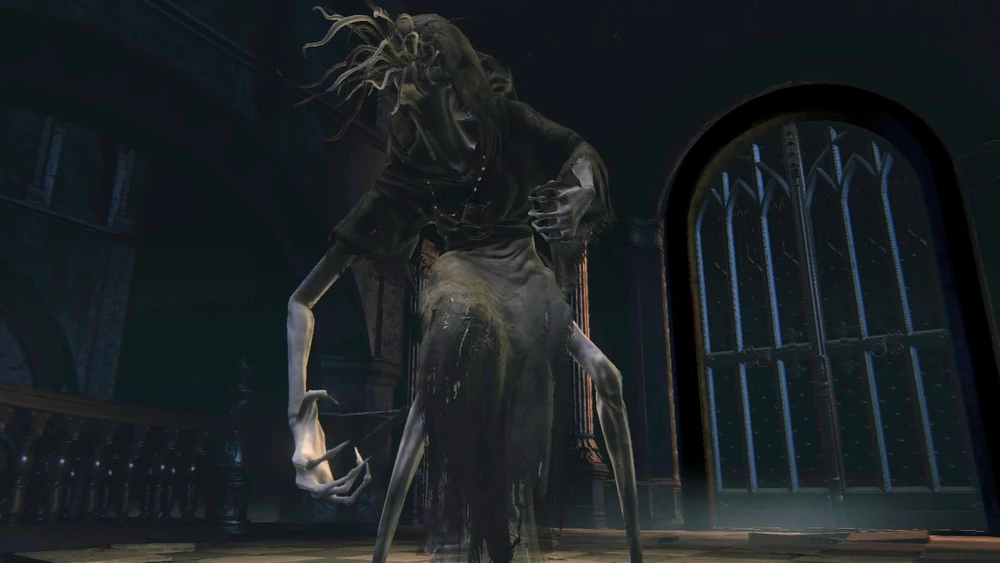
↪ DLC Bosses
Following are the bosses you’ll face in “The Old Hunters” DLC for Bloodborne, also in order:
- Ludwig, The Holy Blade: Found in the Hunter’s Nightmare, he is typically the first boss encountered in the DLC.
- Living Failures: Encountered in the Research Hall, which is the area players progress to after defeating Ludwig.
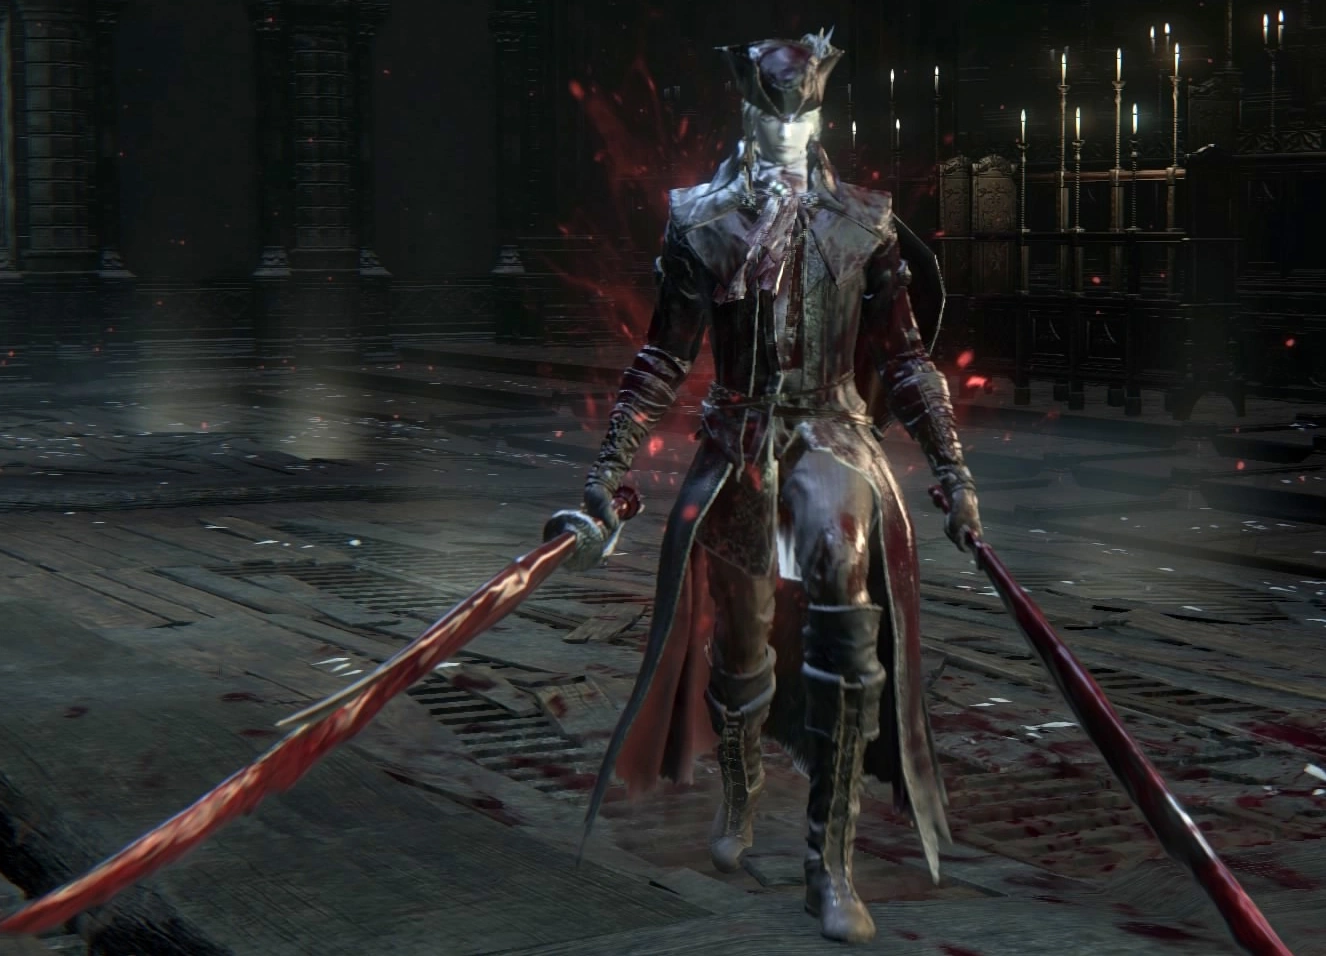
- Lady Maria of the Astral Clocktower: She is fought in the Astral Clocktower, immediately after the Living Failures.
- Laurence, The First Vicar: Although the item to access Laurence (the Eye Pendant) can be obtained after defeating Ludwig, players often face him later due to the high difficulty. He is located in the Hunter’s Nightmare, in the cathedral.
- Orphan of Kos: The final boss of the DLC, encountered at the end of the Fishing Hamlet.
Tips and Tricks
Bloodborne bosses are no joke. They require proper planning and strategy and, no shame in admitting it, trial-and-error. Here are some tips and tricks how to easily defeat bosses in Bloodborne:
- Always assume that you’re underpowered: If you just got thrashed, that’s fine. Pick out a spot where you can easily kill enemies and farm them for experience points and return when you’re confident that you’re strong enough.
- Watch YouTube guides: YouTube guides can work wonders. They allow you to witness a boss battle first-hand without all the pressure. Most expert players on YouTube give pointers about which moves to exploit and help you understand attack patterns. Search the boss’ name on YouTube with the keyword “cheese” to get the best videos e.g. “Gehrman cheese bloodborne”.
- Practice yourself: Practice makes perfect. Don’t try to get the boss on your 1st try; it rarely happens in Souls games. Instead, die to the boss at least a few times with the intent of analyzing their moves and openings.
READ MORE: Here Are The 8 Uncharted Games Released in Chronological Order ➜
Facing the Music
The sense of accomplishment you feel after beating a Bloodborne boss is unmatched. Certainly, anyone would feel that way after dying nearly 50 times to the same person (guilty as charged!). Bloodborne is widely regarded as the best Souls game in terms of narrative, boss design and aesthetic. We hope Sony allows FromSoftware to port it to PC so that more people can enjoy this masterpiece.
FAQs
There are a total of 43 bosses in Bloodborne; 9 Mainline Bosses, 8 Side-Bosses, 21 Chalice Dungeon Bosses and 5 DLC Bosses.
Only 9 bosses are necessary for the story to progress in Bloodborne. Depending on the ending you choose, this number can come down to 8 or 7.
The Orphan of Kos in The Old Hunters DLC is the hardest boss fight in all of Bloodborne. However, everyone has their own pick of who is the most difficult boss to beat.
 Reviewed by
