How to Block Windows Store in Windows 10 and Windows Server 2019
The Microsoft Store can let people install apps without permission, which is a problem for schools and businesses. Blocking the Store doesn’t show a special error, but it stops people from installing new apps and hides the Store from the Start menu and search. Most places block it to stop users from getting around software rules, and sometimes to help computers run better.

1. Block Windows Store using Local Group Policy in Windows 10
If you want to disable the Windows Store on a Windows machine that’s not joined to a domain (for example, a standalone computer or one part of a Workgroup), you will need to do this via the Local Group Policy Editor. The following steps apply to Windows 10, but can also be used on Windows 8 and Windows 8.1. If you have multiple computers in a Workgroup, you’ll need to repeat this process on each computer.
- Right-click the Start Menu and click Run.
- Type gpedit.msc and press Enter.
- In the Local Group Policy Editor, navigate to Computer Configuration > Administrative Templates > Windows Components > Store.
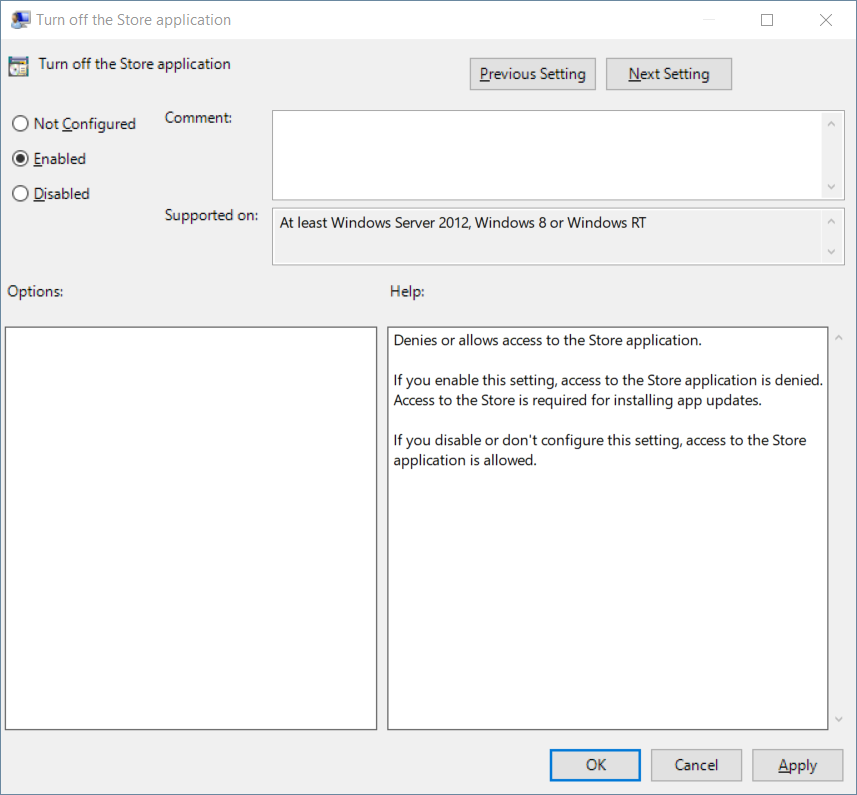
- Right-click on Turn off the Store application and choose Edit.
- Select Enabled, then click Apply and OK. Enabling this policy denies access to the Store app. If this policy is left disabled or not configured, the Store will remain accessible.
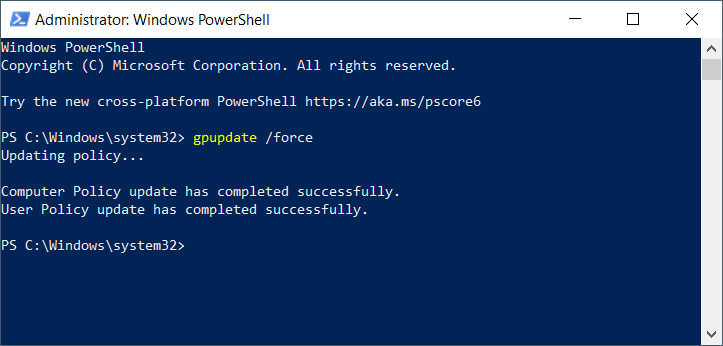
- Right-click the Start menu again and select Windows PowerShell (Admin). If you see Command Prompt (Admin) instead, you may use that as well.
- Type gpupdate /force and press Enter. Running this command will apply your policy changes immediately. Alternatively, you can restart your computer to apply the changes.
2. Block Windows Store using AppLocker in Windows 10
Another way to disable the Windows Store is by using AppLocker. This also works on Windows 8 and 8.1. AppLocker lets you control which apps and programs users can run. If you have multiple devices in a Workgroup, you’ll need to follow these steps on each computer.
- Click the Start menu and type secpol to open the Local Security Policy window.
- Right-click on secpol and select Run as administrator.
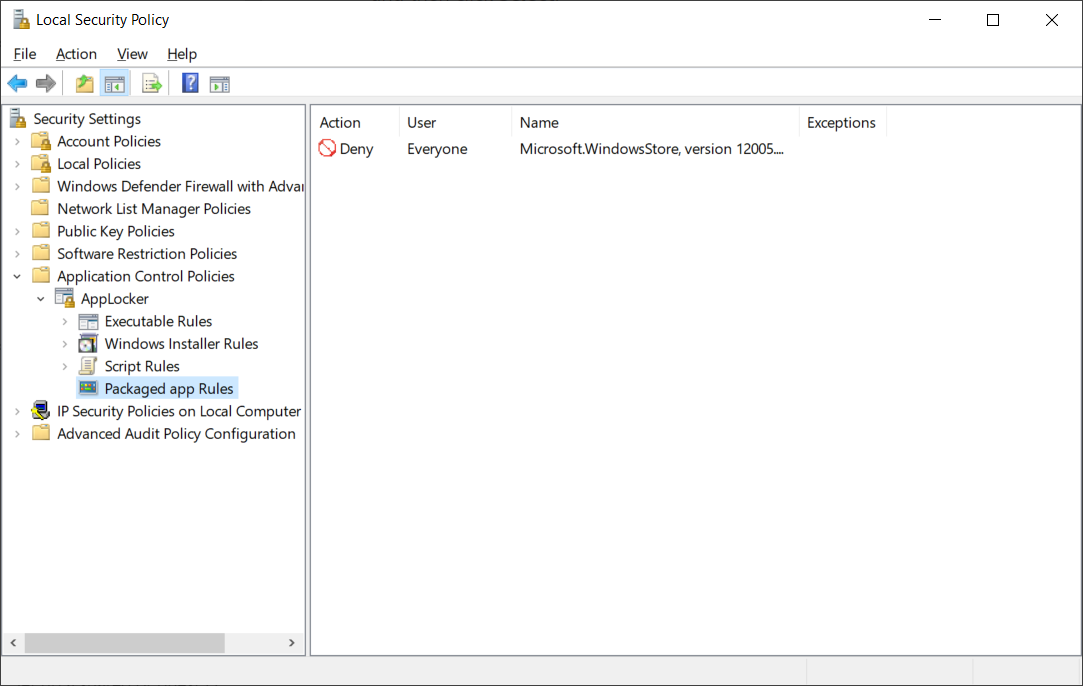
- Go to Application Control Policies > AppLocker, then click on Packaged app Rules.
- Right-click on Packaged app Rules and choose Create New Rule.
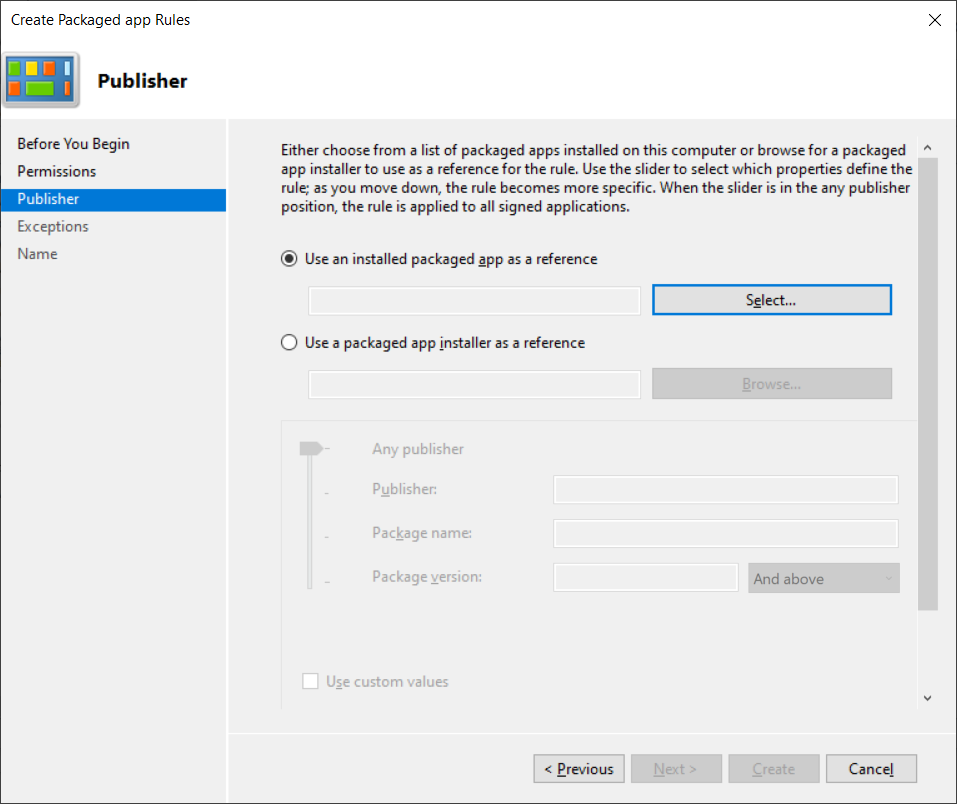
- On the Before You Begin screen, click Next.
- Under Permissions, select Action > Deny to block the Windows Store.
- Under User or group, select which users or groups should be blocked from accessing the Windows Store. Choose Everyone to block all users.
- Click Next.

- Choose Use an installed packaged app as a reference and click Select.
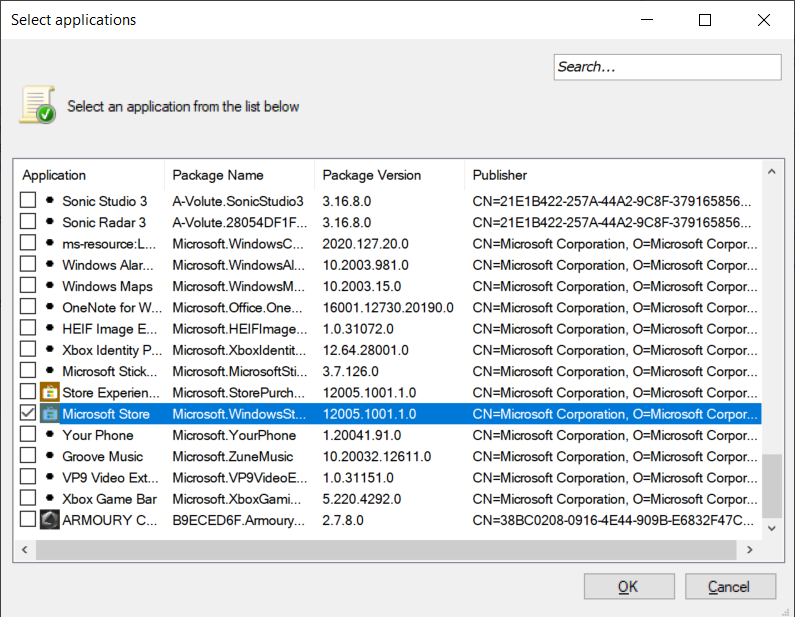
- Select Windows Store from the list, then click OK.
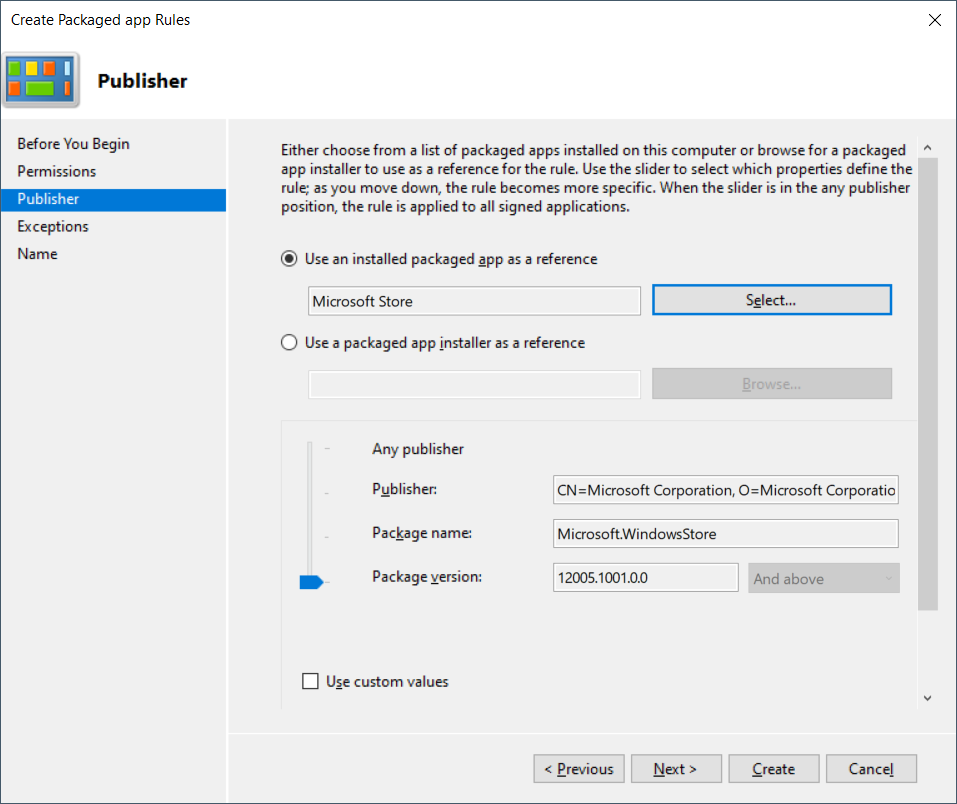
- Click Next.
- Skip the Exceptions step by clicking Next.
- Type a name and description for this rule (optional), then click Create.
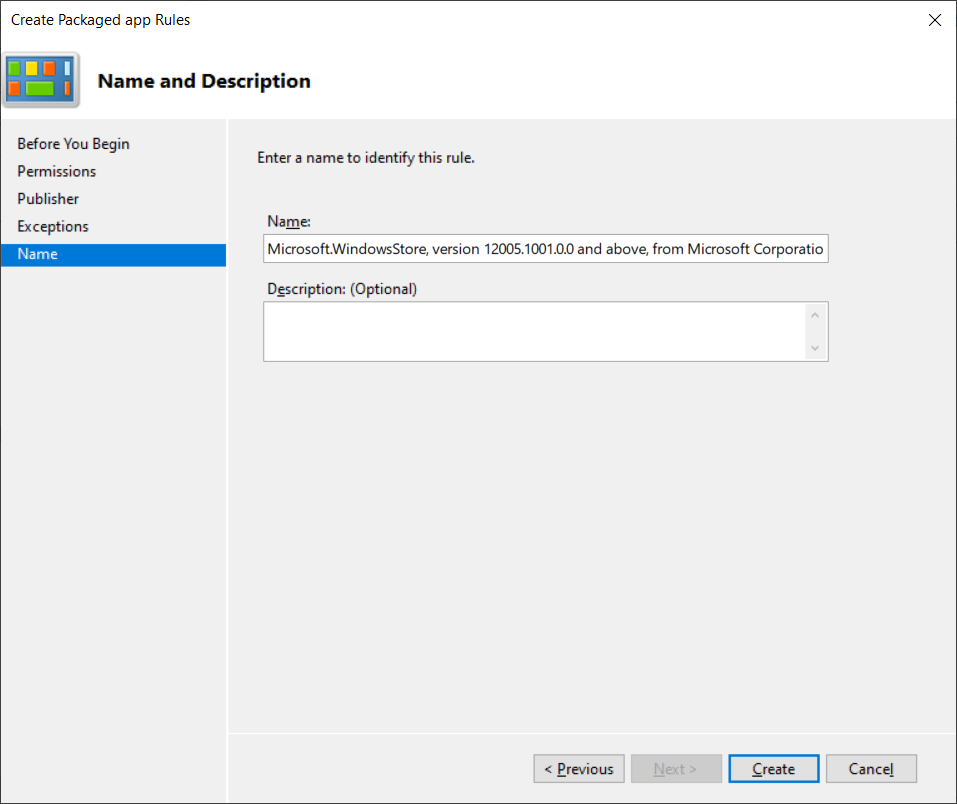
- You have now created a policy that blocks the Windows Store.
3. Block Windows Store using Group Policy Management in Windows Server 2019
The easiest way to manage or disable the Windows Store (or other applications) across many computers in a company network is by using Group Policy Management within a domain environment. This method requires that all Windows 10 devices are part of the same domain. When you set up a group policy on your Domain Controller, you can deploy it across many computers with just a few steps. We’ll demonstrate how to do this on Windows Server 2019; however, the steps are similar on Windows Server 2012, 2012 R2, and 2016.
- Open Server Manager.
- Click on Tools and then select Group Policy Management.
- Expand your forest to view domains.
- Right-click on your domain and select New Organizational Unit (OU). If you already have an OU for your Windows machines, you can use it instead.
- Enter a name for your new Organizational Unit and click OK.
- Right-click your OU, then click Create a GPO in this domain, and Link it here.
- Enter a name for your new Group Policy Object and click OK.
- Right-click on your policy and select Edit.
- Navigate to User Configuration > Administrative Templates > Windows Components > Store.
- Right-click Turn off the Store application and select Edit.
- Select Enabled, then click Apply and OK. This will block access to the Windows Store on all targeted machines.
- On a client computer, right-click the Start menu and choose Windows PowerShell (Admin).
- Type gpupdate /force and press Enter. This command forces the computer to update its group policies immediately. The group policy will take effect after the next reboot.
4. Block Windows Store using the Registry Editor in Windows 10
Another method to disable the Windows Store on Windows 10 is by using the Registry Editor. This is the only available option for Windows Home edition users, as the Local Group Policy Editor is not present in that edition. If you have already configured the setting using Group Policy, the Registry Editor will automatically reflect those changes. Please be cautious when editing the Windows Registry—a mistake here can affect the performance or stability of your operating system. Always make a backup before making changes to the Registry.
Follow these steps to safely disable the Windows Store using the Registry Editor:
- Hold the Windows key and press R to open the Run dialog box. Type “regedit” and press Enter. If prompted by UAC (User Account Control), click Yes.
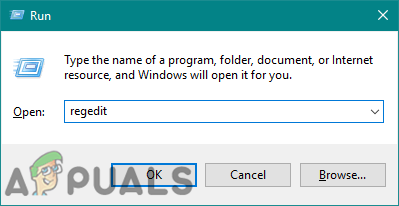
Opening the Registry Editor - In the Registry Editor, navigate to the following path:
HKEY_LOCAL_MACHINE\SOFTWARE\Policies\Microsoft\WindowsStore
- If the WindowsStore key does not exist, create it. Right-click the Microsoft key, select New > Key, and name it “WindowsStore“. Then select the newly created key.
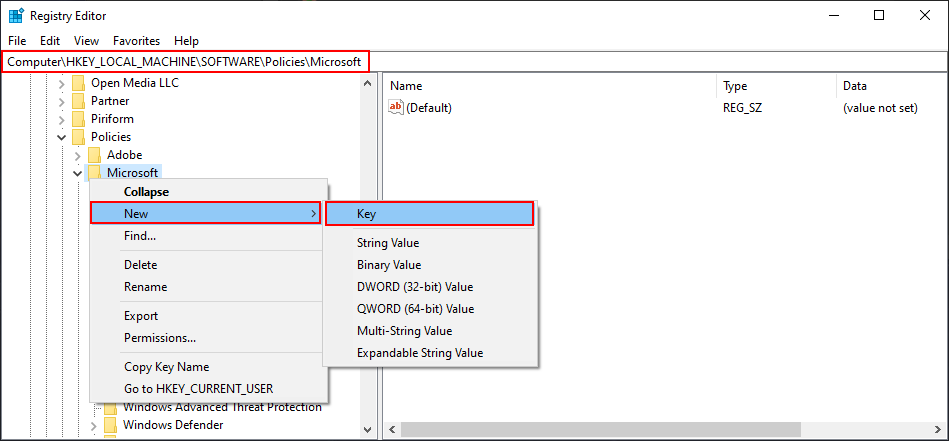
Creating a new key - In the WindowsStore key, right-click on the right pane and select New > DWORD (32-bit) Value. Name this value “RemoveWindowsStore“.
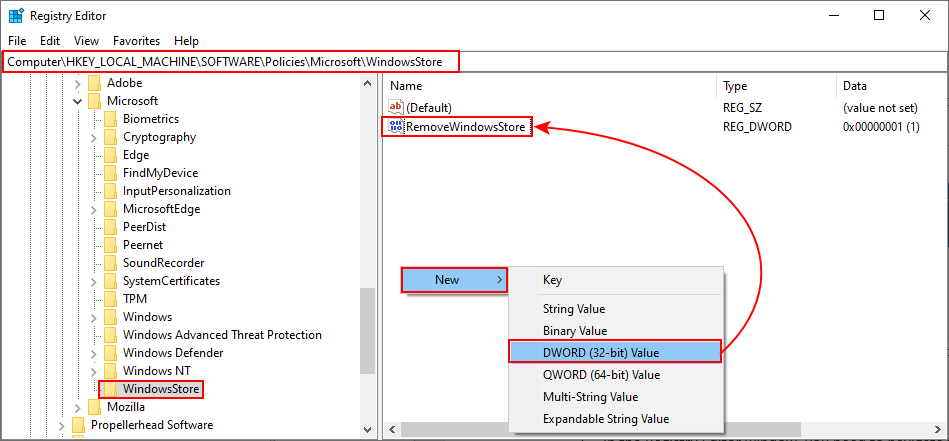
Creating a new value - Double-click the RemoveWindowsStore value and set the Value data to 1.
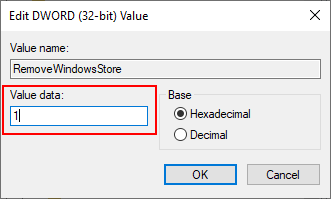
Enabling the value - Restart your computer to apply the changes. This will disable the Windows Store on your system.
- To re-enable the Windows Store, either change the Value data back to 0 or remove the RemoveWindowsStore value from the Registry.