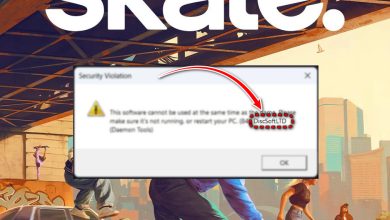
Fix: BLCMM Hexedit Executable Error
When you try to use BLCMM to edit Borderlands 2, you might see an error where it can’t change the game files, even if you put in the right file locations. This happens because BLCMM can’t find or change the HexMultitool.exe or the Borderlands 2 game file it needs to turn on mods.
This usually happens if you’re not running BLCMM as an administrator, if the file path to the game’s .exe is wrong, if your antivirus is blocking the tool, or if Borderlands 2 is not installed correctly.
1. Use the Borderlands Hex Multitool
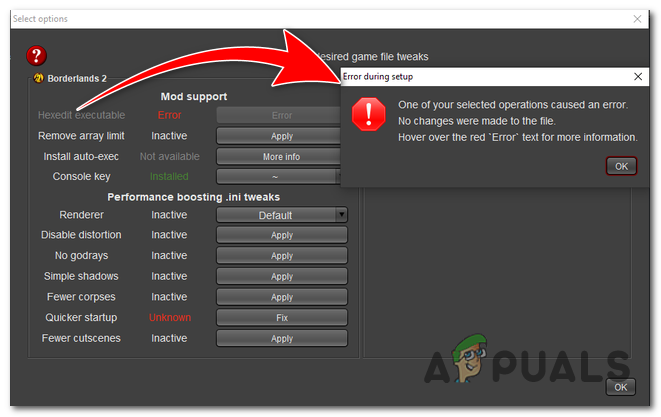
The Borderlands Hex Multitool can fix the “BLCMM Hexedit Executable Error” by automating the hex editing process. This error shows up when BLCMM hasn’t been properly hex edited, or recent game patches have caused issues with automatic hex editing.
The Borderlands Hex Multitool is designed to analyze and change the game’s code using hexadecimal values. This tool takes care of the technical parts for you, so BLCMM can work smoothly with Borderlands 2 and any mods you want to use.
1.1. Install and use Hex Multitool
- Visit the official website to download the BLCMM tool.
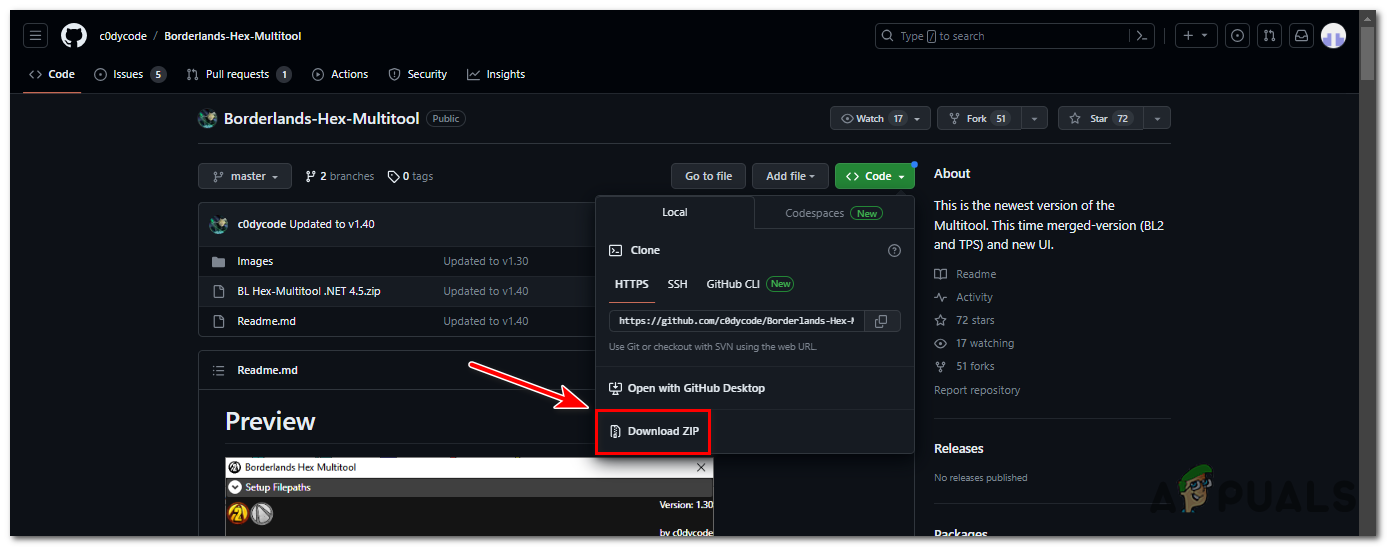
Visit the official website download the BLCMM tool - Once downloaded, extract the contents of the ZIP file wherever you like.
- Open the extracted folder and look for the “Borderlands Hex Multitool” file.
- Double-click on “Borderlands Hex Multitool” to start the program.
- Inside the BLCMM interface, click on “Select Path”.
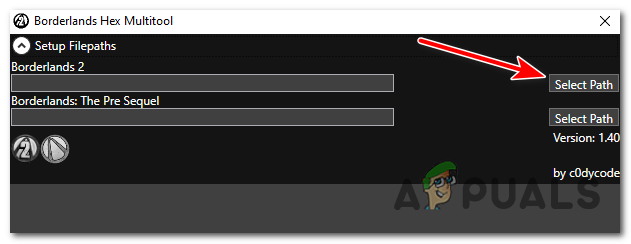
In the BLCMM interface, click on “Select Path”. - Browse to where Borderlands 2 is installed on your computer and select the “Borderlands2.exe” file.
- Once you’ve loaded the file, go to the “Hexedit Patcher” tab in the BLCMM interface.
- Find the “Disable Executable Check” option and make sure it’s checked.
- Click on the “Save” button to apply the changes.
- Close the BLCMM tool if you’re done.
1.2. Verify Game Files
To check and repair Borderlands 2 game files on Steam, follow these steps:
- Open Steam on your computer.
- Go to your game library by clicking the “Library” tab at the top of Steam.

Go to your game library by clicking on the “Library” tab at the top of the Steam window. - Find “Borderlands 2” in your game list.
- Right-click on “Borderlands 2” to open the options menu.
- From the options, choose “Properties” at the bottom.
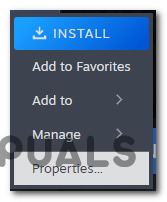
select “Properties” at the bottom of the list. - In the “Borderlands 2 – Properties” window, go to the “Installed Files” tab.
- Click the “Verify Integrity of Game Files” button.
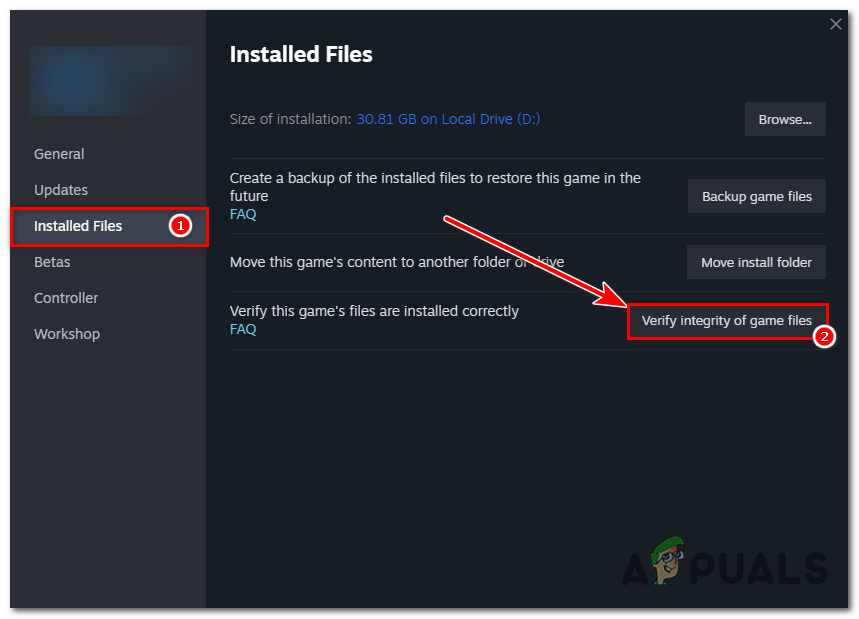
On the “Installed Files” tab, click the “Verify Integrity of Game Files” button. - Steam will check and repair any damaged or missing files automatically.
- This may take several minutes, depending on the size of your game and your storage device speed.
- Once finished, Steam will let you know if any files were fixed.
- Restart your computer, then try running BLCMM and your mods again.
2. Install Java
Java provides the environment needed for BLCMM to run smoothly. If Java is missing or not working correctly, BLCMM might not start or could give errors. You can usually fix this by installing or reinstalling the required Java Runtime Environment (JRE).
To install Java, follow these steps:
- Go to the official Java website: java.com
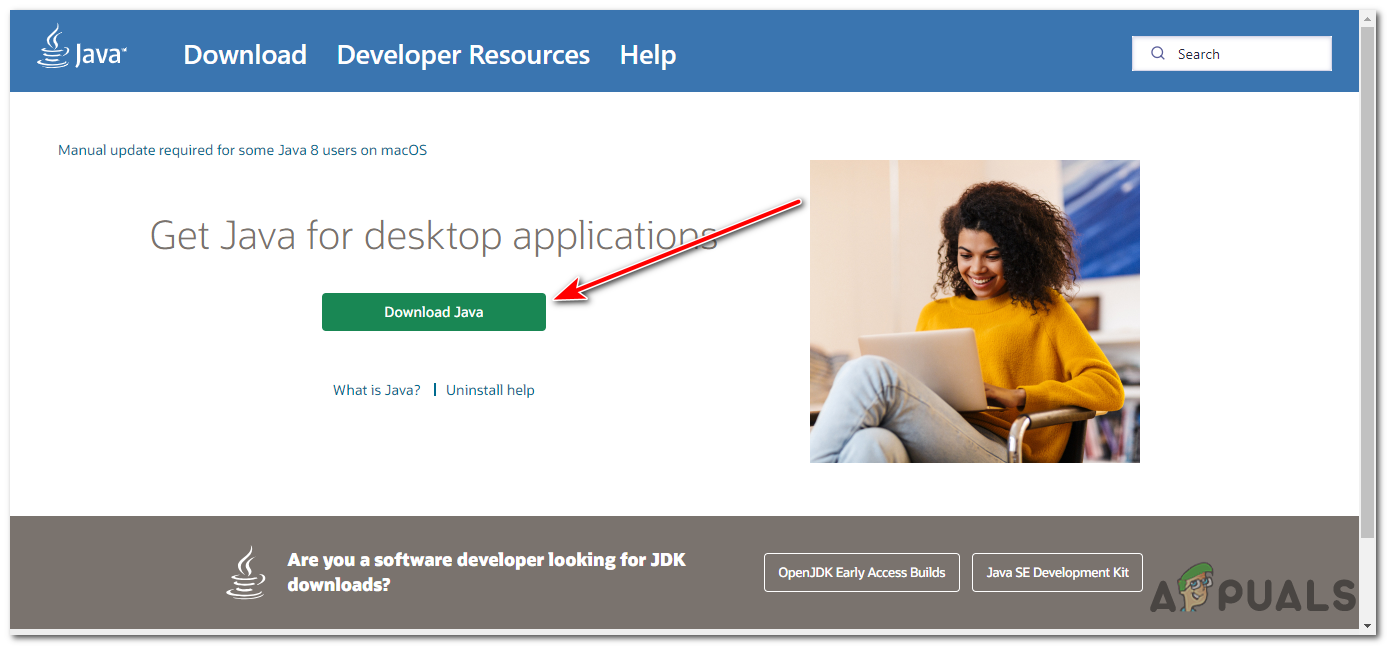
Visit the official Java website (java.com) using your web browser. - Click on the “Download Java” button.
- The website will suggest the right version for your computer automatically. Click “Download Java” again to start.
- Once the download finishes, open the file and start the installation.
- Follow the on-screen instructions. You may need to give administrator permission to continue.

ollow the on-screen instructions to complete the installation process. You will need to provide administrator privileges to install Java. - If you want, you can change where Java is installed (destination folder).
- When finished, Java will be installed on your system.
- Restart your computer so everything updates.
3. Manual Hex Editing
If the automatic methods don’t work, you can manually edit your game files. This is more advanced, but it gives you control over the fix. Follow these careful steps to avoid mistakes.
3.1. Enable the Console
First, enable the console in Borderlands 2:
- Go to this folder on your PC:
Documents/My Games/Borderlands 2/WillowGame/Config/
- Find the file called “WillowInput.ini” and open it in Notepad or another text editor.
WillowInput.ini
3.2. Locate the Configuration File
With WillowInput.ini open:
- Press CTRL + F to search for the Console Key setting.
- Set the Console Key from Undefined to “F6BLCMM”.
F6BLCMM
3.3. Modify the Hex Data
Now, using a hex editor:
- Use the hex editor’s search (CTRL + F) to find this sequence:
83 C4 0C 85 C0 75 1A 6A
- Replace it with:
83 C4 0C 85 FF 75 1A 6A
- Next, search for:
73 00 61 00 79 00
- Replace it with:
00 00 00 00 00 00
3.4. Saving and Testing the Changes
After editing, save and check your game:
- Save your changes in the hex editor.
- Close the hex editor.
- Start Borderlands 2 and see if the error is gone.
- Make sure your mods work as expected.
4. Exclude BLCMM from Windows Firewall
Adding BLCMM as an exception in Windows Firewall can help fix issues caused by the firewall blocking the tool. Sometimes, the firewall thinks BLCMM is unsafe and blocks its actions.
By excluding BLCMM, you allow it to work freely.
- Open the Windows Security app by clicking Start and choosing “Settings” (the gear icon).
- In Settings, go to “Update & Security” and select “Windows Security”.
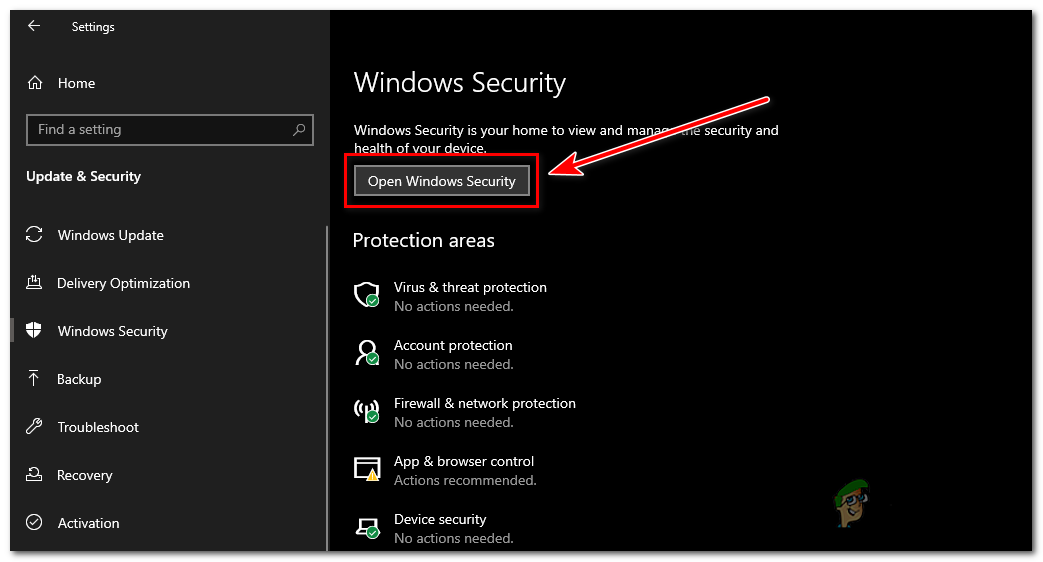
In the Settings window, click on “Update & Security” and then select “Windows Security” from the left-hand menu. - Click “Firewall & network protection”.
- Under “Public Network,” choose “Allow an app through firewall”.
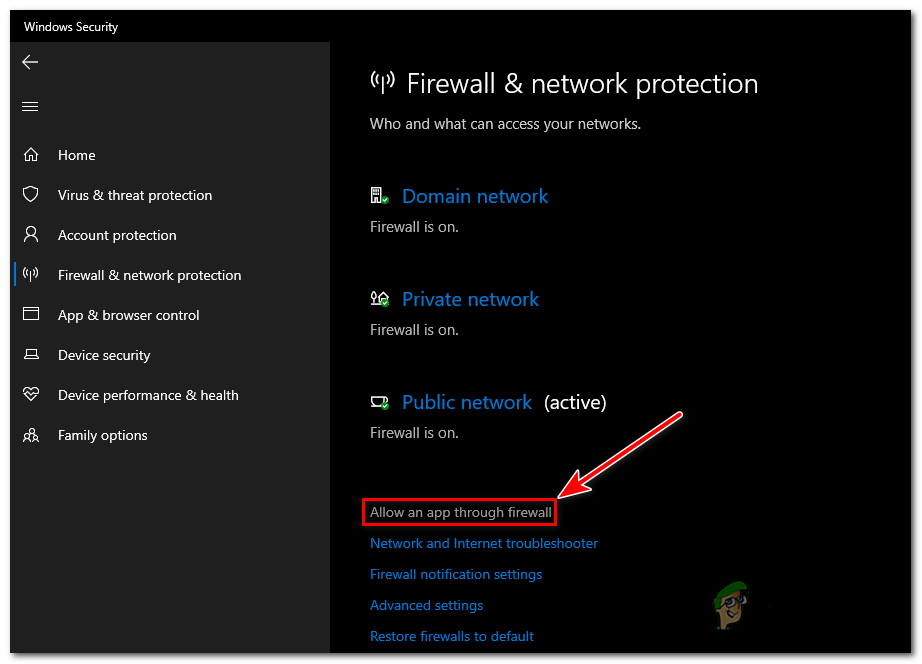
Under “Public Network,” click on “Allow an app through firewall” - Click “Change settings”. If asked, give administrator permission.
- Scroll to find “BLCMM” or the BLCMM file. If it’s not there, click “Allow another app” and find the BLCMM file yourself.
- Once found, check both “Private” and “Public” boxes to allow BLCMM on all network types.
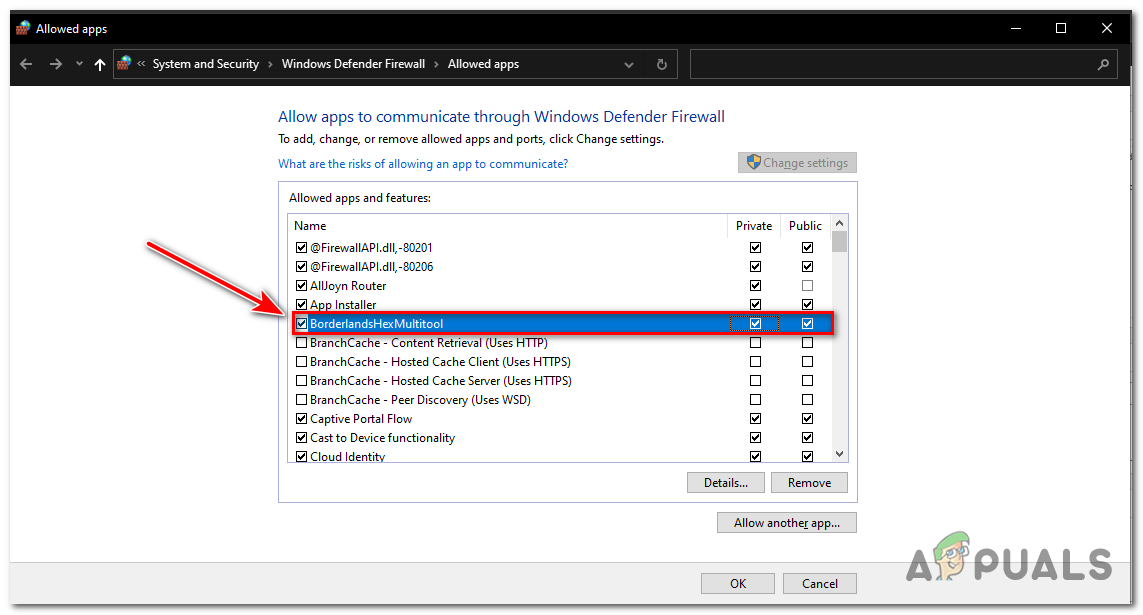
Once you’ve located BLCMM, check both the “Private” and “Public” checkboxes next to it to allow it through the firewall for both network types. - Click “OK” to save the settings.
Note: These steps are for Windows Defender Firewall. If you use a different firewall, the process will be similar but might look a little different.