How to Fix Blade and Soul Error 4049
Blade and Soul Error 4049 usually happens when you try to log in, causing the game to crash or freeze before reaching the lobby. This error means your computer lost connection to the game’s server during login. The most common reason is that antivirus or firewall programs block the game’s connection.

Other possible reasons include broken game files, old network drivers, or problems with your internet provider. Now that you know the main reasons for Error code 4049, here are the solutions that have helped other players fix this problem:
1. Close Problematic Game Processes
One common cause for Error code 4049 is when the game is closed, but some of its background processes keep running. When you try to open Blade and Soul again, the game finds these leftover processes and shows the error because it wasn’t expecting them to still be running.
To fix this, you can use Task Manager to close these processes before starting the game again:
- BnSCefSubProcess.exe
- GameMon.Des
- Client.exe
Players have reported that when they end these processes in Task Manager, Error code 4049 no longer appears.
Note: You can also just restart your computer, and then open the Blade and Soul launcher right after startup to achieve the same result.
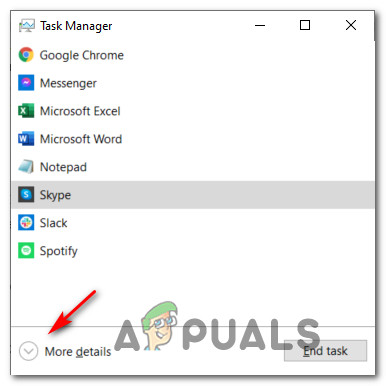
- Press Ctrl + Shift + Esc to open Task Manager. If Task Manager opens in its simple view, click More details to expand to the full interface.
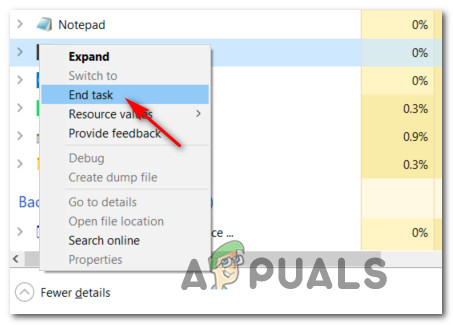
Opening the Expert menu of Task Manager - Go to the Processes tab, and find these processes:
BnSCefSubProcess.exe
GameMon.Des
Client.exe
- One by one, right-click each process and select End Task.
Ending the Task inside Task Manager - Once all related processes are closed, close Task Manager and try launching the Blade and Soul launcher again.
2. Download the Latest Version of the Launcher
Blade and Soul’s developers (NCSOFT) have made a new game launcher, and the old one is no longer supported. If you’re still using the old launcher, you will get Error code 4049.
Many players have fixed the issue by removing the old launcher and installing the latest one.
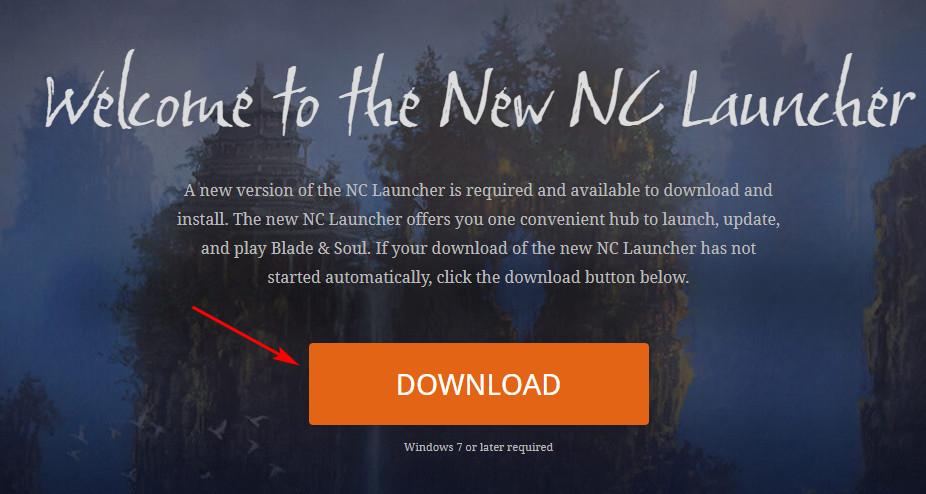
- Open your browser and go to the official Blade and Soul download page.
- Click the Download button, and wait for the latest NCLauncher installer to download.
Downloading the latest BnS launcher version - When the download is finished, double-click the installer and select Yes when User Account Control (UAC) asks you for permission.
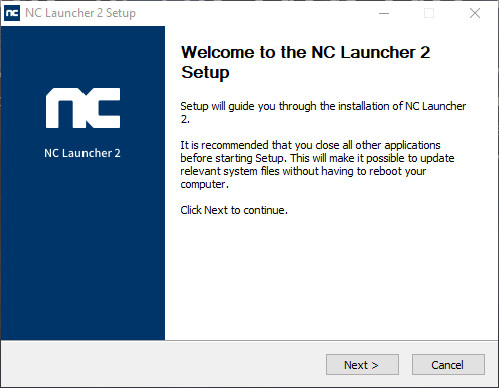
- Follow the on-screen instructions to install NC Launcher 2, and then restart your computer when the setup is done.
Installing the latest version of the launcher - When your computer starts up, launch Blade and Soul using the new launcher and see if it works.
3. Update GameGuard by Reinstalling Blade and Soul
A lot of players see Error code 4049 because there’s a problem with the GameGuard files (the game’s anti-cheat software). To fix this, it’s best to uninstall Blade and Soul, and then reinstall the latest version from the official website. This ensures you have the correct, updated GameGuard files.
Note: It’s risky to try and manually copy GameGuard files from other sources. Reinstalling the game is the safest method.
- First, make sure Blade and Soul is closed and isn’t running in the background (see Method 1 if unsure).
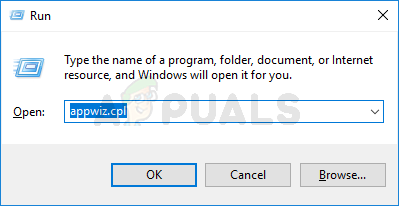
- Press Windows key + R to open the Run box, then enter appwiz.cpl and hit Enter to bring up the Programs and Features panel. If User Account Control (UAC) pops up, select Yes.
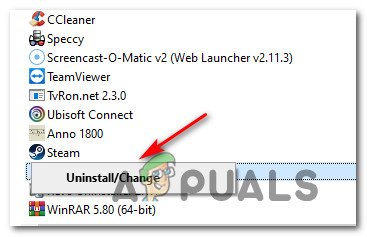
Accessing the Programs and Features menu - Find Blade and Soul in the list, right-click it, and choose Uninstall.

Uninstalling the current version of Blade and Soul - Follow any prompts to finish uninstalling, then restart your computer.
- Go to the official download page and install the latest version of Blade and Soul. This will include the newest GameGuard files. Test if the 4049 error is fixed.
4. Start the Razer Chroma SDK Service (for Razer Devices)
If you have Razer peripherals, Error 4049 can sometimes occur if the Razer Chroma SDK service is turned off. The NC Launcher may not work properly with Razer drivers unless this service is enabled.
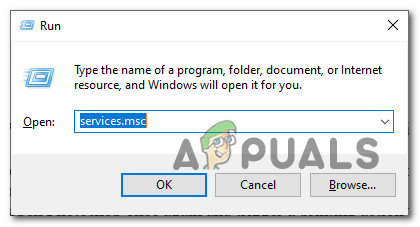
- Press Windows key + R to open the Run box, type services.msc, and press Enter.
Accessing the Services screen - In the Services window, find Razer Chroma SDK Service. Right-click it, then select Start.

Force Starting the Razer SDK Service - Now open Blade and Soul to check if the error is gone.
5. Reinstall Razer Synapse (for Razer Users)
If you use Razer devices and the previous method didn’t help, try uninstalling and reinstalling the Razer Synapse software. Some older versions of Synapse could cause conflicts, especially on Windows 10, but newer updates have addressed these problems.
- Press Windows key + R, type appwiz.cpl, and press Enter to open Programs and Features. Confirm any UAC prompts.
Opening the Programs and Features screen - Find Razer Synapse in the list, right-click it, and choose Uninstall.
Uninstalling Razer Synapse - Finish uninstalling, then restart your PC.
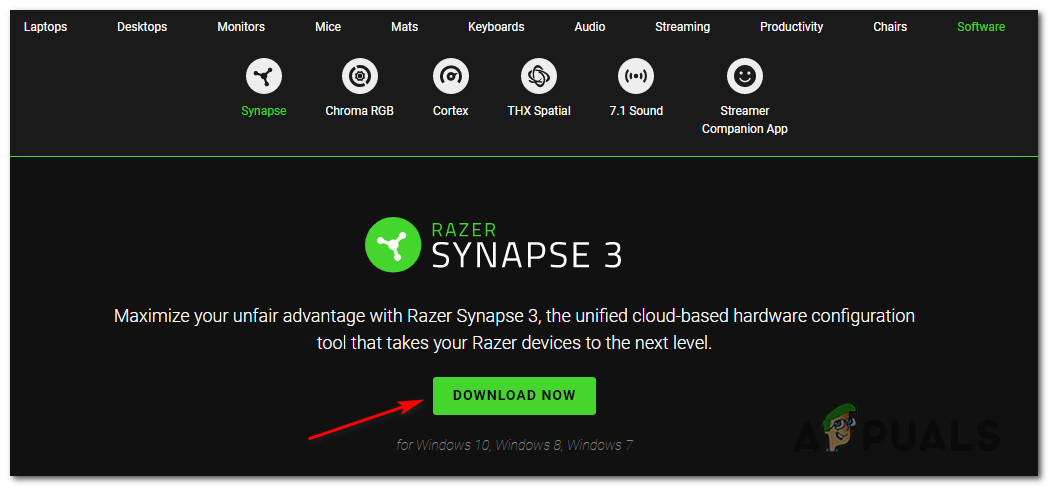
- After restarting, visit the official download page of Razer Synapse.
- Click Download Now under Razer Synapse 3 and wait for the installer to finish downloading.
Downloading the latest version of Razer Synapse - Double-click the installer and click Yes at the UAC prompt.
- Complete the installation, and avoid installing extra software unless you need it.
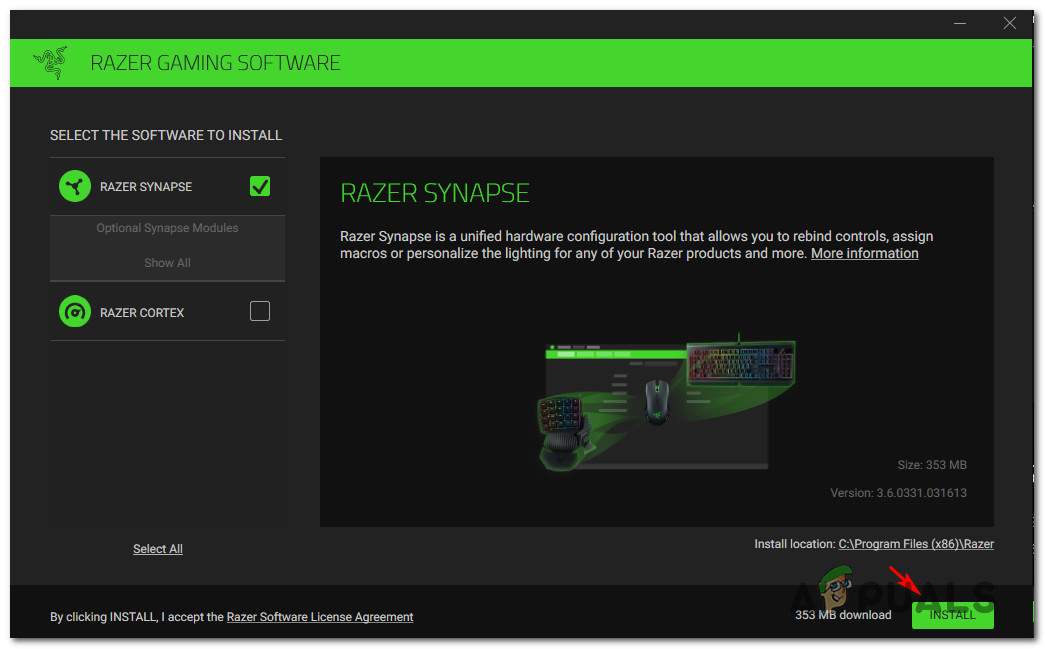
Downloading the latest version of Razer Synapse - Restart your computer and check if Blade and Soul works.
6. Update Your Graphics Card (GPU) Drivers
Sometimes Error 4049 appears because your graphics drivers are outdated or corrupted. Keeping your graphics card and physics drivers updated can solve this problem.
- Press Windows key + R, type devmgmt.msc, and press Enter to open Device Manager.

Opening Device Manager via Run prompt - Expand Display adapters. Right-click your graphics card and select Update driver.
- Note: On laptops and some PCs, you may have both an integrated and a dedicated GPU. Update both if possible.
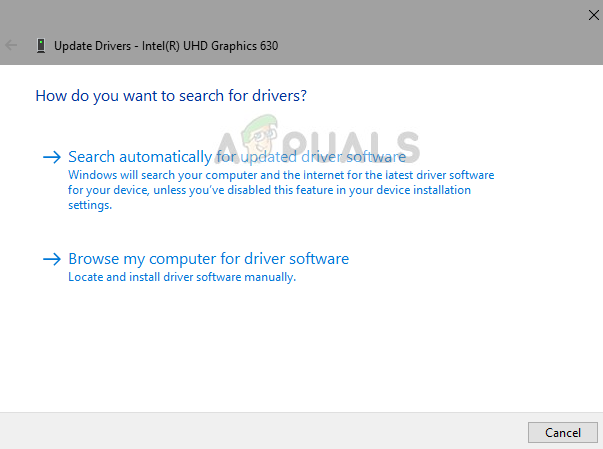
Updating the graphic drivers - Select Search automatically for updated driver software and follow any prompts to install updates.
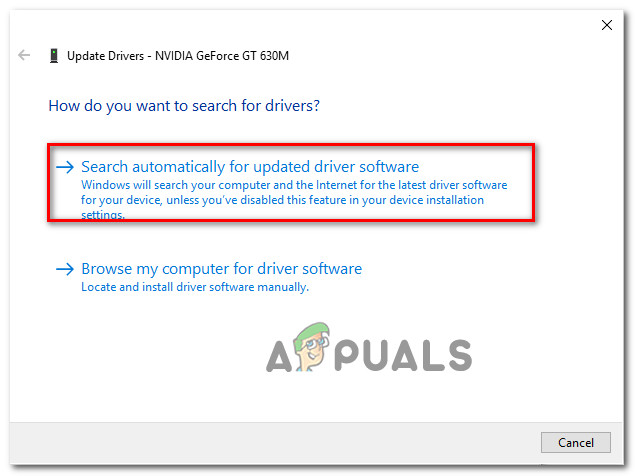
Updating the drivers automatically - Restart your PC and try launching Blade and Soul to see if the error is fixed.
Note: If you still see the error, you may need special software from your graphics card brand:GeForce Experience - Nvidia Adrenalin - AMD Intel Driver - Intel
7. Turn Off or Uninstall Third-Party Antivirus or Firewall
In some cases, the GameGuard anti-cheat engine in Blade and Soul can mistake your antivirus or firewall software for a threat, stopping the game from launching.
Important: If it’s your firewall causing the problem, disabling it might not be enough—you may need to uninstall it to fix the issue.
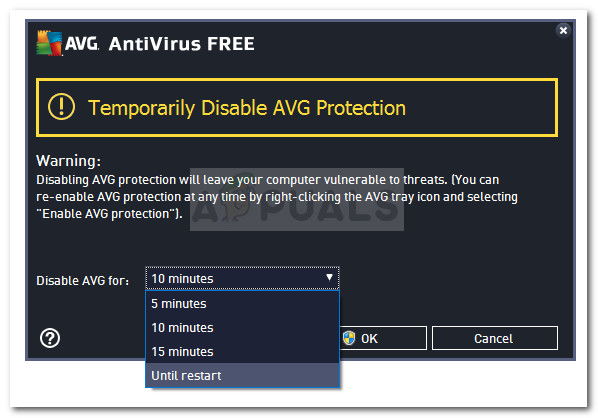
Try turning off your antivirus first (usually you can right-click its icon in the system tray and select disable):
If this doesn’t work, here’s how to uninstall your third-party antivirus/firewall:
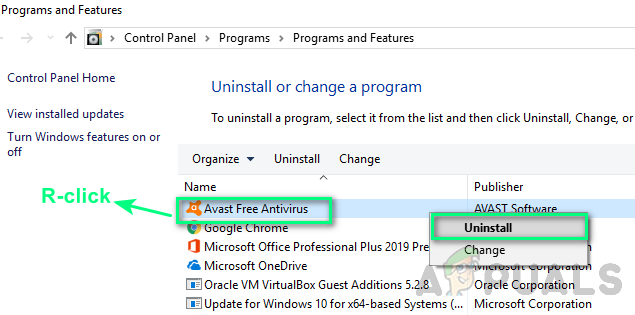
- Press Windows key + R, type appwiz.cpl, and press Enter. Accept any UAC prompts.

Opening the Programs and Features menu - Find your antivirus or firewall software in the list. Right-click it and choose Uninstall.
Uninstalling the 3rd party security tool - Follow any prompts to finish uninstalling.
- Restart your computer, then try launching Blade and Soul to see if Error 4049 still shows up.


