How to Troubleshoot and Fix Black Lines on Your Monitor?
Thin black lines show up on the screen, usually after changing the refresh rate or brightness. These lines can get worse over time. This usually means there is a problem with the screen itself, like a broken panel, a loose cable, or a bad video connection.
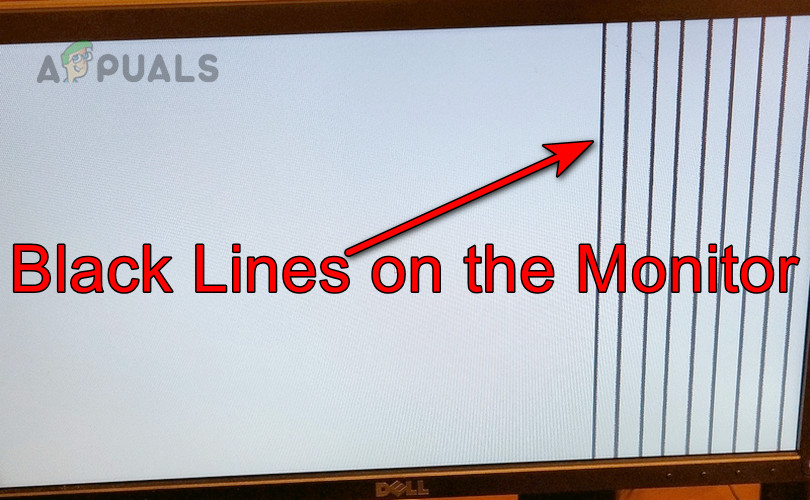
Most of the time, the cause is a damaged LCD screen or the cable inside it, but problems with the graphics card or overheating can also cause this.
Basic Troubleshooting
- Do a cold restart of both your system and monitor by fully powering them off and then turning them back on.
- Update your operating system and all drivers, especially display drivers.
- Try using a different display cable or port (for example, switch from HDMI to DisplayPort or vice versa) to see if the issue resolves.
Distinguish if the Issue Is with the Monitor or the System
Start by booting your system into BIOS. If the lines still appear, the monitor is likely at fault, and you should focus on monitor-specific troubleshooting.
If you do not see the black lines in BIOS, the issue may be with your system. In this case, continue with system-specific steps.
Another way to diagnose the issue is to connect the monitor to a different computer. You could also use a bootable USB drive with a different operating system—if the lines are gone, it’s likely your system software that’s causing problems.
Monitor-Specific Solutions
1. Use the Monitor’s Auto-Adjust Feature
A mismatch between the video signal from your computer and your monitor’s native output can cause black lines. Using your monitor’s auto-adjust feature may help.
- Open your monitor’s menu and select Auto Adjust. You may need to use physical buttons on the monitor, or a touch menu if your model has one.
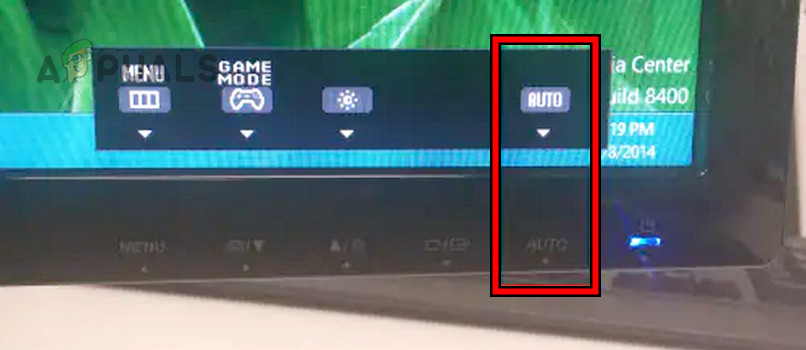
Auto Adjust Monitor’s Output - Activate this feature and see if the problem goes away. Some monitors may require you to hold the auto-adjust button down for a few seconds.
2. Check the Monitor’s Temperature
Monitors may not function properly if they’re running at extreme temperatures. Overheating or being too cold can both cause black lines to show up.
- If the environment is hot or humid, move your monitor to a cooler location, ideally in an air-conditioned room. Let the monitor reach room temperature naturally.
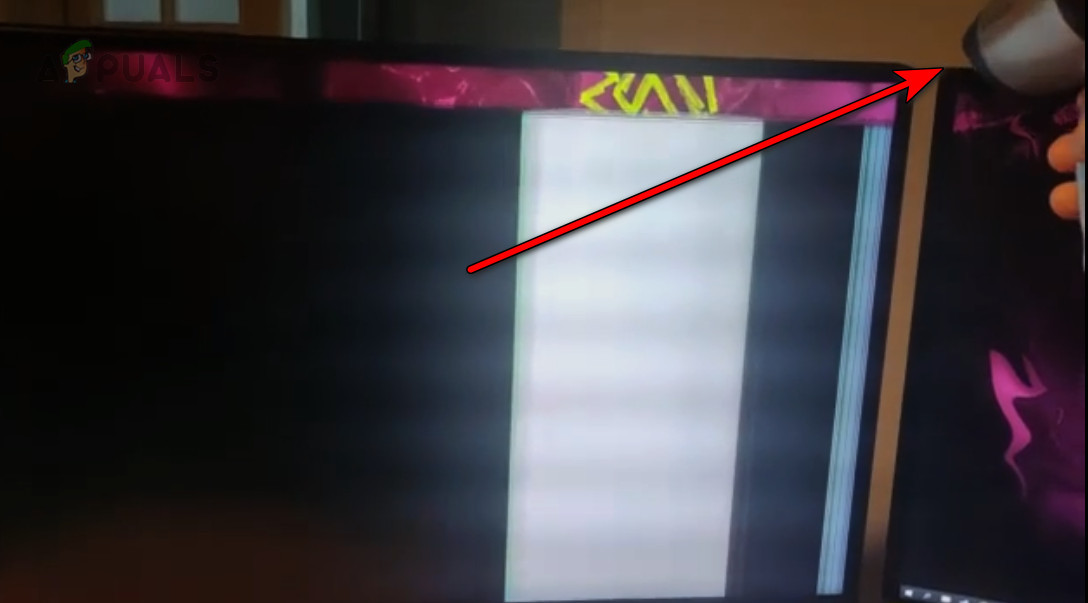
Use a Hair Dryer to Warm Up the Monitor - If the monitor is too cold, bring it into a warmer place and give it time to warm up. If needed, you may use a hair dryer on a low setting to gently warm the monitor (be careful not to overheat it).
3. Connect the Monitor to Another Power Source
Power fluctuations or poor supply can result in display problems like black lines.
- Turn off your computer and monitor completely.
- Unplug the monitor from its current outlet and connect it to a different power outlet.
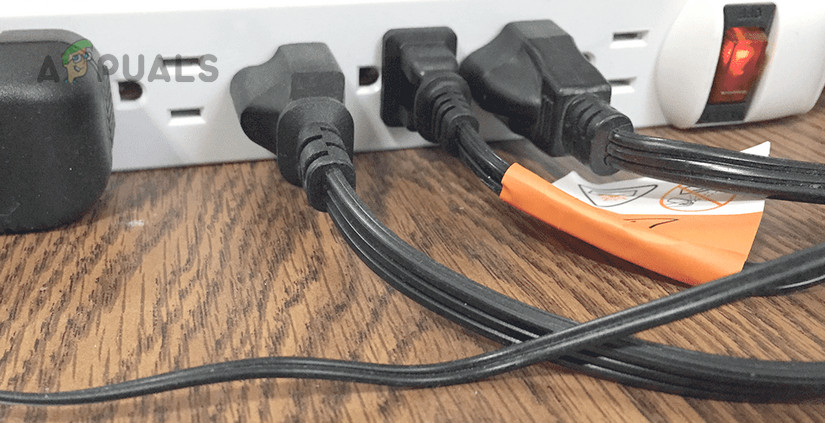
Connect the Monitor to Another Power Source - Initially, try connecting directly to the wall socket instead of using an extension cord or surge protector to see if the issue disappears.
- If black lines are still there, try a surge protector or power strip to check if it helps stabilize the power supply and fixes the problem.
4. Check for Electromagnetic Interference Around the Monitor
Nearby electronic devices such as mobile phones, Wi-Fi routers, or speakers can cause electromagnetic interference, which might result in black lines on a monitor.
- Turn off the monitor and unplug its power cord.
- Switch off nearby devices like mobile phones and routers.
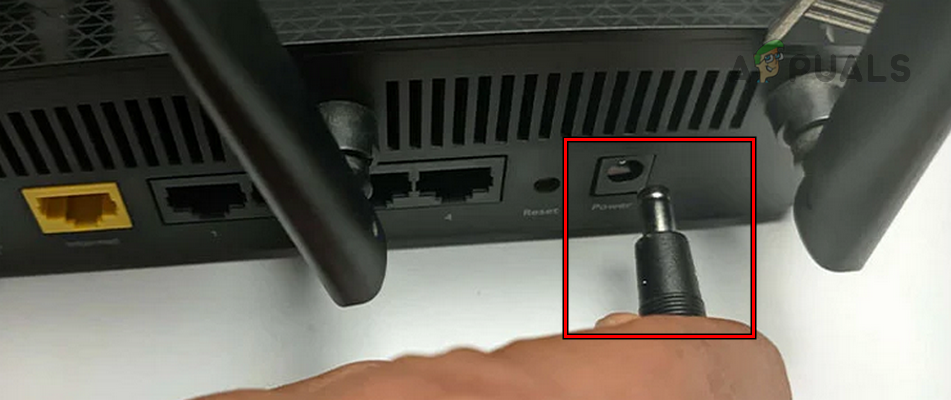
Unplug the Power Cable of the Router - Turn on Airplane Mode on your laptop or computer if possible.
- Power down or relocate any other electrical or electronic devices that are near the monitor.
- Hold the monitor’s power button for about a minute, plug the power cord back in, and turn the monitor back on. Check to see if the lines are gone.
5. Reset the Monitor
If the monitor’s firmware becomes corrupted or misconfigured, black lines can appear. Resetting the monitor to factory settings can often fix the problem.
Note: The exact method might vary depending on your monitor. Please check your user manual or the support website for your monitor model for specific instructions.
- Go to your monitor’s menu and choose the Factory Reset option.

Factory Reset the Monitor - Confirm your selection and wait for the reset to complete.
- After the reset, restart the monitor and see if the black lines have disappeared.
6. Check for a Loose Connection on the Monitor’s Motherboard
If you’ve recently moved the monitor, internal connections might become loose, leading to black lines on the screen. Inspecting and securing these connections can sometimes solve the problem.
- Turn off the monitor and unplug all cables.
- Press and hold the power button for about a minute, making sure to follow proper ESD (Electrostatic Discharge) protection.
- Lay the monitor face down on a soft, flat surface to avoid scratching it.
- Remove the screws from the back and carefully take it off.
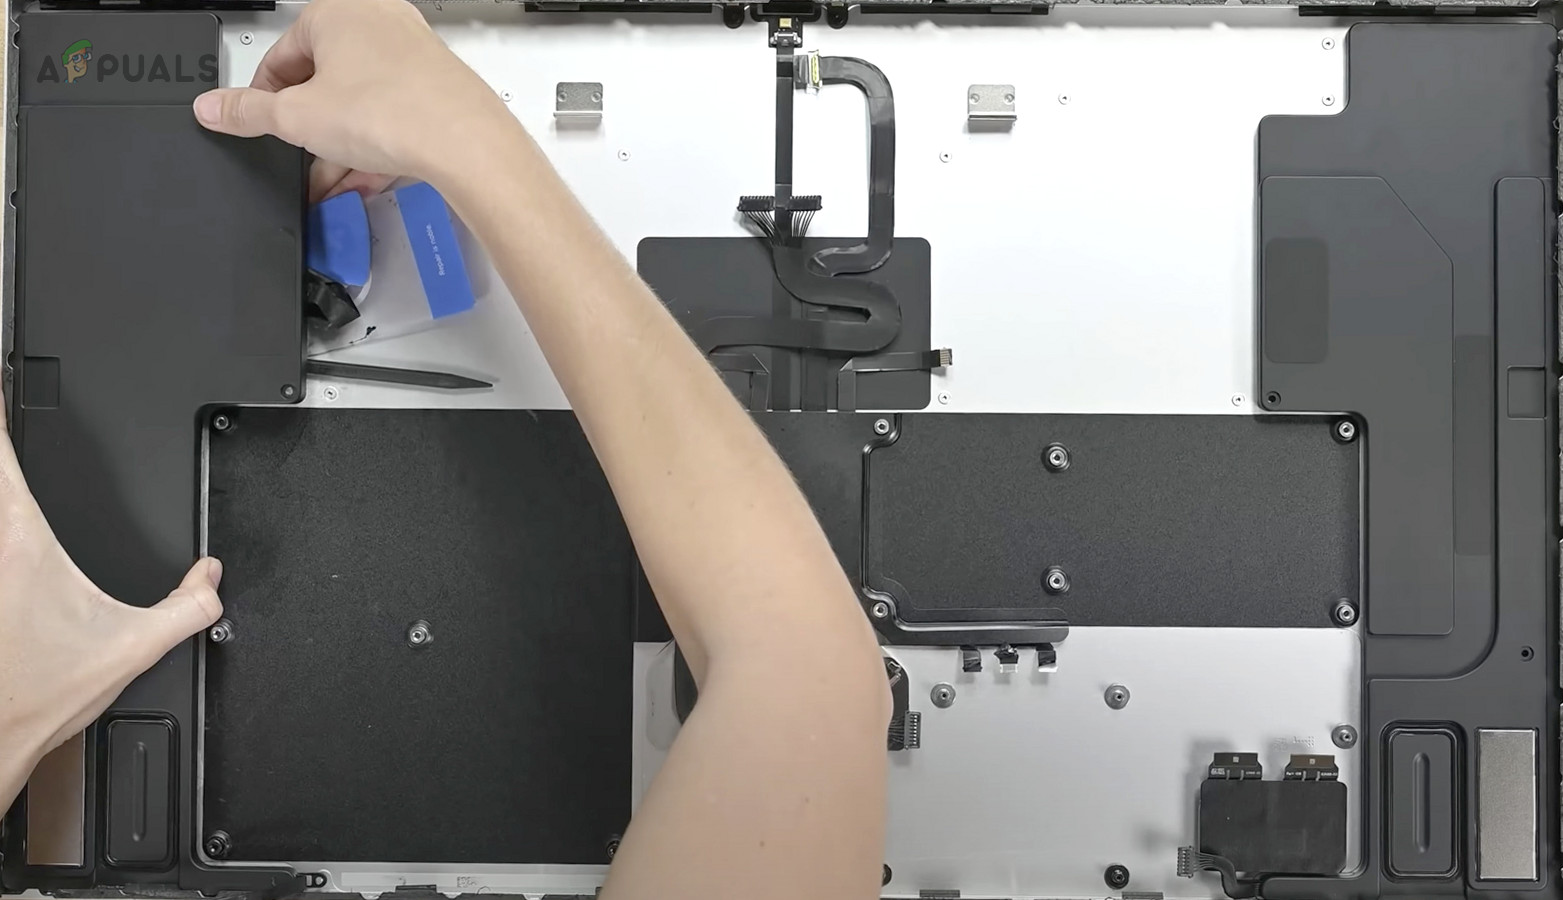
Clean and Reseat Internal Components of the Monitor - Check and gently reconnect any loose cables or connectors. Also, look for obvious damage, such as a blown capacitor.
- Carefully reassemble the monitor and tighten the screws.
- Reconnect the monitor to your system, power it on, and check if the black lines are gone.
System-Specific Solutions
1. Change the System’s Refresh Rate
Sometimes, a refresh rate that isn’t supported by the monitor will cause black lines.
- Right-click on your desktop and go to Settings > System > Display > Advanced Display.
- Reduce the Refresh Rate to its lowest value and see if the lines disappear. Try different rates to find the one that works best.
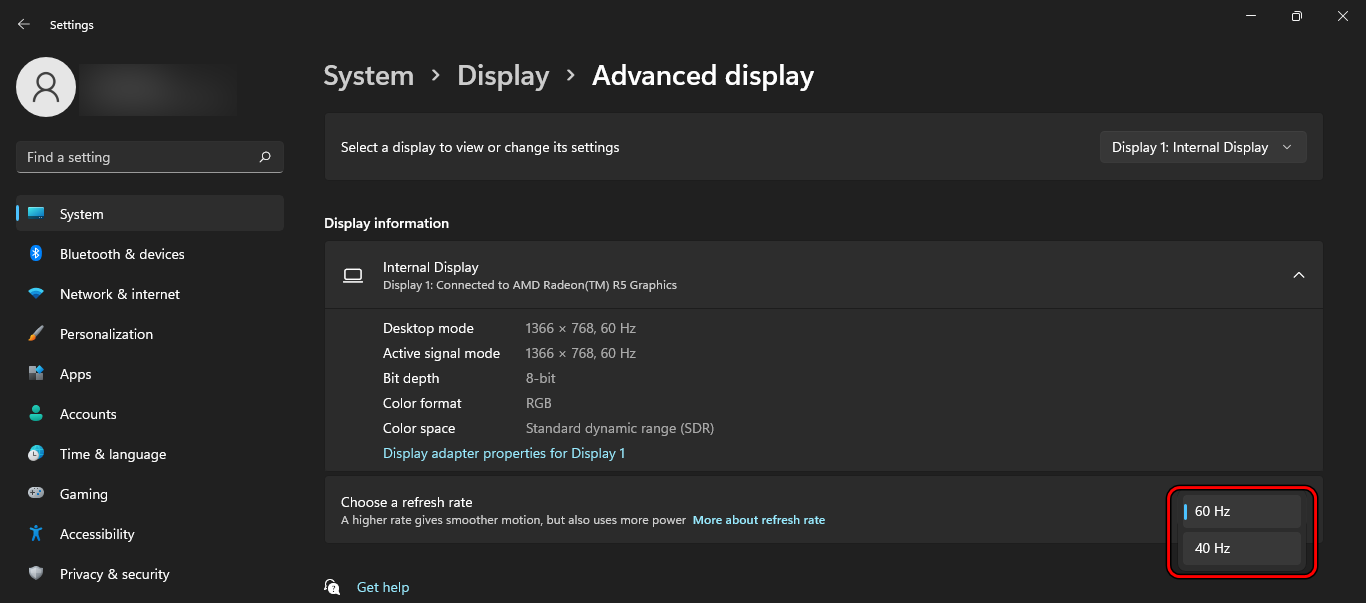
Lower the Refresh Rate of Your Display
2. Disable HDR in the System Settings (if applicable)
High Dynamic Range, or HDR, sometimes creates display issues if your monitor can’t properly support it. Turning off HDR may help.
- Go to Settings > System > Display > HDR.
- Switch off the Use HDR option and see if the lines disappear.
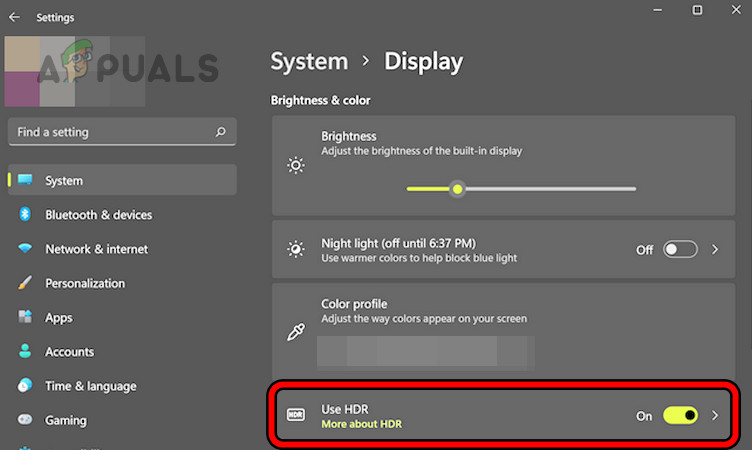
Disable HDR on Windows 11
3. Disable V-sync in the System Settings (if applicable)
When your monitor’s refresh rate is out of sync with your computer’s frame output, black lines can appear. Turning off V-Sync or similar settings might help.
- Open the Nvidia Control Panel and click on Manage 3D Settings.
- Set Vertical Sync to “off” and apply the changes.
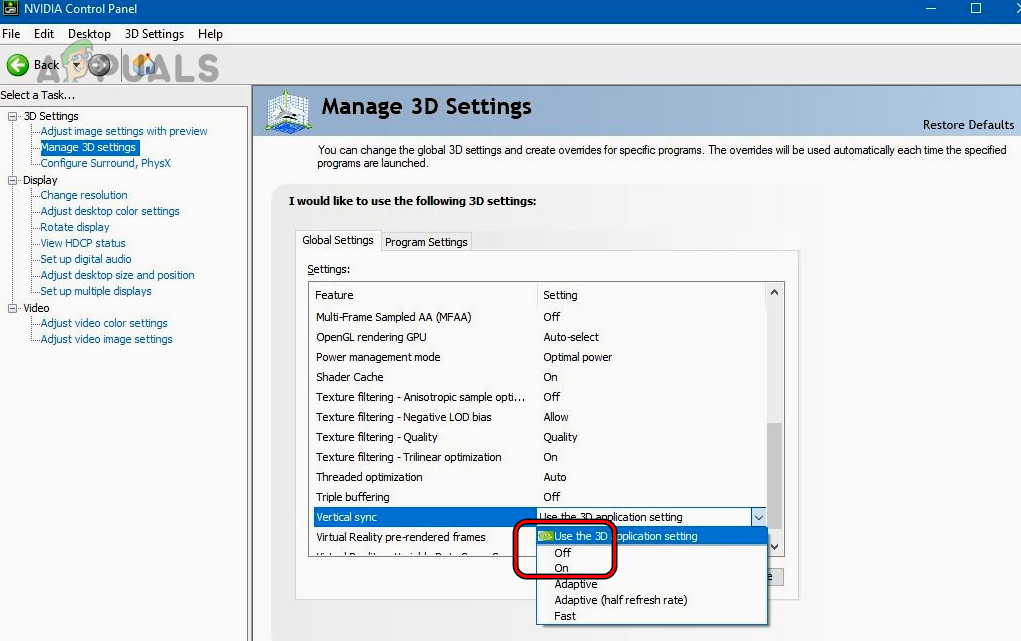
Disable V-Sync in the Nvidia Control Panel - Restart your computer and see if the black lines are gone.
4. Check for a Conflicting App on the System
Certain apps may cause conflicts with your display settings, leading to black lines. Identifying and removing or disabling such apps can remedy the issue.
- Restart your PC in safe mode to see if black lines are still present.
- If the lines are gone, clean boot your PC and check if the issue is fixed.
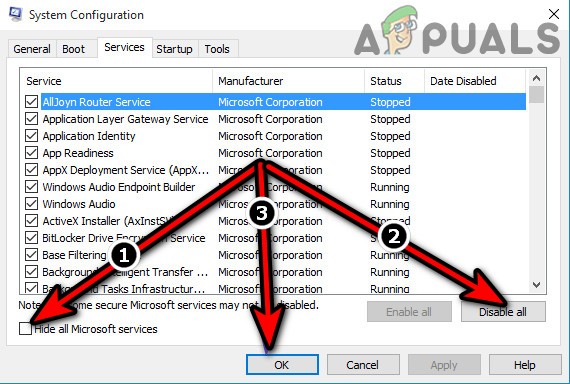
Clean Boot the Windows 10 PC - If the display is still normal, enable your services and startup items one at a time until you find the one causing the issue.
After you find which app is causing the problem, uninstall it or stop it from running at startup. For instance, if you discover that the Snip app or Snipping Tool is the cause, removing it should resolve the issue.
- Right-click on the Start button and open Apps & Features.
- Locate the Snipping Tool and click its options.
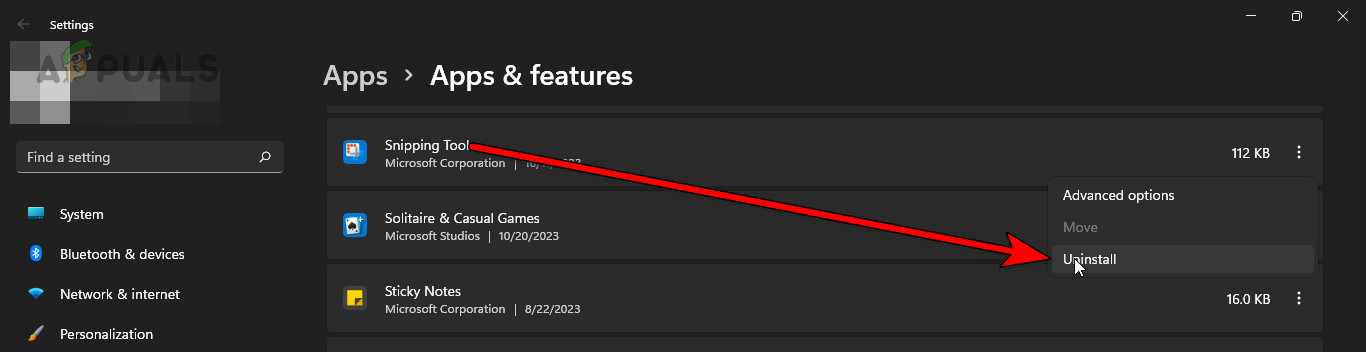
Uninstall Snipping Tool on Windows - Select Uninstall, confirm your choice, and follow the prompts.
- Restart your system and check if the issue is resolved.
5. Reinstall the System’s Graphics Driver
A corrupted or outdated graphics driver can sometimes cause black lines to appear. Reinstalling the driver can often fix this.
- Download the latest graphics driver for your hardware from the manufacturer’s official website.
- Right-click on the Start button and choose Device Manager.
- Expand the Display Adapters section, right-click on your graphics device, and select Uninstall Device.
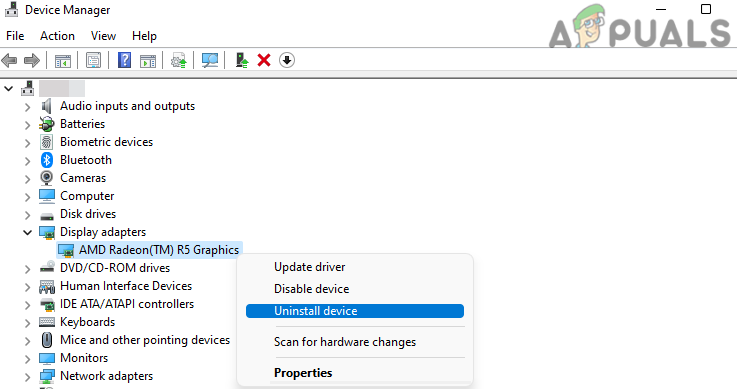
Uninstall the Graphics Driver in the Device Manager - If prompted, check the box for Delete the driver software for this device, and proceed with uninstallation.
- Restart your computer when the uninstallation is complete.
- Install the new graphics driver you previously downloaded, then restart your computer again and check if the lines have disappeared.
- If the problem remains, try using a tool like Display Driver Uninstaller (DDU) to remove all traces of the previous driver, then reinstall the latest driver.