How to Easily Sync Your Phone With Windows 10?
Now and then, you might need to sync your Android phone with a Windows PC. Thanks to advancements in technology, there are many ways to do this, but the best method will depend on your needs. For instance, some people may want to sync only specific files or photos, while others may need to sync notifications or messages.
For example, you might want a shared clipboard between your devices, or even make and receive calls from your computer using your phone. Because different users have different needs, the right approach can vary from case to case. Major companies like Google and Microsoft are constantly improving built-in features for better cross-device compatibility, so syncing is easier than ever.
Here are some of the main ways you can sync files between your Android device and a Windows PC:
- Using an OTG adapter or OTG dual USB drive
- Using a USB connection
- Using Bluetooth
- Using Wi-Fi Sync
- Using Android ADB
- Using Mobile Data/Internet
- Using dedicated apps
- Using cloud services
- Setting up a local FTP Server on your PC or phone
1. Use an OTG Adapter or USB with OTG
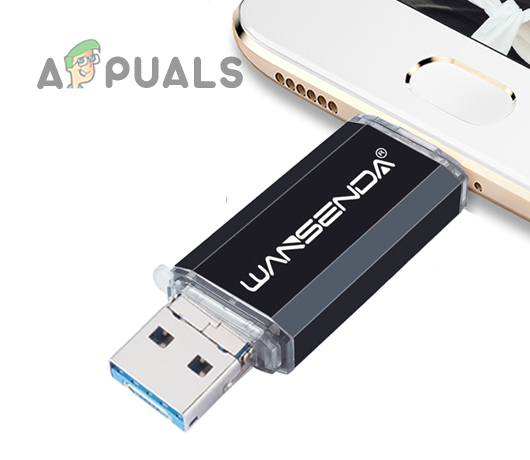
If you just need to transfer some files between your PC and Android phone, a simple way is to use an OTG adapter with a USB storage device, or a USB drive that supports OTG.
- Connect the OTG cable or adapter to your USB drive, then plug the OTG end into the Android phone. If you have a dual drive USB (with USB and micro USB/USB-C), just plug it in.
Plug the OTG USB into the Android Phone - When your phone detects the USB, open it in your File Explorer and copy the files you want onto the USB drive.
- Once finished, unmount the USB from your phone, then connect it to your Windows PC.
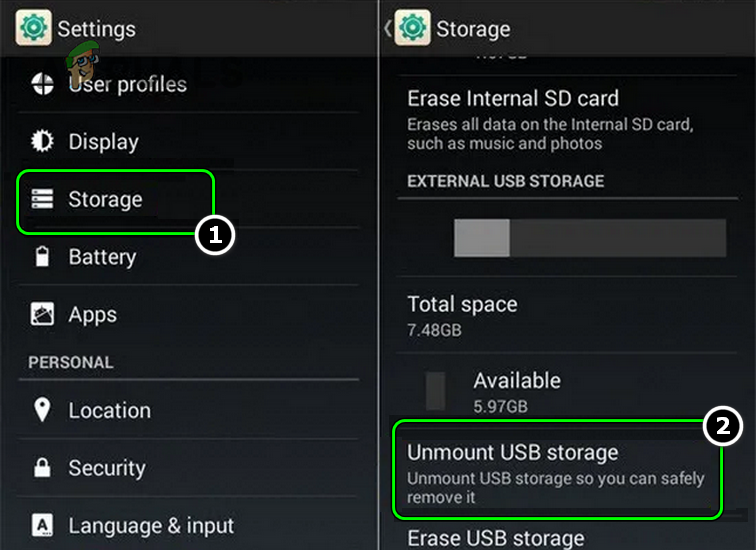
Unmount the USB Storage from the Android Phone - Transfer your data between the PC and phone as needed. You can simply copy or paste files just like with any other USB drive.
2. Use a USB connection
While OTG is useful for a quick transfer, it’s not always the safest option, especially for sensitive data, since losing the drive puts your files at risk. Instead, using a compatible USB cable to connect your Android phone directly to your Windows PC is a safer and more reliable method.
- Find a USB cable suitable for data transfer (not just charging). If both devices support USB 3.0, use a USB 3.0 cable for faster transfers.
- Connect the USB cable to your Android phone and then to your Windows PC.
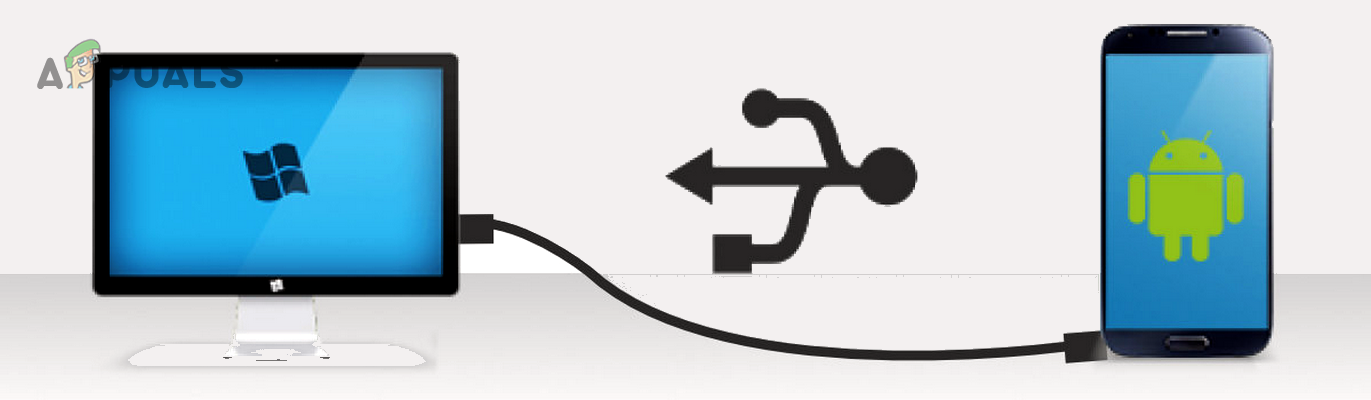
Connect the Windows PC and Android Phone Through a USB Cable - On your phone, open the Quick Settings menu and tap the USB connection mode.
- Select Transfer File (also called MTP mode) to transfer files between your devices.
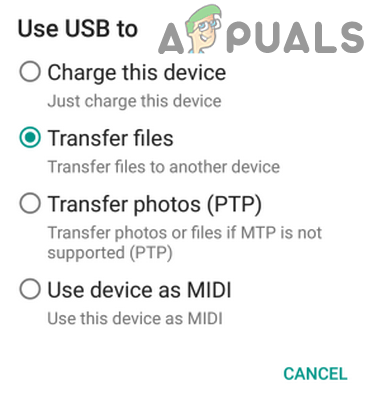
Use the Transfer Files Mode of USB
Note: Some Android phones may need drivers from the manufacturer’s website (or Google). For very old or rare Android devices, you might need to power off the device to allow full access to its memory.
3. Use the Bluetooth protocol
If your PC supports Bluetooth, or you use a Bluetooth USB dongle, transferring files wirelessly using Bluetooth is often easier than looking for a cable every time you want to transfer something small.
- Swipe up (or down) on your phone’s screen to open Quick Settings, then tap or hold the Bluetooth icon.
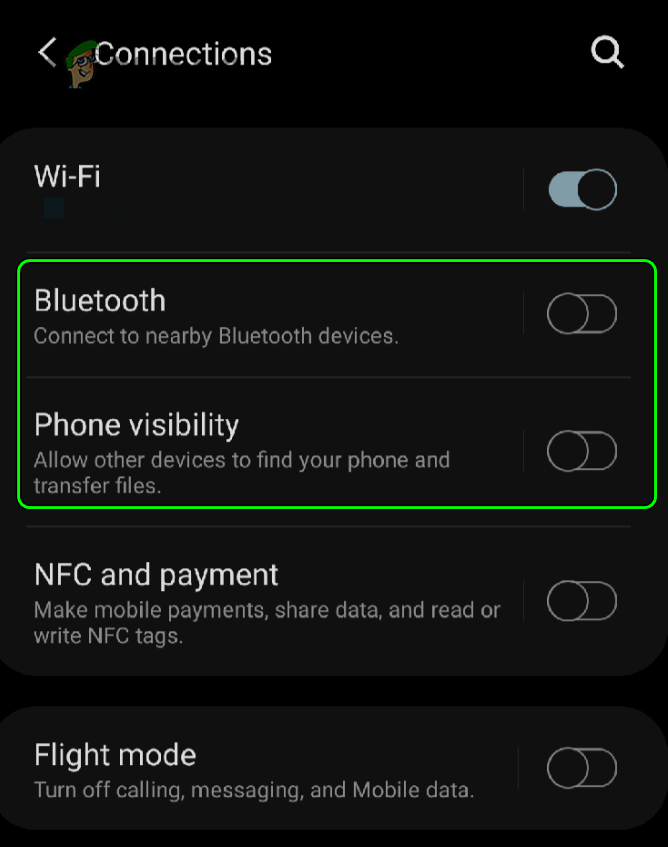
Enable Bluetooth of Phone and Make it Discoverable - Enable Bluetooth and make your phone discoverable.
- On your PC, open the Action Center (in the system tray) and click Bluetooth. If you don’t see it, check if it needs to be enabled in the Action Center.
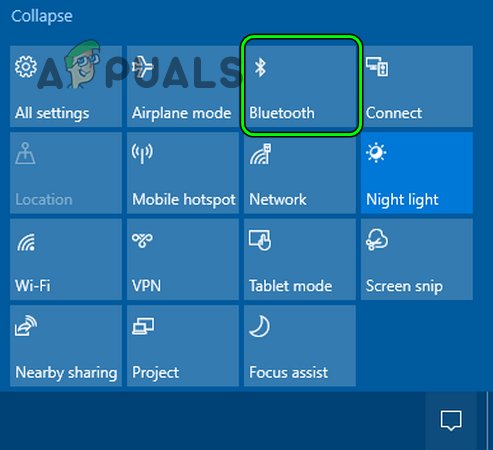
Enable Bluetooth in the Action Center of Windows 10 - Add your phone as a Bluetooth device by following the prompts.
- You can now use Bluetooth to share files between your PC and your phone.
Tip: Google plans to expand Android’s Nearby Share to Windows, so keep an eye out for this feature.
4. Use Android ADB
Android ADB is a tool mostly used by advanced users, but it’s a very efficient way to transfer large files, especially if your usual methods are slow or keep disconnecting.
- Install Android ADB on your Windows PC and connect your phone to the PC with a USB cable.
- On your phone, enable USB Debugging in Developer Options. You can also use ADB Wireless if your PC and device are on the same Wi-Fi network.
- Use these commands in Command Prompt to transfer files:
adb push C:\file /sdcard/file
to copy a file from your PC to your phone, and
adb pull /sdcard/file C:\file
to copy a file from your phone to your computer.

ADB Push and Pull Commands
Note: Each time your phone restarts, you may need to reconnect the USB cable to re-enable wireless ADB.
5. Use Wi-Fi sync
Transferring files via Wi-Fi is quick and handy and doesn’t require cables or adapters.
5.1. Share a folder on your PC
- Enable folder sharing on your Windows PC and turn on SMB protocols (caution: SMB can introduce security risks, so proceed only if you understand the risks).
- Create a folder where you want to share files (for example, on your desktop).
- Right-click on the new folder, select Properties.
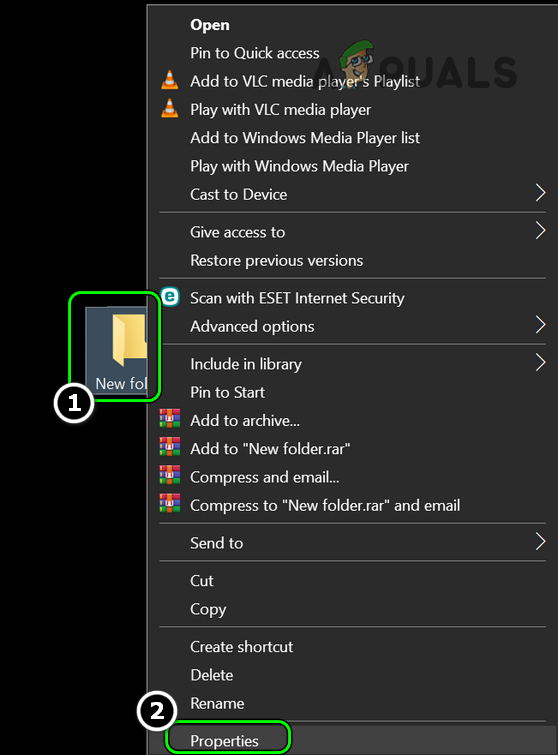
Open Properties of the Folder - Click the Sharing tab and hit the Share button.
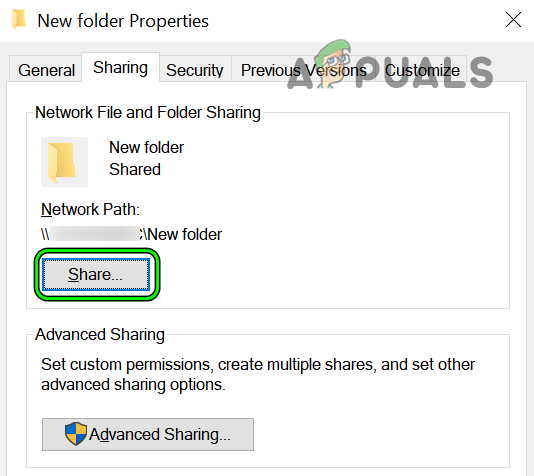
Click on the Share Button in the Sharing Tab - Search for “Everyone” and click Add.
- Set “Everyone” to “Read/Write” permission.
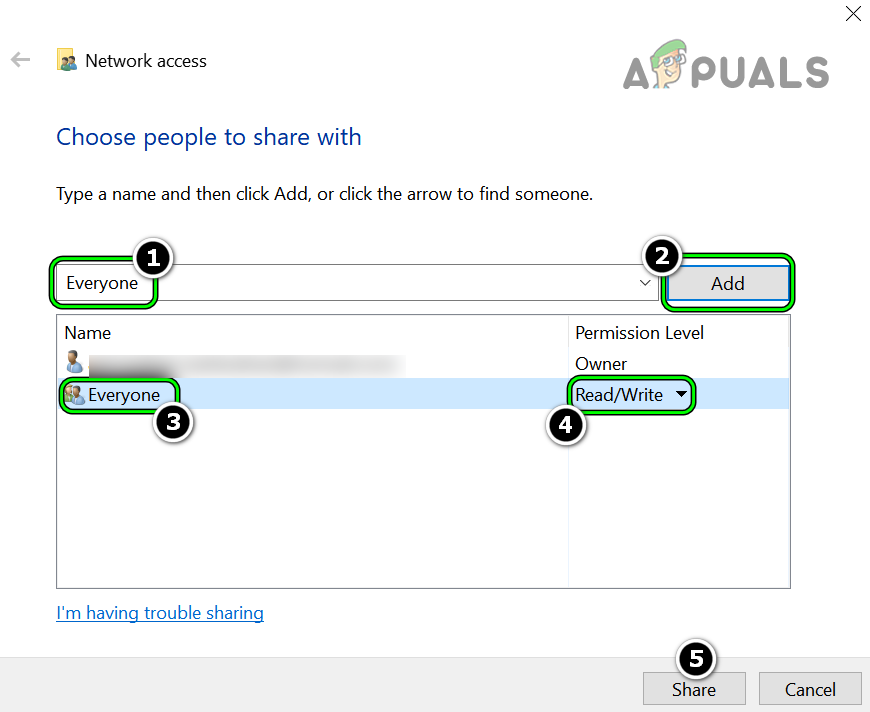
Share the Folder While Giving Everyone Read/Write Access to it - Click Share again, then go to Advanced Sharing.
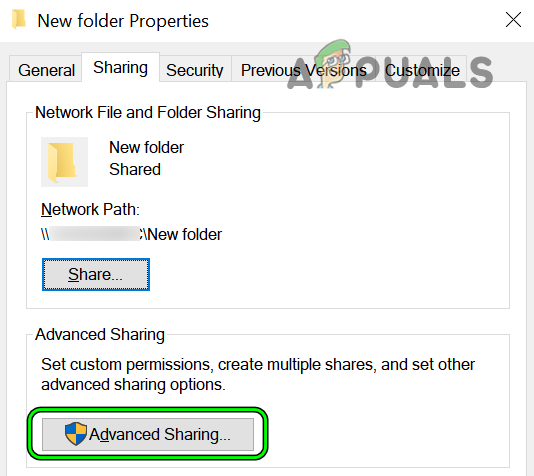
Click on Advanced Sharing in the Sharing Tab - Check “Share This Folder“, then click Permissions.
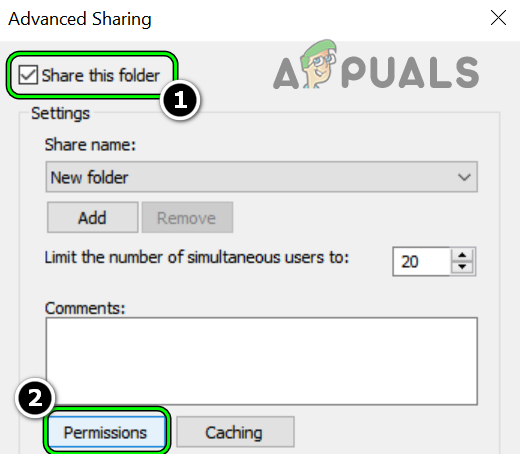
Share the Folder and open Permissions - Give “Everyone” “Full Control“.
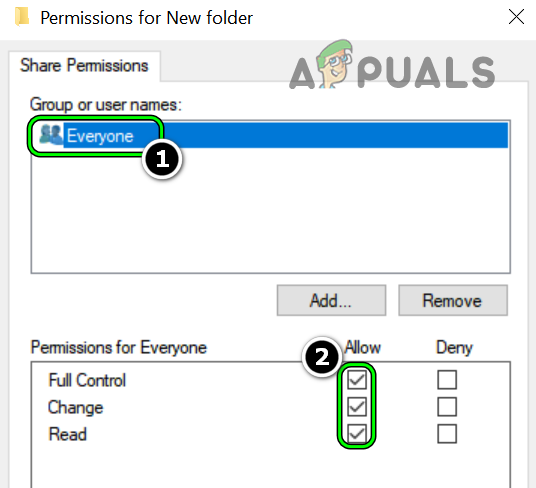
Give Everyone Full Control in the Folder Permissions - Click OK and then go to the Security tab.
- Click “Edit“, then “Add”.

Click Edit in the Security Tab of the Folder Properties - Type “Everyone” and click “OK“.
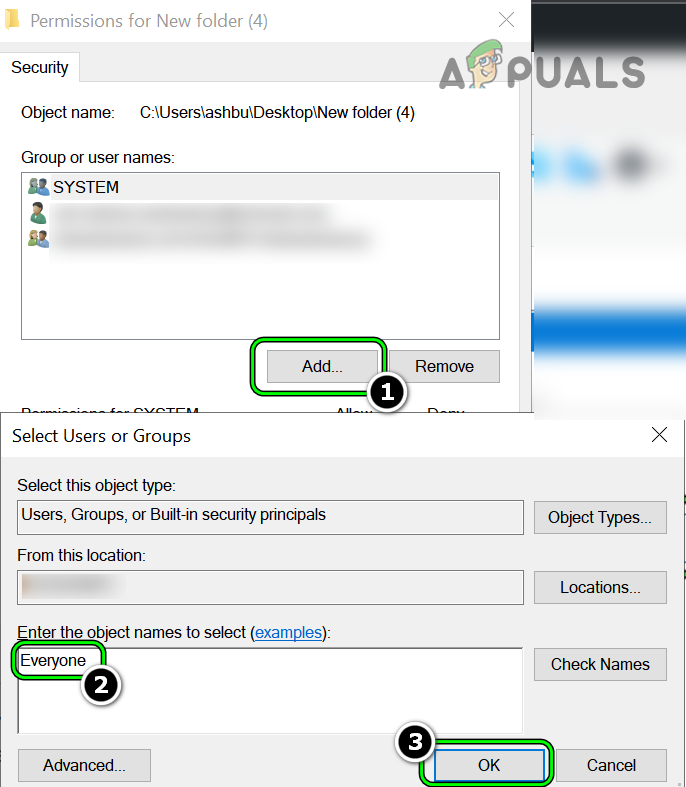
Add Everyone into the Security Group of the Folder - Select “Everyone” and check “Full Control” under permissions.
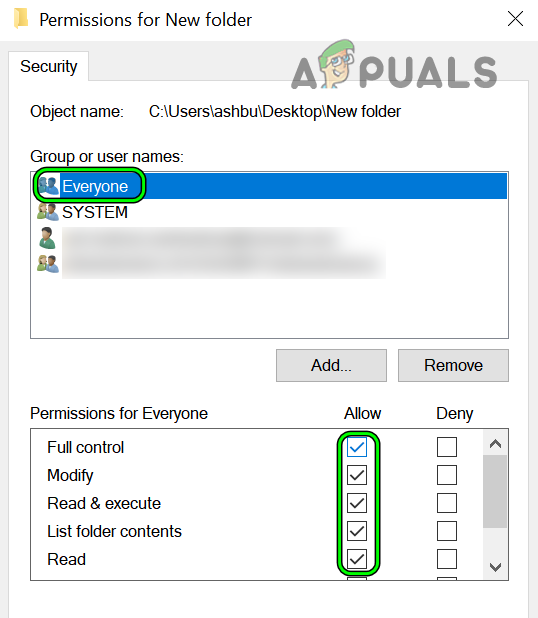
Give Everyone Full Permission in the Security Tab of the Folder - Close the Properties window when finished.
5.2. Install a File Explorer app on your Android phone and access the shared folder
- Open the Google Play Store and search for a file explorer app, such as CX File Explorer.
- Install and then open the app.

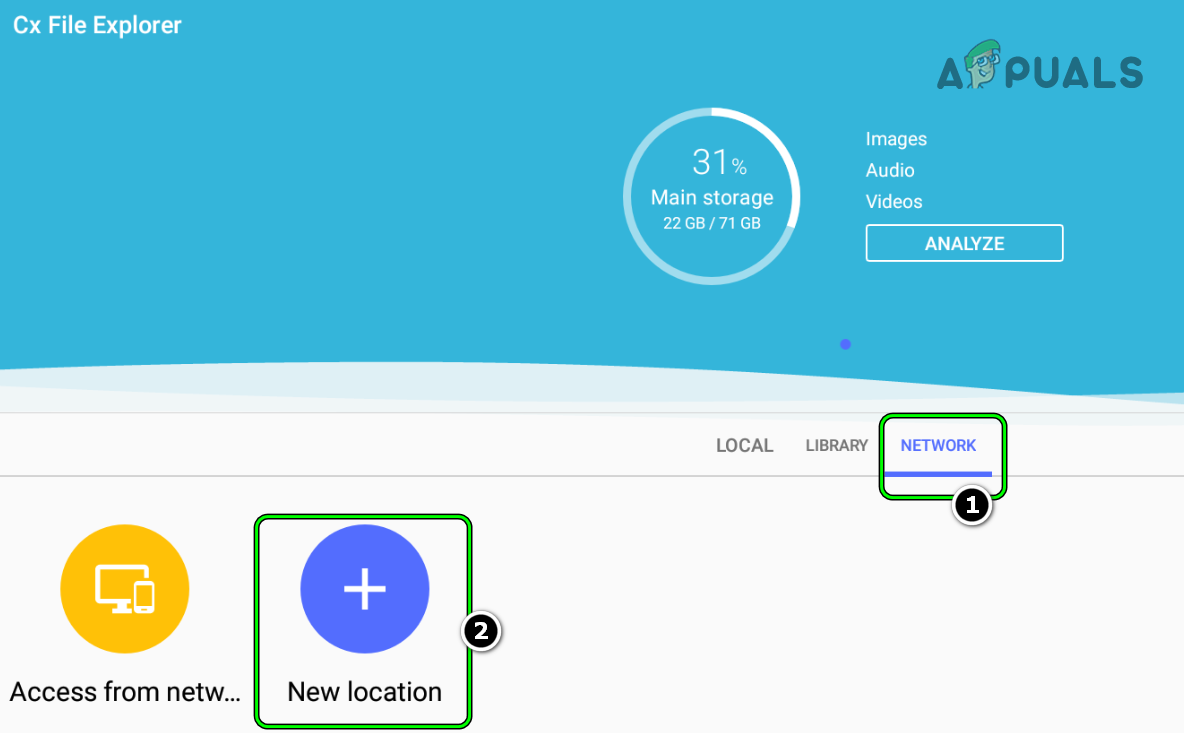
Install and Launch CX File Explorer - Go to the Network tab and tap on New Location.
Add a New Location in CX File Explorer - Switch to Remote and pick Local Network.
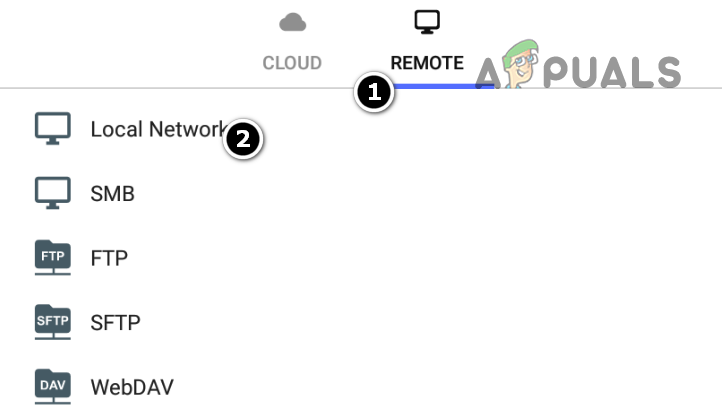
Open Local Network in the Remote Tab of CX File Explorer - The app will search for your PC; tap when it appears.
- Enter your Windows username and password. If you sign in to Windows with a Microsoft account, use your full email address (like xyz@hotmail.com) and password.
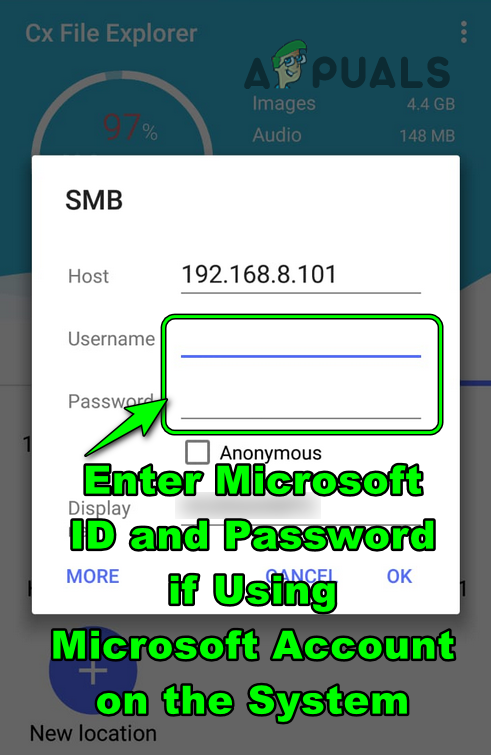
Enter Microsoft ID and Password in the CX File Explorer - Once the shared folder shows up, use it to transfer files between your PC and Android phone.
Note: If your PC or router restarts, you may need to re-add the share, since the PC’s IP address can change. Setting a static IP for your PC will help avoid this hassle.