Fix: Battle.net Not Updating, Installing, and Stuck at 1 Percent?
When the Battle.net app gets stuck at 1% during installation or updates, it usually means the program can’t start the important steps it needs. This often happens because the Battle.net Agent (part of the app) can’t talk to Windows properly or has trouble unpacking files at the beginning.
The most common reason is that the Windows Management Instrumentation (WMI) service isn’t working right. Other things that can cause this problem include leftover app data, stuck background programs, or your firewall blocking the app.
1. Delete Existing Battle.net Files
If Battle.net’s application files are already present on your system, you may experience installation or update issues. Removing these files completely and performing a clean installation can often fix the issue. Sometimes, leftover files from previous installs can prevent the application from installing properly.
- Press Win + R to open the Run dialog.
- Type AppData and click OK to open the AppData folder.
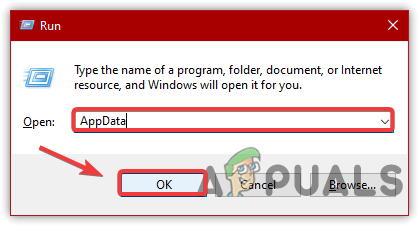
Launching AppData Directory - Go to Local folder.
- Right-click on Blizzard Entertainment and select Delete.
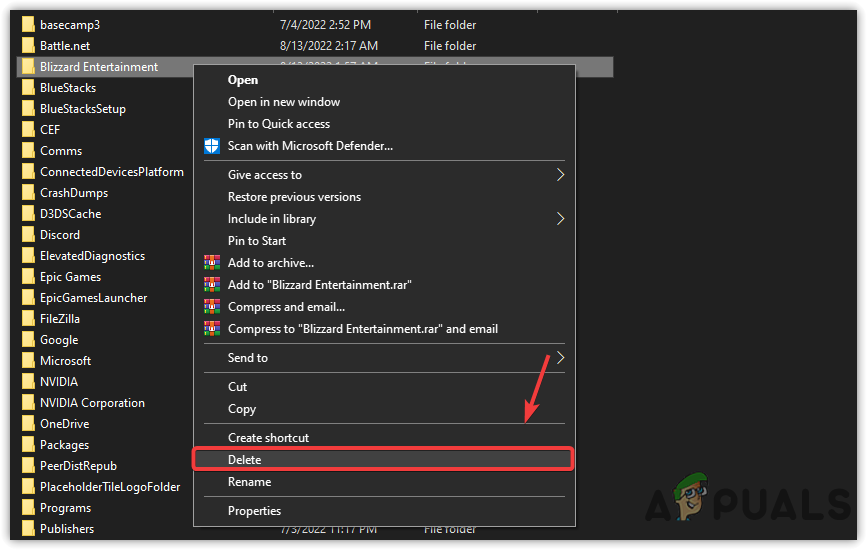
Deleting Blizzard Entertainment - Now, go to your C: drive and open Program Files (x86).
- Right-click the Battle.net folder and select Delete.
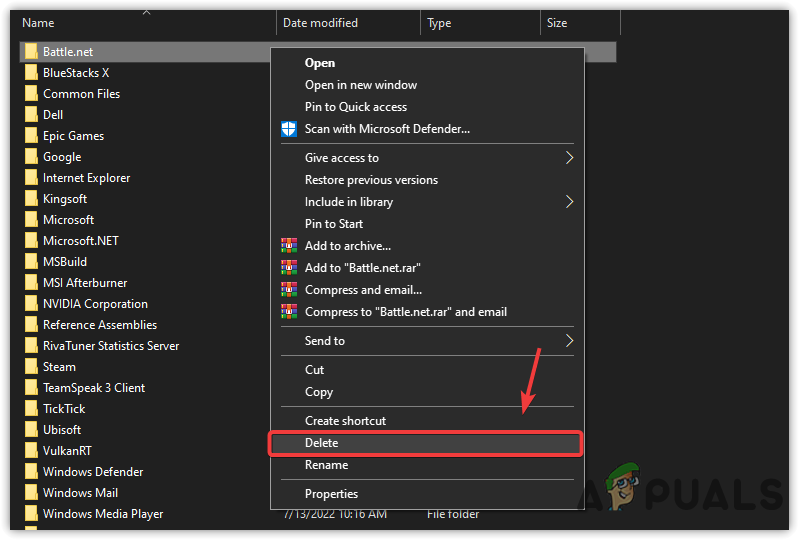
Deleting Battle.net - After deleting, download the latest Battle.net installer and let it finish.
- Finally, launch the installer and follow the on-screen instructions to complete the installation.
2. Power Cycle Your Router
The next solution is to power cycle your router, as recommended by Battle.net. Power cycling simply means unplugging your router from its power source for a short period, which can clear any temporary bugs or overheating issues that affect your network speed and cause the Battle.net installer to get stuck. Follow these steps:
- Turn off your router and wait until the lights go out completely.
- Unplug the power cord from the electrical outlet.
- Wait for 2-3 minutes, then plug the power cord back in.
- Turn the router back on and wait for it to fully boot up and the lights to turn on.
- Now, try reinstalling Battle.net to see if the issue is resolved.
3. Restart Battle.net-Setup.exe
Restarting the Battle.net installer can also help, especially if it’s stuck at 0% during installation. Sometimes Windows may not be providing a stable connection to the installer, and restarting it can solve this problem.
- Right-click on the Taskbar and select Task Manager.
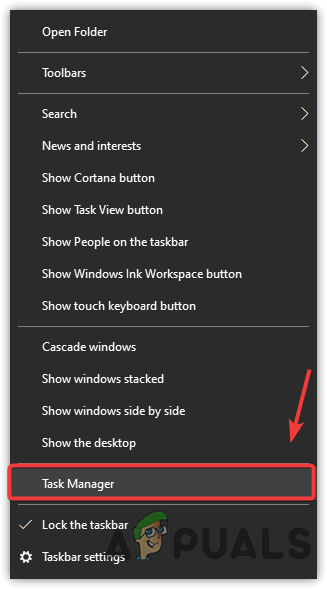
Launching Task Manager - From the Task Manager, find Battle.net, select it, and click End Task in the bottom right corner.
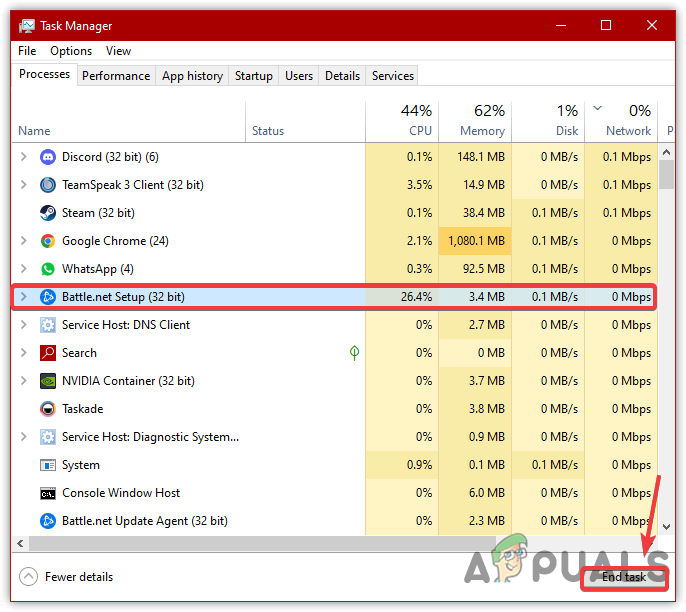
End Task Battle.net - Now run the installer again and check if Battle.net still gets stuck.
4. Allow Battle.net-Setup.exe Through Firewall
According to Battle.net, your firewall or even third-party router software may interfere with the installation and prevent it from completing. To resolve this, either turn off the firewall temporarily or allow Battle.net as an exception.
- Click the Start Menu and type Control Panel.
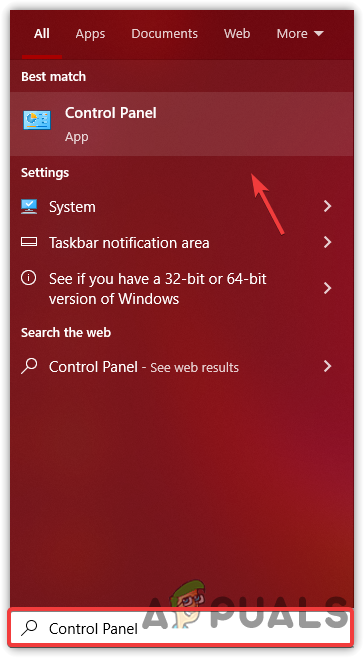
Open Control Panel - Open Control Panel and go to:
Control Panel > System and Security > Windows Defender Firewall - From the left pane, click Allow an app or feature through Windows Defender Firewall.
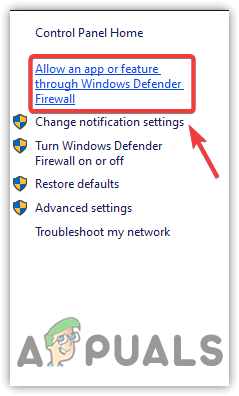
Click To Allow An App or Feature Settings - Click Change Settings, then look for Battle.net in the list of Allowed Apps and Features.
- If Battle.net is not listed, click Allow Another App.

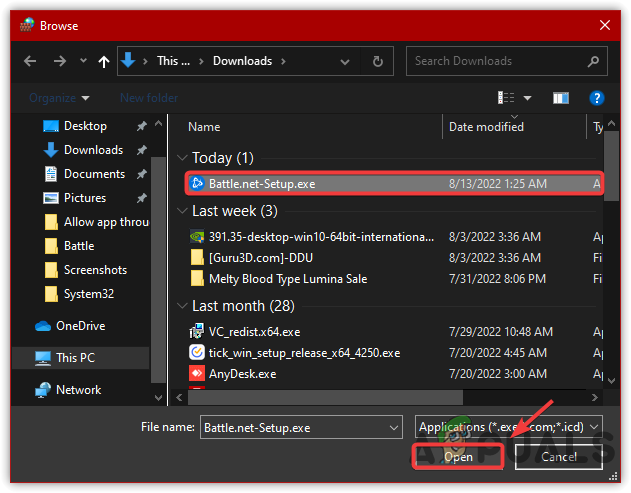
Click To Another App - Click Browse and navigate to the folder where you saved the Battle.net setup file.
- Select battle.net.exe and click Open.
Selecting Battle.net - Click Add and make sure both Private and Public are checked.

Check to Allow Private and Public Networks - Try running the Battle.net installer again to see if this fixes the issue.
5. Run Battle.net Setup as Administrator
Not running the installer with administrator privileges can also cause installation issues. Administrator rights allow the installer to make the necessary changes to your system without being blocked by Windows or other security tools.
- Right-click the battle.net-setup.exe file.
- Select Run as Administrator.
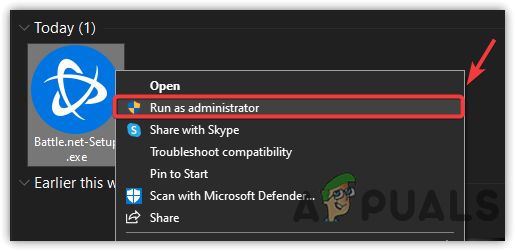
Run Battle.net-setup With Administrator - Try to install Battle.net and check if the problem is resolved.
6. Disable Antivirus or Windows Defender
If you’re still having trouble, try disabling Windows Defender or any third-party antivirus software. Sometimes, antivirus programs can interfere with the installation or update process by blocking required files.
- To disable Windows Defender, open Settings by pressing Win + R or via the Start Menu.
- Go to Update & Security and click Windows Security in the left menu.

Go to Security Settings - Select Virus & Threat Protection under Protection areas.
- Click Manage Settings and switch off Real-time protection using the toggle button.
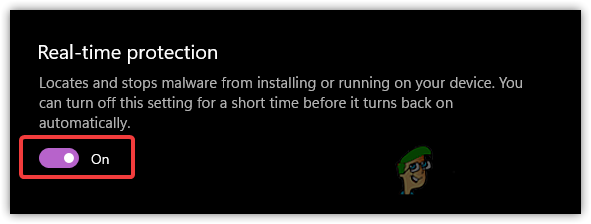
Disabling Real-Time Protection
7. End Idle Applications
Some background applications may use a lot of your internet bandwidth, preventing Battle.net from downloading or installing properly. Make sure to close or end tasks for unused applications.
- Decide which running applications aren’t currently needed.
- Open Task Manager with Ctrl + Shift + Esc.
- Select unused applications one by one and click End Task.
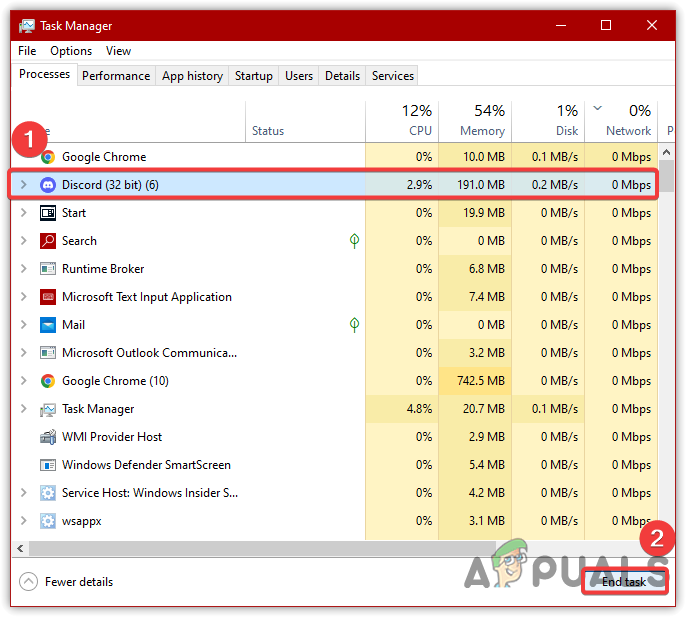
End Tasking Irrelevant Applications - After closing unnecessary applications, try the installer again.
8. Use Google DNS
Google DNS is a free service by Google to make connections faster and more reliable. Sometimes, changing to a public DNS can resolve issues with the Battle.net installer. Here’s how to set Google DNS:
- Click the Start Menu and search Settings.
- Open Settings and go to Network & Internet.
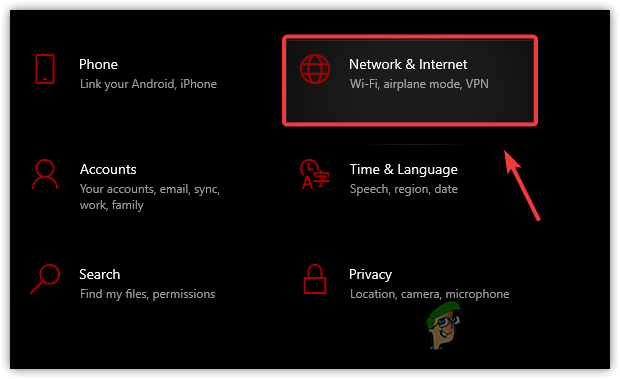
Click Network & Internet - Select Change Adapter Options, then right-click your current network adapter.
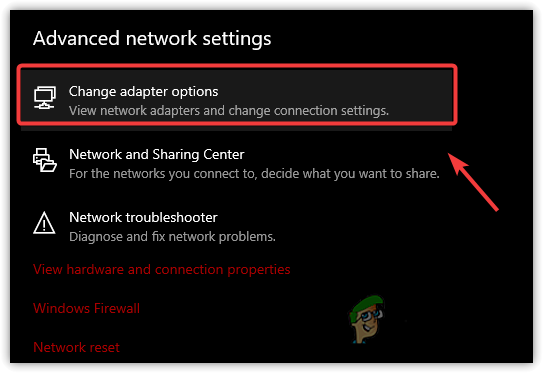
Click Change Adapter Settings - Click Properties and wait for the window to open.
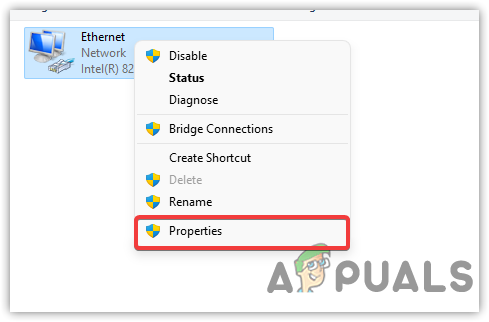
Click Properties of your Network Adapter - Select Internet Protocol Version 4 (TCP/IPv4).
- Click Properties.
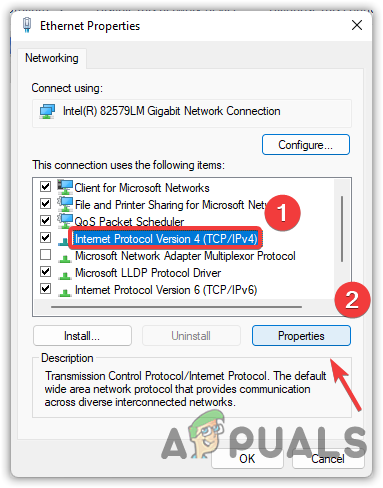
Select Internet Protocol Version 4 (TCP IPv4) - Choose Use The Following DNS Server Addresses.

Configuring Google DNS - Enter:
8.8.8.8
8.8.4.4
and click OK. - Try installing Battle.net again to see if the DNS change helps.
9. Reset Network Settings
If the problem still exists, it may be due to incorrect network settings. Resetting your network settings restores all network options to their default values and can fix issues caused by customizations or errors.
- Open Settings with Win + I.
- Go to Network & Internet.
Navigate to Network & Internet - Scroll to the bottom and click Network Reset.
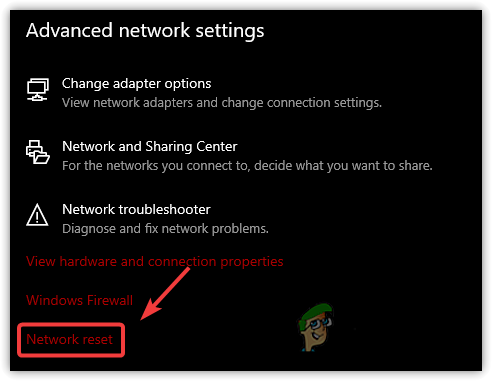
Click Network Reset - Click Reset Now and let your PC restart.

Resetting the Network Settings - After your PC restarts, try installing Battle.net again.
10. Change Battle.net-Setup.exe Priority
By default, applications run at normal priority. Raising the priority for the Battle.net installer lets Windows assign more system resources to it, which may help if the installation is lagging.
- Open Task Manager by pressing Ctrl + Shift + Esc.
- Right-click on Battle.net Setup and select Go to Details.
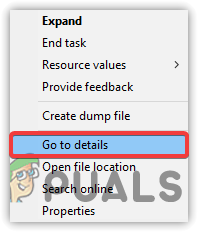
Click on Go to Details - Now, right-click Battle.net-Setup.exe in the Details tab.
- Select Set Priority, then click High.
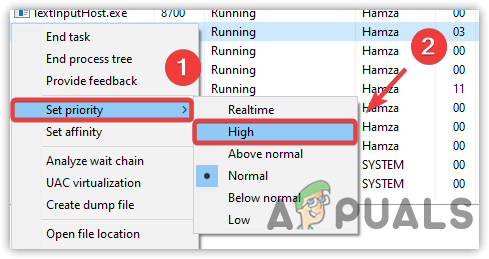
Changing Game Priority to High - Click Change Priority to confirm.
- Restart the installer to see if this change solves the problem.


