How to Fix Battle.net App Scan and Repair Loop on PC?
The Battle.net app can get stuck scanning and repairing the game over and over, showing a “Whoops, something broke” message each time and not starting the game. This usually happens because the launcher can’t check or fix the game files correctly and keeps trying again.
The main cause is damaged files in the Data folder or .idx files, but problems can also be caused by broken cache, network issues, or antivirus programs getting in the way.
In this article, we will discuss different ways to solve this error.
1. Delete Small Data Files (Call of Duty: Modern Warfare ONLY)
If you’re experiencing this issue with Call of Duty: Modern Warfare, there’s a workaround that’s been shared online that lets you get past the scan & repair loop without needing to reinstall the full game.
Keep in mind, COD: Modern Warfare is a large game. Uninstalling and re-downloading it can take a lot of time—especially if your internet connection is slow or limited.
The steps below will help you break the repair loop by selectively deleting some small game data files, which forces Battle.net to recheck the integrity of the game and redownload any missing files.
- Open Battle.net and click on Call of Duty: Modern Warfare. Then click the gear icon next to the Play button and select Show in Explorer from the menu.
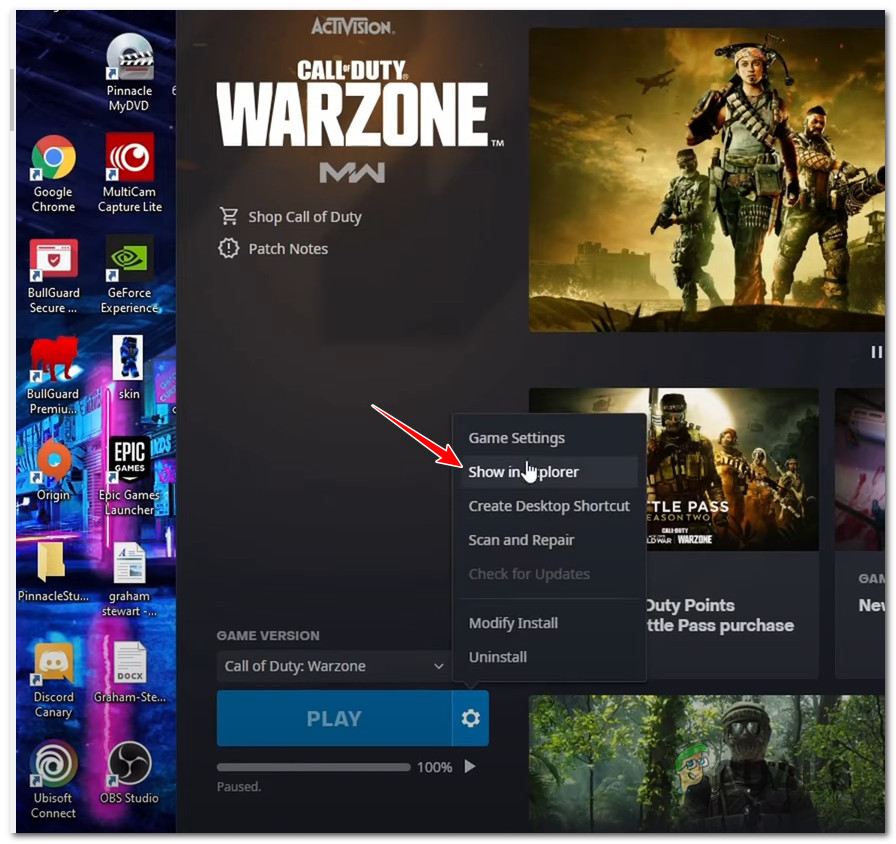
Access the game installation folder Note: This option will take you straight to the installation folder for Call of Duty: Modern Warfare.
- Close the Battle.net app and make sure it isn’t still running in the background.
- In the game folder, delete everything except the Data folder.
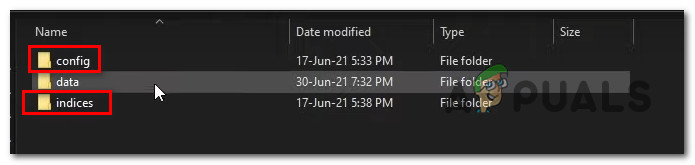
Delete everything except the Data folder - Next, open the Data folder. In the search bar at the top-right, type “.idx” to filter and display only these files.
- Delete all the files that appear in this search.
- Now go into the data subfolder inside Data, and delete every file that is less than 2 MB in size.
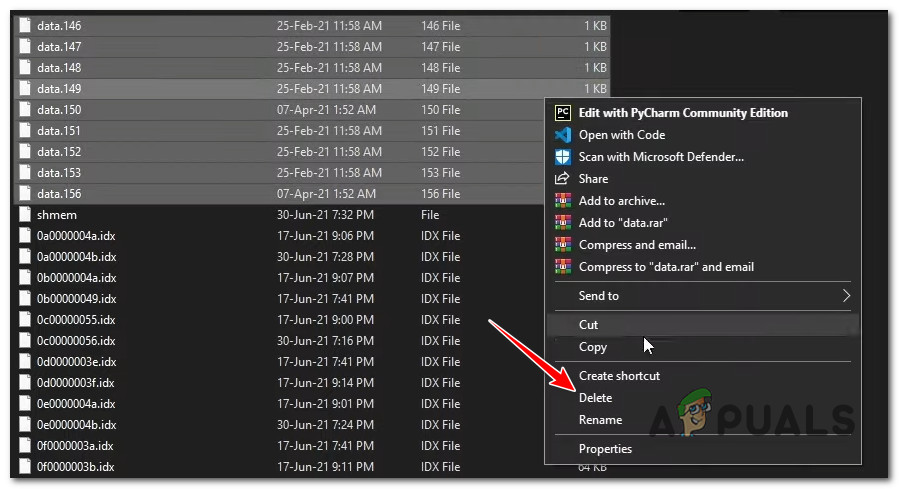
Delete all data files under 2 MB Tip: You can sort the files by Size to make it easier to find and delete only those under 2 MB.
- Once you’ve deleted those files, re-open the Battle.net app, select Call of Duty: Modern Warfare, and click Update. The app should now recognize the missing files and start downloading them. This should help you get out of the repair loop.
2. Uninstall and Reinstall the Game
If the error in Battle.net is only happening with one specific game, it usually means there’s corruption in that game’s files. In most cases, you can fix the error by uninstalling the game from Battle.net and then reinstalling it.
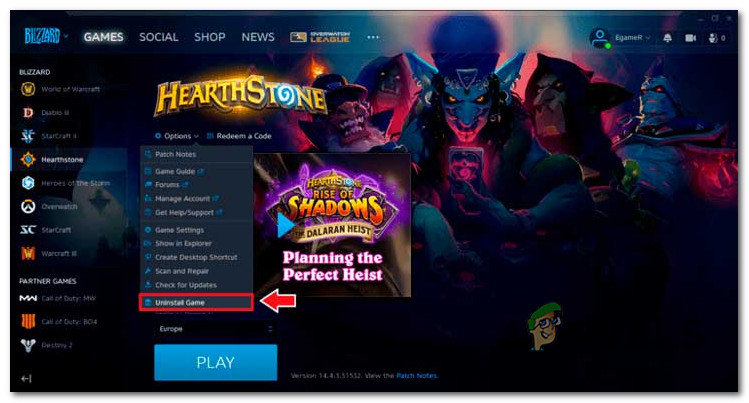
Go to the home screen in the Battle.net app, right-click on the game that’s stuck in the scan and repair loop, and choose Uninstall from the menu.
After that, follow the prompts to finish uninstalling. Then restart your computer.
Once your computer has restarted, open the Battle.net app again, go to the Games tab and reinstall the problematic game to see if the error is resolved.
In some rare cases, you may need to manually uninstall the game if you can’t remove it directly from the Battle.net app. If so, use this method via Windows:
- Press Windows key + R on your keyboard to open the Run dialog box. Then, type appwiz.cpl and press Ctrl + Shift + Enter to open the Programs and Features menu with administrator permissions.
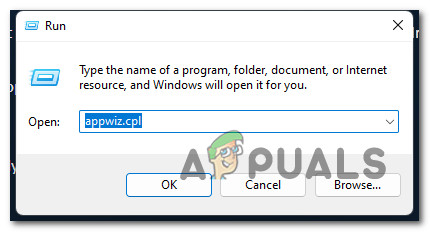
Open the Programs and Features menu - If prompted by User Account Control, click Yes to continue.
- In the Programs and Features window, scroll through your installed programs until you find the game that’s causing problems. Right-click on it and choose Uninstall.

Uninstall the problematic game - Follow the instructions on screen to finish uninstalling, then restart your computer and reinstall the game from Battle.net.


