How to Fix Baldur’s Gate 3 Crashing on PC?
 Reviewed by Muhammad Zubyan
Baldur’s Gate 3 might crash or freeze your computer, especially during video scenes, when moving to new areas, or while loading saved games. These crashes are often caused by errors with ucrtbase.dll or DirectX.

The main problem is usually bad or unstable RAM. Other causes include old graphics drivers, missing Visual C++ files, or broken save files.
Below, I’ll walk you through the fixes that have worked for many other players—and hopefully, one of these will solve the problem on your end.
1. Delete App Data and Verify Game Files
Broken configuration files can stop the game from starting. Deleting the AppData folder resets your settings and cache. Checking the game files on Steam will fix missing or damaged files by downloading them again. This helps fix the game without reinstalling it.
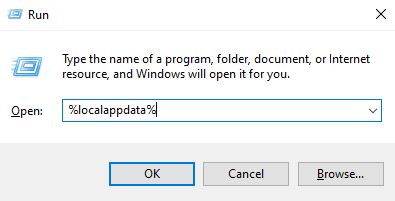
- Open the Run dialog by pressing Win + R on your keyboard.
- Type %LocalAppData% and press Enter.
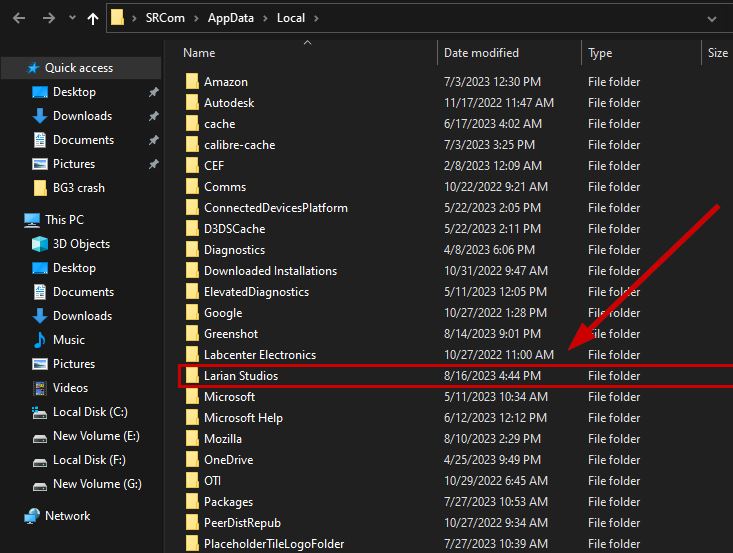
- Open the Larian Studios folder.
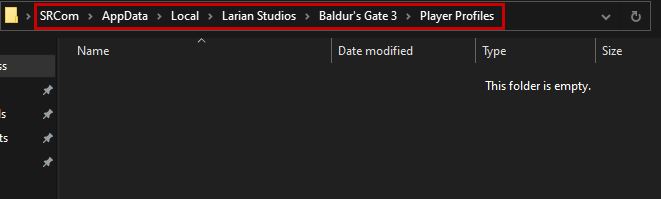
- Now open Baldur’s Gate 3 > Player Profiles.
- Delete everything in this folder (this will remove your save files).
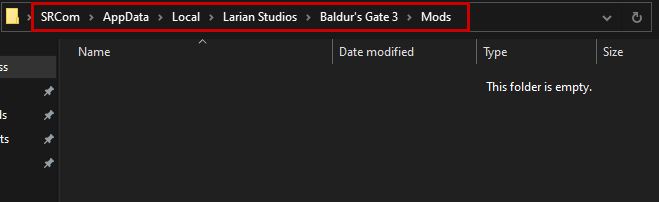
- Go through the Mods folder in Baldur’s Gate 3 and delete everything there too.
After this, verify the game files by following these steps:
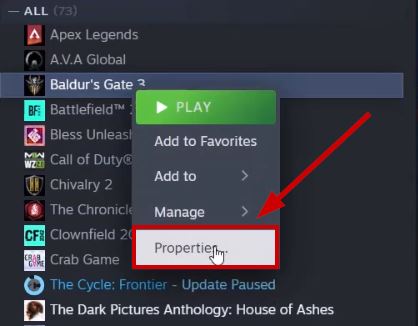
- Open Steam and go to your game library.
- Right-click on BG3 and select Properties.
- Click the Installed Files tab.
- Click Verify Integrity of Game Files.
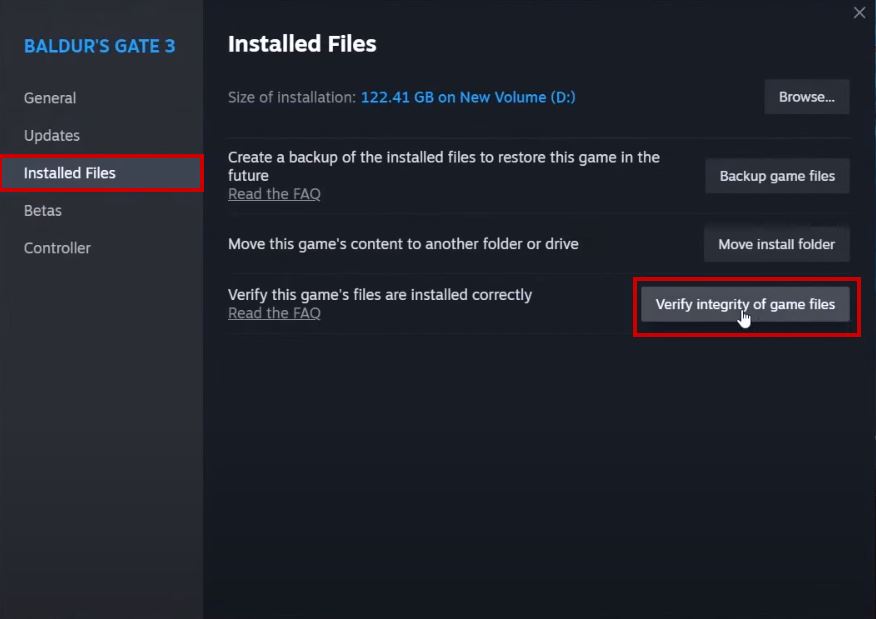
- This process might take a few minutes.
- When it’s done, launch Baldur’s Gate 3 and check if it still crashes.
2. Turn off VSync and Lock FPS to 60
Big changes in frame rate can stress the game, especially in busy scenes. Turning off VSync and setting the frame rate to 60 helps your graphics card work steadily. This lowers the risk of crashes from too much strain or graphics driver problems.
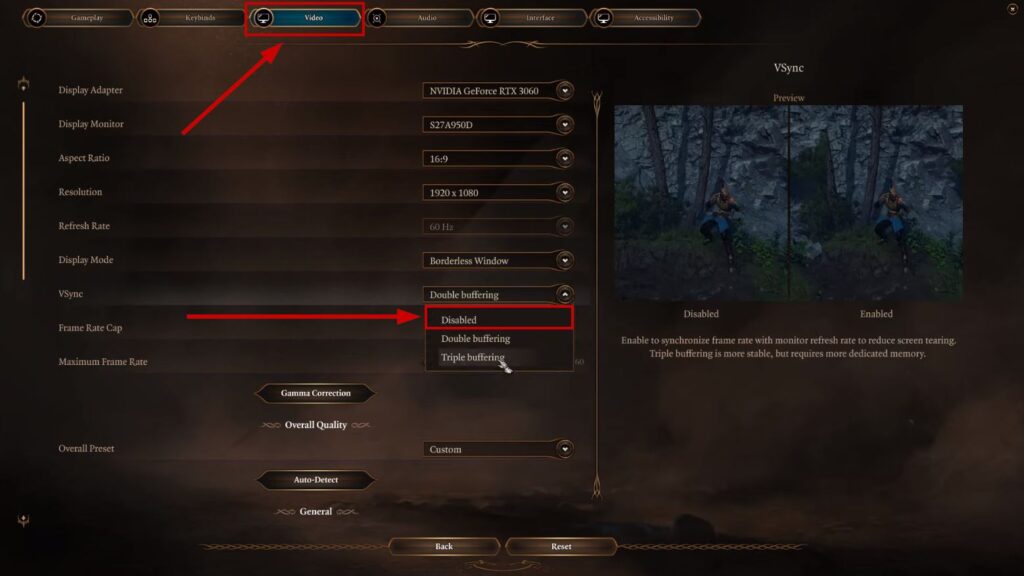
- Launch Baldur’s Gate 3 and go to Settings.
- Open the Video tab.
- Set VSync to Disable.
- Set the Maximum Frame Rate to 60.
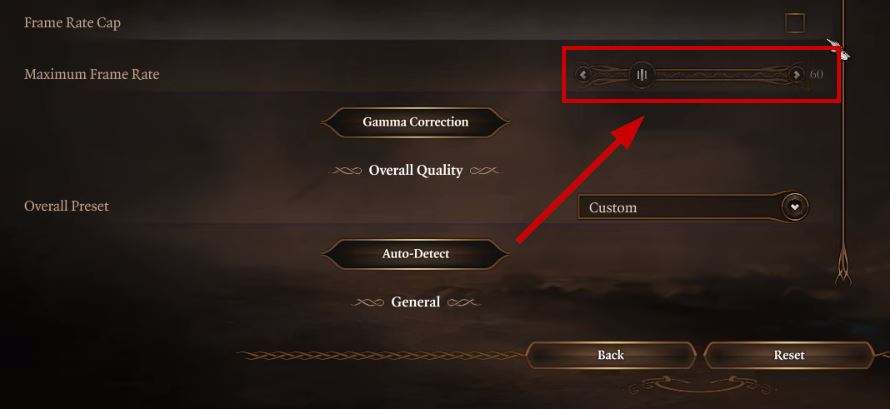
- Restart the game and see if the crashing stops.
- If not, try lowering your resolution and use the High preset with balanced DLSS for smoother performance.
3. Adjust Nvidia 3D Settings for Baldur’s Gate 3
Sometimes, the game lags or crashes because it’s not using the best graphics settings. By changing Baldur’s Gate 3 settings in the Nvidia Control Panel—like choosing the best graphics card, turning on Low Latency Mode, or setting up shader cache—you can make the game run more smoothly and prevent crashes.
- First, reinstall GeForce Experience if you don’t have the latest version.
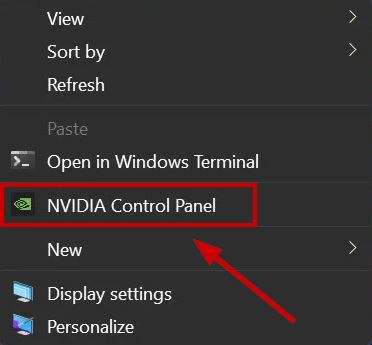
- Right-click your desktop and select Nvidia Control Panel.
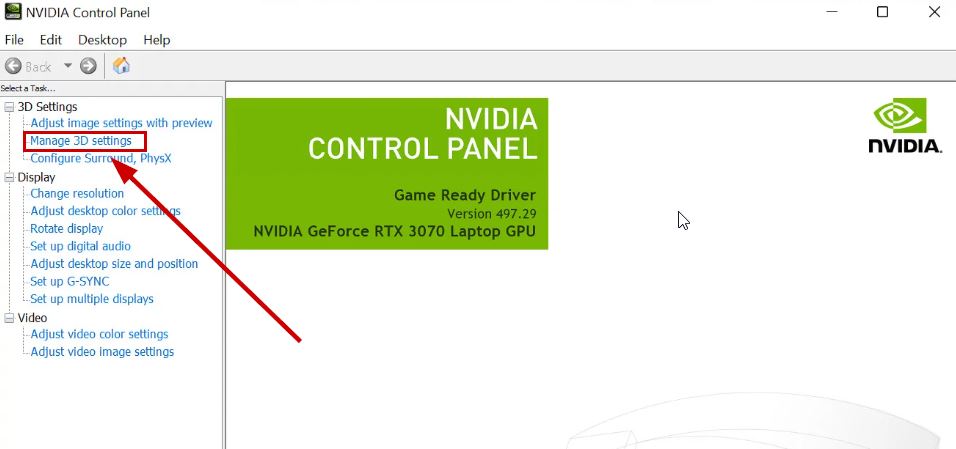
- Click on Manage 3D Settings under 3D Settings.
- Go to the Program Settings tab.
- Use the drop-down list under Select a Program to Customize and pick Baldur’s Gate 3.
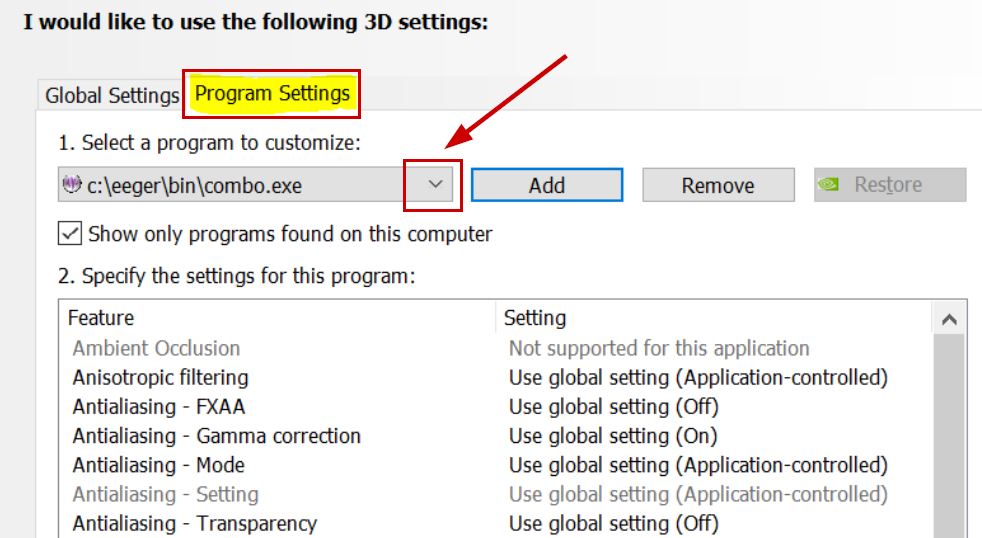
Note: If BG3 isn’t listed, click Add, browse to the game folder, and select it.
- Lower some of the graphics settings under the Specify the Settings section.
- Click Apply, then launch Baldur’s Gate 3 again to check for crashes.
4. Run the SFC Scan
Damaged system files can cause games to crash or not run properly, especially if important Windows parts are broken. Running an SFC scan checks for these damaged files and fixes them, which helps Baldur’s Gate 3 run smoothly without crashing.
- Click Start and type cmd.
- Right-click and select Run as Administrator.
- Enter the following command:
sfc /scannow
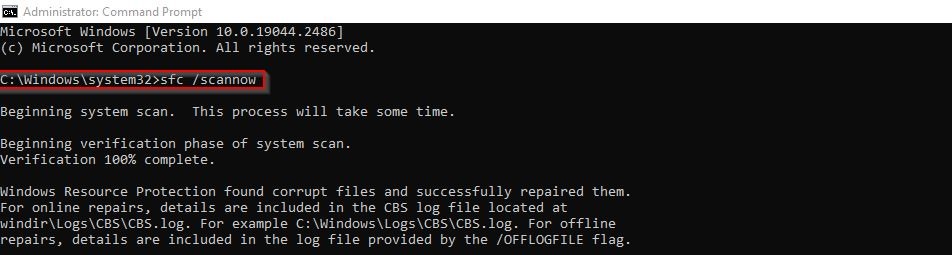
- Wait for the scan to finish.
- Once it’s done and any issues are fixed, try starting BG3 again.
5. Uncheck the Run as Administrator Option on BG3 Files
Running Baldur’s Gate 3 as an administrator can sometimes cause problems with other programs like Steam, Discord, or NVIDIA overlays. By turning off the “Run as administrator” option, the game uses normal permissions, which can help prevent crashes or issues with these background programs.
- Go to your Baldur’s Gate 3 folder and then to the bin folder.
- Find bg3.exe and bg3_dx11.exe.
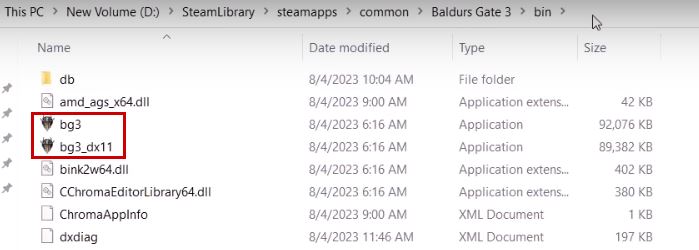
- Right-click on the bg3_dx11.exe file and choose Properties.
- Go to the Compatibility tab.
- Uncheck Run as an administrator and apply the changes.
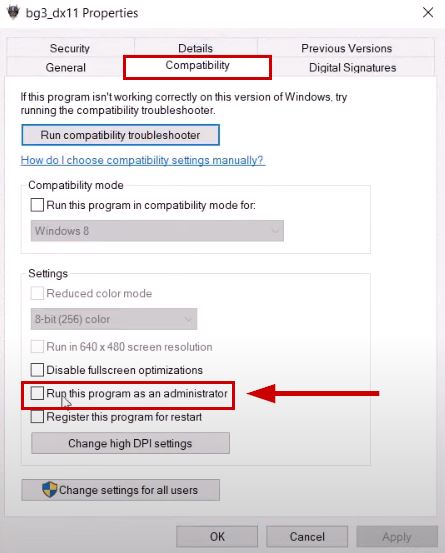
- Repeat this step for bg3.exe as well.
- Now run the game as usual—it should be more stable.
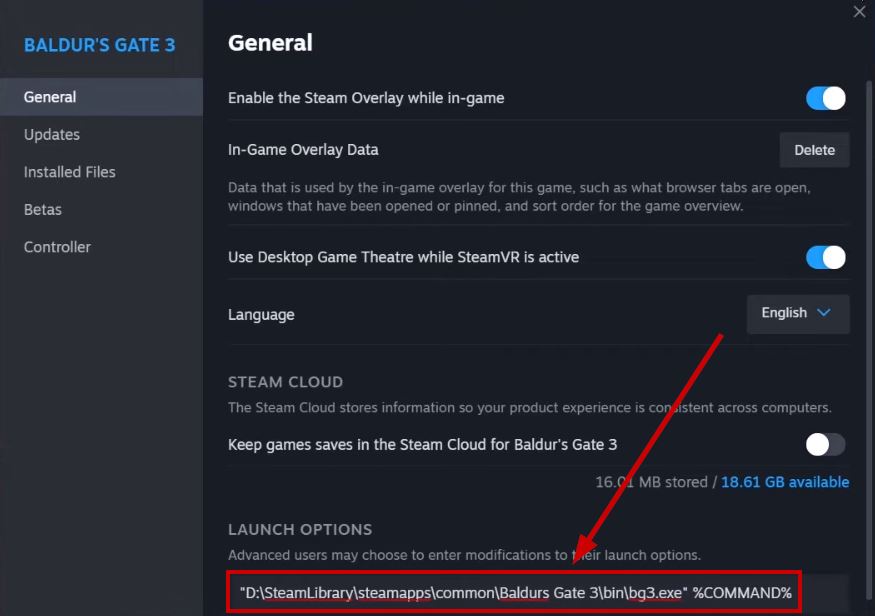
6. Change Baldur’s Gate 3 Launch Option
Using the wrong launch settings can make the game fail to start or crash. Changing launch options—like switching from Vulkan to DirectX 11—can help the game work better with your computer, especially if you have an older graphics card or issues with Vulkan.
- Open Steam and go to your game library.
- Right-click on Baldur’s Gate 3 and select Properties.
- In the Launch Options section under the General tab, type –skip-launcher.

If this doesn’t help, try this instead:
- Right-click on BG3 > Manage > Browse local files in Steam.
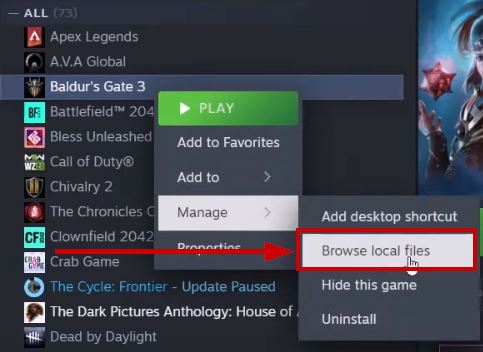
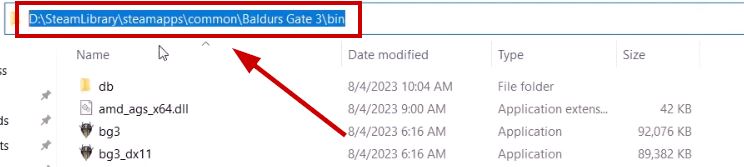
- Go to the bin folder and copy the folder location/path.
- Again, right-click BG3 in Steam and select Properties.
- Remove –skip-launcher from the Launch options.
- Paste the location path.
- Put a quotation mark before the drive letter and a backslash “\” after bin.
- After the slash, type bg3.exe or bg3_dx11.exe, depending on which version you want to use.
- Place a closing quotation mark after the file name, then add a space.
- Type %COMMAND% at the end.
- Close the settings tab and start the game again.
7. Disable Smart Access Memory (AMD) or Resizable Bar (Nvidia)
Smart Access Memory (AMD) and Resizable BAR (NVIDIA) can sometimes make games unstable if the game doesn’t fully support them. Turning these features off limits how much memory the CPU can use on the graphics card, which can help stop crashes caused by too much resource use or driver problems.
- Shut down your PC and turn it back on.
- As your PC starts, press F12 or Del to enter the BIOS settings.
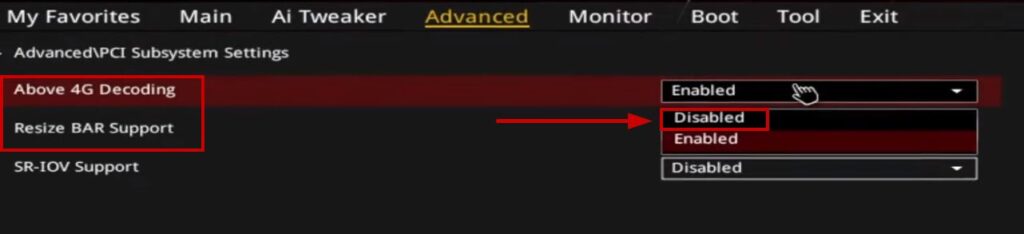
- Navigate to Advanced Menu/Settings > PCI Settings.
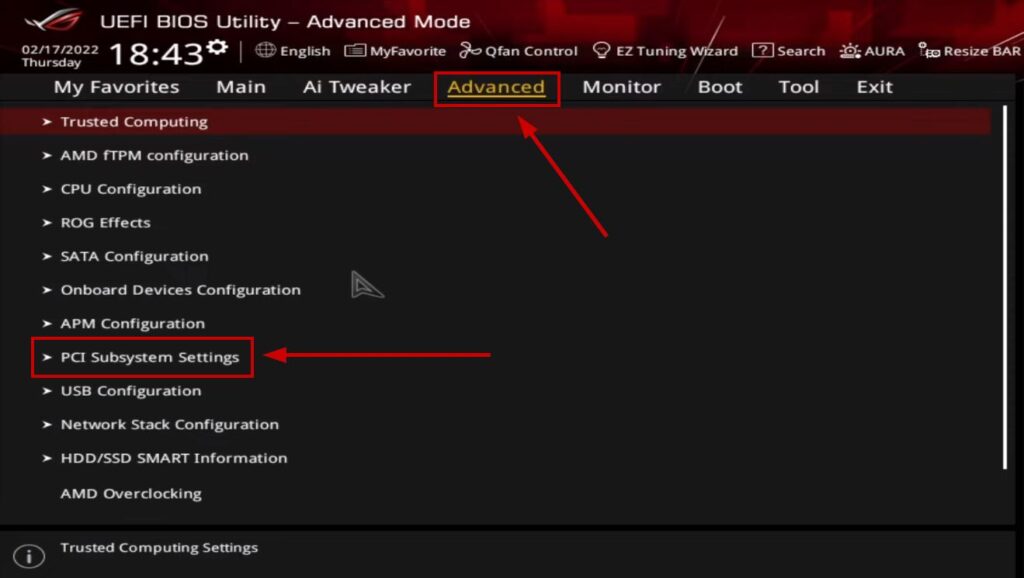
- Turn off Above 4G Decoding and Re-size BAR Support.
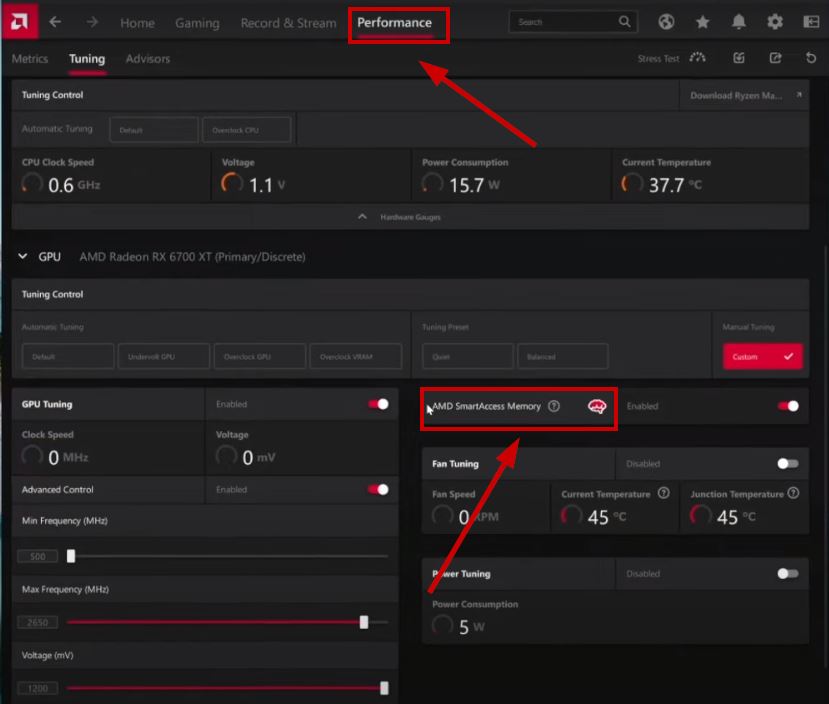
- Restart your PC, then open AMD Radeon software if you have an AMD GPU.
- In the Performance tab, make sure Smart Access Memory is disabled.
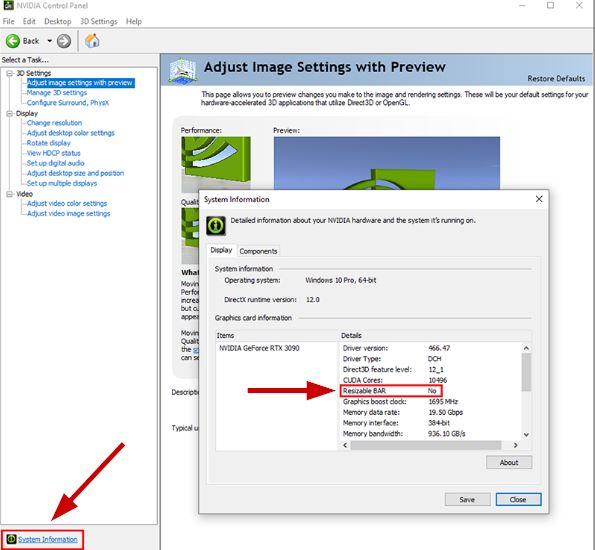
- If you have an Nvidia GPU, open Nvidia Control Panel, then click on System Information (bottom left).
- Make sure it says No next to Resizable bar.
8. Disable XMP/EXPO
Turning on XMP (Intel) or EXPO (AMD) makes your RAM run faster, but this can cause problems in games like Baldur’s Gate 3 if the memory isn’t fully stable. Turning these settings off makes your RAM use its normal speed, which helps prevent crashes from memory errors.
- Press F12 or DEL while your PC turns on to enter BIOS.
- Check your motherboard manual to find where XMP/EXPO options are.
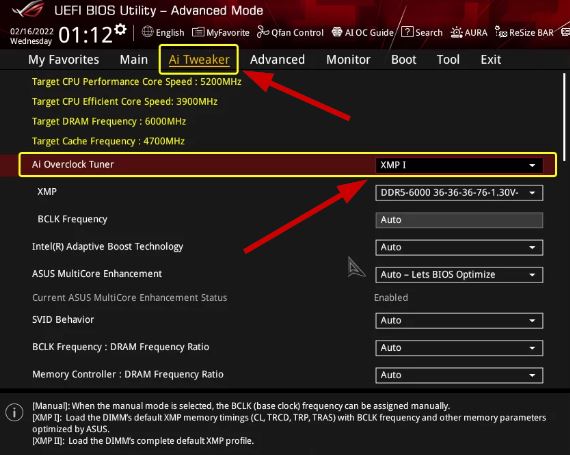
Note: XMP/EXPO option locations can vary. In “Easy Mode” BIOS, the location will differ depending on your motherboard brand. In “Advanced Mode” BIOS, it’s usually the same. You can press F1 in BIOS to see help options. XMP is for Intel platforms; EXPO is for AMD.
- In the Advanced menu, go to the AI Tweaker tab (Intel) and disable XMP.
- If you have an AMD system, go to the Extreme Tweaker tab and disable EXPO.
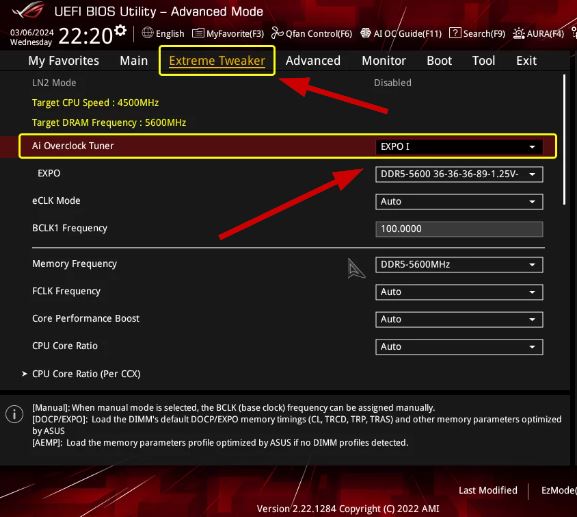
Note: These instructions are for ASUS motherboards. Other brands may use different names or locations for these settings.
Reviewed by Muhammad Zubyan


