Fix: ‘Valid ATAPI Device cannot be found’ CD\DVD is not recognized
The “Valid ATAPI Device cannot be found” error usually shows up when you’re trying to update firmware or check your CD/DVD drive, but the drive doesn’t appear even though it’s connected. This message means your computer can’t find a proper ATAPI device through the usual connection.
The most common reason is that you’re using the wrong firmware tool for your specific drive model or connection type. Other common causes include a loose SATA cable, old drivers for your motherboard, or BIOS settings that are not set up correctly for AHCI or UEFI mode.
In this guide, we’ll show you how to fix the “Valid ATAPI Device cannot be found” error in Windows.
1. Run the Hardware and Devices Troubleshooter
A quick way to resolve this issue is by running the Hardware and Devices troubleshooter. This built-in Windows tool helps detect and automatically fix problems with connected hardware.
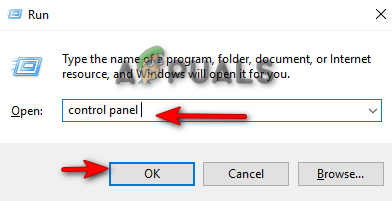
- Open the Run dialog by pressing Win + R on your keyboard.
- Type “control panel” and click OK.
Opening the Control Panel - Change the view mode to Large icons in the “View by” menu.

Settings Icons at Large Font Size - Click on “Troubleshooting“.
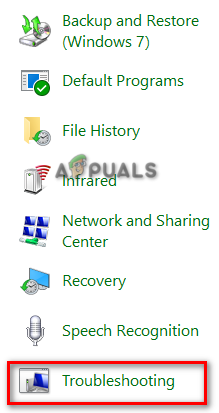
Opening the Troubleshooting page - Under Hardware and Sound, click “Configure a device” to run the troubleshooter.

Running Hardware and Device troubleshooter - The troubleshooter will detect problems and suggest solutions.
- Follow the on-screen instructions to fix any issues it finds.
- When done, open the Start Menu by pressing the Win key.
- Restart your computer by clicking the Power button and choosing Restart.
Restarting the Windows computer
2. Delete Corrupted Registry Entries
Corrupted registry entries can also cause ATAPI device errors. In particular, the registry entries named “UpperFilters” and “LowerFilters” are often responsible. Deleting these can help restore normal function. Here’s how to delete the corrupted registry entries:
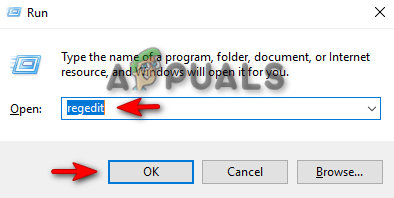
- Open the Run dialog by pressing Win + R.
- Type “regedit” and click OK to open Registry Editor.
Opening the Registry Editor - If prompted, click YES to allow changes.
- In the Registry Editor, paste this path into the address bar and press Enter:
HKEY_LOCAL_MACHINE\SYSTEM\CurrentControlSet\Control\Class\{4D36E965-E325-11CE-BFC1-08002BE10318} - On the right panel, right-click on both the UpperFilters and LowerFilters entries (if they exist) one after the other.
- Select “Delete” for each one.

Deleting Registry Entry - Exit Registry Editor and restart your computer to apply changes.
3. Update the Driver
Using an outdated driver can affect your system’s performance and prevent ATAPI devices from working correctly. Make sure your DVD/CD/Blu-ray drivers are up to date. Here’s how to update the drivers:
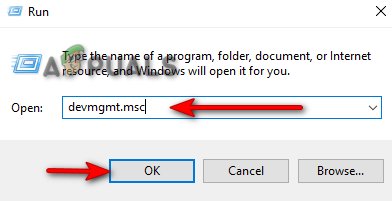
- Press Win + R to open the Run dialog.
- Type “devmgmt.msc” and click OK to open Device Manager.
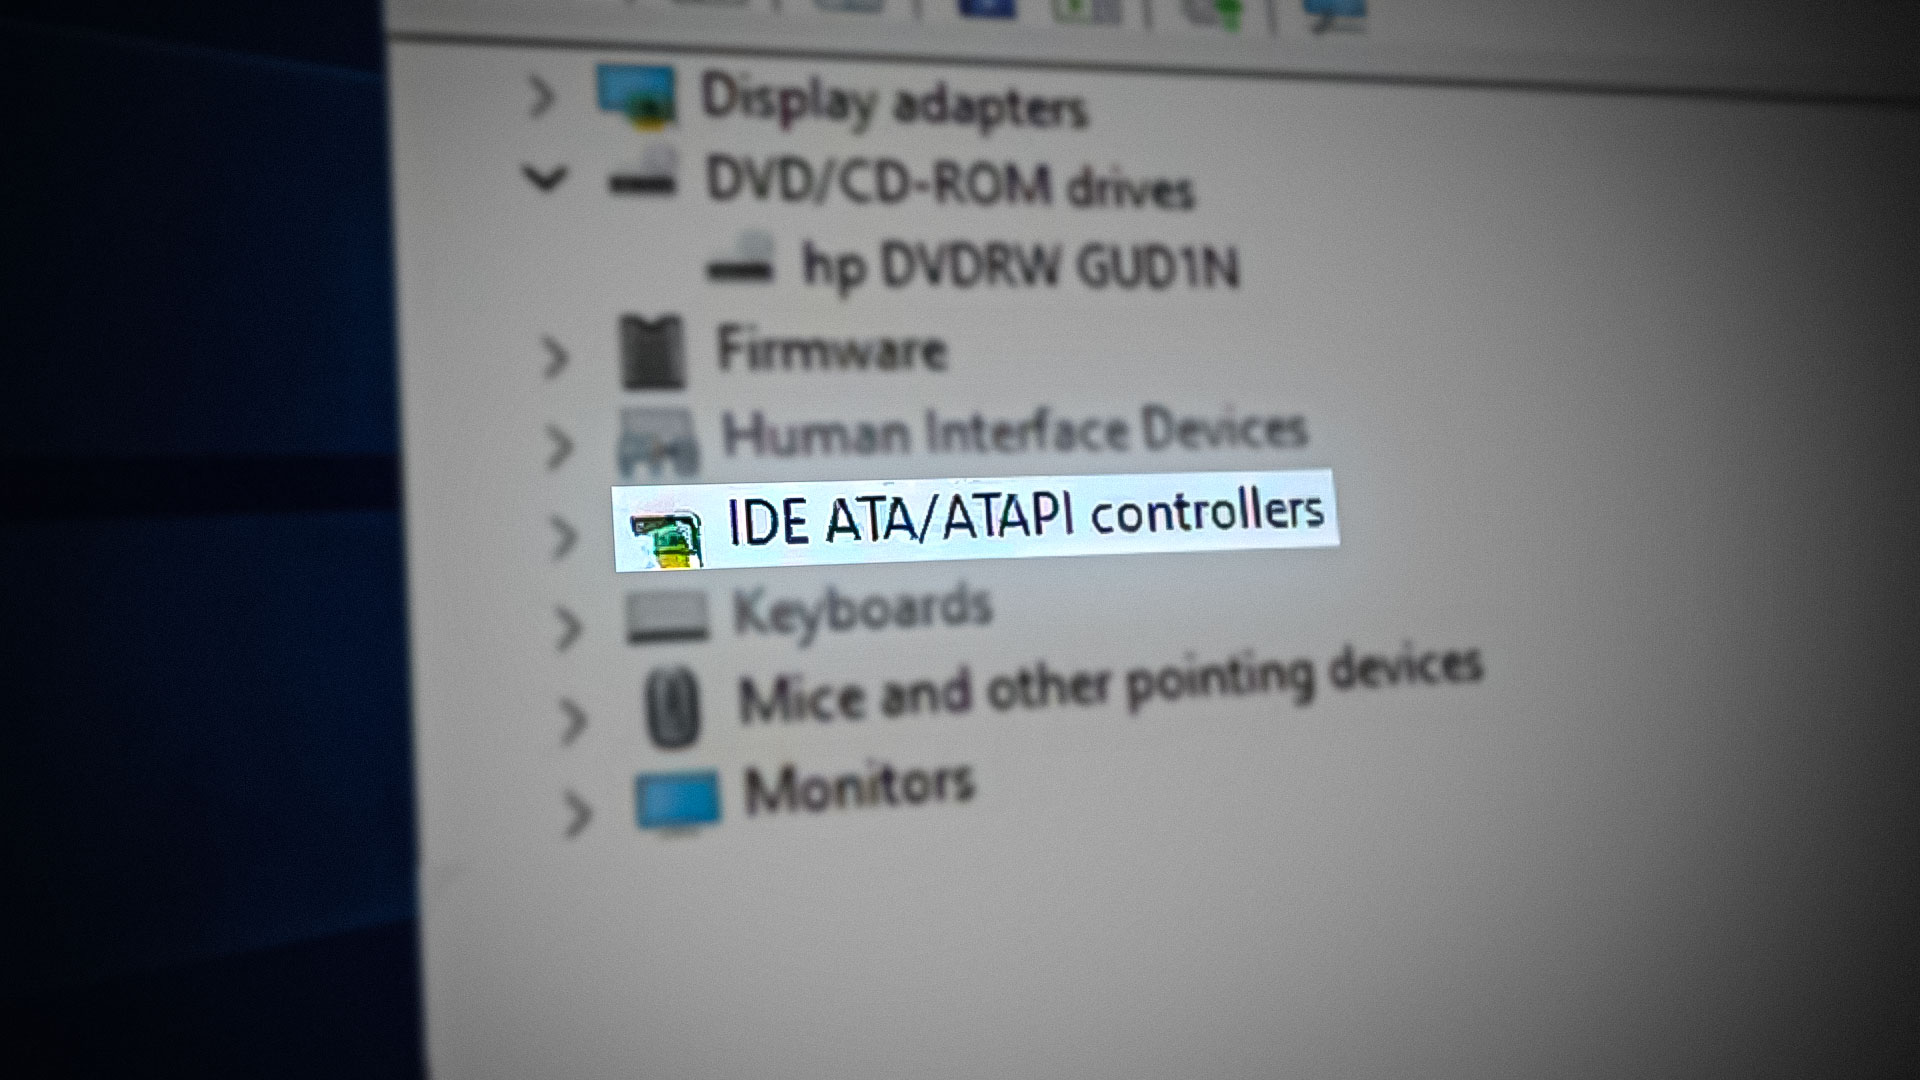
Opening Device Manager - Expand the “DVD/CD-ROM drives” section.
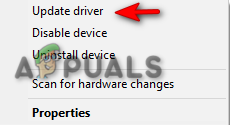
- Right-click your drive and select Update driver.
Updating the Driver - Select “Search automatically for updated driver software“.

Selecting the Driver Updating method - Follow the prompts to install any available updates.
- When finished, restart your computer to apply changes.
3.1. Manual Updating the Driver
- Press the Win key to open the Start Menu.
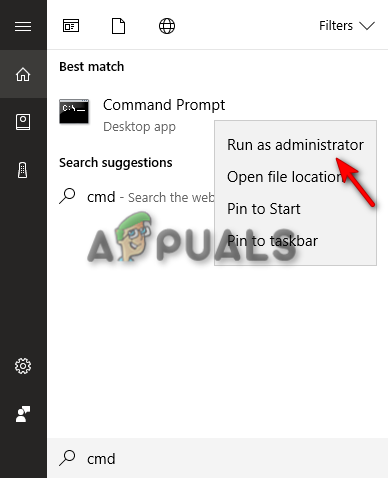
- Type “cmd” in the Windows search bar.
- Right-click on Command Prompt and choose “Run as administrator”.
Running the Command Prompt as an administrator. - Type the following command and press Enter to find your drive’s model number:
wmic cdrom get name
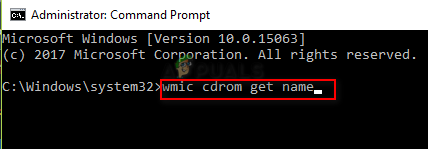
Finding CD ROM Model Number - Copy the model number, then open your web browser.
- Go to the manufacturer’s website for your CD/DVD/Blu-ray drive.
- Visit their “Download and Support” or “Downloads” page.
- Search for your drive’s model number.
- Download the newest driver compatible with your version of Windows (e.g. 64-bit).
- Open your browser’s downloads page.
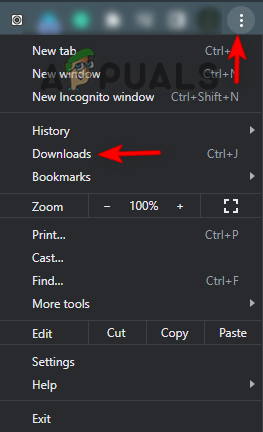
Opening the Downloads tab - Locate the downloaded file by choosing “Show in folder”.

Opening file location - Install the driver and restart your device once installation is complete.
4. Run Windows in Safe Mode
If the problem continues, you can try running Windows in Safe Mode. Safe Mode starts your computer with only the essential programs and drivers, which can help you isolate the cause of the issue.
- Press Win + R to open the Run dialog.
- Type “msconfig” and click OK to open System Configuration.
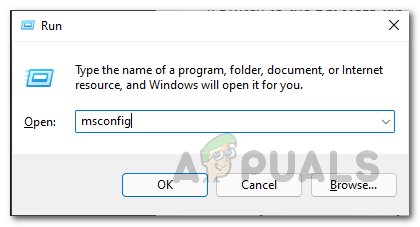
Opening System Configuration - Go to the Boot tab and check the “Safe boot” option.
- Select the “Minimal” option under Safe boot.
- Set the Timeout to your preference.
- Click Apply and OK.
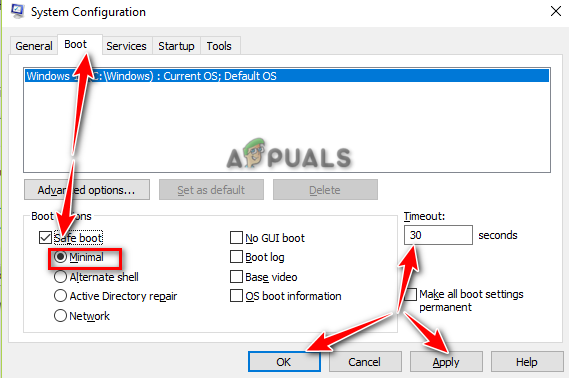
Booting System on Safe Mode - Restart your computer when prompted to continue in Safe Mode.

Restarting computer
5. Perform a Clean Boot and Disable Problem Services
If Safe Mode helps and the error does not occur there, you should try doing a Clean Boot to further isolate the problem. Clean Boot starts Windows with a minimal set of drivers and startup programs.
- After the clean boot, check if the device works. If it does, a background service is likely causing the issue.
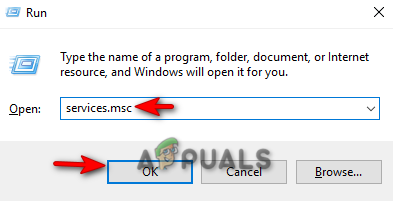
- Press Win + R to open the Run dialog.
- Type “services.msc” and click OK to open Windows Services.
Opening the Windows Services - Disable services one by one to identify which is causing your drive not to be recognized.
- If you use the “Asustek Lighting” service, this service is known to cause such errors.
- Right-click on the problematic service and select Properties.

Opening the Service properties - Change the “Startup type” dropdown to Disabled.
- Click Apply and OK to finish.
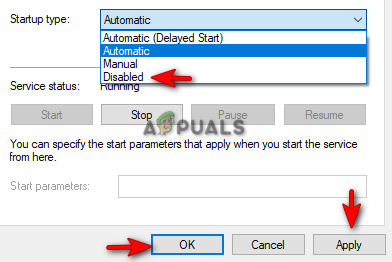
Disabling the service
6. Reinstall the Driver
If you’re still encountering the error after trying the above steps, the final solution is to reinstall the driver. Here’s how:
- Open the Run dialog by pressing Win + R.
- Type “devmgmt.msc” and click OK to open Device Manager.
Opening Device Manager - Expand the “DVD/CD-ROM drives” section.
- Right-click on your device and select Uninstall.
- Restart your computer. Windows will reinstall the missing driver automatically.


