Fix: Agent Activation Runtime_15831 High CPU & Memory Consumption
Agent Activation Runtime_15831 can make your computer run very slowly. You might notice this because it uses a lot of CPU and memory in Task Manager, even when you are not doing anything. This process is linked to the AarSvc service, which is used by Cortana and other voice features in Windows.
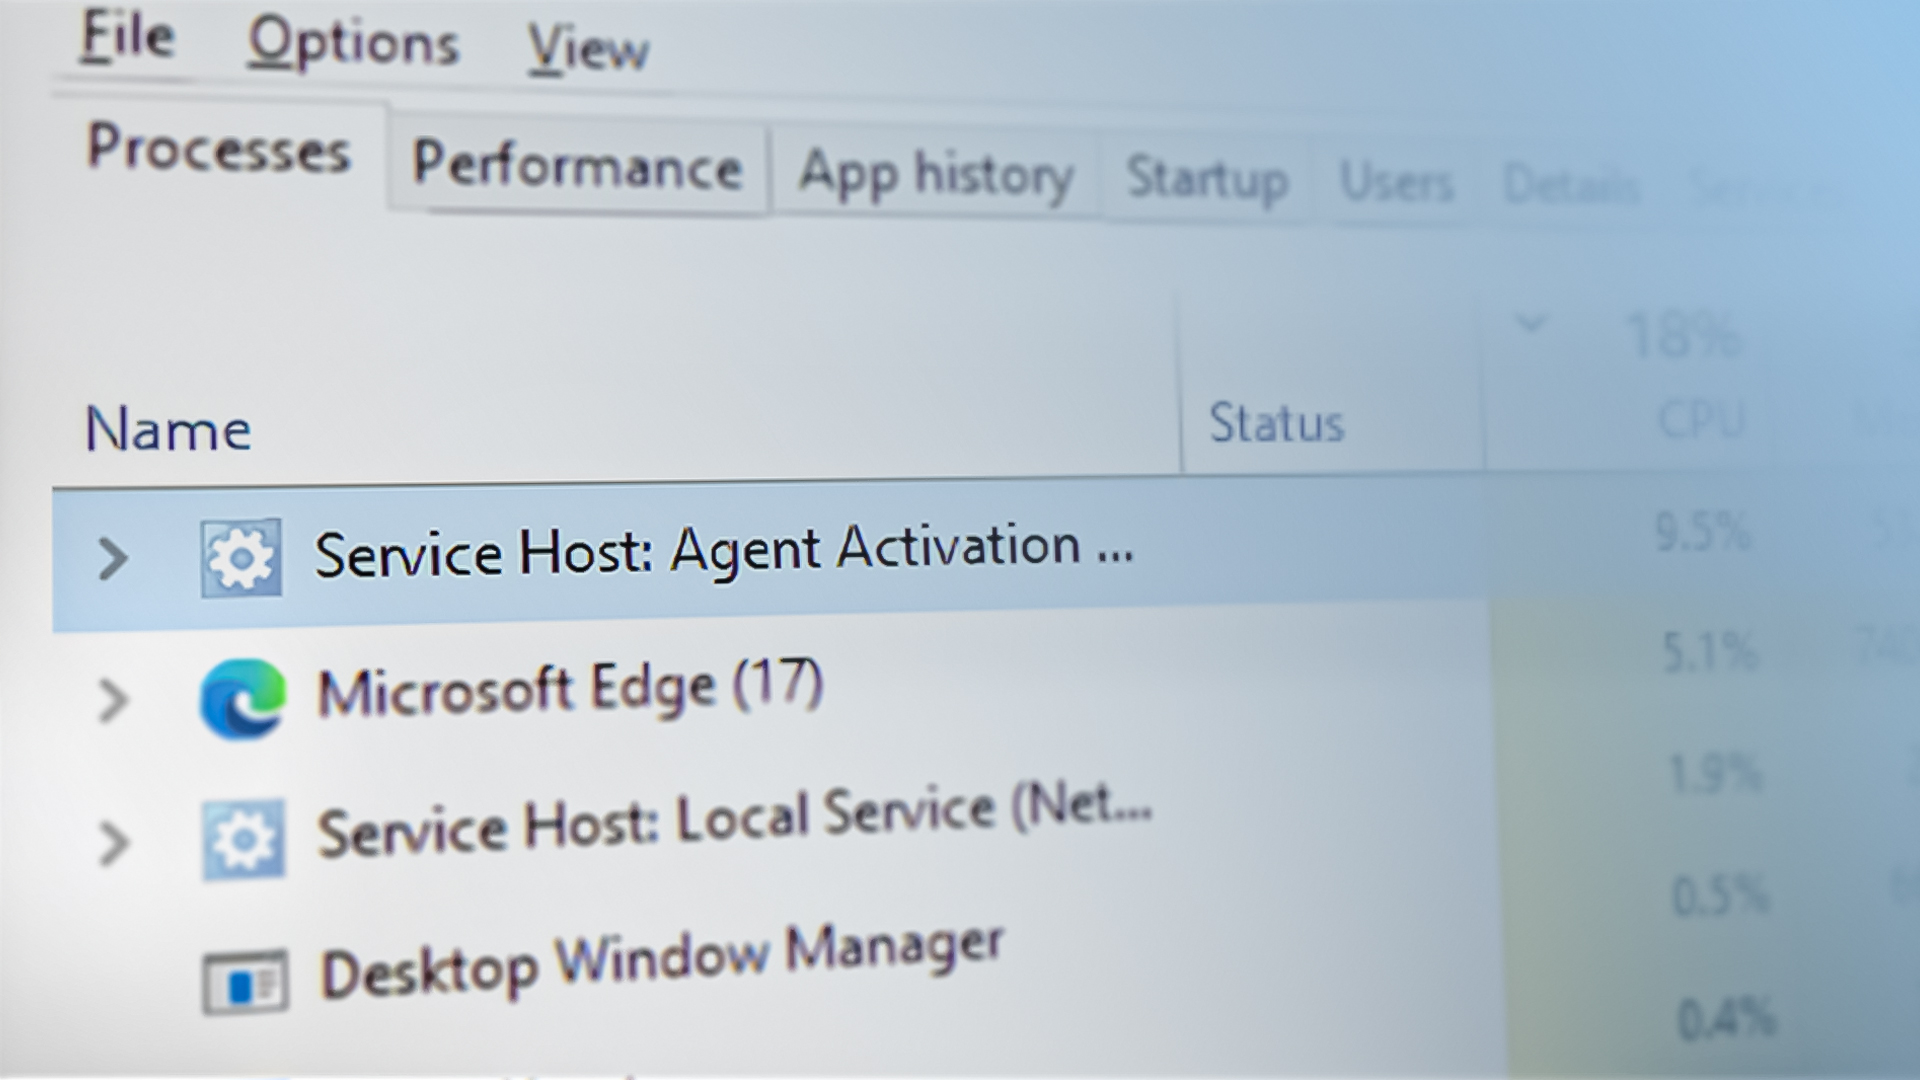
The main reason for this problem is usually that Cortana is running in the background or starts automatically when your computer turns on. Other possible reasons are damaged audio drivers or a Windows Audio service that is not responding properly.
In this article, we will discuss different ways to solve this error.
1. Disable and Enable the Audio Service
Agent Activation Runtime may cause high CPU usage if your audio service is not functioning correctly. Since Cortana relies on this audio service (and Agent Activation Runtime interacts with Cortana), restarting the audio service can help resolve any temporary glitches.
- Press the Windows key and type “Command Prompt” in the search box. Hover over Command Prompt in the results and choose Run as Administrator from the options on the right.
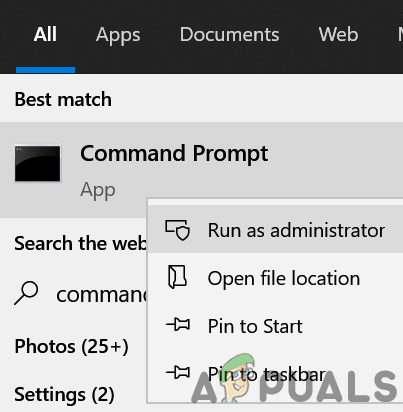
Open Command Prompt as Administrator - Type each of the following commands one by one, pressing Enter after each:
net stop audiosrv

net start audiosrv
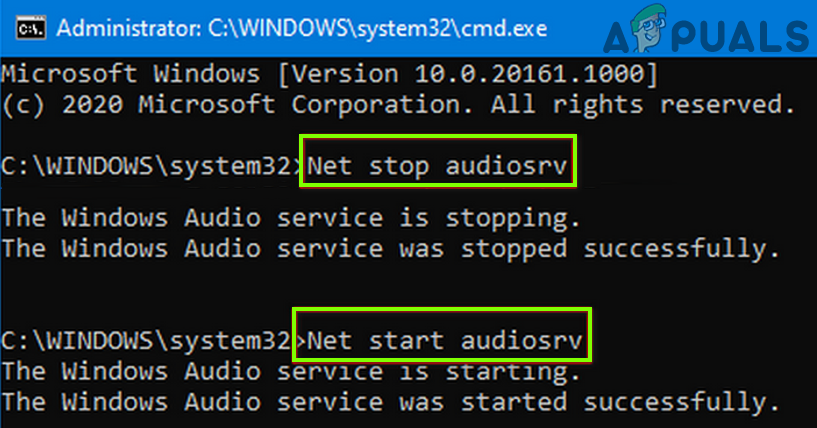
Stop and Start the Audio Service Through the Command Prompt - Close the Command Prompt and check if Agent Activation Runtime’s CPU usage has decreased.
2. Sign Out of Cortana and Disable it at Startup
The Agent Activation Runtime issue can occur if Cortana is being called repeatedly by the Agent Activation service. Signing out of Cortana and preventing it from running at system startup can help resolve the problem.
2.1. Sign Out of Cortana
- Press the Windows key, type and open Cortana. You can also click the Cortana button on the taskbar if it’s available.

Open Cortana - In the Cortana window, click the three horizontal lines (menu) at the top left and choose Sign Out.
- Confirm your decision to sign out of Cortana, then right-click on the Taskbar.
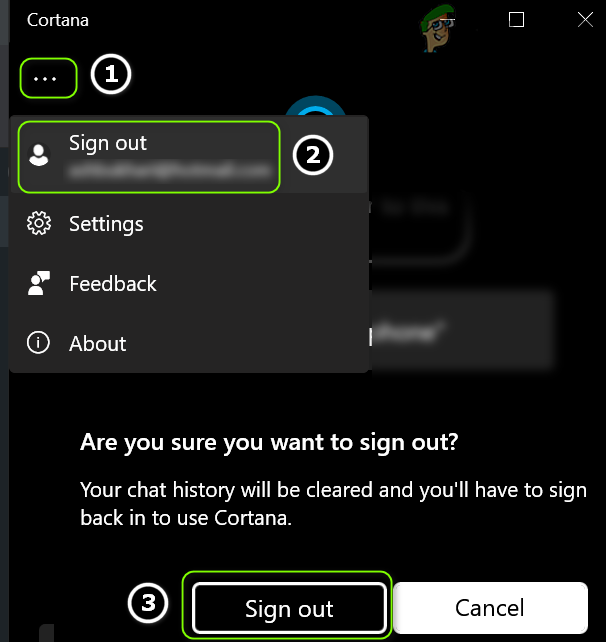
Sign Out of the Cortana - Now, from the menu, uncheck Show Cortana Button and see if the Agent Activation Runtime’s CPU usage returns to normal.
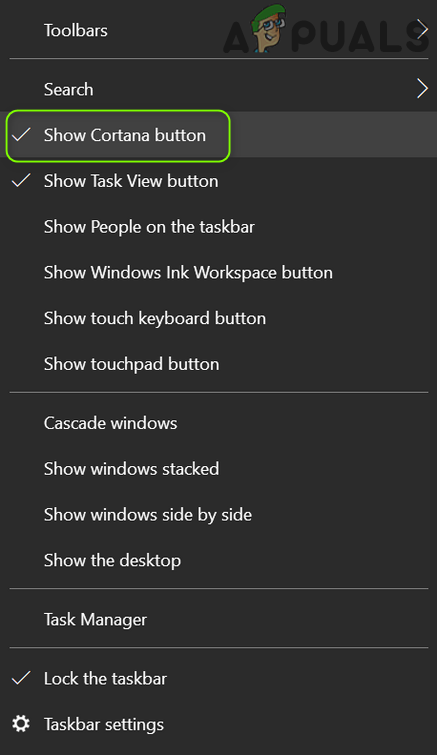
Uncheck the Show Cortana Button Option
2.2. Disable Cortana at System Startup
- Right-click the Start button and select Task Manager from the Quick Access menu.
- Go to the Startup tab, select Cortana, and click Disable (located at the bottom right).

Disable the Cortana Application in the Startup tab of the Task Manager - Then, press the Windows key and search for Cortana. Right-click on Cortana in the search results and choose App Settings.
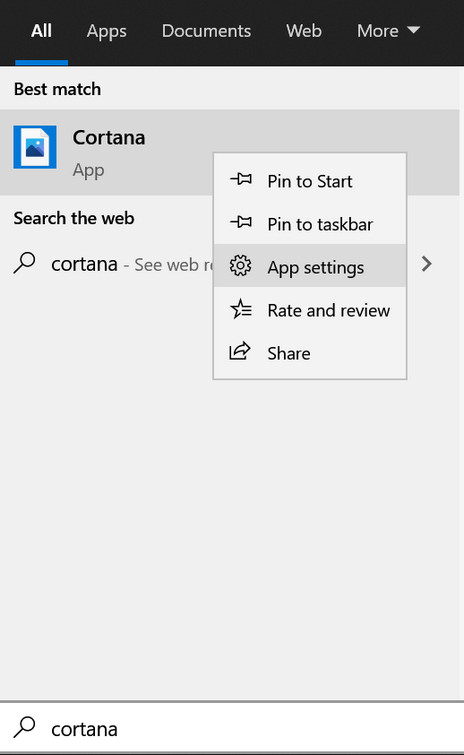
Open App Settings of Cortana - Locate Runs at log-in and switch it to Off. Now, restart your PC.
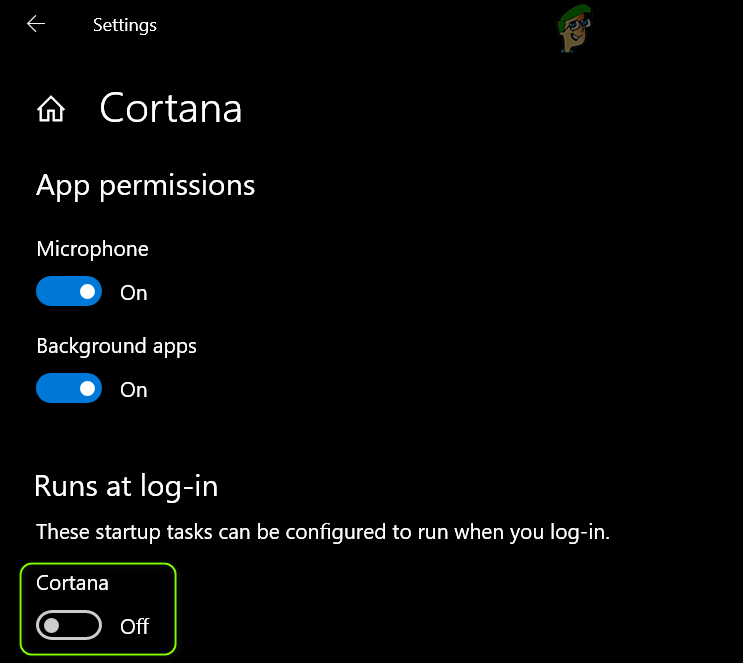
Disable Cortana in the Runs at Log-in Section - After rebooting, check whether the Agent Activation Runtime issue has been resolved.
3. Reinstall the Sound Driver
A faulty or corrupted sound driver can lead to unusually high CPU usage by Agent Activation Runtime, as it’s critical for Cortana and audio-related processes. Reinstalling your sound driver may help fix this problem.
- First, download the latest sound driver for your system from your device manufacturer’s website.
- Right-click the Start button to open the Quick Access menu and select Device Manager.
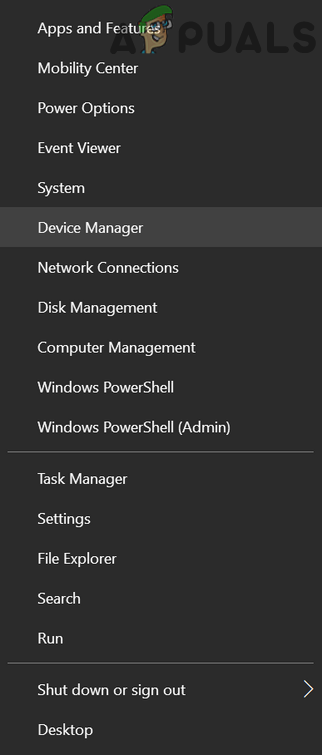
Open the Device Manager of Your System - Expand Sound, Video, and Game Controllers and right-click your audio device.
- Select Uninstall Device. In the popup, make sure to check Delete the driver software for this device.
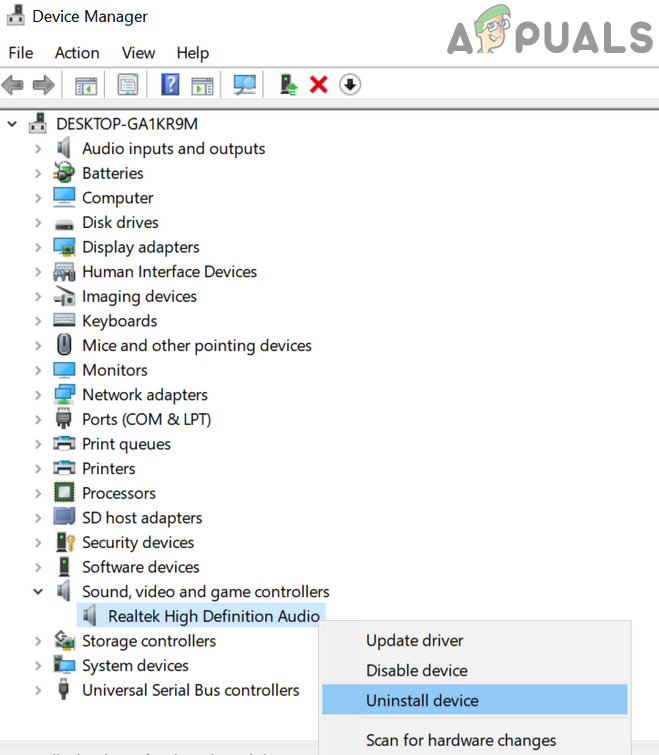
Uninstall the Audio Device - Click Uninstall and let the process complete.
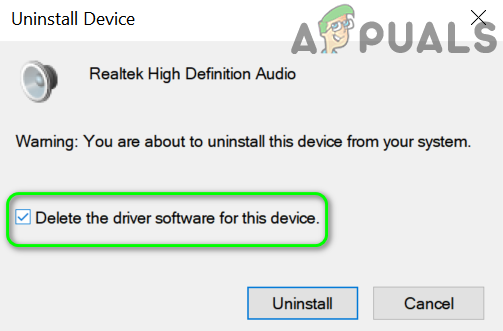
Check Delete the Driver Software for This Device for the Audio Device - Once the driver is uninstalled, check if the high CPU usage issue goes away.
- Restart your PC and let Windows automatically install its default sound driver.
- Check if the CPU usage from Agent Activation Runtime is back to normal.
- If the issue persists, install the driver you downloaded earlier as an administrator and check again.
If the problem goes away after uninstalling the sound driver but returns after reinstalling it, consider keeping your sound device uninstalled or disabled until you need it.
4. Disable the Agent Activation Runtime Service
If the Agent Activation Runtime service is stuck or in an error state, disabling it altogether might solve the issue.
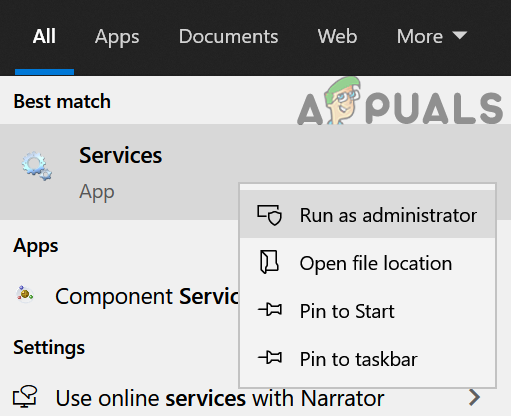
- Press the Windows key, type Services and right-click on the Services result. Choose Run as Administrator.
Open Services as Administrator - Find and right-click on the Agent Activation Runtime service. For different users, it may appear as Agent Activation Runtime_XXXXX (where XXXXX are random numbers/letters).
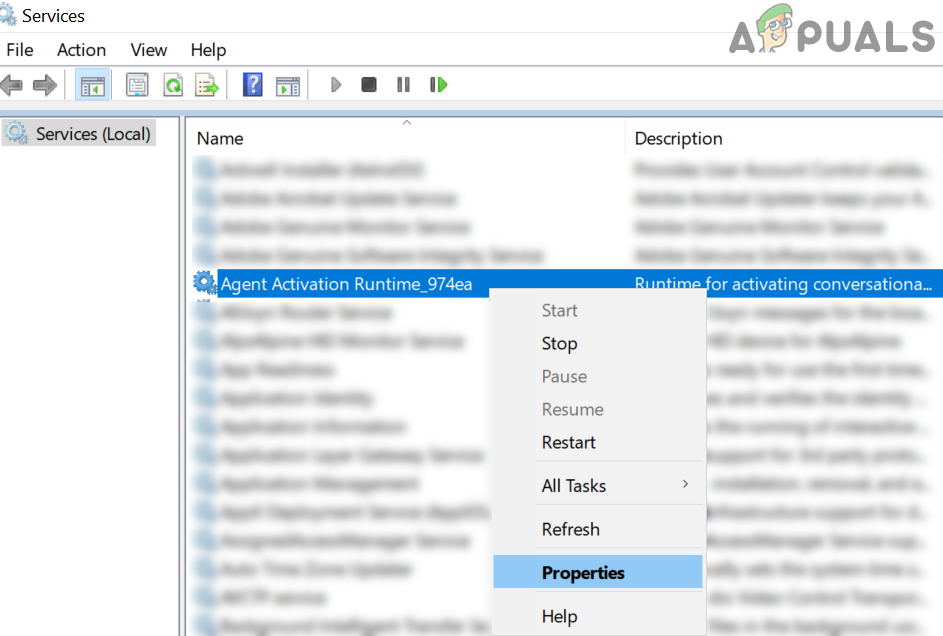
Open Properties of the Agent Activation Runtime Service - Choose Properties, then set Startup type to Disabled.
- Click Stop and then Apply.
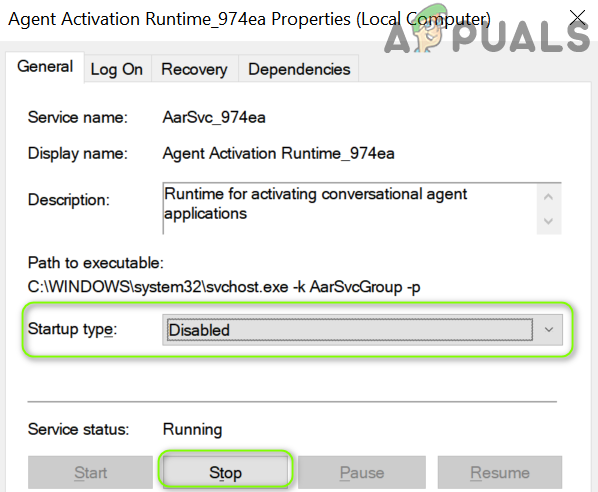
Change the Startup Type of the Agent Activation Runtime Service to Disabled and Stop it - Reboot your computer and check if the issue has been resolved.
5. Edit the System Registry
If the problem still exists or if you’re unable to change the service’s startup type because it’s greyed out, editing the Windows Registry can help—just proceed very carefully.
Warning: Editing the Registry is risky and, if not done correctly, can cause serious problems. Only continue if you are comfortable making these changes.
- First, stop the Agent Activation Runtime service as explained in Solution 4.
- Press the Windows key and type “Registry Editor” in the search bar. Right-click the Registry Editor result and choose Run as Administrator.
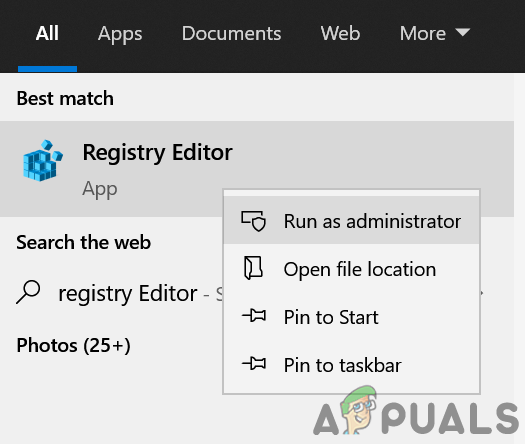
Open Registry Editor as Administrator - Navigate to this path:
Computer\HKEY_LOCAL_MACHINE\SYSTEM\CurrentControlSet\Services\
- In the left pane, click on AarSvc. In the right pane, double-click the Start value.
- Change the value data to 4 and close the dialog.
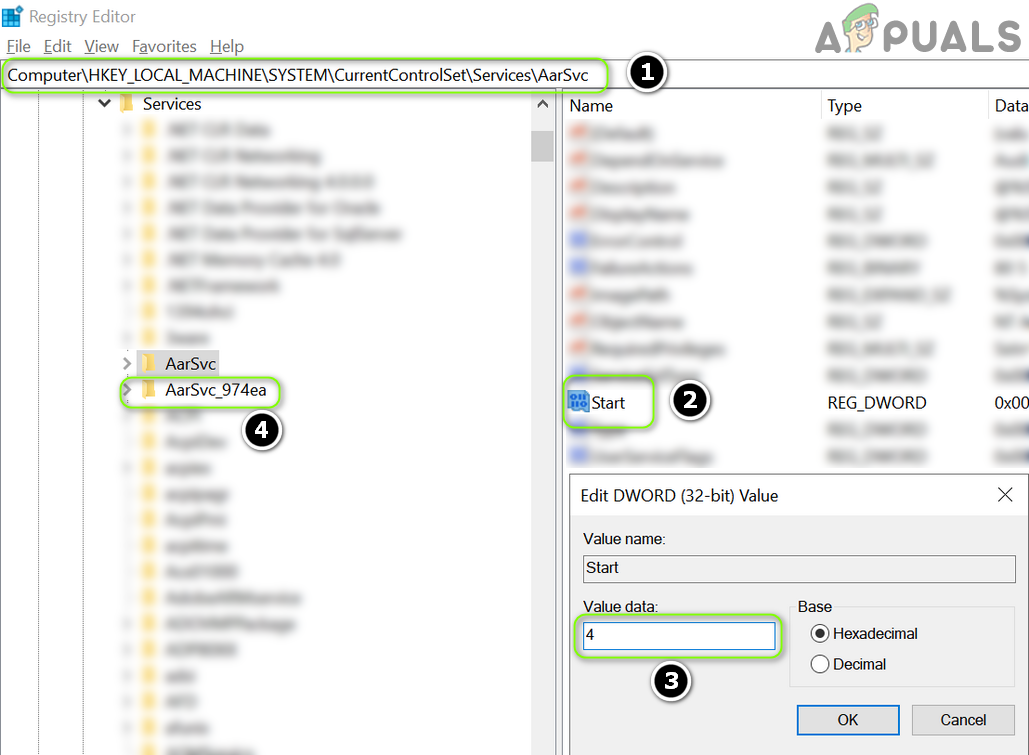
Set Value of the Start of the AarSvc to 4 in the System’s Registry - Next, find the key named AarSvc_XXXXX (where XXXXX is a random combination of letters/numbers, like AarSvc_974ea) and double-click the Start value in the right pane.
- Again, change the value to 4 and close Registry Editor.
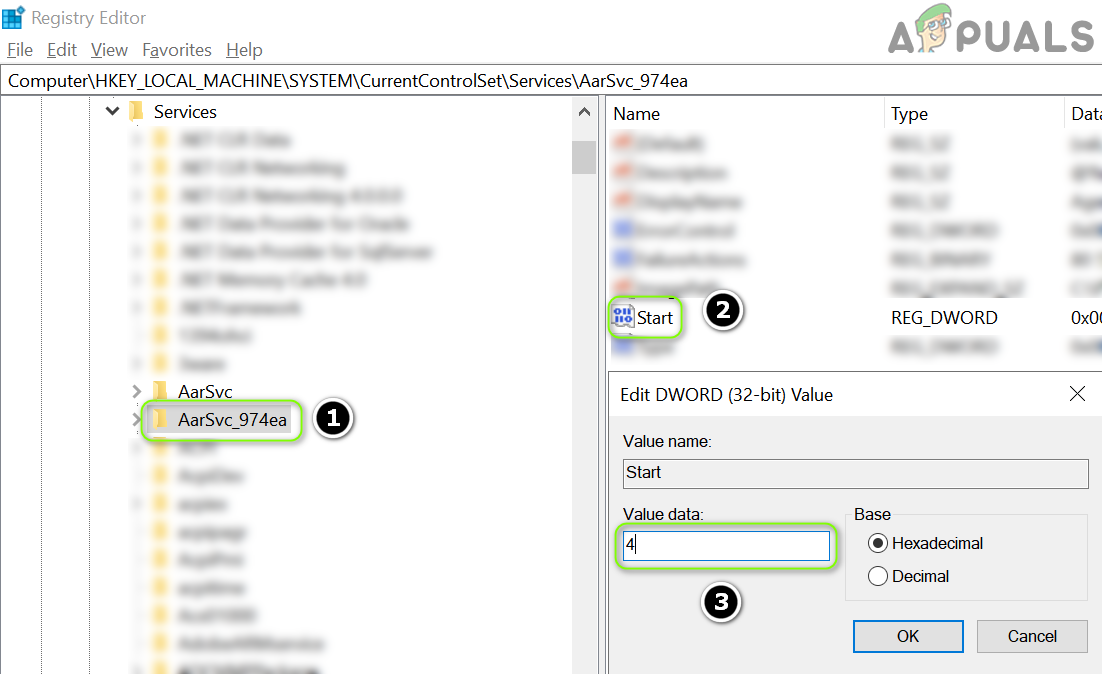
Set the value of the Start of the AarSvc_15831 to 4 in the System’s Registry.png - Restart your PC. Hopefully, this will resolve the Agent Activation Runtime issue.


