How to Access the BIOS on Different Motherboard Manufacturers?
What Key Do I Press to Access the BIOS on My Computer
Accessing the BIOS (Basic Input/Output System) on your computer allows you to configure essential system settings, such as boot order, hardware compatibility, and security options. The specific key or key combination required to enter the BIOS setup varies depending on your computer’s motherboard manufacturer and model.

Below, you will find a comprehensive list of common key combinations for popular motherboard manufacturers.
BIOS Access Keys for Different Manufacturers
- ASRock: F2 or DEL
- ASUS: F2 for all PCs; F2 or DEL for motherboards
- Acer: F2 or DEL
- Dell: F2 or F12
- ECS: DEL
- Gigabyte / Aorus: F2 or DEL
- HP: Esc, F1, or F10
- Lenovo (Consumer Laptops): F2 or Fn + F2
- Lenovo (Desktops): F1
- Lenovo (ThinkPads): Enter, then F1
- MSI: DEL for motherboards and PCs
- Microsoft Surface Tablets: Press and hold the volume up button
- Origin PC: F2
- Samsung: F2
- Toshiba: F2
- Zotac: DEL
Important: Exercise caution when modifying the BIOS settings. Incorrect adjustments can lead to system instability or prevent your computer from booting. If you are unfamiliar with BIOS functions or uncertain about making changes, seek assistance from a qualified technician.
1. Acess the BIOS Using a BIOS Key
To enter the BIOS, you typically need to restart your computer and press a specific key or key combination at the beginning of the boot process.
- Restart your computer.
- As the computer begins to boot, watch for a message on the screen (often near the bottom) indicating which key or key combination to press to enter the BIOS. The message generally appears briefly, so pay close attention.
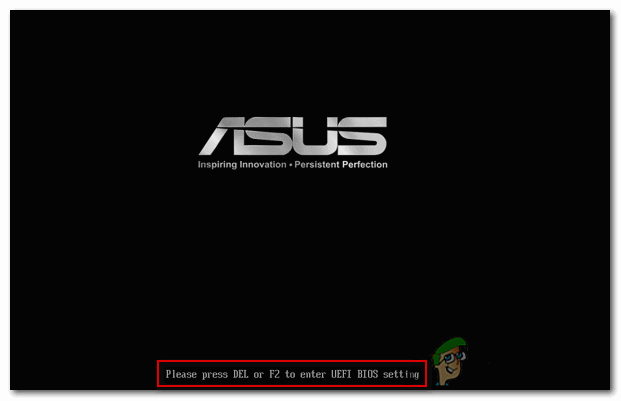
message that indicates which key or key combination you need to press to enter the BIOS - Press the indicated key or key combination as soon as the message appears. This will open the BIOS menu.
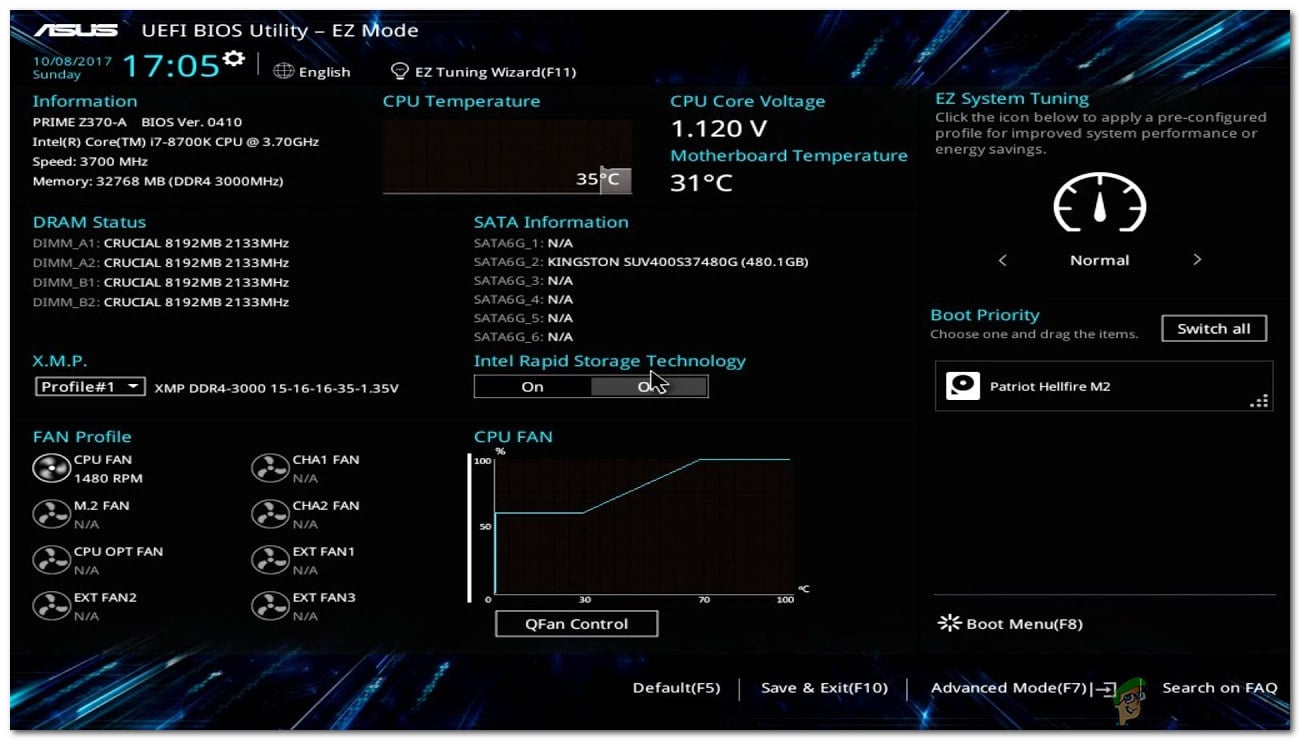
BIOS menu for asus Motherboards - Navigate the BIOS menu using the arrow keys or the Tab key. Explore available settings, but be careful when making changes.
- Apply any desired changes to the BIOS settings.
- Save your changes and exit the BIOS. Look for options like “Save and Exit,” often accessible by pressing F10 or selecting from a menu.
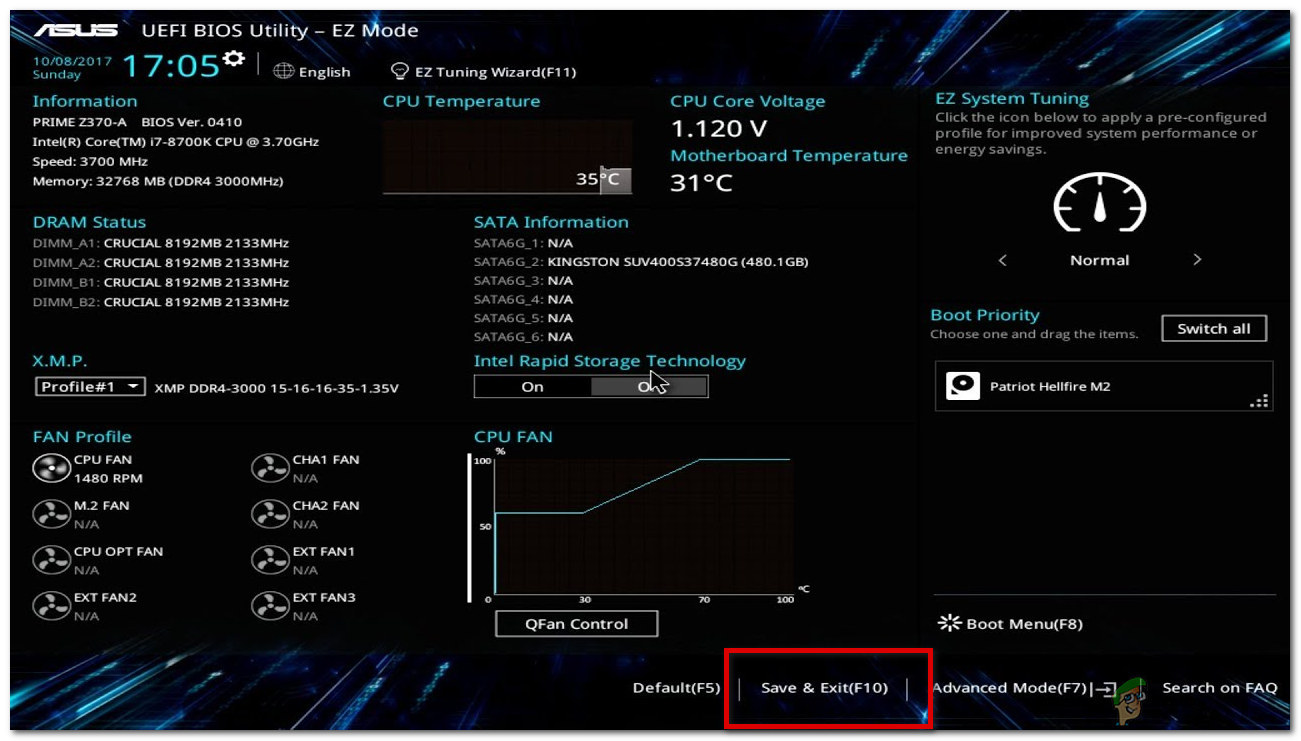
save and exit
2. Access the BIOS Using the Advanced Startup Menu (for UEFI-Based Systems)
If your computer is UEFI-based, you can access the BIOS through Windows’ Advanced Startup options. Use this method to avoid pressing keys during the boot process.
How to check if your system supports UEFI:
- Press the Windows key or click the Windows icon. Type “run” and select the Run app.
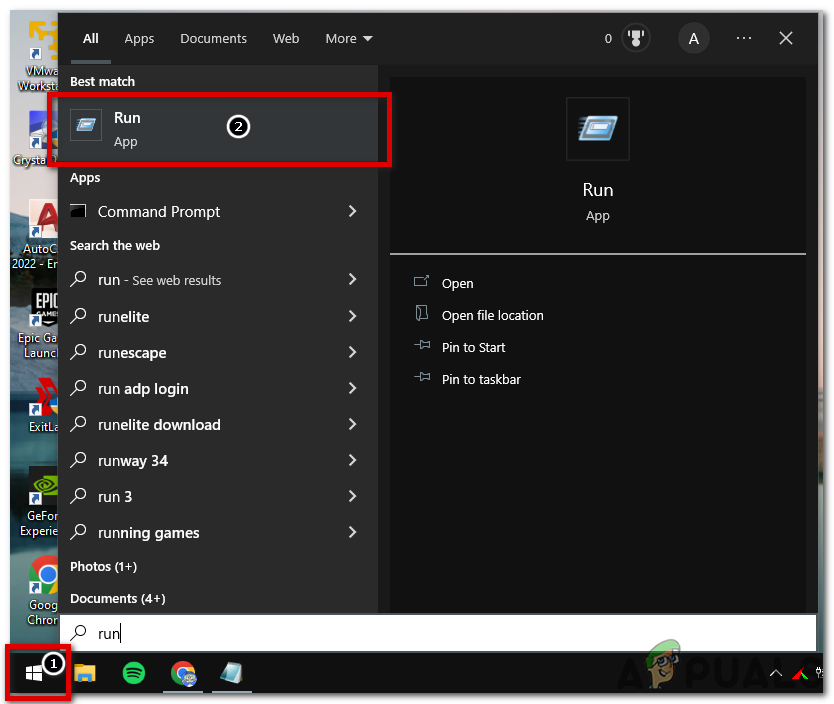
- In the Run window, type “msinfo32” and click OK.
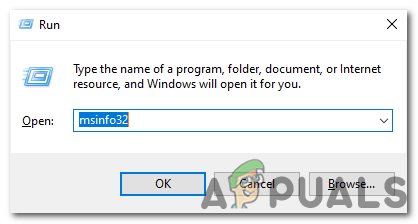
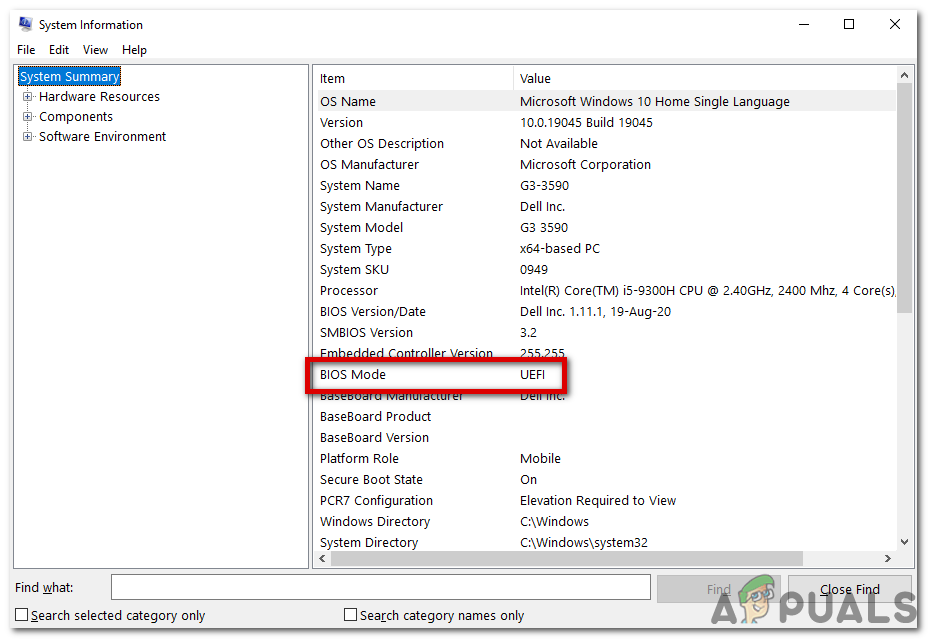
- Within the System Summary, check the BIOS Mode value. It will display either “Legacy” or “UEFI”.
- Legacy means your hardware does not support UEFI, or UEFI is disabled for compatibility reasons.
- UEFI confirms that your system supports UEFI features.
If your system is UEFI-based, follow these steps to access the BIOS via the Advanced Startup Menu:
(For more information on your motherboard, see our detailed guide here.)
- Press Windows key + I to open the Settings app.

system settings - Click on “Update & Security“.
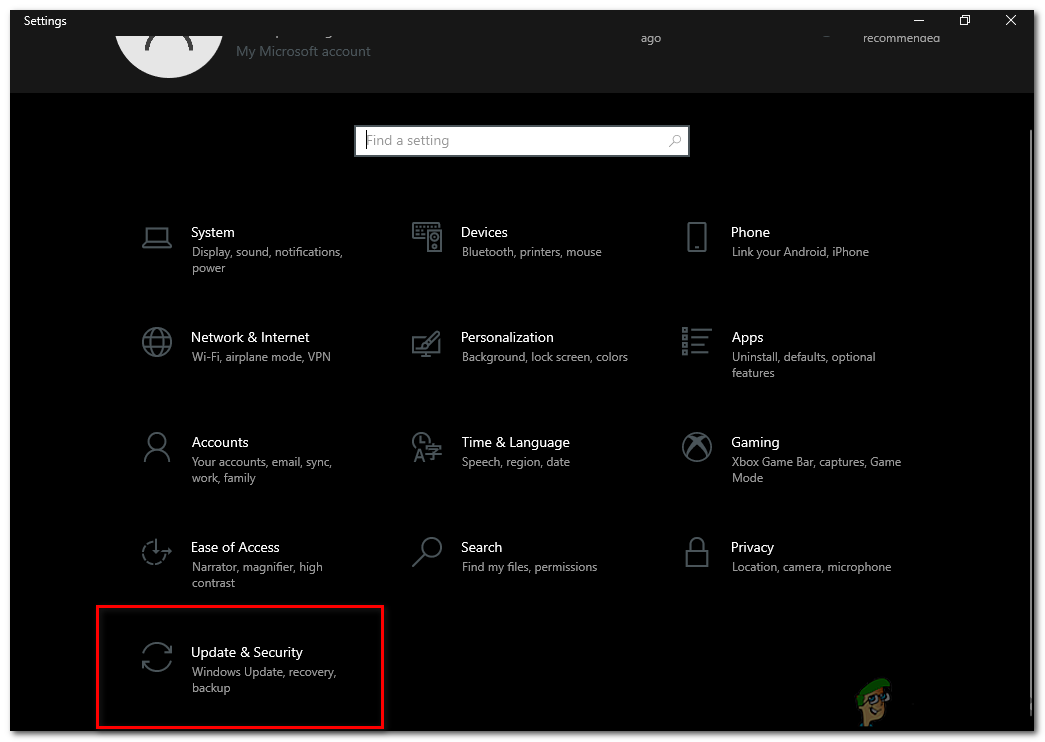
Update & Security - Select “Recovery” from the left pane.
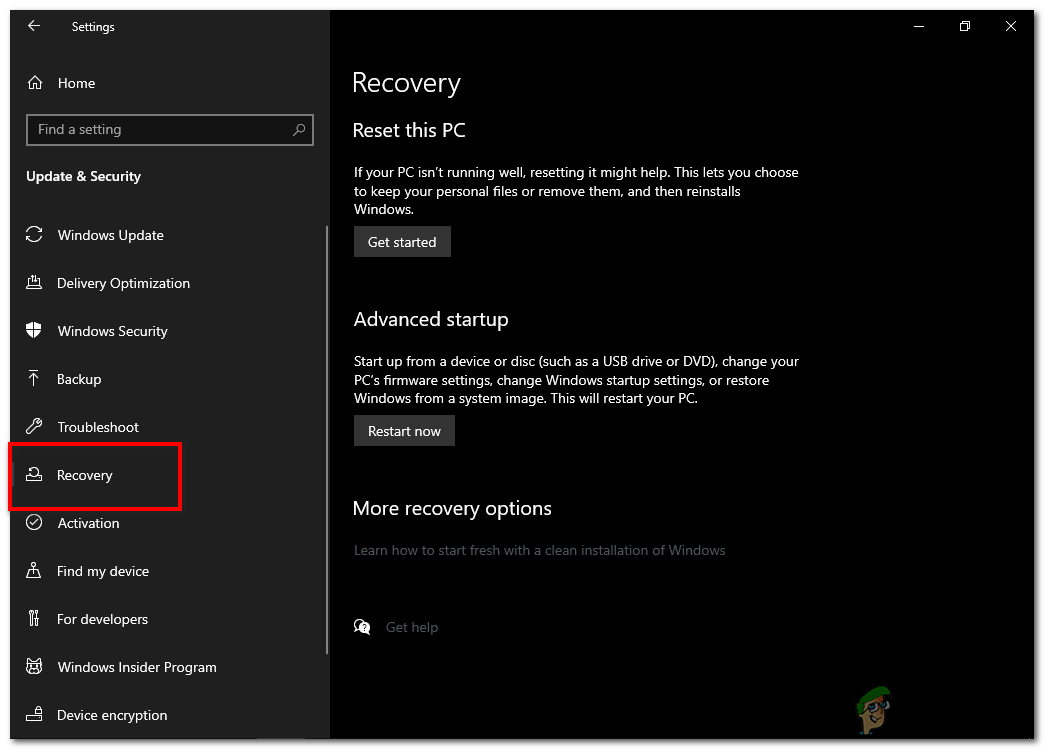
“Recovery” in the left panel of Update & Security - Under “Advanced startup“, click on “Restart now“.
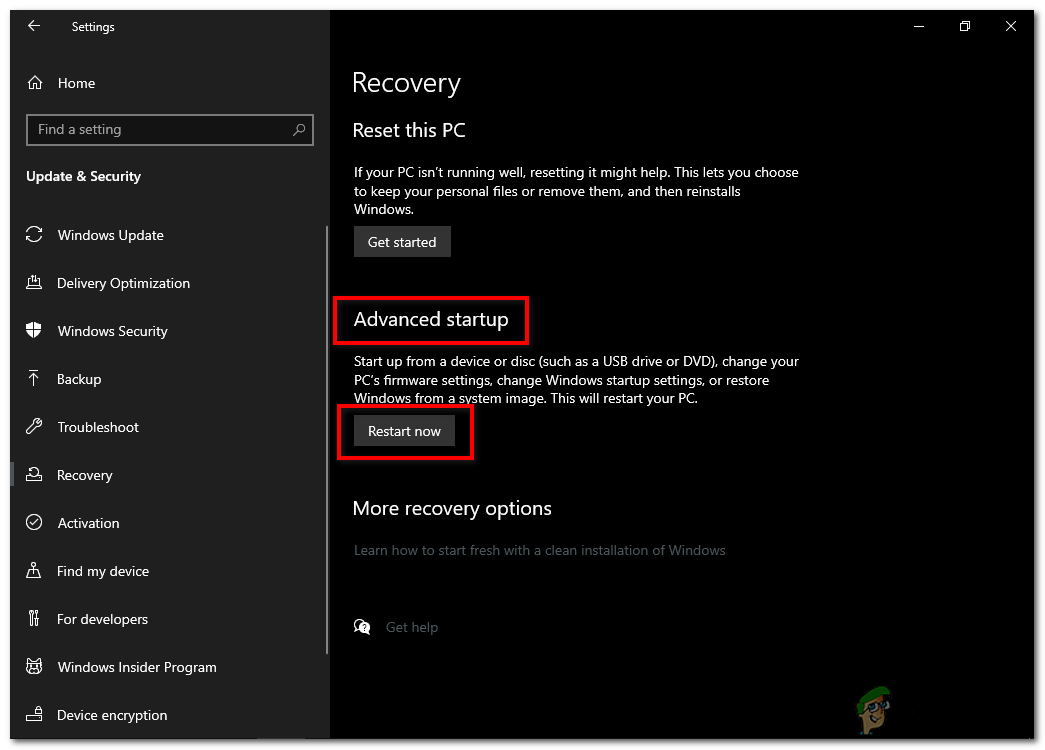
advance startup restart button - After your computer restarts, a menu will appear. Select “Troubleshoot“.
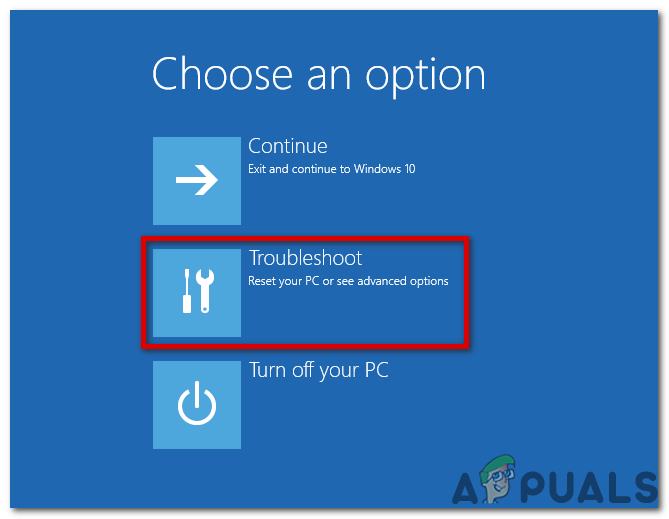
Click on “Troubleshoot” - Choose “Advanced options“.
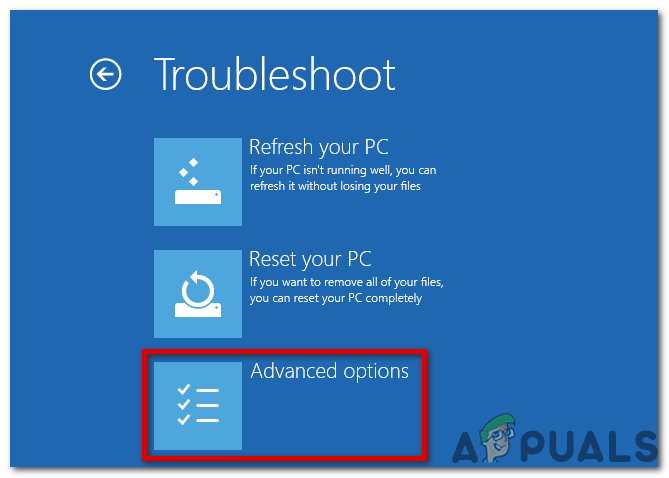
Click on “Advanced options” - Select “UEFI Firmware Settings“.
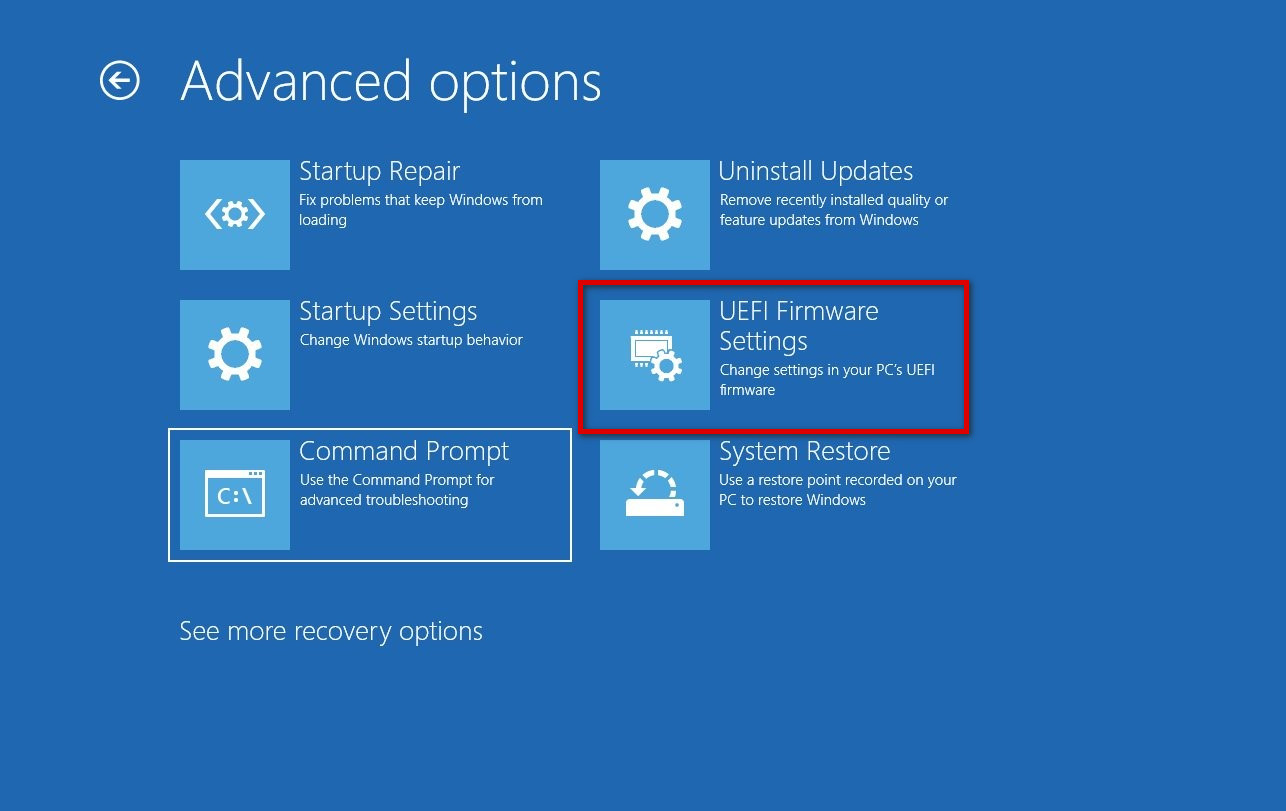
Click on “UEFI Firmware Settings” - Click “Restart“.

Click on the “Restart” button - Your computer will restart and automatically enter the BIOS setup utility.


