Fix: “A device which does not exist was specified” on Windows
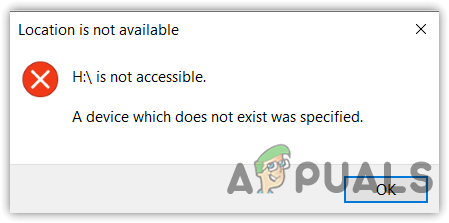
The error message “A device which does not exist was specified” appears when attempting to open, format, or initialize a drive that is visible in Disk Management but does not respond. This message indicates that the system cannot connect to the device or its hardware interface.
The most common cause is a missing or corrupted device driver. Other potential causes include bad sectors on the drive, counterfeit storage devices, or unstable USB or SATA connections.
1. Grant Proper Permissions to Access the Drive
This error commonly occurs due to insufficient user permissions. If you do not have the right permissions, you cannot access the drive, despite permissions usually being set automatically for both internal and external drives.
- Open File Explorer and right-click on the drive that is causing the error.
- Select Properties.
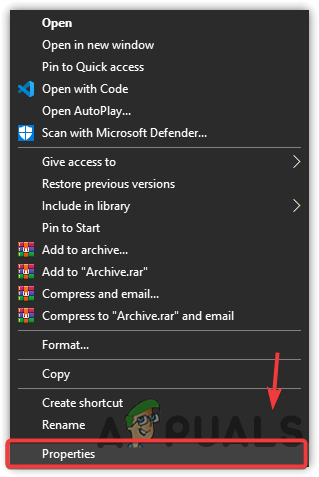
Opening Disk Properties - Navigate to the Security tab.
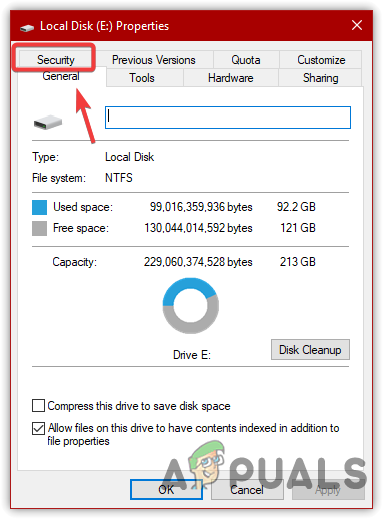
Navigating to Security - Click on Edit and check the Full Control box under Permissions for Authenticated Users.
- When finished, click Apply and then OK.
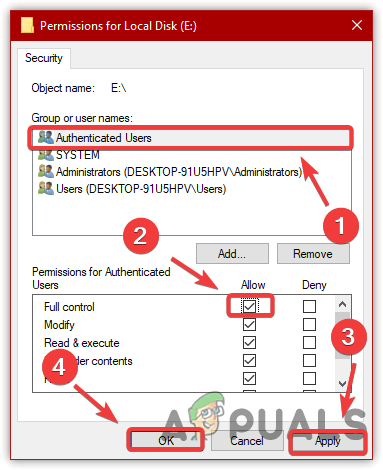
Editing Disk Permissions - After setting full control, try accessing the drive to verify whether the error has been resolved.
2. Change the Drive Letter
A conflicting or incorrect drive letter can trigger this error message. The letter that Windows assigns to your drive must be unique and not already in use.
- Press the Windows key, then type Disk Management and select it.
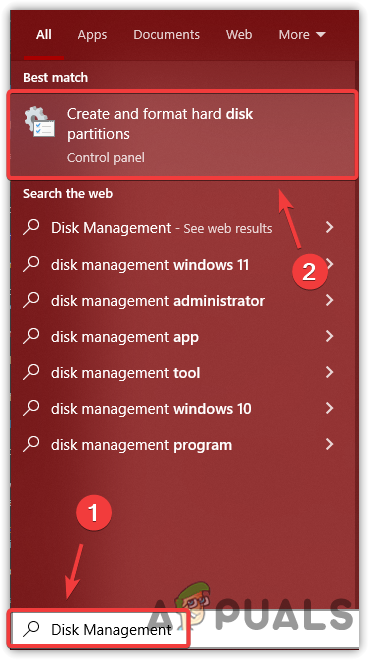
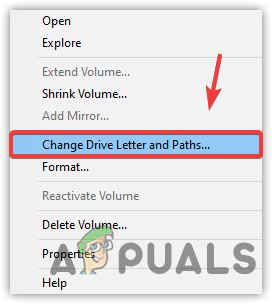
Opening Disk Management Utility - In Disk Management, locate and right-click on the problematic drive.
- Select Change Drive Letter and Paths.
Clicking Change Drive Letter and Path - Click Change in the window that appears.

Clicking Change - Select a new, unused drive letter from the available options.
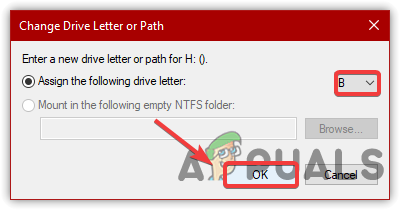
Changing Drive Letter - Click OK, and if prompted with a warning, select Yes.
- Try accessing the drive again to see if the problem is resolved.
Assigning a new letter helps resolve conflicts and ensures Windows can address the correct drive when you attempt access.
3. Uninstall and Reconnect the Device
If the previous solutions did not resolve the problem, reinstalling the device in Device Manager and physically reconnecting it can help. This process addresses any improper hardware connections and allows Windows to reinitialize the device driver, potentially correcting the error.
- Right-click the Start Menu and choose Device Manager.
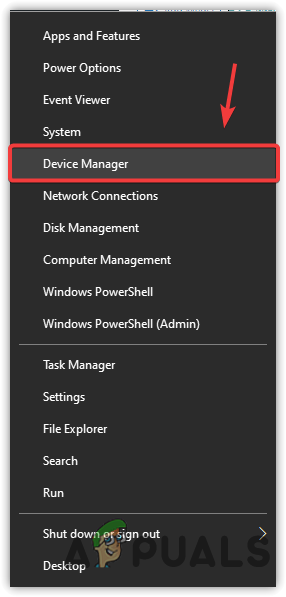
Opening Device Manager - Expand the Disk Drives category to view your connected drives.
- Right-click on the problematic drive and select Uninstall Device.
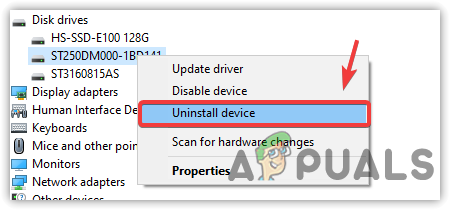
Uninstalling Hard Drive - Click Uninstall again to confirm.
- Shut down your computer and open the CPU case.
- Physically disconnect and reconnect the hard drive cables, ensuring a secure connection. Start your computer and check if the error is resolved.
This step ensures your hardware is properly connected and removes any driver-related errors by reinstalling the device.
4. Re-Scan Disks
If the above methods have not worked, use the “Rescan Disks” feature in Disk Management. This function prompts Windows to refresh its disk list, detect changes, and update disk information, which can resolve errors caused by outdated disk states.
- Open Disk Management by searching for it in the Start Menu.
Launching Disk Management Utility - Select the inaccessible hard drive.
- Click on Action in the menu, then choose Rescan Disks.
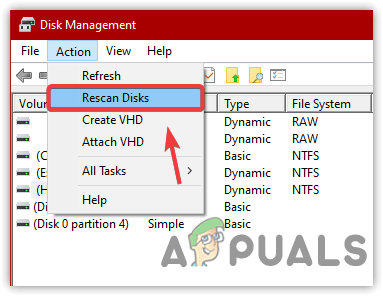
Rescanning Disk - Once finished, try to access your drive again to see if the issue has been resolved.
Rescanning helps Windows re-detect drives and may fix detection errors without requiring a system restart.
5. Re-create Disk Partition
If you still encounter the error, consider re-creating the disk partition using the built-in Diskpart utility. Please note that this process will erase all data on the affected disk. Only proceed if data recovery is not a priority or after backing up your data.
- Open the Start Menu, type “Command Prompt,” then right-click and select Run as Administrator.
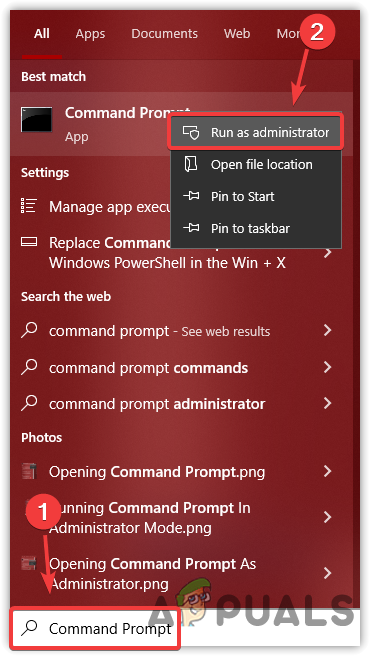
Opening Command Prompt With Administrator privileges - Type diskpart and press Enter.
- Type list disk and press Enter to display the disks.
- Note: After identifying the problematic disk, type select disk X, replacing X with your disk number (e.g., select disk 0).
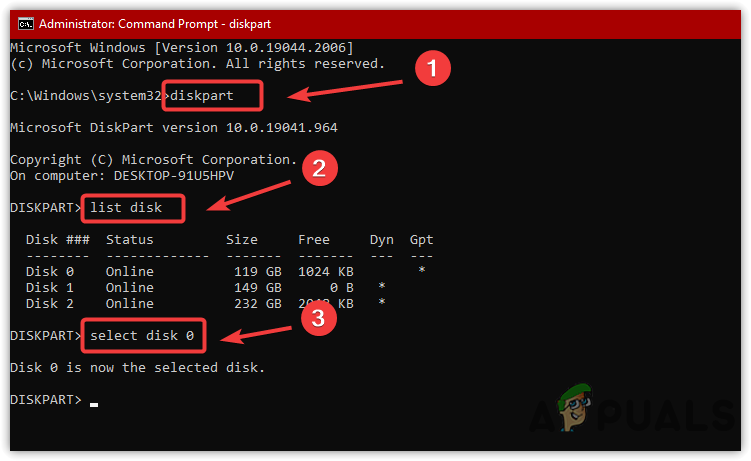
Selecting Disk - Execute the following commands one by one to clean and create a new partition:
clean
list disk
create partition primary
select partition 1
active
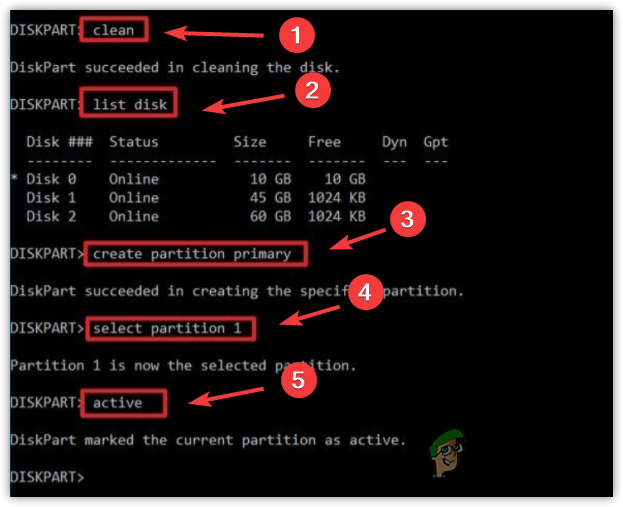
Creating A New Partition - Assign a new letter and format the partition by entering:
format FS=NTFS label=Data quick
assign letter=g

Assigning Letter to a Partition - Close the Command Prompt by typing exit and check if the issue has been resolved.
This process removes incorrect or corrupted partition data and creates a fresh, accessible partition that Windows can recognize.
6. Update Motherboard Drivers
Outdated motherboard chipset drivers can prevent hardware from functioning correctly, leading to errors such as this. Keeping your drivers up to date ensures compatibility and optimal performance for all connected devices.
- Press the Windows key, type msinfo32, and hit Enter to open System Information.

Opening System Information Window - Review your BIOS and chipset versions.
- If your BIOS version is outdated, visit the official website of your motherboard manufacturer, locate the latest drivers or BIOS updates, and follow the provided installation guidelines.
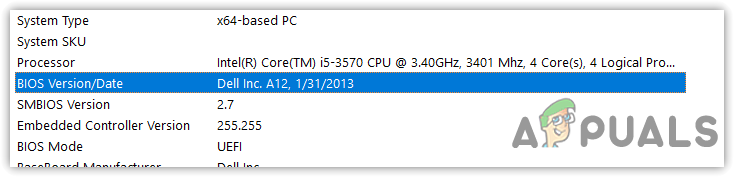
Checking Bios Version
Updating drivers enhances compatibility and can instantly resolve errors caused by legacy firmware or system files.
7. Replace Faulty Motherboard Headers
If none of the above solutions work, it is possible that a hardware issue—such as a malfunctioning motherboard header—is preventing your device from connecting correctly. In such cases, it is advisable to consult a professional technician to inspect and replace the faulty motherboard header as needed.


thanks