How to Fix Error 0x80073CFA When Uninstalling Apps on Windows
The uninstall process may abruptly fail at the end with error 0x80073CFA, especially when trying to remove Microsoft Store apps like Spotify or WhatsApp. This error means “Removal failed due to deployment operation being blocked,” typically caused by internal conflicts in the app deployment pipeline.

The most common cause is the installation of Windows App SDK version 1.6.2, which introduced a critical bug affecting app removals on Windows 10. Additionally, here’s detailed information about the causes.
- Windows Store Inconsistency – If you are seeing this problem only when trying to remove Universal Windows Platform (UWP) apps, there’s a good chance it’s caused by a glitch with the Windows Store. The quickest solution here is to run the Windows Store Troubleshooter and follow its recommendations.
- Corrupted Windows Store Cache – Sometimes errors happen if there is corruption in the Windows Store cache folder. In this case, running the wsreset.exe command can clear the cache and may fix the problem.
- Outdated Windows Version – Microsoft has already released updates to fix this bug, so it’s important to make sure your system is fully up to date. Install any pending updates before trying more advanced steps.
- Outdated Microsoft Store App – For security, Microsoft will block certain actions, like uninstalling some system apps, if your Microsoft Store app is not updated. Be sure all Microsoft Store updates are installed.
- System File Corruption – If you keep running into this error with different apps, it could mean some system files are damaged. Running SFC and DISM scans can help, and if problems persist, you may need to consider a repair install or clean install of Windows.
- Insufficient Account Permissions – The account you’re using might not have administrator rights, which are needed to uninstall certain apps. Creating a new admin account and using it to remove the app often resolves this issue.
- Demo Version Overlapping with Full Game – Sometimes, uninstalling a demo of a game you already own triggers this bug in the Microsoft Store. You can work around this by locating the demo’s files and deleting them manually.
- Incorrect PowerShell Command – If you’re using PowerShell to uninstall Windows 10 packages on Windows 11, make sure your command syntax is correct. We’ve included step-by-step instructions further down to help with this.
Now that we’ve reviewed the main causes, let’s walk you through some proven fixes you can try to solve this error.
1. Run the Windows Store Troubleshooter
If you only see this error when uninstalling UWP (Universal Windows Platform) apps, it could be due to a unique issue with the Windows Store. Running the Windows Store Apps troubleshooter can help find and automatically fix problems. This solution restores proper Microsoft Store operation for many people and lets you uninstall UWP apps without seeing Error 0x80073CFA.
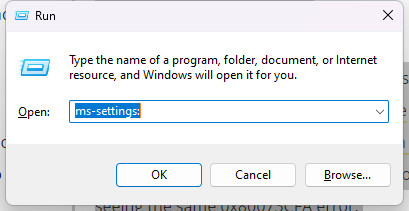
- First, open Windows Settings. To do this, press Windows key + R, type ms-settings: and press Enter. Alternatively, press Windows key + I or click the gear icon on your taskbar.
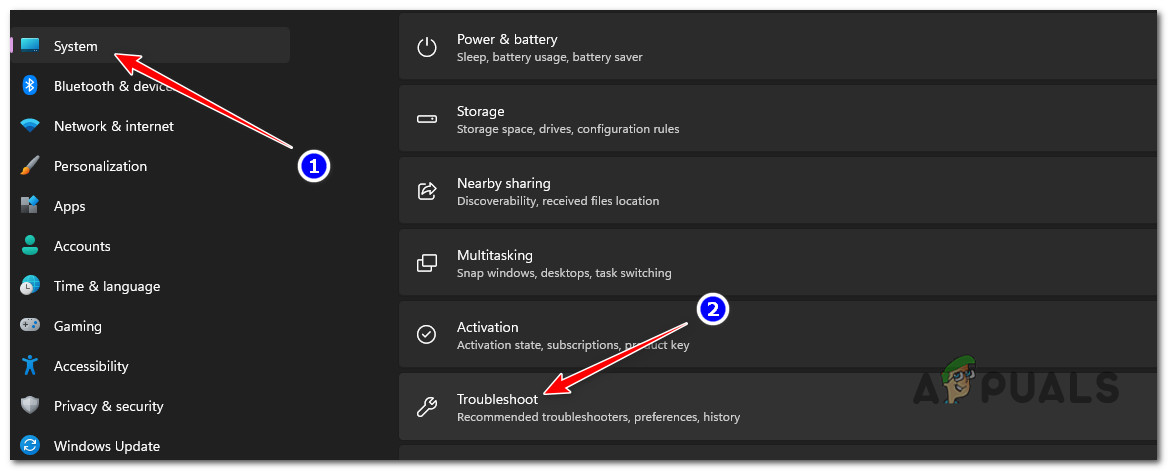
Open the Settings menu - In Windows Settings, click System from the left menu.
- On the right, scroll down and click on Troubleshoot.
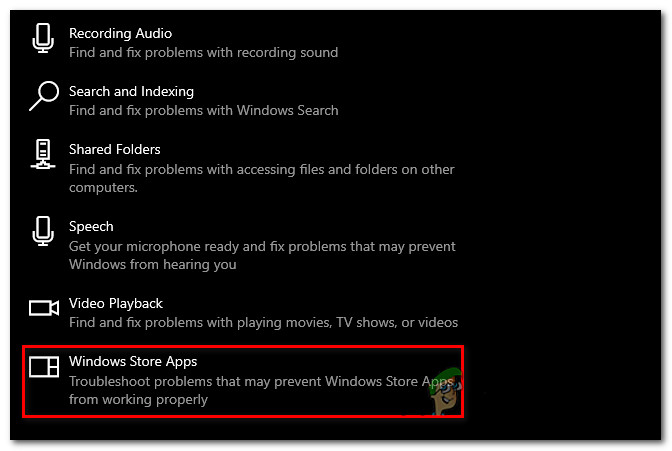
Accessing the Troubleshoot menu - Select Other troubleshooters to continue.
- Scroll down to find Windows Store Apps at the bottom.
- Click Run beside Windows Store Apps.
Access the Windows Store apps troubleshooter - Follow any on-screen instructions to complete troubleshooting.
- Afterwards, try uninstalling the app again to see if the error is fixed.
2. Run SFC and DISM
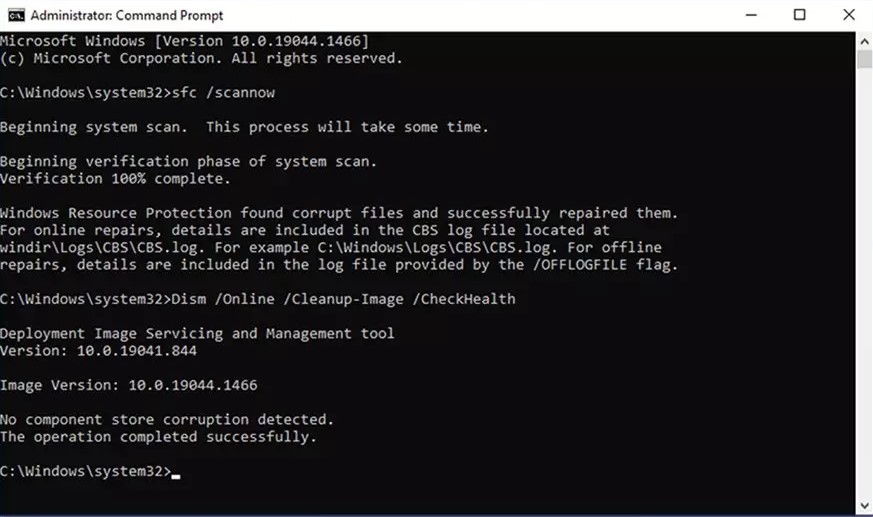
Corrupted system or Windows update files can cause update failures. Running the System File Checker (SFC) and Deployment Image Servicing and Management (DISM) utilities can help repair and restore corrupted files. SFC scans for and replaces corrupted system files, while DISM can fix system issues and add updates or drivers.
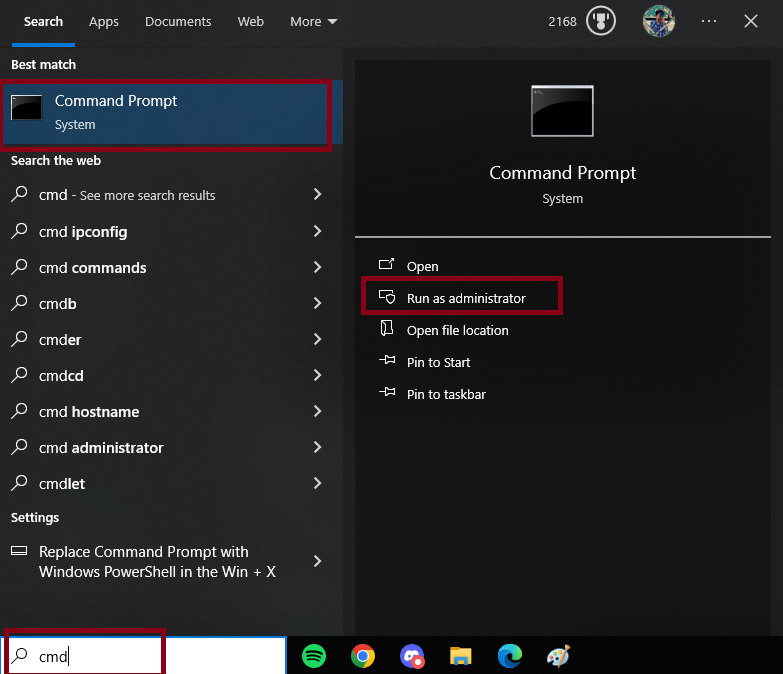
- Open the Search menu, type Command Prompt, right-click it, and select Run as Administrator.
- Enter the following command in Command Prompt:
sfc /scannow
- Restart your PC after the scan completes.
If the issue persists, - Run the following commands in Command Prompt as administrator:
Dism /Online /Cleanup-Image /RestoreHealth
- Close Command Prompt and restart your PC.
3. Make sure Windows is up to Date
Microsoft has already released updates to fix this problem on both Windows 10 and 11. So before moving on to advanced fixes, be sure you’ve installed all Windows updates.
If your system is missing an important Windows Update component, you might not be able to uninstall UWP apps.
- Open Windows Settings: Press Windows key + R, type ms-settings: and press Enter.
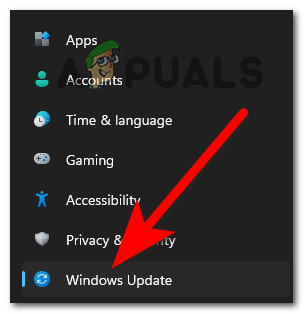
Open the Settings menu - On the left panel, scroll down and click Windows Update.
Access Windows Update - Click Check for updates. If updates are found, install them.
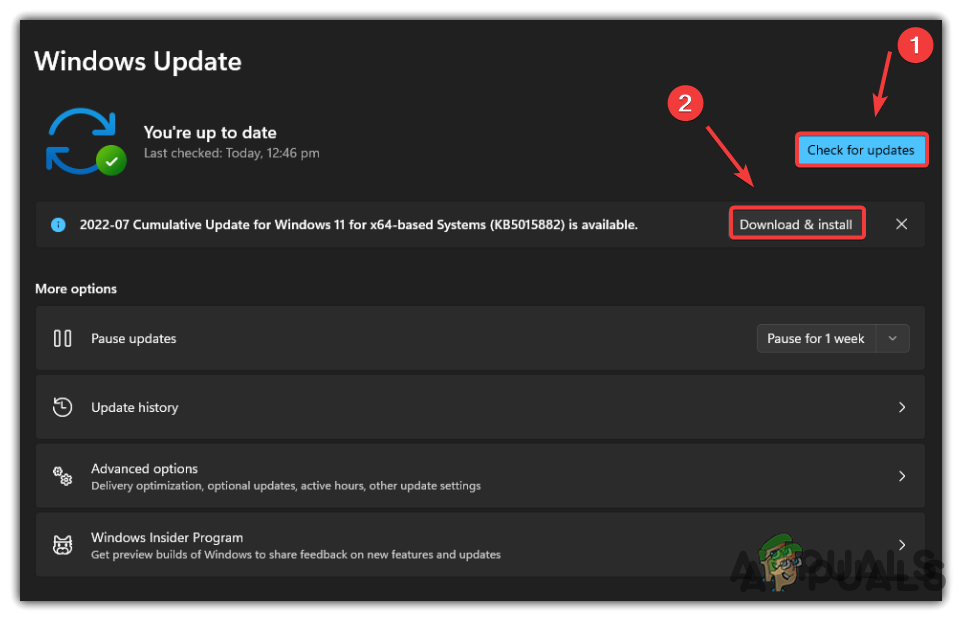
Checking for Updates and installing them - Restart your computer after installing updates.
- Try uninstalling the app again.
4. Make sure Microsoft Store is up to Date
An outdated Microsoft Store app can block some uninstall actions, especially for system-related UWP apps. Make sure your Store app is updated.
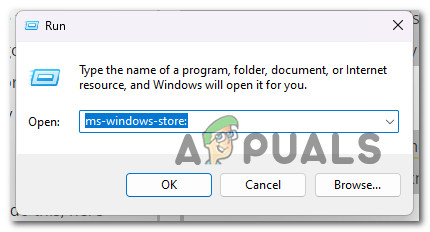
- Open Microsoft Store. Press Windows key + R, type ms-windows-store: and press Enter.
Access the Microsoft Store - Go to the Library section — find the stack of books icon at the lower left corner.

Accessing the Library of Microsoft Store - Click Get updates to check for updates for all apps, including the Microsoft Store itself.

Checking for App updates - If updates are available, they’ll install automatically.
- After updating, try your uninstall again.
5. Reset the Windows Store Cache
Windows Store errors can be caused by corrupted files in the cache folder. Clearing the cache using wsreset.exe often helps.
Note: Corrupted cache is a common cause often overlooked. Many Windows 11 users found that resetting the entire Windows Store component solved the problem.
- Press Windows key + R to open the Run dialog. Type cmd and press Ctrl + Shift + Enter to run as administrator.

Open a CMD window - When prompted by User Account Control (UAC), click Yes.
- Type or paste the following command and press Enter:
wsreset.exe
- After completion, restart your PC and check if the issue is resolved.
6. Use an Admin Account
If your Windows account does not have administrator privileges, you may run into Error 0x80073CFA. Creating a new admin account can help you bypass this issue.
This problem is more common if your admin account was transferred from a previous Windows version.
You can make a new admin account using the Settings app (Windows 10/11) or with Command Prompt (all Windows versions).
6.1. Create a New Admin Account in Settings
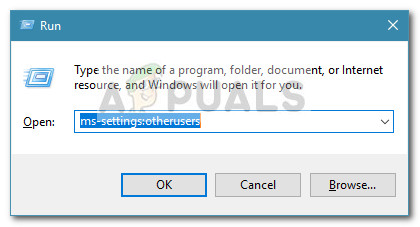
- Press Windows key + R, type ms-settings:otherusers, and hit Enter.
Open up the Other Users tab - Click Add someone else to this PC.
- Provide the email or phone number for your Microsoft account.

Don’t have this person sign in Tip: If you want a local account, select I don’t have this person’s sign-in information.
- Set up a username and password for the new account. Click Next. You may be prompted to set security questions.
- Back in the Family & other users screen, find the new account and select Change account type.
- Select Administrator from the dropdown and click OK.
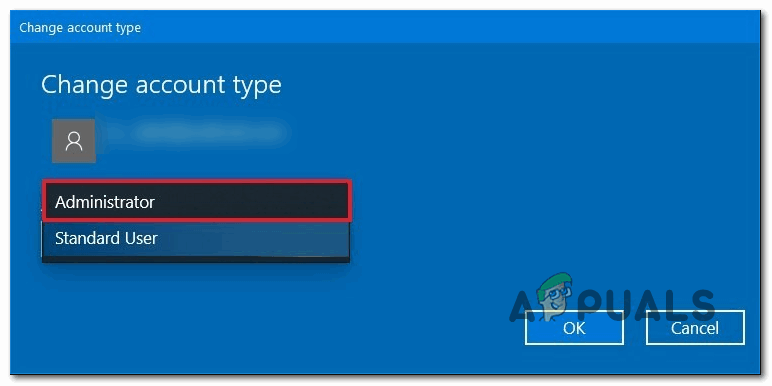
Changing the account type - Restart and log in with the new admin account, then try uninstalling the app again.
6.2. Create a New Admin Account with Command Prompt
- Press Windows key + R, type cmd and press Ctrl + Shift + Enter.

Open a CMD window Note: Click Yes if the UAC prompt appears.
- Type these commands (replace ReplaceME with your desired username), pressing Enter after each:
net user /add ReplaceME
net localgroup administrators ReplaceME /add
- Restart your computer and log in with the new account before reattempting the uninstall.
7. Delete the Demo Version of the Game (if applicable)
If this error appears when trying to uninstall a demo of a game you already own, it’s likely due to a glitch in the Microsoft Store.
- Open File Explorer by pressing Windows key + E.
- Navigate to:
C:\Program Files\WindowsApps
Note: If your Windows drive is not C:, use the correct drive letter.
- Right-click the demo folder and select Delete.
Important: Make sure the game is not running before deleting. - Restart your PC and check that the demo no longer appears in Microsoft Store.
8. Remove Windows 10 Packages via PowerShell (if applicable)
If you see this error while trying to uninstall Windows 10 packages from a Windows 11 device using PowerShell, make sure to use the correct commands.
- Press Windows key + R and type powershell, then press Ctrl + Shift + Enter for admin access.
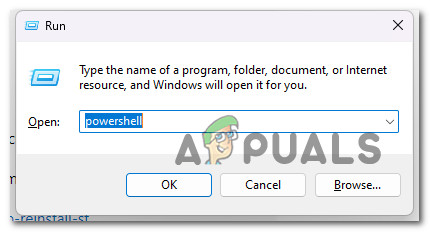
Access an elevated powershell window - When the UAC prompt appears, click Yes.
- Enter these commands in this order:
Set-ExecutionPolicy Unrestricted Get-AppXPackage -AllUsers | Foreach {Add-AppxPackage -DisableDevelopmentMode -Register "$($_.InstallLocation)\AppXManifest.xml"} Remove-AppxPackage Microsoft.WindowsStore_8wekyb3d8bbwe - Restart your computer and check if the error is gone.
9. Perform a Repair Install or Clean Install
If none of the above solutions work, it might be time to fully replace the affected system files.
You have two main options:
- Repair Install (In-place Upgrade) – This keeps your personal files, settings, and apps, and replaces only system files.
- Clean Install – This erases everything and reinstalls Windows from scratch. Choose this if you want a completely fresh start, but remember, all personal data will be removed.


