How to Fix “Error Code: 0x80070032” on Windows Update?
When attempting to install a Windows update, the process may stall at 0% before displaying error code 0x80070032, preventing the update from proceeding. Error code 0x80070032 indicates to “The request is not supported,” indicating that a specific operation required by the update process is not supported in the current system configuration.

The most common cause of this error is the Windows Recovery Environment (WinRE) being disabled, which is essential for certain update operations. Other potential causes include corrupted system files, insufficient disk space, or conflicts with other programs or services.
In this article, we will discuss different ways to solve this error.
1. Run Windows Update Troubleshooter
The built-in Windows Update Troubleshooter automatically detects and resolves common issues related to update failures. It resets update components, checks service dependencies, and repairs corrupted registry entries.
- Press Win + I to open Settings.
- Go to Update & Security.
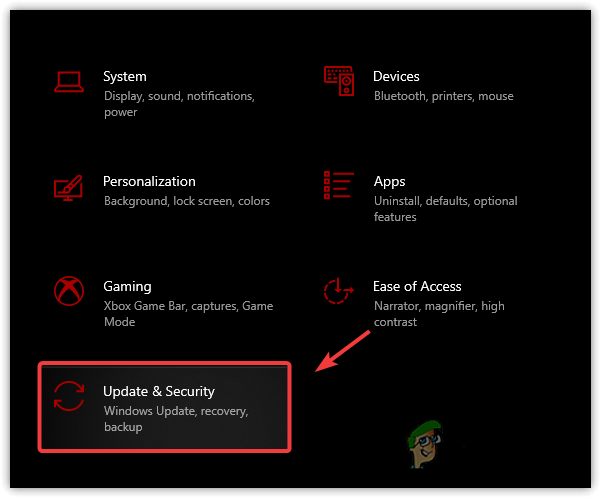
Navigating to Windows Update Security - In the left pane, select Troubleshoot.
- Click View Additional Troubleshooters.
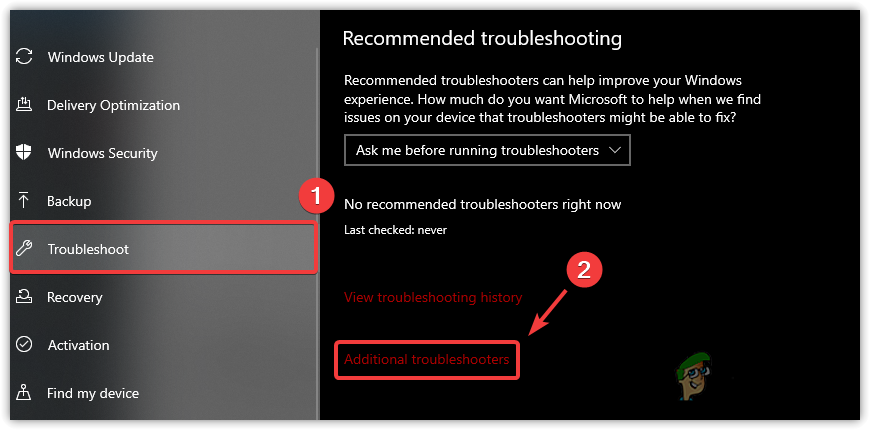
Go to Additional Troubleshooters - Choose Windows Update and select Run the Troubleshooter.
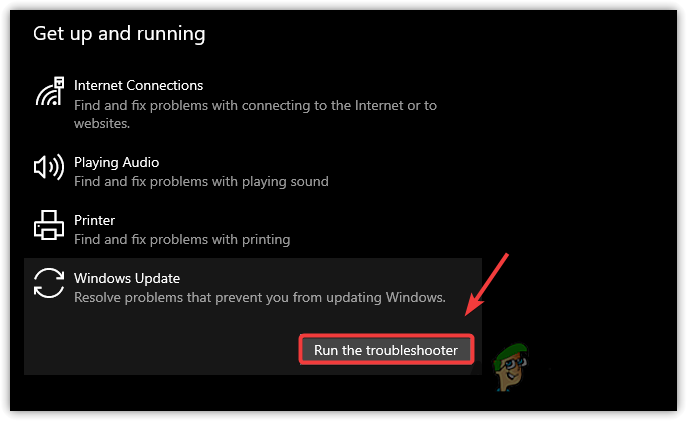
Run Windows Update Troubleshooter - The troubleshooter will automatically detect and resolve any issues it finds.
- When it’s finished, try updating Windows again.
2. Reset the Windows Update Components
This step involves stopping all Windows Update-related services, and restarting services. It helps eliminate corrupted cached files and restarts essential update mechanisms.
- Open the Start Menu and type Command Prompt.
- Press Ctrl + Shift + Enter to run it as an administrator.
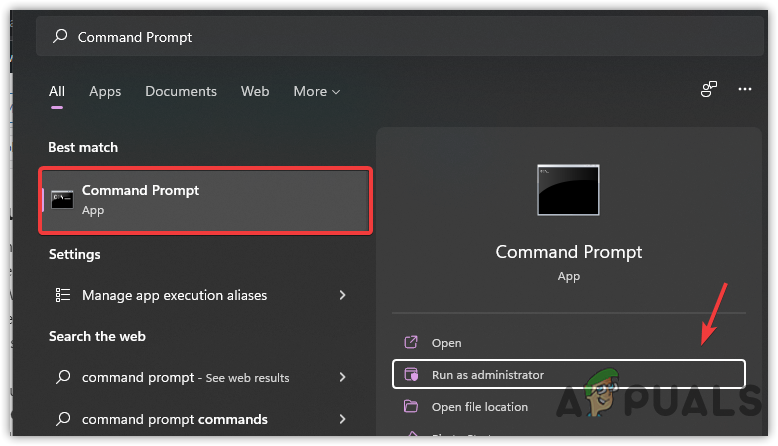
Launch Command Prompt As Administrator - Enter each of these commands one at a time, pressing Enter after each:
net stop bits
net stop wuauserv
net stop appidsvc
net stop cryptsvc
ren C:\Windows\SoftwareDistribution SoftwareDistribution.old
ren C:\Windows\System32\catroot2 catroot2.old
netsh winsock reset
net start bits
net start wuauserv
net start appidsvc
net start cryptsvc
- Press Windows + R to open the Run dialog.
- Type the path below and press Enter:
C:\Windows\SoftwareDistribution\Download
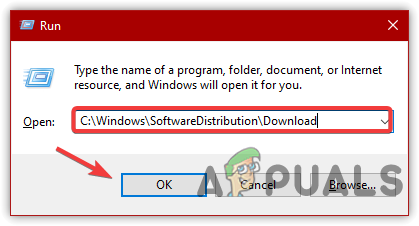
Opening Software Distribution Folder - Press Ctrl + A to select all files, right-click, and click Delete.

Clearing Software Distribution Folder - When finished, check to see if the error still occurs.
3. Set Windows Update Services to Run Automatically
Ensuring that core services like wuauserv, cryptsvc, and trustedinstaller are set to launch automatically allows updates to proceed without manual intervention after a reboot. This resolves cases where services fail to start or restart during the update process.
- Type Command Prompt in the search bar.
- Right-click and select Run as Administrator.
- Enter the following commands, pressing Enter after each:
SC config cryptsvc start= auto
SC config trustedinstaller start= auto
SC config wuauserv start= auto
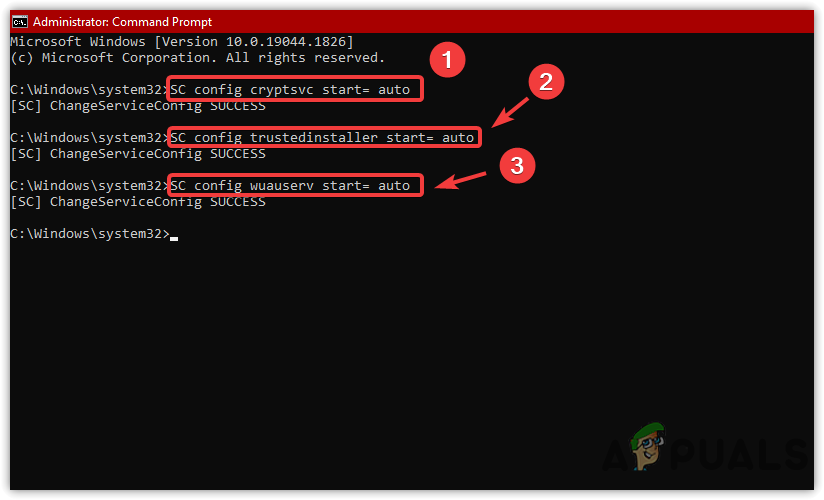
Setting up the Windows Services to Start Automatically - Restart your computer and check if Windows Update is now working.
4. Uninstall the Latest Update
Sometimes, a previous update may be partially installed or corrupted, interfering with future updates. Removing the most recent update helps roll back the system to a stable state and clears any blocking conflicts.
- Press Win + X and select Settings.
Choose Settings - Go to Update & Security.
- Click View Update History, then select Uninstall Updates.

Click Uninstall Updates - Select the Update you want to remove, right-click it, and choose Uninstall.
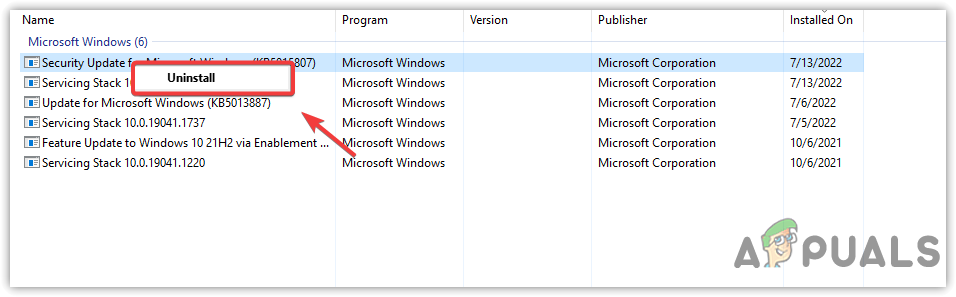
Uninstalling Windows Update - Check if removing the update resolves the error.
5. Disable Windows Defender Temporarily
Windows Defender or third-party antivirus tools can interfere with update operations by flagging legitimate update files or services. Temporarily disabling real-time protection can help rule this out. Always re-enable protection immediately afterward.
- Click the Start Menu and type Settings.
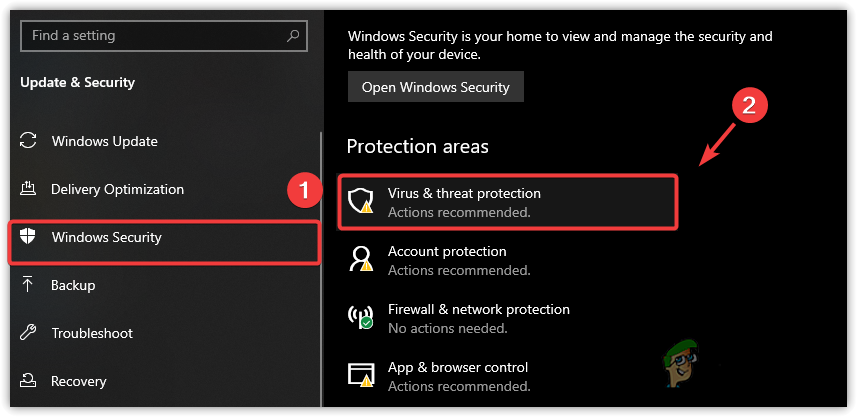
- Open Settings and navigate to Update & Security.
Open Settings - Click Windows Security on the left, then click Virus & Threat Protection.
Navigate to Virus & Threat Protection - Click Manage Settings under Virus & Threat Protection settings.

Click Manage Settings - Turn off Real-Time Protection.
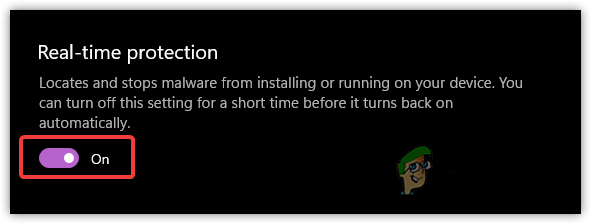
Disable Real-Time Protection - Click Yes if prompted for permissions.
- Check if the error is fixed.
6. Restart Windows Update Services
If Windows Update services become unresponsive or are stuck in a failed state, restarting them manually from the Services Manager can reinitialize update tasks without needing to reboot or reset components.
- Press Win + R to launch Run.
- Type services.msc and press Enter.
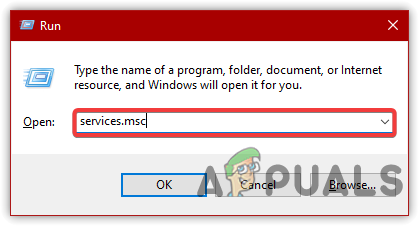
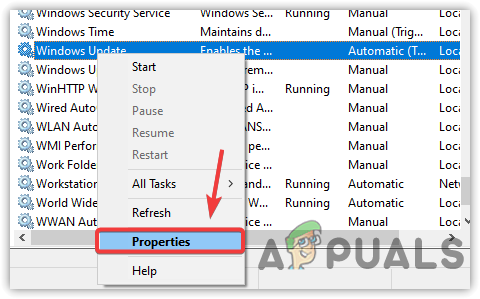
Open Services Window - Find the Windows Update service, right-click on it, and choose Properties.
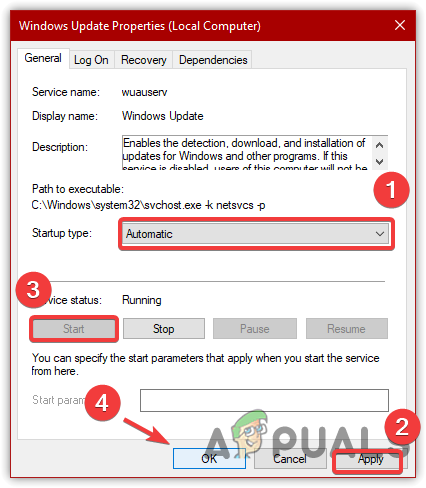
Click Properties - Change the startup type to Automatic and click Apply.
- If the service is stopped, click Start under Service Status.
Restart Windows Update Service - Check if the error is now resolved.
7. Perform a Clean Boot
A clean boot starts Windows with only essential Microsoft services and drivers. It helps isolate third-party software or startup programs that may block updates. This is useful when update errors occur due to background conflicts.
- Press Win + R to open Run.
- Type MSConfig and press Enter.
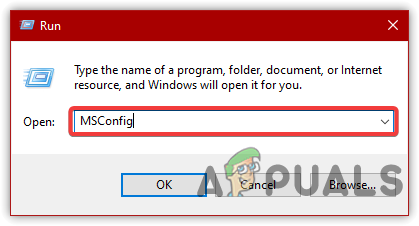
Open MS Configuration - Choose Selective Startup and go to the Services tab.
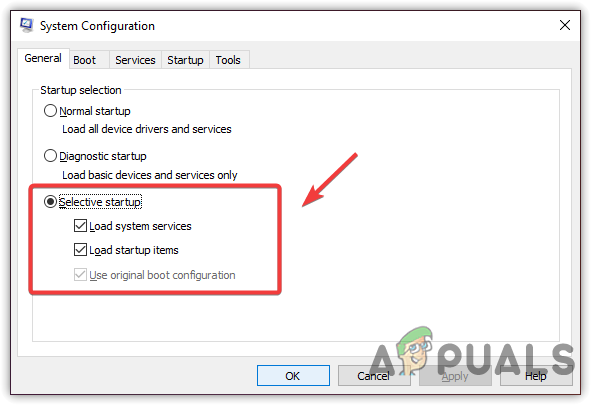
Click Selective Startup - Check Hide all Microsoft services, then click Disable all.
- Click Apply and then OK.
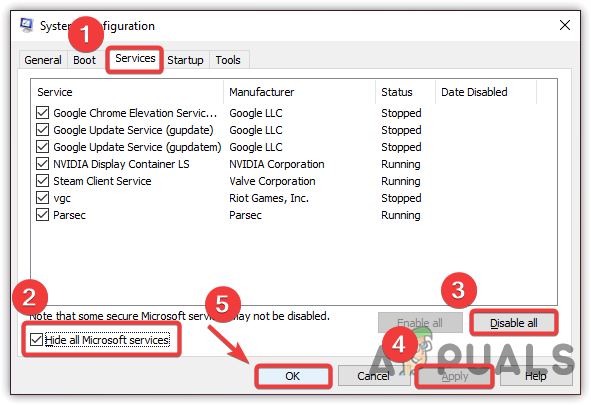
Performing a Clean Boot - Restart your computer and see if Error Code: 0x80070032 persists.
8. Free Up Drive Space
A lack of drive space can also lead to this error. Windows needs enough free space to download and install updates. If you don’t have enough free space, clear up some storage by deleting temporary files or emptying the recycle bin.
- Press Win + E to open File Explorer.
- Click This PC in the left pane.
- Right-click the drive where Windows is installed and choose Properties.
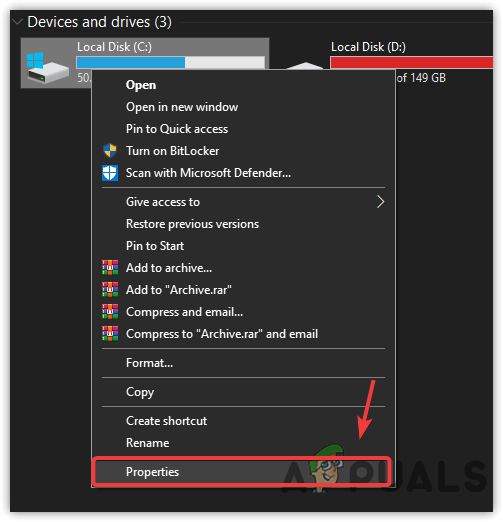
Select Properties - Click Disk Cleanup.
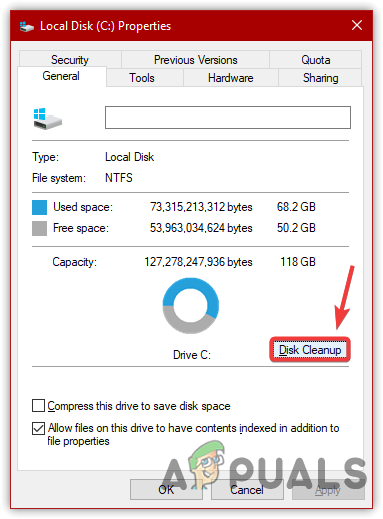
Click Disk Cleanup - Select the files to remove and click OK.

Deleting Temporary Data - When prompted, click Delete Files to confirm.
- Try updating Windows again to see if the error is gone.
9. Run SFC or DISM
The SFC (System File Checker) command can repair corrupted system files, while DISM (Deployment Image Servicing and Management) can restore Windows system images. These are useful for restoring missing or damaged files. Want more details? Check out this article about using DISM.
- Type Command Prompt in the search bar.
- Click Run as Administrator on the right.

Launching Command Prompt as Administrator - Click Yes when prompted by User Account Control (UAC).
- Paste and run these commands one at a time:
DISM /Online /Cleanup-Image /RestoreHealth
sfc /scannow
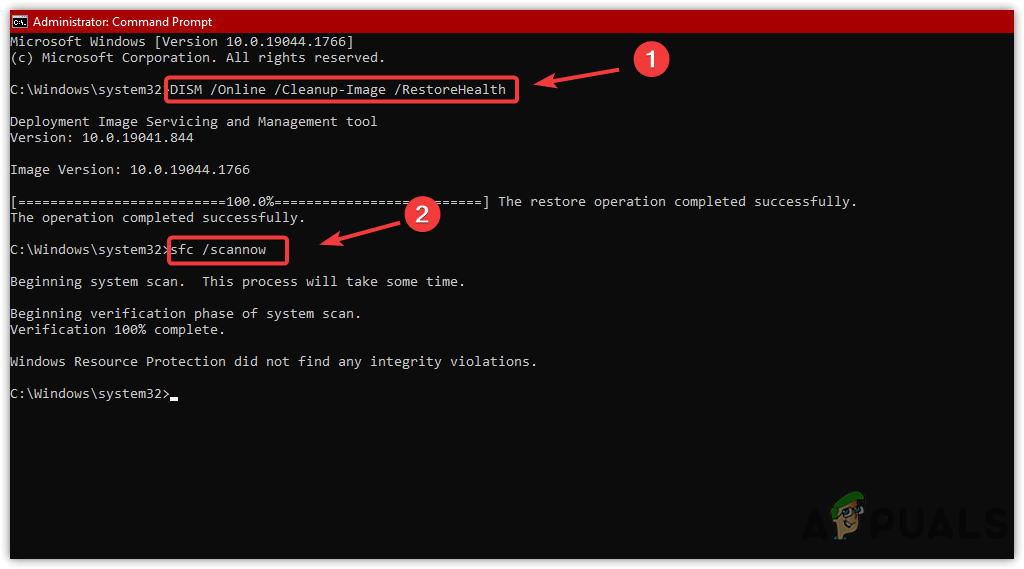
Running Repair Commands - Once they’re finished, try running Windows Update again.
10. Check for Driver Updates
Outdated or incompatible drivers can block Windows updates. Updating critical device drivers—especially chipset, storage, and network drivers—can eliminate driver-related errors that trigger update failures. To update your drivers, follow the steps in this article: How to Update Drivers.
If none of the above solutions work, you can try resetting Windows. For instructions, visit this guide.


